Hello everyone! It’s Donna Idlet here featuring the adorable stamp set from KS called “Stewart The Sloth” Stamp Set and…
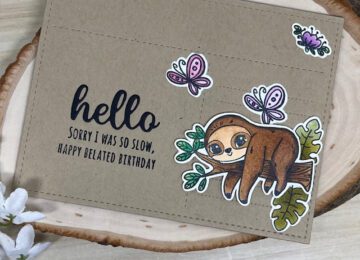

Hello everyone! It’s Donna Idlet here featuring the adorable stamp set from KS called “Stewart The Sloth” Stamp Set and…
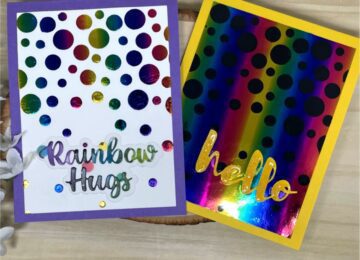
Hello everyone! It’s Donna Idlet here featuring the NEWLY released “Floating Dots” 6×6 Stencil using Deco Foil Transfer Gel, Duo. …

Hello everyone! It’s Donna Idlet here featuring the NEWLY released Star Trio Shaker Card Kit. I hope you were able…
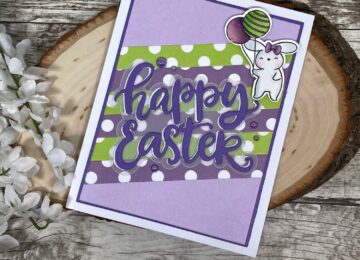
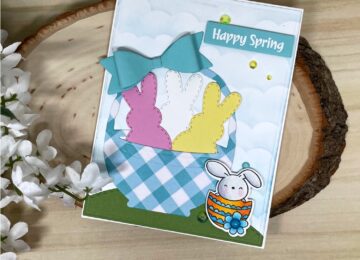
Happy Easter everyone! It’s Donna Idlet here sharing my last Easter card for the season. I know I am a…
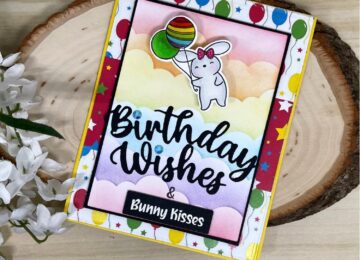
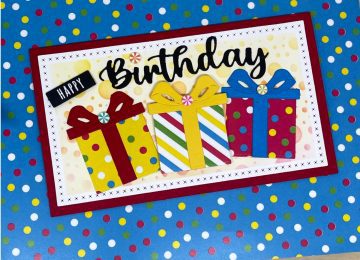
Hello everyone! It’s Donna Idlet here sharing a bright and cheerful birthday card. I love all the bold colors from…
Hello everyone! It’s Donna Idlet here sharing a card I created using the NEWLY released KS Hoppity Bunnies and Hippity…
Hello everyone! It’s Donna Idlet here sharing a slimline card I made using the newly released Birthday Essentials Dies, the…