Hi everyone, it’s Tina here. With Father’s Day around the corner I wanted to use the new Happy Father’s Day…


Hi everyone, it’s Tina here. With Father’s Day around the corner I wanted to use the new Happy Father’s Day…
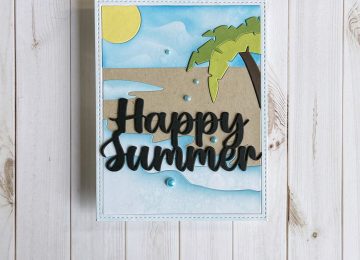
Hi everyone, it’s Tina here. The new release is here and have you seen the A2 Waterside die? With one…
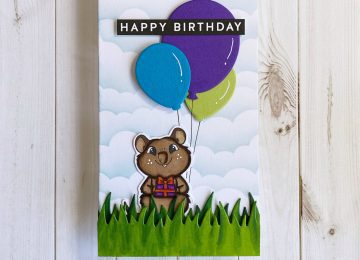
Hi everyone, it’s Tina here. Today’s card is using the Everyday Quokka Stamp Set. It has some stamps that the…
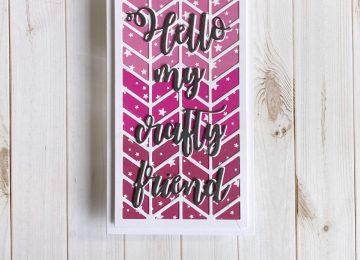
Hi everyone, it’s Tina here. Today’s card is quick and easy using the Starlights Bright Paper Pack to create an…
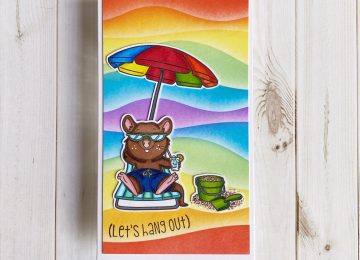
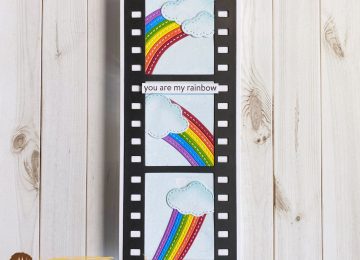
Hi everyone, it’s Tina here. We all need some color in our lives and that was my inspiration using the…
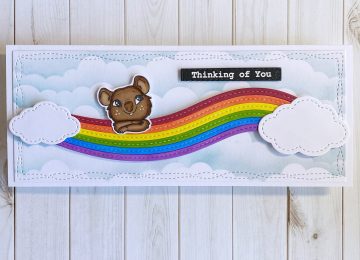
Hi everyone, it’s Tina here. Ever think of someone and feel like your head is in the clouds. That’s how…
Hi everyone, it’s Tina here. I am super excited to share today’s card with you. It is using the new…