Welcome to the Kat Scrappiness November Card Challenge and the announcement of the October Card Challenge Winner! PLEASE READ THE RULES before ENTERING! First…


Welcome to the Kat Scrappiness November Card Challenge and the announcement of the October Card Challenge Winner! PLEASE READ THE RULES before ENTERING! First…
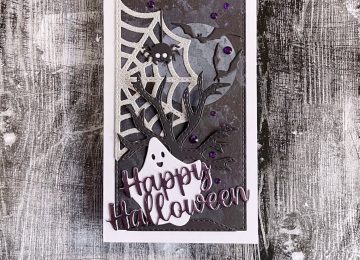
Hi everyone, it’s Tina here. Today I have a Halloween sparkle Mini Slimline card to share with you using the…
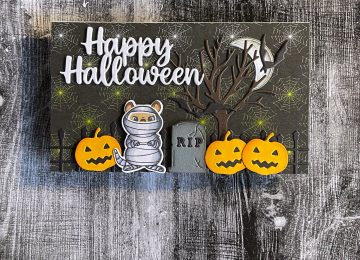
Hi everyone, it’s Tina here. I have a fun Halloween card to share with you using the new Crafter Essentials…
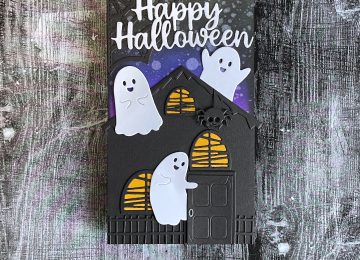
Hi everyone, it’s Tina here. I have a fun Halloween card to share with you using the new Haunted House…

Hi everyone, it’s Tina here. Today I am so excited to share a card using the new Merry Christmakah with…
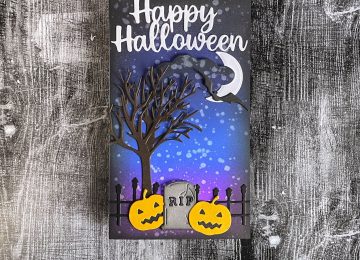
Hi everyone, it’s Tina here. Can you believe next month is Halloween? Kat Scrappiness has you covered with the Crafter…

Hi everyone, it’s Tina here. There is now matching dies for the Quokka’N Up and Summer Quokkas Stamp Sets so…