Hi everyone, it’s Tina here. Birthday Essentials was released yesterday and today’s card is featuring it. Below I will show…
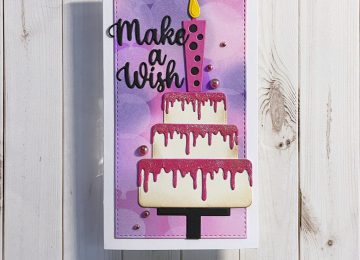

Hi everyone, it’s Tina here. Birthday Essentials was released yesterday and today’s card is featuring it. Below I will show…

Hi everyone, it’s Tina here. I have a card to share using the Heart Donut Builder dies, Mini Slimline Heart…

Hi everyone, it’s Tina here. Today I am sharing a Slimline Card using the new Intertwined Hearts Die, Love You…
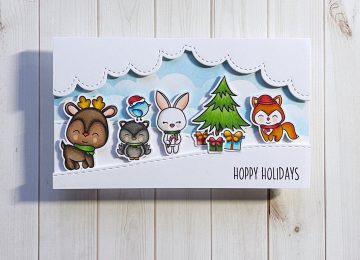
Hi everyone, it’s Tina here. The Merry Critters is still one of my favourite stamp set for the Holidays. I…
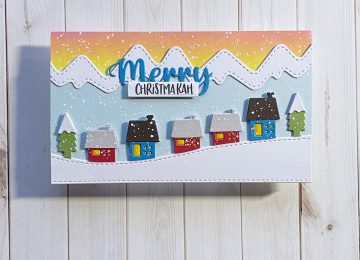
Hi everyone, it’s Tina here. I have a Mini Slimline card to share using the Slimline Mountain Scape dies, Holiday…
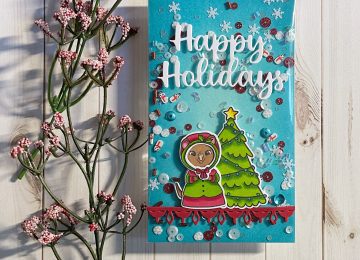
Hi everyone, it’s Tina here. I have a super fun and easy Mini Slimline Flat Shaker card to share with…
Hi everyone, it’s Tina here. I have a 5×7 card to share with you and a bonus card using the…