Hello Crafty Friends! Priscilla here from Nubble Light Designs. Today’s card is for all of us who believe coffee should…
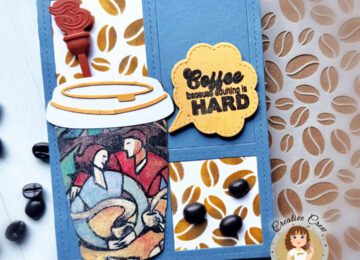

Hello Crafty Friends! Priscilla here from Nubble Light Designs. Today’s card is for all of us who believe coffee should…

Buckle up, Mother Cluckers! Priscilla here from Nubble Light Designs. It’s a whole flockin’ vibe today with a card featuring…
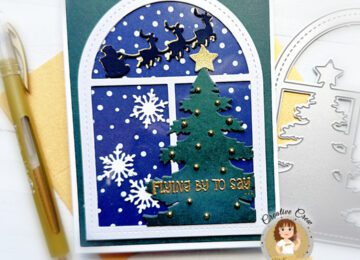
Hello Crafty Friends! Priscilla here from Nubble Light Designs. Today I am sharing a magical “Christmas in July” creation using the…

Hello Crafty Friends! Priscilla here from Nubble Light Designs. I am back again today with another “crafty” card! When faced…

Hello Crafty Friends! Priscilla here from Nubble Light Designs. We’ve all had that moment mid-scroll when we see a brand-new paper…
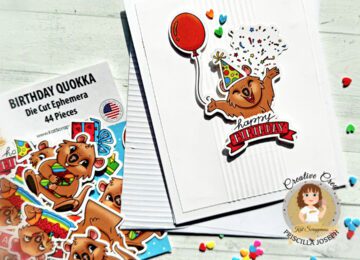
Hello Crafty Friends! Priscilla here from Nubble Light Designs. Today I am sharing a birthday card that is not only…
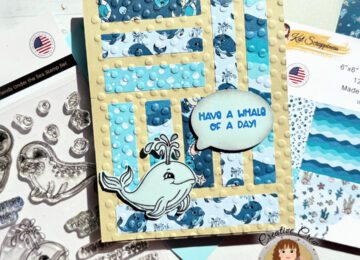
Hello Crafty Friends! Priscilla here from Nubble Light Designs. Today I am sharing a “whale” of a fun ocean-themed birthday…