Hello hello hello, it’s Lisa from Oh So Cute By Lisa and I am so excited because I am…

Hello hello hello, it’s Lisa from Oh So Cute By Lisa and I am so excited because I am…
Hello, it’s Lisa from Oh So Cute By Lisa here with you on the KS blog and today I…
Hi there, it’s Lisa here with you from Oh So Cute By Lisa sharing another Kat Scrappiness inspired card! I’m…
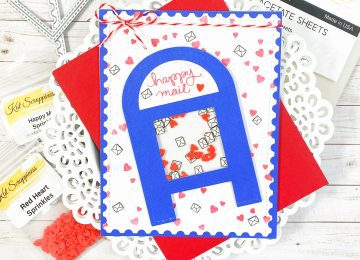
WHO DOESN’T LOVE HAPPY MAIL?! I KNOW I DO! ? ? ? ? ? ? ? ? ? ? ? Hi! It’s Lisa here with you today from Oh So Cute…

Hi it’s Lisa from Oh So Cute By Lisa and I am up on the blog today featuring a slimline…

Hi there it’s Lisa here from Oh So Cute By LisaI am up on the Kat Scrappiness blog today with a card…
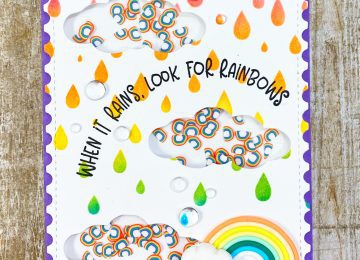
Hi and welcome back to the Kat Scrappiness blog. It’s Lisa here today from Oh So Cute By Lisa and…