` Happy Turkey Day to all of my crafty peeps! It’s Lisa here today from Oh So Cute By…

` Happy Turkey Day to all of my crafty peeps! It’s Lisa here today from Oh So Cute By…
Welcome to the Kat Scrappiness blog! It’s Lisa from Oh So Cute By Lisa and today I have a lot…
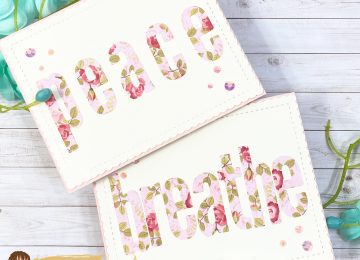
Welcome to the Kat Scrappiness blog, take a deep breath and relax! It’s Lisa here with you today from Oh…
Hello everyone, it’s Lisa from Oh So Cute By Lisa here with you today! I hope you’re having a good…
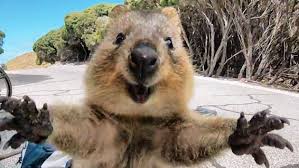
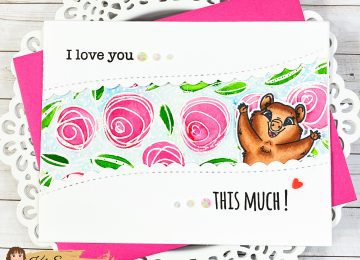
I’d like to introduce you to the Quokka! The world’s happiest animal! Isn’t that the cutest face you’ve ever seen?…
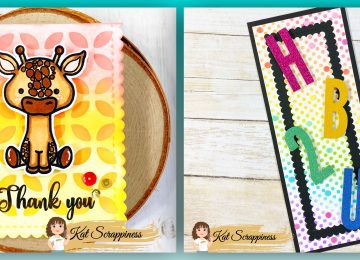
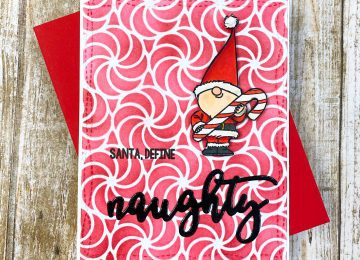
Hello there, it’s Lisa from Oh So Cute By Lisa and today I have 2 cards for you…
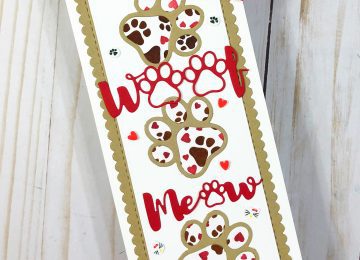
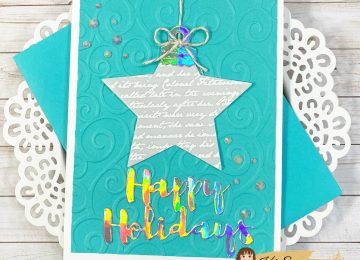
Hello and welcome to the Kat Scrappiness blog! It’s Lisa from Oh So Cute By Lisa and I have a…