Welcome back to the blog Kat Scrappiness fans! We interrupt this Christmas card making frenzy to bring you a few…
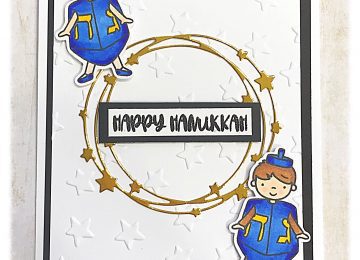

Welcome back to the blog Kat Scrappiness fans! We interrupt this Christmas card making frenzy to bring you a few…

Hello Kat Scrappiness fans! It’s Lisa on the blog with you today and I have a Winter Wonderland to share with you in the…
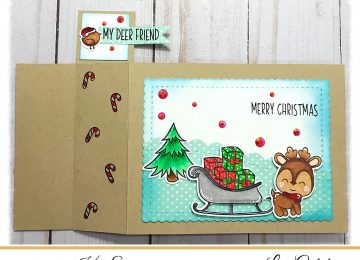
Good morning Kat Scrappiness fans, it’s Lisa up on the blog today and I’ve got something exciting I want to share with you! It’s…

Hi everyone, it’s Lisa and I am back again with another Kat Scrappiness monthly challenge! I want to thank everyone who participated…
Welcome back to the blog Kat Scrappiness fans! It’s Lisa here today and I have a sparkly card to share with you!…
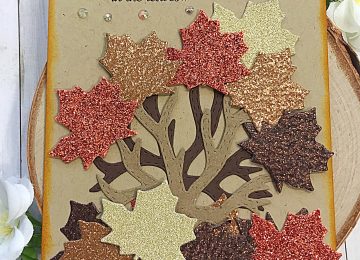
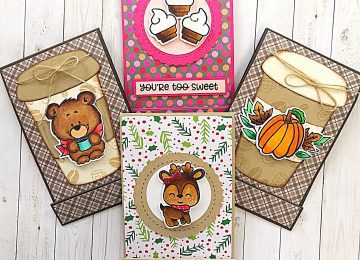
Hi it’s Lisa up on the blog today and I have a Fall themed card to share with you. I…
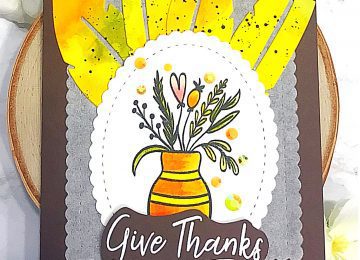
Welcome back to the blog Kat Scrappiness fans! It’s Lisa here with you today and I have a really fun project to…