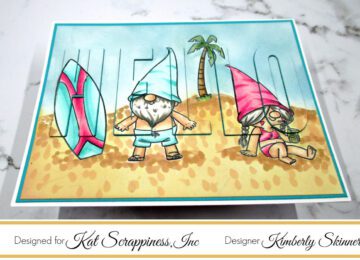
It’s back to school time! I decided to create a coffee themed card to tuck a gift card into. My plan is to send it to a former colleague for the first day of school.
I am using the Coffee Time cover die and the Let’s Get Caffeinated stamp set to create the card.

Once I cut the cover die out of the fabulous blue cardstock, I realized that it was going to be a very busy background. I decided to use the A2 Frame die (the second largest die) to create a frame around the center of the cover die. I really like the effect I achieved. It looks like the border of coffee beans was intentionally created around it.
The frame also gives your eyes a place to rest as it breaks up the blue.

I added a coffee themed sentiment which I popped up on foam squares. The twine adds a little extra detail and also helps break up the background of the card. The final touch was to add Dark Chocolate Pearls for a real coffee bean feel!

Video:
[youtube https://www.youtube.com/watch?v=_Qgkvan-D30]
Supply List:
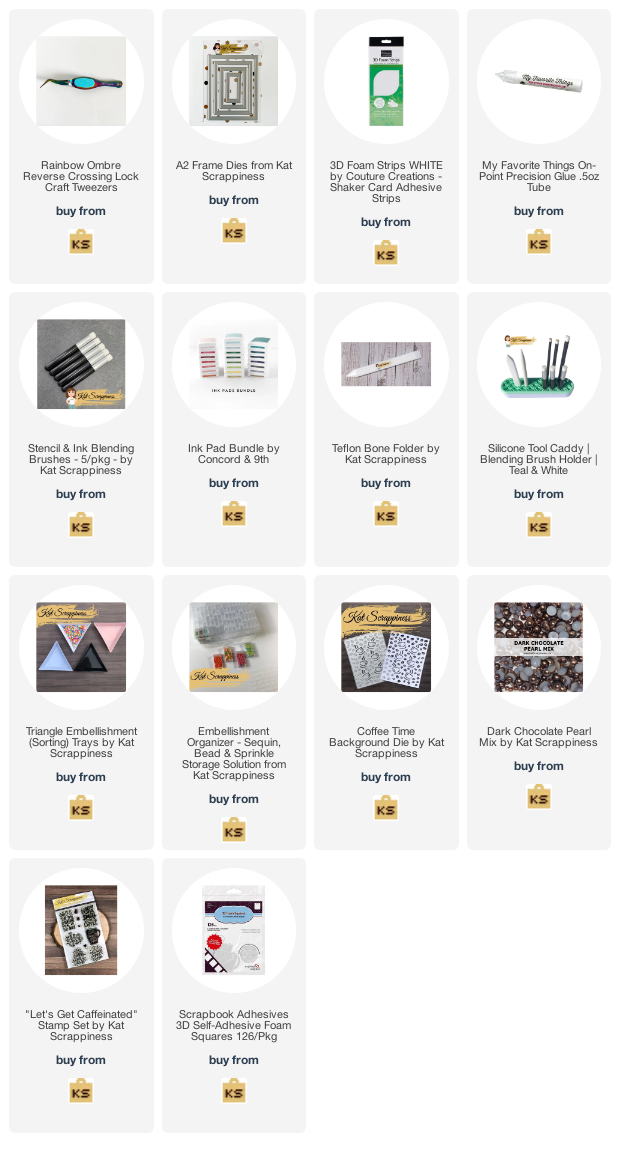
https://linkdeli.com/widget.js?id=f5e8378456858c916708
Thank you for stopping by! Have a fantastic day!