Hi Guys! I’m back today to showcase both some fun Valentine Day cards AND the new Kat Scrappiness “Star Fusion…

Design Team Projects

Hi Guys! I’m back today to showcase both some fun Valentine Day cards AND the new Kat Scrappiness “Star Fusion…
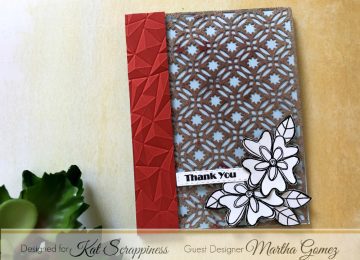
Happy Saturday! Martha Lucia here with you featuring one of our new coverplates. Today I am using the Star Fusion…
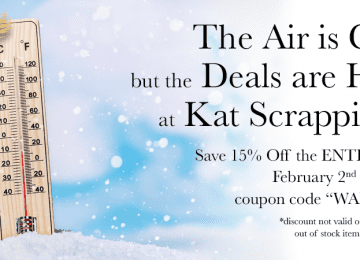
STAY WARM AND SAVE! It’s cold outside so stay inside where it’s warm and save on everything in the Kat…
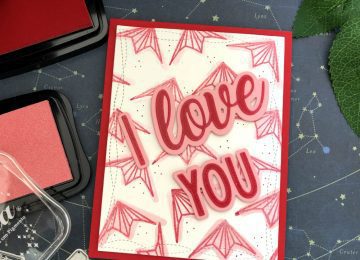
Hello dear friends, Martha Lucia here with you to share another of my cards using the I Love You Shadow…

Hi Everyone! I just wanted to let you know that there is a great sale going on here at Kat…

Hello crafty friends! Martha Lucia here with you. Today I am featuring a combination of two different products form Kat…
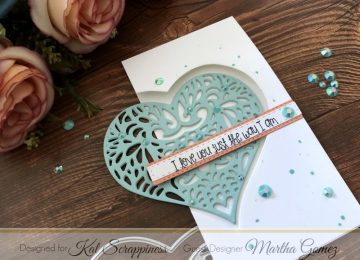
Hello everyone! Martha Lucia here with you. Today I am featuring the new two die cuts from Kat Scrappiness released…