Tag: ugly sweater add-on stamp set

  • Christmas in July Hand Sanitizer Gift Holder Tutorial!

    Christmas in July Hand Sanitizer Gift Holder Tutorial!

    Happy Friday friends!

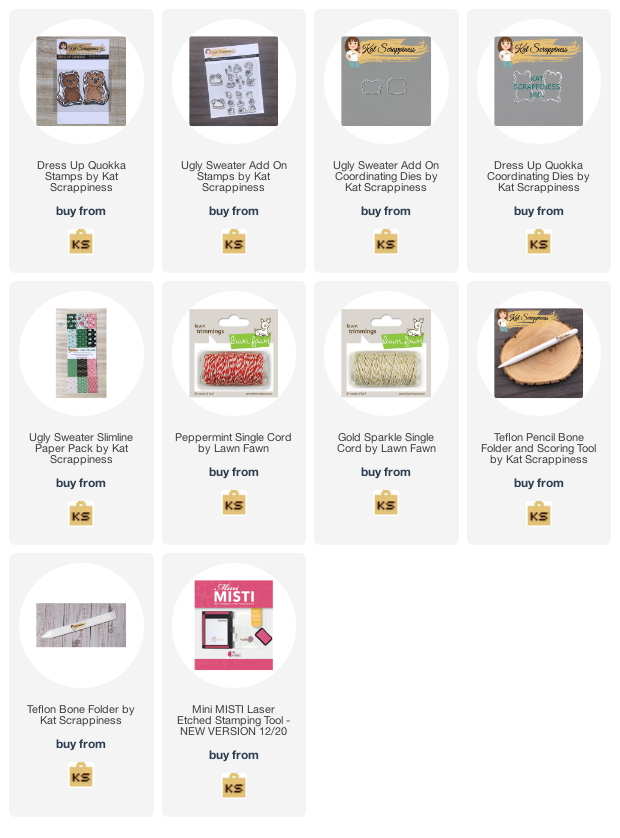
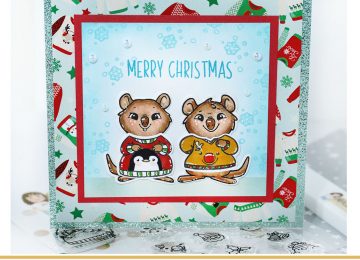
    Tasha here sharing an easy Christmas in July themed hand sanitizer holder featuring the Dress Up Quokka Stamp Set!

    The cute little quokka images were stamped with black ink and colored with Copic Markers. I used the coordinating die sets to easily cut out the quokkas and their little sweaters. I love the polar bear sweater!

    Check out my full tutorial on the Kat Scrappiness YouTube Channel!

    [youtube https://www.youtube.com/watch?v=qjDPCVz__bY]

    To continue with the Christmas theme, I used the fun Ugly Sweater Slimline Paper Pad to create a festive background. This paper collection has a variety of patterns that are perfect for holiday projects!

    Lastly, I added a little hand sanitizer before closing the gift holder with twine. These are so much fun to make and make awesome gifts or stocking stuffers!

    I hope you enjoyed today’s project!
    -Tasha

    Gift Holder Base (Red): 2″ x 9″
    Score at 4″ and 5″

    Inside Base (White): 1-1/2″ x 6-1/2″
    Score at 1-1/2″, 2-1/2″, 4″ and 5″

    Layer 1 (Gold): 1-3/4″ x 1-3/4″

    Layer 2 (Pattern Paper): 1-1/2″ x 3-1/2″


  • Merry Christmas Quokka Card

    Merry Christmas Quokka Card

    Good morning Kat Scrappiness Friends!

    Tasha here sharing a festive holiday card featuring the cute Dress Up Quokka Stamps and Ugly Sweater Add-On Set!

    Click the video link below to see the full card making tutorial!

    [youtube https://www.youtube.com/watch?v=yWYWaThRU1g]

    The quokkas and sweaters were stamped with black hybrid ink and colored with Copic Markers. I also used the coordinating die sets to easily cut the images out.

    The greeting “Merry Christmas” is from the Merry Critters Stamp Set and was stamped with a deep teal ink. For extra color, I added Distress Ink around the edges of the center card and stamped little snowflakes using the same ink color.

    Lastly, I added several pearls from the Sparkling Snow Pearl Mix and attached a layer of glitter paper and Ugly Seater Patter Paper before adhering the card to a square card base.

    Thank you for checking out today’s project and I hope you enjoyed this Quokka holiday card!

    -Tasha

    Card Base: 4-1/4″x4-1/4″
    Glitter Layer: 4-1/4″x4-1/4″
    Pattern Paper Layer: 4″x4″
    Red Layer: 3-1/4″x3-1/4″
    White Center Card: 3″x3″

    Copic Colors: R11, R27, Y35, YR24, YG17, 100, E18, E11, E23, E51, E33

  • Slimline Christmas Card with Ugly Sweater Dress-Up Quokkas

    Slimline Christmas Card with Ugly Sweater Dress-Up Quokkas

    Christmas is fast-approaching and I am totally looking forward to coming home.  There’s something so special about being home for the holidays!  Campfire, Ugly Sweaters, Hot Cocoa, and spending quality-time with my family!  Home for the holidays is my theme for today’s blog post.


    As previously mentioned on my last blog post, I will be giving you inspiration using older KS products!  It’s time to give them some much-needed TLC and if you don’t have these items, why don’t you grab them now?!  My card today features the Dress Up Quokka Stamp Set, A Cozy Christmas Slimline Paper Pad, along with the Ugly Sweater Add-on Stamp Set, Merry Critters Stamp Set, Forest for The Trees Slimline Die and the cute Special Delivery Etched Dies by Spellbinders.  These products are all available at the Kat Scrappiness shop!


    Here’s how I made the card:


    • Cut the pattern paper from the A Cozy Christmas Paper Pad and adhere on a red slimline card base.
    • Die-cut a panel of Neenah solar white card stock using the Forest for the Trees Slimline Die Set and foam-mount the main frame on the slimline card.
    • Adhere the birch trees and snowbank with liquid glue.
    • Adhere the red car with foam-adhesive for added dimension.
    • Add the quokkas on the focal panel with liquid glue.
    • Stamp the sentiment on some black card stock.  Sprinkle some white embossing powder and heat-set with the heating tool.
    • Adhere the sentiment on the card.


    I really LOVE how this card turned out and I hope you got inspired to use your older stamps and dies.  The supplies I used are listed and linked below.  Thanks for stopping by and have an amazing day!


    ———–SUPPLIES——–