Hello again Kat Scrappiness fans! It is the second day of the January reveals and today we are showcasing the…


Hello again Kat Scrappiness fans! It is the second day of the January reveals and today we are showcasing the…
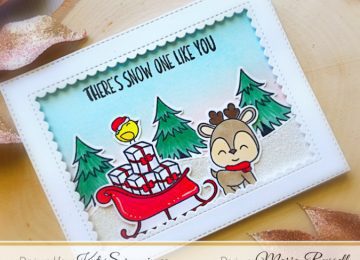
Hello my crafty peeps! Maria here with you today and I’m back with a Christmas card, showcasing the Merry Critters…
Hi All, Welcome to today’s blog post where Gold Glitter the whole Peacock background die for this sweet card. The…
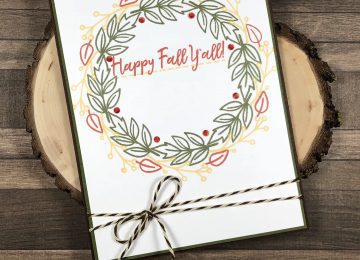
Hi all, Jo Herbert here bring to you another blog post using the beautiful Happy Fall stampset. I have enjoyed…
Did everyone get a chance to celebrate World Card-making Day yesterday? I plan on celebrating today! You can still celebrate…
Hi all, Jo here and welcome to a clean and simple card design for you. One thing I like to…
Hi All, Jo here and welcome to my blog post using one of my favourite ‘go to’ items in my…