Tag: Rainbow Dreams Slimline Paper Pad

  • Festive Candy Bar Wrappers

    Festive Candy Bar Wrappers

    Hello Friends!  Donna W. here today sharing 2 festive projects using some fun papers and die cuts from Kat Scrappiness.  Before I get to my projects, I want to remind everyone of the Stamp and Scrapbook Expo Sale at the Kat Scrappiness Shop.  From now until the 18th of December, save 15% on all products in the Christmas – Hanukkah – New Years themed category using the code:  XMASEXPO


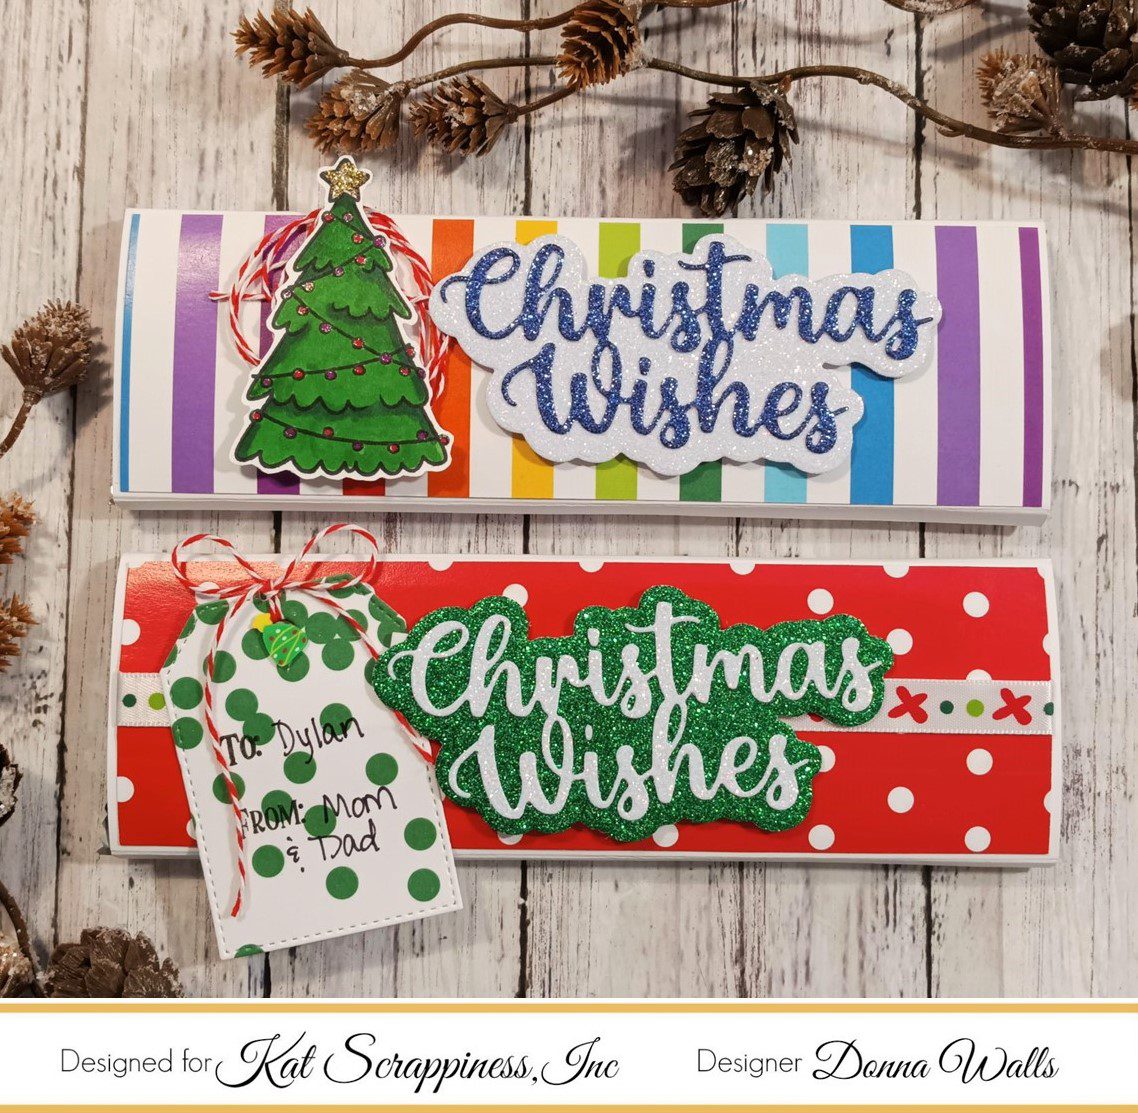
    Now let’s get to the fun stuff – I’ve created 2 festive Candy Bar Wrappers!


    The wrappers are easier to put together than you may think and make a great stocking stuffers.  These particular wrappers cover a King Size Hershey Chocolate Bar.  Here’s how I put them together:
    • Trim a piece of white card to 6″ x 7″ (or use any color you wish for the base).
    • Score on the 6″ side at 2.25″, 2.5″, 4.75″ and 5″.
    • Fold and burnish on the score lines.
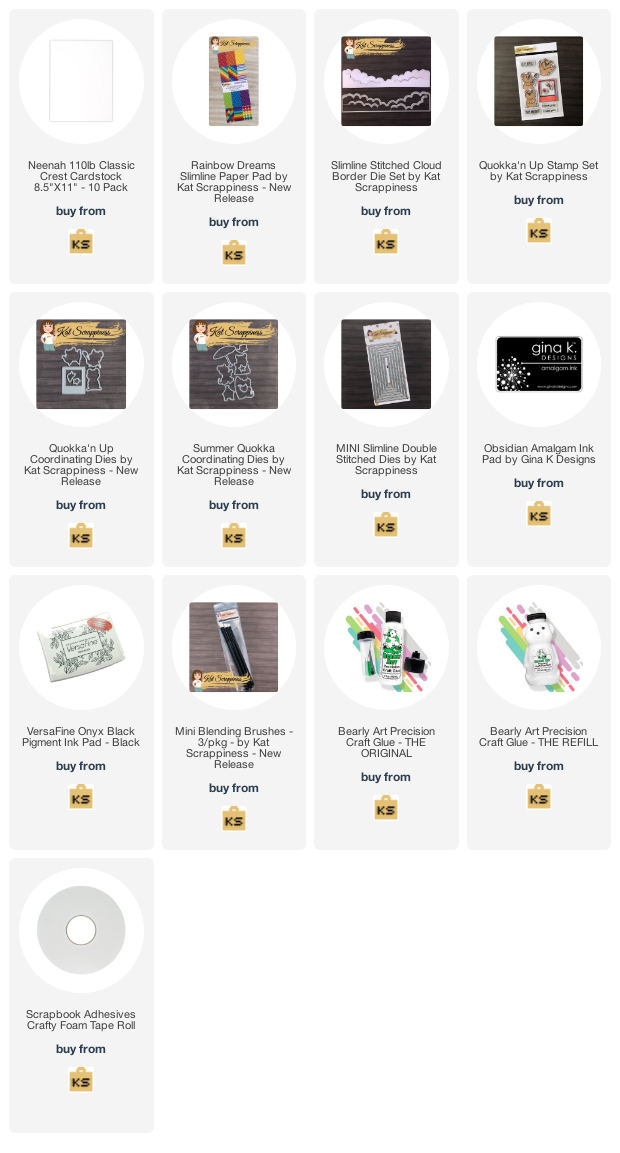
    • Trim a piece of designer paper to 2 1/8 x 6 7/8 to cover the front or top of the wrapper.  For my designer papers, I’ve used snippets of card from the Kat Scrappiness Rainbow Dreams and Rainbow Confetti Slimline paper packs.
    • Adhere your designer paper and any embellishments you wish to add on the front of the wrapper.
    • Assemble the Wrapper using heavy duty double sided tape along the back seam.

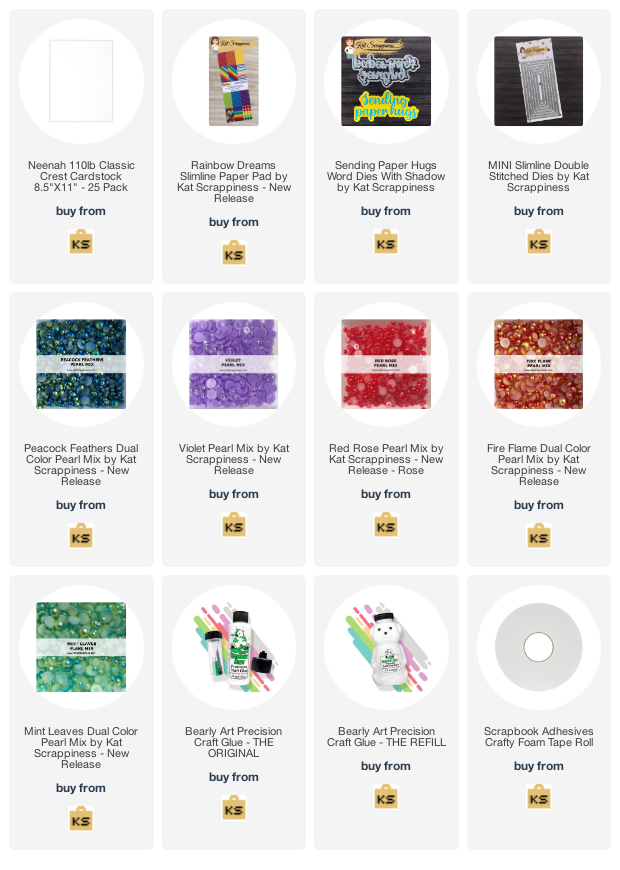
    For my embellishments, I’ve used the Christmas Wishes Word Die with Shadow, colored a Christmas Tree from the Quokka Christmas Costume Add-On Stamp Set, ribbon, Baker’s Twine and glitter card from my stash.  The Candy Bars fit snug within the wrapper but not too snug as to be difficult getting them in and out.
    We are getting close to the big day so if you’re in need of something quick and easy, try these candy wrappers for those last minute Stocking Extras.  They would also make wonderful gifts for Teachers, Neighbors, Friends, the Postal Carrier, the Amazon Driver (if you’re like me – you’re on a first name basis with them).
    I want to wish you and yours a very Happy Christmas and Joyous New Year.  May your Christmas be filled with Love, Joy and Gratitude.
    Thanks for your visit!  Until next time, Happy Crafting!
    Donna


  • I Love You This Much! Mini Slimline Card

    I Love You This Much! Mini Slimline Card

    Hi everyone, it’s Tina here. There is now matching dies for the Quokka’N Up and Summer Quokkas Stamp Sets so I decided to make a card using them along with the Rainbow Dreams Paper Pad. Below you will find the steps to create your own card.

    Step 1 – Trim White Cardstock to 7″ x 6”, score at 3 1/2” and fold in half for a vertical side fold card (Mini Slimline)

    Step 2 – Trim White Cardstock to 3 1/2” x 6”. Diecut Slimline Stitched Cloud Border (to use as a stencil). Place the diecut on the trimmed cardstock and using the Mini Detail Blending Brush add Distress Oxide Tumbled Glass to the edges creating a background of clouds.

    Step 3 – Diecut Mini Slimline Doubled Stitched using the panel created in Step 2. Adhere to card front using Bearly Art Precision Glue.

    Step 4 – Diecut Quokka’N Up (photo frame) and Summer Quokkas (umbrella) using KS Rainbow Dreams Paper Pad. Adhere to card using Foam Tape.

    Step 5 – Stamp Quokka’N Up (image) using Gina K Amalgam Ink on White Cardstock. Color in image using alcohol markers. I used Spectrum Noir Classique Markers. Diecut with matching die. Adhere inside the photo frame using Foam Tape.

    Step 6 – Stamp Quokka’N Up (sentiment) using Versafine Onyx Black Ink beneath the frame.

    This card can be used for many occasions by changing the sentiment. Below is a link to all the products used. Thank you for stopping by and Happy Crafting!

    Products Used:
    https://linkdeli.com/widget.js?id=f5e8378456858c916708

  • Happy Birthday Mini Slimline Frameless Shaker Card

    Hello friends! Katy here and in todays video I have a frameless mini slimline shaker card for you.

    I am loving this way of creating shaker cards and how quick they are to make. I used some new Kat Scrappiness products and some old.

    I also show you how I fixed a mistake I made and unless you watch the video you would never even know it was there…and it is a big one.

    I hope you enjoy the video. Thanks for watching.

    ❤️Katy

    Click here to watch in HD on Youtube

    PRODUCTS USED:

    KS Happy Day Stamp Set http://shrsl.com/34oac

    KS Condensed lowercase Alphabet Die Set http://shrsl.com/34oaa

    KS Mini Slimline Never-Ending Die Set http://shrsl.com/34oa7

    KS Rainbow Dreams Paper Pack http://shrsl.com/34oa4

    KS Pretty Bows Sprinkles http://shrsl.com/34oa1

    KS Sequins http://shrsl.com/34oa0

    Neenah Classic Crest 110 LB 10 pk http://shrsl.com/30u5p

    Neenah Classic Crest 110 LB 25 pk http://shrsl.com/30u5r

    Bearly Art Glue  http://shrsl.com/2xjsi

    Teflon Bone Folder http://shrsl.com/2zhz5

    Versafine Clair Nocturne http://shrsl.com/34oaf


    FIND US HERE…

    Kat Scrappiness http://KatScrappiness.com

    Blog: http://KatScrappinessBlog.com

    Facebook: https://www.facebook.com/KatScrappiness

    Instagram: https://www.instagram.com/katscrappiness/


    You can ———————— FOLLOW KATY————————here

    YOUTUBE: https://www.youtube.com/c/eastwickspaperandink

    INSTAGRAM: https://www.instagram.com/eastwickspaperandink

    FACEBOOK: fb.me/eastwickspaper

    BLOG: https://www.eastwickspaperandink.com

    Affiliate links may be used at no additional cost to you. As an Amazon Associate I earn from qualifying purchases.   By clicking through the links and making a purchase you are helping to support my channel so that I can continue to make free content and videos for you. Thank you for your support.

  • I Miss You…This Much!

    I Miss You…This Much!

    Happy Monday Friends! Sheri here today with a fun mini slimline card featuring the Quokka’n Up stamp and NEW coordinating die set. But before we start…

    Did you see the BIG Announcement over the weekend?!?  Kat Scrappiness is having a Design Team & Influencers Call!

    This is the first open call since 2018. You can find all the details HERE.

    Design Team Call

    Now onto today’s card…

    Steps to Create Card:

    • Cut Mini Slimline Card Base: 3 1/2″ x 6″ (7″ x 6, scored at 3 1/2″ on the 7″ side)
    • Cut Black Mat: 3 1/8″ x 5 5/8″ – used largest die in the Never Ending Mini Slimline die set
    • Cut Pattern Paper layer from the Rainbow Dreams Paper Pad: 3″ x 5 1/2″
    • Cut two frames from the Quokka’ Up die set along with two pattern paper backers.
    • Stamp Two Quokka images from the Quokka’n Up stamp set and color with your favorite coloring medium. I used Copic Markers. Then cut our using the coordinating die set or fussy cut them out.
    • Stamp sentiments from the stamp set onto the frames with black ink.
    • Assemble card.
    • For embellishment I added a few of the Red Heart Sprinkles with Connect Glue.


    Here’s a list of the supplies I used from the store.
    Affiliate Links used at no additional cost to you. Thank You so much for your support!

    Happy Stamping!!


  • Sending Paper Hugs Mini Slimline Card

    Sending Paper Hugs Mini Slimline Card

    Hi everyone, it’s Tina here. I have a super fun Mini Slimline card to share with you using the new Rainbow Dream Patterned Paper and Sending Paper Hugs sentiment die. Below you will find the steps to create your own card.

    Step 1 – Trim White Cardstock to 7″ x 6″, score at 3 1/2″ and fold in half for a horizontal top fold card. (Mini Slimline)

    Step 2 – Diecut Mini Slimline Double Stitched using Rainbow Dream Paper Pad.

    Step 3 – Diecut Sending Paper Hugs (outline) using the panel created from Step 2 and (shadow) using White Cardstock. Adhere the panel to the card front using Bearly Art Precision Glue, the shadow on top using Foam Tape and then adhere the outside inside the shadow using Bearly Art Precision Glue.

    Step 4 – For added interest adhere Pearl Mix in the following colors, Peacock Feathers, Vioet, Red Rose, Fire Flame and Mint Leaves using Bearly Art precision Glue.

    This card can be used for several occasions and can be massed produced. Below is a link to all the products used. Thank you for stopping by and Happy Crafting!

    Products Used:
    https://linkdeli.com/widget.js?id=f5e8378456858c916708

  • Rainbow Dreams Slimline Shaker Card

    Rainbow Dreams Slimline Shaker Card

    Donna W. here and I’m happy to be on the blog today sharing a slimline shaker card I’ve created using the New Rainbow Dreams Slimline Paper Pad, Cross Stitched Nesting Rectangle Slimline Dies and the New Almandine Garnet Rhinestone Mix along with various sequins.

    To start, I cut 2 slimline panels of the Rainbow Dreams slimline paper using the largest of the Cross Stitched Nesting Rectangle Slimline Dies.  For the top layer, I cut 3 circle windows and acetate, applied dimensional foam tape and filled the windows with sequins and Almandine Garnet Rhinestones.  After adhering the back panel, I set the shaker panel aside to cut, stamp and heat emboss a sentiment.

    I adhered the shaker element to a card base of Neenah 110 lb. Solar White Classic Crest and completed this fun and colorful Shaker Card.  The recipient can shake, shake, shake their card while doing a Happy Dance.

    I would like to remind everyone of the current sale on Alcohol Ink Supplies now through the end of August 2021 .  Visit the Kat Scrappiness Shop for all your Alcohol Ink needs.

    Thanks for joining me today, affiliate links for the products I’ve used today are below.  Until next time, Take Care and Happy Crafting!

    Donna W.

    Products:

    Rainbow Dreams Slimline Paper Pad

    Almandine Garnet Rhinestone Mix

    Cross Stitched Nesting Slimline Dies