Tag: mixed flower sequins

  • Bring on the Coffee……


    Hi Everyone!

    I’m back with a cute gift card project using Kat’s new Layered Coffee Cup die set.  This is a very realistic looking take out coffee cup when it’s all put together.  I love all the options you have for assembling it.  For this card, I chose to use some Doodlebug paper to decorate the the cup and images from the Owl Envelope Art  stamp set to decorate the sleeve and the little gift card holder inside.  I had to turn it into a shaker since the flowers matched Kat’s Mixed Floral sequins.  I have lots to show you!


    To start, I die cut all the coffee cup pieces in white except for the little cup outline and the opening of the cup.  I did the outline in black to give some shadow to the cup and I did the opening in kraft paper to make it look like coffee.  I covered the cup with some Doodlebug Swiss Dot paper and gathered some bright Lawn Fawn inks to stamp the flowers from the Owl Envelope Art stamp set onto the coffee sleeve.


    My 2-way glue pen was helpful in attaching the white outline of the top of the cup to the “coffee”.

    For the inside of the shaker, I wanted to use just the “Coffee” word from the Echo Park But First Coffee stamp set, so I cut apart the “Coffee” from the rest of the sentiment.  It’s easy to do if you’re careful and have sharp scissors.  You can put the words back together again then, and use the stamp as you normally would.

    After stamping the “coffee” on the front of the card in light gray ink, I created the shaker frame using the Neverending Rectangle dies and attached the coffee cup to the front of it.  I poured some of the mixed floral sequins down on the card and adhered the frame over the top with foam tape.

    I stamped “coffee”on the inside of the card as well and added another sentiment from the But First Coffee stamp set.  I stamped it on a Double-Stitched Heart die.

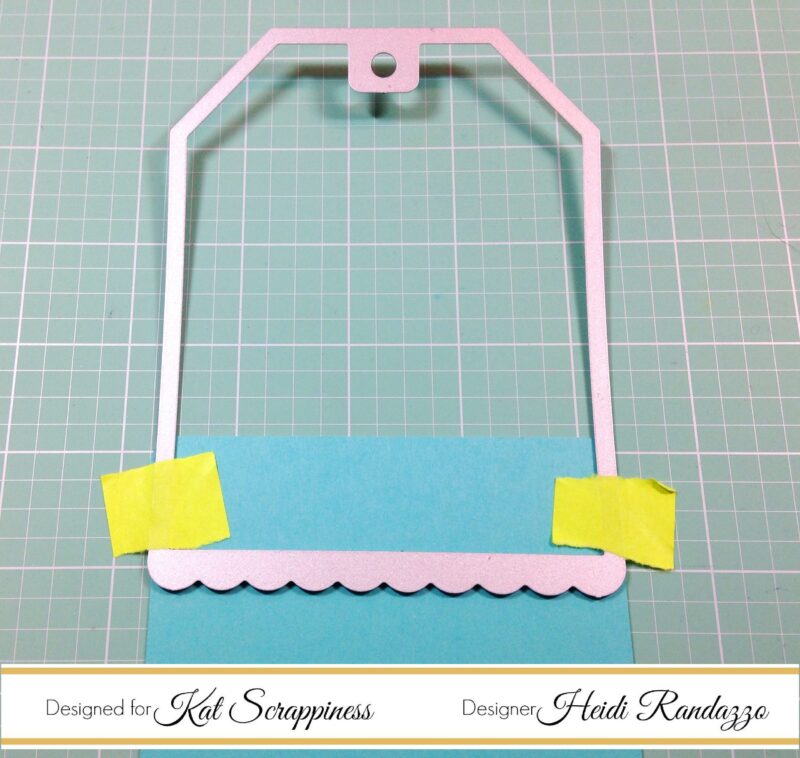
    For the inside of the card, I created a pocket for a gift card.  I first folded a piece of white card stock over the gift card to get the size correct.  I left about a half inch on either side and scored it close to the edge of the gift card.

    I then, snipped across the fold with my scissors to the score line.


    After stamping some flowers from the Envelope Art Owl stamp set as I did on the coffee sleeve, I folded in the snipped edges of the gift card pocket and secured them with Scor Tape.  I then trimmed off the excess with my paper trimmer.


    Here is the finished card inside.

    I added another thin frame to go inside the shaker frame made from gray card stock.  I thought this made the card look a little more “finished” on the outside.

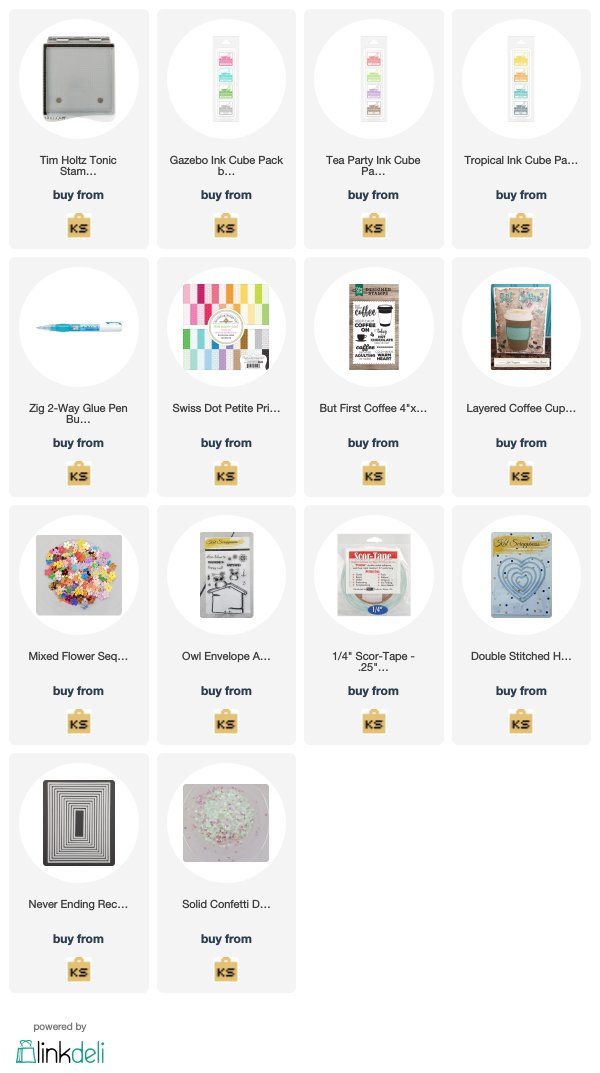
    Thanks for joining me today.  I hope this card has given you some great ideas for using the Layered Coffee Cup die set.  You can purchase this over at the Kat Scrappiness shop and see the “key” for assembling all the parts.  Feel free to use my coupon code: Heidi10 to receive 10% off your order.  I have all the products I used from the Kat Scrappiness shop linked below.  Have a great day!

    Heidi


    https://linkdeli.com/widget.js?1522747088205

  • Masking Stamped Images

    Hi Everyone!

    I have a project today using the adorable Kat Scrappiness Punny Snacks stamp set.  I used masking to make it even more fun!  If you haven’t tried masking stamped images, it’s actually quite easy and can add a look of dimension and movement to your cards without adding extra bulk.  These stamps are perfect to use if you’re trying it for the first time.

    I started off by stamping the ice cream cone from the set onto a piece of masking paper.  I cut it out with my scissors right on the line of the stamped image.  I cut 2 more of the same masks since I will be stamping the ice cream cone multiple times.

    I cut a square panel from the Wonky Wavy Stitched Square die set and placed my sentiment where I wanted to stamp it.  Underneath, I stamped one ice cream cone using Memento Tuxedo Black Ink.  This is my starting point for the masking.  I want this ice cream cone to remain in the front since he will be the “cool one” with glasses.

    To make it look like ice cream cones are behind him, I place one of my masks over the main ice cream cone and stamp on either side going in different directions.  When I lift the mask, you can see the main ice cream cone remains in the front and the others look like they are behind.  I love this trick!

    Continue on, covering ice cream cones with masks and stamping all around until you get the look you want.  Remember, if you want an image to look like it’s behind another, place the mask over the one you want in the front and stamp over the mask.  If you’re stamping behind 2 or more images, place multiple masks over the ones you want to remain in front.

    After coloring my ice cream cones with Copics, I added a layer of patterned paper as well as a scalloped strip I colored with some Spectrum Noir Clear Overlay Sparkle Marker.  I popped everything up on foam tape on the front of a white notecard.

    I used Kat’s largest Stitched Scalloped Nesting Tag to make the scallop from some cardstock from the  Gina K. Island Dream cardstock pack.

    Fun sequins and Nuvo Drops highlight the heat embossed sentiment strip.

    Definitely try this masking technique the next time you want to try something different.  It’s great with all types of stamped images including flowers, animals or any type of grouping you want to make.   I have all the products linked below that you can find at the Kat Scrappiness shop.  Feel free to use my coupon code Heidi10 to receive 10% off your purchase.  Thanks for joining me and have a great day!

    Heidi


    SUPPLIES:

    Kat Scrappiness Punny Snacks Stamp Set

    Kat Scrappiness Wonky Wavy Stitched Square die set

    Kat Scrappiness Stitched Scalloped Nesting Tags die set

    Masking Paper

    Memento Tuxedo Black Ink

    Gina K. Island Dream Cardstock

    Lawn Fawn Perfectly Plaid Rainbow Petite Paper Pack

    Nuvo Drops Crushed Grapes Crystal Drops

    Wow Opaque Bright White Embossing Powder

    Inkadinkado Embossing Magic Pad

    Kat Scrappiness Mixed Flower Sequins (flat)

    Spectrum Noir Clear Overlay Sparkle Marker

    Scor-Buddy Mini Scoring Board

    Crystal Katana Tool