Tag: Mini Slimline Frame Dies

  • Just for You Butterfly Mini Slimline

    Just for You Butterfly Mini Slimline

    Happy Thursday Friends!

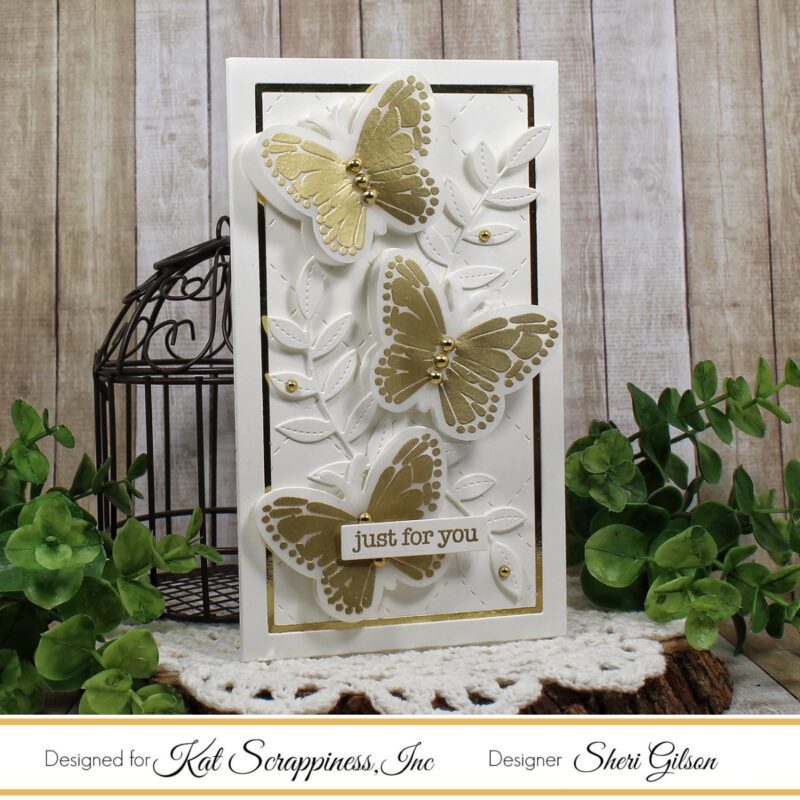
    It’s Sheri here today with an elegant “Just for You” mini slimline card featuring the NEW Fluttering By stamp and die set from Kat Scrappiness Summer Vibes Release!  If you haven’t had a chance to check out the NEW Summer Vibes Release yet, you can find it HERE!!


    Steps to Create Card:

    • Cut White Mini Slimline card base: 3 1/2″ x 6″ (7″ x 6″, scored at 3 1/2″ on 7″ side).
    • Cut White Panel: 3 1/2″ x 6″ and use MSL Quilted Background die to add texture to panel.
    • Cut White Fame using the largest frame from the MSL Frames die set.
    • Cut Gold Mirror by cutting a panel 3 1/2″ x 6″ and cut out a window with the second largest rectangle from the MSL Never Ending die set.
    • Cut 3 White Leaves from the Stitched Foliage Die set.
    • Cut 3 White Butterflies from the Fluttering By die set.
    • Cut 3 Vellum Butterflies from the Fluttering By die set. Next stamp and emboss using gold embossing powder the two outline stamps from the Fluttering By stamp set.
    • Stamp & emboss with gold embossing powder the Just for You sentiment from the Everyday Brush Strokes stamp set.
    • Assemble card. The butterflies (both solid butterfly and vellum butterfly) and sentiment are popped up with foam tape .
    • For embellishment I added gold pearls to the body of the butterflies to hide the foam tape. I also added a few around the stitched foliage.


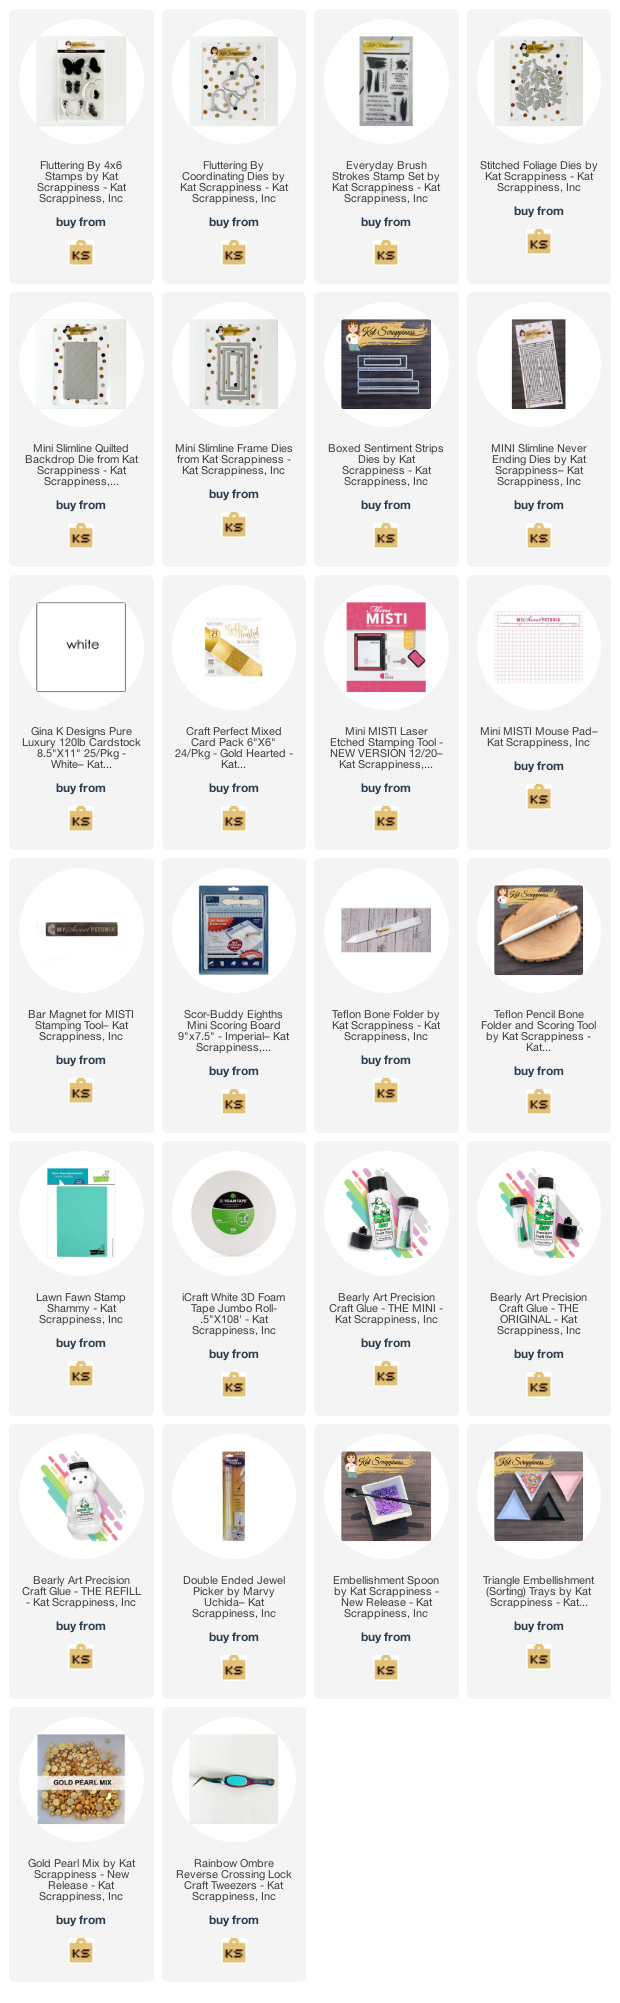
    Here’s a list of the supplies I used from the store.
    Affiliate links are used at no additional cost to you. Thank you so much for your support!

    Happy Stamping!!

  • Birthday Kisses Mini Slimline Card

    Birthday Kisses Mini Slimline Card

    Hi everyone, it’s Tina here. Today’s card is using products from the new Summer Vibes release. I just love this release. Below are the steps to create your own card.

    Step 1 – Trim White Cardstock to 7” x 6”, score at 3 1/2” and fold in half for a vertical side fold card. (Mini Slimline)

    Step 2 – Diecut Mini Slimline Quilted Backdrop using White Cardstock. Apply Light Blue Ink using a Blender Brush on the top and stopping about 2” from the bottom. Adhere to card front using Bearly Art Precision Glue.

    Step 3 – Diecut Mini Slimline Frame using White Cardstock. Adhere to card front using Bearly Art Precision Glue.

    Step 4 – Stamp Fluttering By using 3 shades of Blue Ink. Diecut with the coordinating die. Adhere to the card using Bearly Art Precision Glue. I applied the glue only to the center to give dimension to the wings.

    Step 5 – Diecut Stitched Foliage using White Cardstock. Adhere 2 Foliage behind the Butterfly and 1 in front of the Butterfly.

    Step 6 – For some added interest and sparkle randomly adhere some Blue Diamond Rhinestones using a Pick Up Tool and Bearly Art Precision Glue.

    Step 7 – Diecut Birthday Kisses sentiment 3 times. 2 using White Cardstock and 1 using the same Ink color used in Step 2. Attach each layer using Bearly Art Precision Glue making sure that the Blue layer is on top. Adhere to the card front.

    This card can be used for many occasions by changing the color and/or sentiment. Below is a link to all the products used. Thank you for stopping by and Happy Crafting!

    Products Used:
    https://linkdeli.com/widget.js?id=f5e8378456858c916708

  • God Bless You!

    God Bless You!

    Hello everyone!

    It’s Donna Idlet hre and I am sharing a card I created using some  products from the 2022 Summer Vibes Released.  I am using the stencil called Oopsie Daisy Layering Stencil and coordinating die set, the Shadow Die called God Bless You, Mini Slimline Quilted Background, and Mini Slimline Frame Dies.

    I hope you have joined the June 2022 Summer Vibes Release over at Kat Scrappiness Instagram Hop, there is a chance to win a $25 gift card to the store.  You have until June 18th to hop along.   There is also lots of inspiration on the KS Blog from the June 2022 Summer Vibes Release and there is another opportunity to win a $25 gift card to the store.  You have until June 19th to comment here on the KS Blog.
    Here is how I created the card.

    1. Card is a Mini Slimline measuring 6″ x 3 1/2″ (6″ x 7″, scored at 3 1/2″ on 7″ side).2. Die cut white panel from the NEWLY released Mini Slimline Quilted Background and attached to the card base.

    3. Die cut the frame from the NEWLY released Mini Slimline Frame Dies.

    4. Stenciled the flowers from the NEWLY released Oopsie Daisy Layering Stencil and die cut with the coordinating dies.

    5.  Die cut the leaves from the NEWLY released Stitched Foliage Dies.
    6.  For finishing touches added the KS Apricot Pearl Mix.

    Thank you for stopping by, I hope you have been inspired to join the Instagram Hop and the Blog Hop for a chance to win a prize!Here is a list of supplies I used on my card, Affiliate Links used at no additional cost. Thank you for your support.


    https://linkdeli.com/widget.js?id=f5e8378456858c916708