Tag: Mini Note Cards

  • Mini Notecards by Lisa

    Mini Notecards by Lisa

    Good morning Kat Scrappiness fans! 

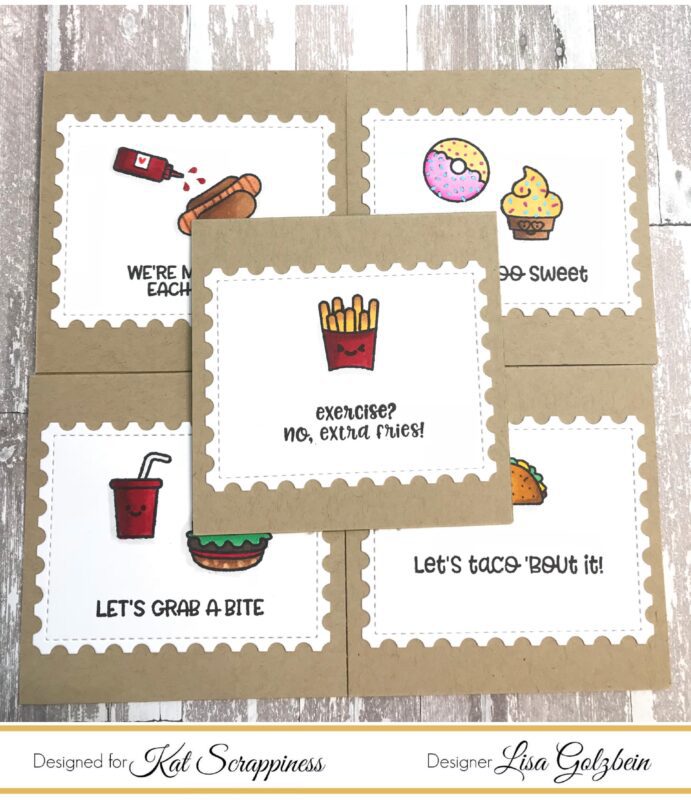
    It’s Lisa here on the blog today to bring you a sweet mini trio of notecards. I have an easy technique that I think you are going to like. We are going to make mini notecards using the nested dies we all love and reach for all the time for our regular sized cards. The finished size of each card is approximately 4 1/8″ x 2 3/4″. What you need is the largest die from any of your nested die sets.  I’ve used rectangles but squares would work as well.  The 3 nested die sets I’ve used are the Stitched Postage Stamp Edge Rectangles, the Stitched Scalloped Rectangles and the Wonky Wavy Stitched Rectangle Dies.

    For my trio of sweet cards I used patterned paper for the card base for some color and variety but any paper or cardstock would work.

    After I die cut the largest size die from each set, I folded the paper in half to create a mini card. 

    Then comes the fun part! Decorate to your heart’s desire! I added a white piece of cardstock to the front of each mini card and stamped a background with florals and then popped the focal points up on foam tape. I used the Scripty “Hello My Crafty Friend” die as the sentiment on 2 of the cards. I finished each card off with some pretty twine and 3 sparkly sequins from the Barbie Sequin mix. I stuck with the rule of 3 to place my sequins down and it was just the right amount of added sparkle.

    Since the card base is made from dies that have decorative edges, your cards will have 3 fancy edges that are so pretty!

    Making these mini notecards is a cinch and they come together so quickly!  Kat’s nested dies are the perfect size to create these mini cards. It might not be a new technique but it sure is fun! Small notecards are perfect for lunchbox notes, quick thank you cards or for any occasion that calls for a quick small card! For some added fun you can make your envelope out of the same patterned paper to match your card.  The possibilities are endless!

    All supplies used are linked below.

    Thank you so much for joining me today and don’t forget to use code Lisa10 to get 10% off your order at checkout.

    Have a great day everyone!

    I already am!

    ?Lisa?

  • Out of the Box

    Out of the Box

    Hello Kat Scrappiness fans!

    I am very excited to be posting my first design team project for Kat Scrappiness.  Today I am sharing a fun new project using one of the adorable new stamp sets available this month.  It’s called Punny Snacks and it features some really cute food stamps and some cute punny sayings.  I decided to think “outside the box” for my project and create a mini pizza box to hold some small note cards that are food themed as well.  This little box could also be a 3-D card by itself or it could hold a gift card as well.

    When I first got my hands on this fun stamp set I immediately broke out my copic markers and colored up all of the cute little food stamps.  I made a chart showing the exact colors I used for each stamp to save me time later when I wanted to use them again.  Here is the chart all colored with a list of all the copic markers that I used if you’re interested.

    The only marker I didn’t list was the colorless blender, marker “0”,  which I used to draw some color away from the hamburger bun to give the appearance of seeds.

    The first thing I did was create the mini pizza box to put the note cards in.  It looks complicated but in my video I will show you step by step how to assemble this cute little box.

    The next step was to decorate the top of the box with some traditional red gingham patterned paper to match the decor of a real pizzeria.  I added the sentiment “you have a pizza my heart” to the top and I hand cut two slices of pizza to pop up on opposite corners of the box.

    I then made 5 cute little notecards to fit inside of the box.  I used the rest of the food stamps and funny puns to decorate the top of 5 mini note cards.  I used the Stitched Postage Stamp Edge Rectangle Dies to showcase the stamps and sentiments on the cards.

    I just love how they all look together with all those fun colored images!

    The last step was to decorate the inside of the box so it could be used on its own as a 3-D card or gift card holder.  I colored and cut 6 slices of pizza and assembled them on a white circle to resemble a pizza pie.  Just for some added interest I used a paper crimper to give some texture to the bottom piece of paper in the box and make it look like corrugated cardboard.  I also added the sentiment “we’re made for each other” to finish it off.

    This was a super fun project to make and you can see the process

    in the video below or on YouTube.

    [youtube https://www.youtube.com/watch?v=xuwuiJwhdYk]


    Be sure to check out all of the new products at Kat Scrappiness and use

    code: LISA10 to get 10% off your order at checkout.

    Have a great day everyone!

    I already am!

    Lisa 

    – – – SUPPLIES USED- – –

    Punny Snacks Stamp Set by Kat Scrappiness

    Stitched Postage Stamp Edge Rectangle Dies by Kat Scrappiness

    VersaFine Onyx Black Pigment Ink Pad 

    Memento Tuxedo Black Dye Ink Pad