Tag: Merry Critter Stamp Set

  • Proud of You!

    Proud of You!

    Happy Friday Kat Scrappiness Friends!

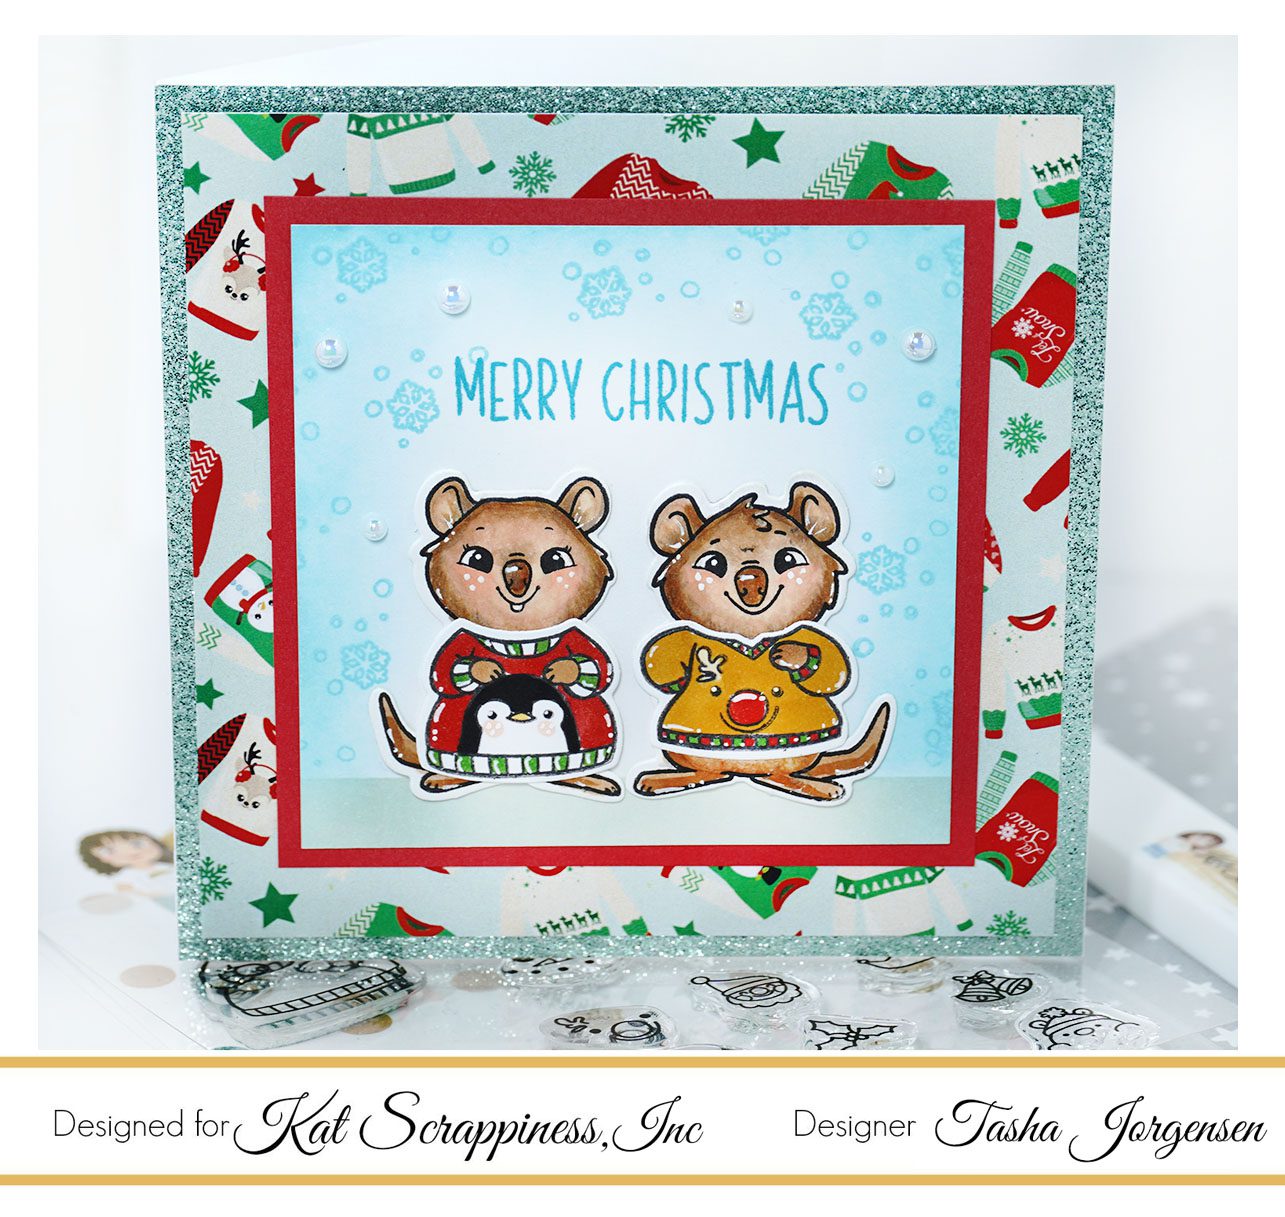
    Tasha here sharing a graduation card tutorial featuring the A2 Postcard Die and “Merry Critters” Stamp Set!

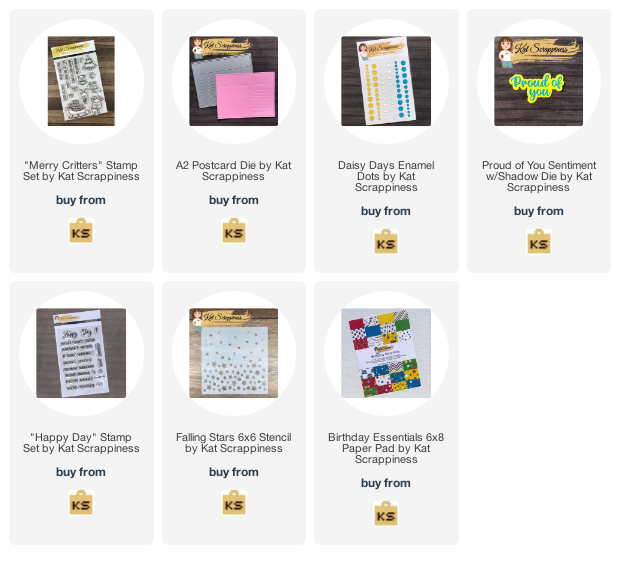
    I used the A2 Postcard Die for the center card and ink blended yellow stars with the new Falling Stars Stencil. I love the variety of star sizes and the falling star pattern!

    See my full card making tutorial on the Kat Scrappiness YouTube Channel!

    [youtube https://www.youtube.com/watch?v=yZP6YwUINTo]

    The owl character used is from the “Merry Critter” Stamp Set and I added the cap and gown to go with the graduation theme. Owl images are great for grad cards and this one is just too cute!

    The top sentiment “Proud of You” was created with the Proud Of You Sentiment W/Shadow Die. The gold glitter shadow layer is so pretty and the colors coordinate perfectly with the stenciled background! In addition, I stamped “Happy Graduation Day” with red & black ink. The postcard die adds lines to write a greeting, but also works to line up stamped sentiments.

    Lastly, I added yellow enamel dots and layers of orange cardstock and star pattern paper to complete the card.

    Have a wonderful day!

    -Tasha


  • Merry Christmas Quokka Card

    Merry Christmas Quokka Card

    Good morning Kat Scrappiness Friends!

    Tasha here sharing a festive holiday card featuring the cute Dress Up Quokka Stamps and Ugly Sweater Add-On Set!

    Click the video link below to see the full card making tutorial!

    [youtube https://www.youtube.com/watch?v=yWYWaThRU1g]

    The quokkas and sweaters were stamped with black hybrid ink and colored with Copic Markers. I also used the coordinating die sets to easily cut the images out.

    The greeting “Merry Christmas” is from the Merry Critters Stamp Set and was stamped with a deep teal ink. For extra color, I added Distress Ink around the edges of the center card and stamped little snowflakes using the same ink color.

    Lastly, I added several pearls from the Sparkling Snow Pearl Mix and attached a layer of glitter paper and Ugly Seater Patter Paper before adhering the card to a square card base.

    Thank you for checking out today’s project and I hope you enjoyed this Quokka holiday card!

    -Tasha

    Card Base: 4-1/4″x4-1/4″
    Glitter Layer: 4-1/4″x4-1/4″
    Pattern Paper Layer: 4″x4″
    Red Layer: 3-1/4″x3-1/4″
    White Center Card: 3″x3″

    Copic Colors: R11, R27, Y35, YR24, YG17, 100, E18, E11, E23, E51, E33

  • Hoppy Holidays Mini Slimline Card

    Hoppy Holidays Mini Slimline Card

    Hi everyone, it’s Tina here. The Merry Critters is still one of my favourite stamp set for the Holidays. I used it along with the Slimline Stitched Cloud Border and Stitched Slimline Hills dies. Below you will find the steps to create your own card.

    Step 1 – Trim White Cardstock to 7” x 6”, score at 3 1/2” and fold in half for a vertical side fold card. (Mini Slimline)

    Step 2 – Diecut Slimline Stitched Cloud Border using a scrap piece of cardstock to use as a stencil. Trim White Cardstock to 3 1/2” x 6”. Apply the diecut to the panel and using a Blender Brush add ink of your choice. I used Distress Oxide Tumbled Glass. Adhere the panel to the card front using Bearly Art Precision Glue.

    Step 3 – Diecut Slimline Stitched Could Border using White Cardstock. Adhere to the card front using Foam Tape.

    Step 4 – Diecut Stitched Slimline Hills using White Cardstock. Adhere bottom layer using Bearly Art Precision Glue. Stamp Merry Critters sentiment to the top Hill diecut using Gina K Amalgam Ink. Adhere to card using Foam Tape.

    Step 5 – Stamp Merry Critters images using Gina K Amalgam Ink onto White Cardstock. Color in images with any alcohol markers of your choice. I used Altenew Artist Markers. Diecut the images with the coordinating dies. Adhere to card using Foam Tape.

    I love using my dies to create stencils as was the case with the Slimline Stitched Cloud Border dies. Below is a link to all the products used. Thank you for stopping by and Happy Crafting!

    Products Used:
    https://linkdeli.com/widget.js?id=f5e8378456858c916708

  • Merry Christmas

    Hello everyone,

    I am back with Kat Scrappiness sharing a slimline card using the NEWLY released Forest for the Trees slimline die. I am also using Kat Scrappiness Merry Critters Stamp Set.

    Here is my card:
    Here is how I created my card:
    1.  I cut the base for my slimline card at 3 1/2 x 8 1/2,
    2.  I die cut the  Forest for the Trees slimline die with white cardstock, I then die cut the Forest for the Trees set again with the teal color and only used the frame of the die,

    3. I then cut the snowy background with the NEWLY released Sugar Plum Fairies Slimline Paper Pack .  I then adhered all of these pieces onto the base of the slimline card,

    4.  I then stamped the images from the Merry Critters Stamp Set.  I colored them with copics and used my scan and cut to cut them out and I adhered them to the card.
    I hope I have been inspired.  Here is a list of supplies I used on my card, Affiliate Links used at no additional cost. Thank you for your support.

    My next card, which is a bonus card….I just could not get enough of the NEWLY released Wrapped Up with A Bow Slimline Die. I created a gift card holder, I thought the bow was perfect for a gift card as a stocking stuffer.

    I used some mirrored cardstock to die cut the bow, I then cut the base of the gift card holder with some kraft cardstock, I cut the top panel with Kat Scrappiness A Cozy Christmas Slimline Paper Pack, I adhered all the pieces to the panel of the slimline card, I die cut the Happy Holidays from some mirrored cardstock and added it to my card.  The snowflakes are Kat Scrappiness White Snowflake Sprinkles.
    This is the inside of the gift card.
    Here is a list of supplies for the gift card holder. Affiliate Links used at no additional cost. Thank you for your support.


    Thank you so much for stopping by, please come back again soon.