Tag: Medallion Coverplate Die

  • Using Black To Make Colors Pop With The Medallion Coverplate

    Using Black To Make Colors Pop With The Medallion Coverplate

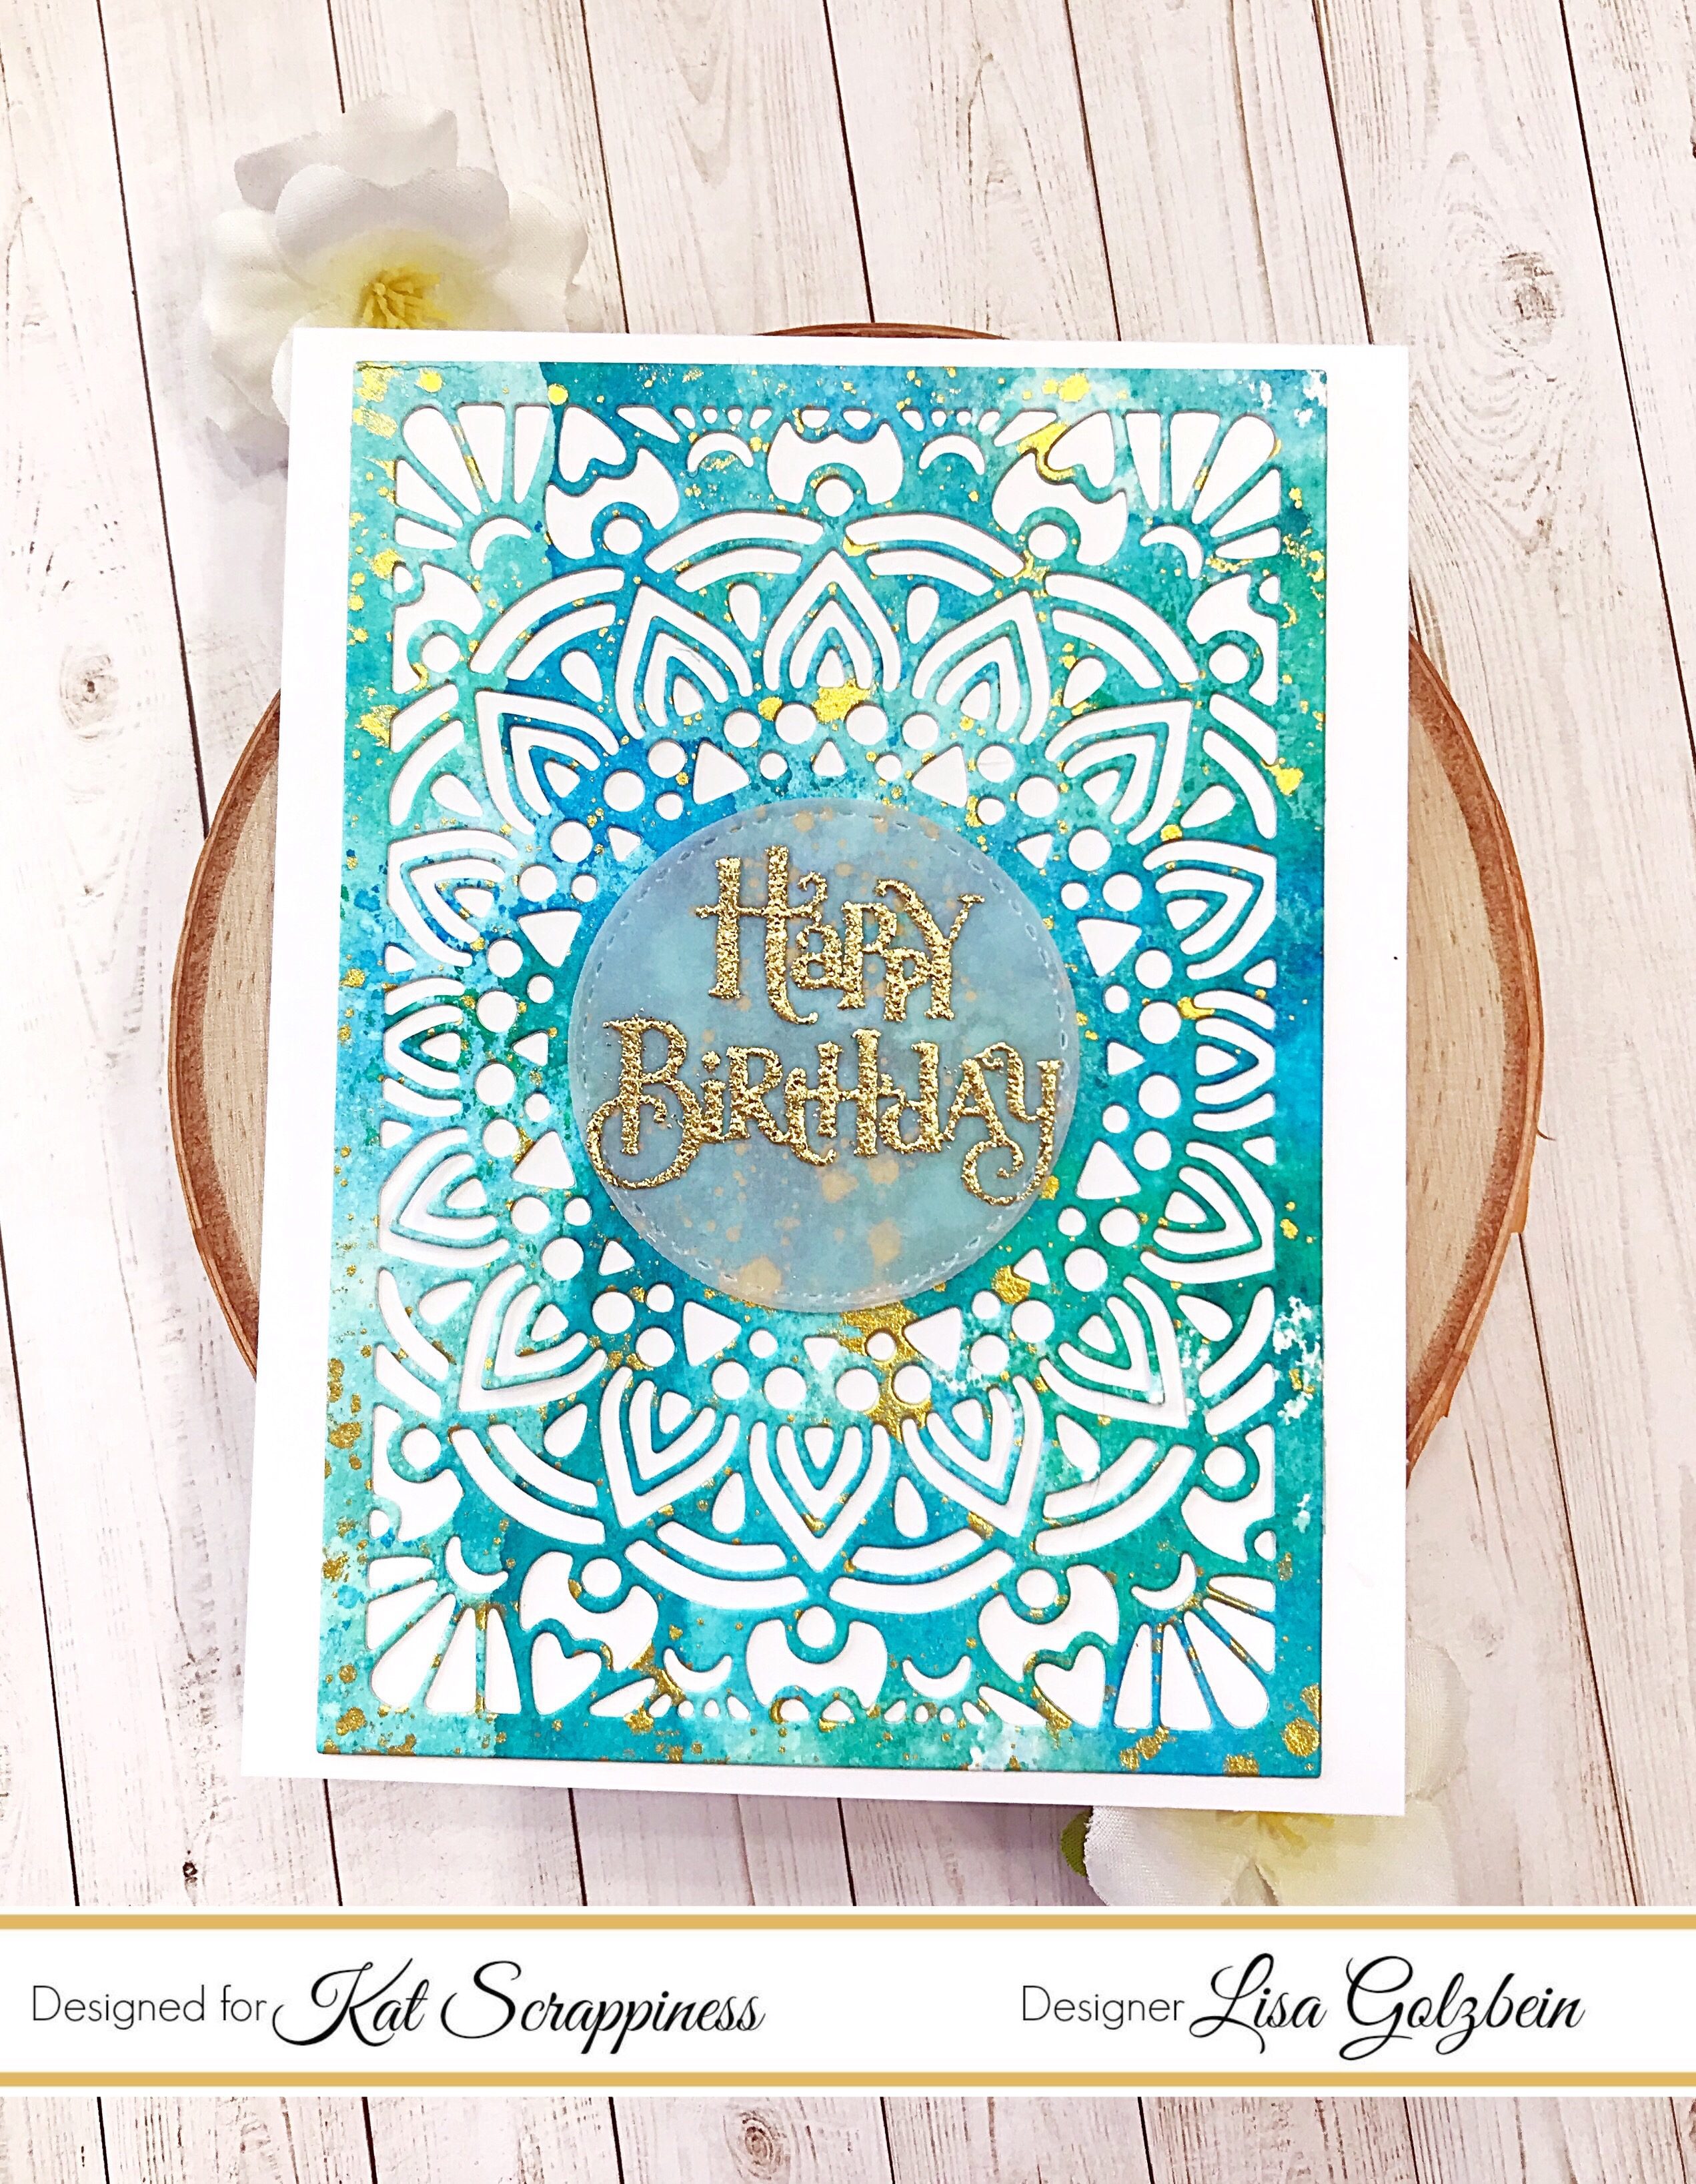
    Hi Everyone, It’s TIna here. Today I have 2 cards to share with you using the new Medallion Coverplate die and I will show you how to get the colors pop using Distress Oxide Inks and Black Cardstock. Below are the instructions to create your own card.

    Card 1

    Card 2

    Step 1 – Trim White Cardstock to 8 1/2″ x 5 1/2″, score at 4 1/4″ and fold in half for a vertical side fold card. (A2) (Card 1 and 2)

    Step 2 – Trim White Cardstock to 5 1/2″ x 4 1/4″. Apply Distress Oxide Ink using Picket Fence Life Changing Brush. (Card 1 and 2)

    Panel for Card 1

    Panel for Card 2

    Step 3 – Diecut Medallion Coverplate using Black Cardstock. (Card 1) Diecut Medallion Coverplate using Panel 2. (Card 2)

    Step 4 – Card 1 – Adhere Medallion Coverplate black diecut to Panel 1 (Trim off excess of panel) and then to card front using Nuvo Deluxe Adhesive.

    Card 2 – Adhere Medallion Coverplate Panel 2 to Black Cardstock then trim 1/8″ all around and adhere to card front.

    Step 5 – Stamp Sentiment using Versamark, sprinkle White Embossing Powder, remove excess and heat set it with a heat tool. (Card 1 and 2)

    Step 6 – Card 1 – Stamp and color image and adhere to card above the sentiment.

    Card 2 – Adhere Pastel Pop Sequins for added interest.

    Card 1


    Card 2

    I hope you enjoyed today’s cards using the Medallion Coverplate. These cards can be used for any occasion by changing the colors and sentiment. To receive 10% off your order at Kat Scrappiness use code: TINA10 at checkout. Below is a link to the products used. Thank you for stopping by and have a wonderful day.

    Products Used:

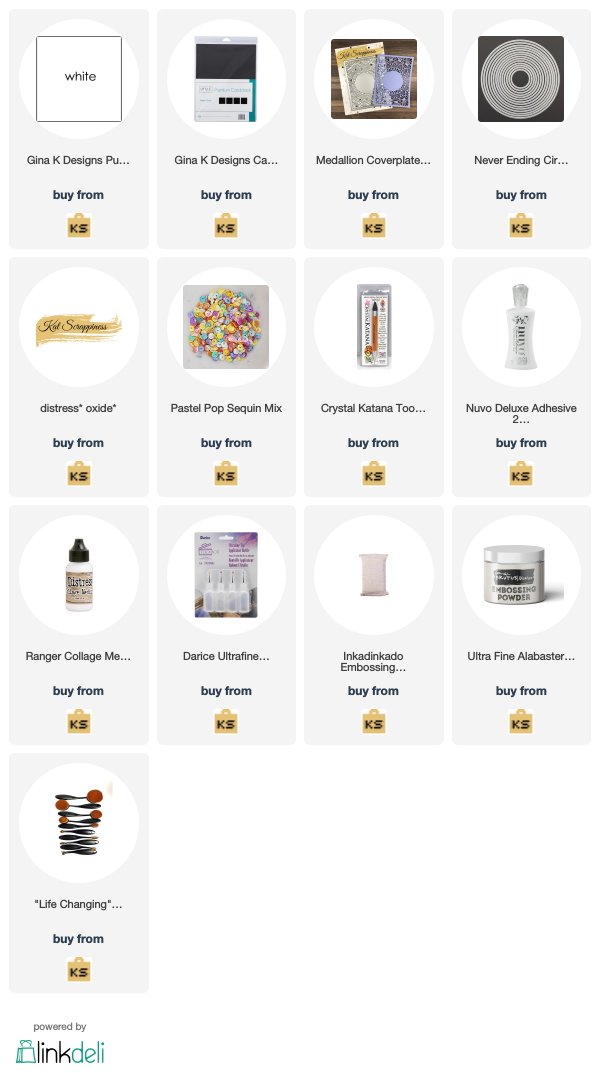
    https://linkdeli.com/widget.js?1549439153802

  • Medallion Coverplate Card

    Medallion Coverplate Card

    Happy Tuesday Kat Scrappiness fans!
    It’s Lisa here on the blog today and I’ve got a new card to share with you!
    Today is a special day on the blog because it is day 1 of of the New Releases
    and not only are we releasing some fabulous new dies
    but there is a GIVEAWAY as well!
    The newest die in our collection being released today is called the
    This intricate die will quickly become a favorite of yours and I’ve
    done some watercoloring with gold accents using this new die.
    Here is the card I made and I will walk you through the process I used to make it.
    Step 1:  First I took Salty Ocean and Lucky Clover Distress Ink and I “smooshed” them
    down onto my Tim Holtz glass media mat and then sprayed them with water.
     Next I cut a piece of watercolor paper down just slightly larger than the
    Medallion Coverplate die and laid it into the ink, moving it around to
    spread the ink all over the paper.  I dried it with my heat gun and
    then pressed it down again into the ink to cover the paper.
    Step 2: Once I was happy with the background pattern I did some ink splattering
    with the Gansai Tambi Starry Colors in gold all over the background with a
    large fan brush. It added a really nice shine to the panel!
    Step 3: When the entire panel was dry I took it over to my die cut machine and
    used the Medallion Coverplate die to cut it out.
    Step 4: Because the die is so intricate I used Elmer’s spray adhesive to mist
    the back of the panel so I could adhere it to my white card front. This technique
    works very well on dies with lots of intricate cuts.
    Step 5: Now that the panel was done and adhered to the card, the final step
    was to stamp the sentiment.  I stamped an older Happy Birthday stamp from
    my stash on to some vellum with Delicata Gold Ink and heat embossed it with
    I cut out the sentiment with the smallest die from the Double Stitched Circles Dies.
    Step 6: I added the vellum circle to the middle of the Medallion Coverplate panel
    with some liquid adhesive making sure to only get the glue behind the letters so
    it wouldn’t show through.
    I really love how the watercoloring came out so randomly all over the coverplate and the
    gold paint gives it a very elegant look!
    I hope you enjoyed seeing the process I used to make this card!
    Thank you so much for joining me today and I hope you’ll check out
    all of the new releases in the shop over the next few days!
    Don’t forget about the giveaway on the blog as well!
    If you use my code Lisa10 you can save 10% on your order anytime!
    Have a great day, I already am!
  • February Release Day 1 – Medallion Coverplate Die

    February Release Day 1 – Medallion Coverplate Die

    Hello Kat Scrappiness fans! It is day 1 of the February product release and today, the design team is showcasing the Medallion Coverplate Die.  We are also having a giveaway everyday during release week so please scroll down at the end of the blog post to find out how to WIN this Medallion Coverplate die.  The design team has been super busy creating the samples for you.  We will not have a blog hop at this time but you will be able to see how they created their projects all throughout the month of February so please stay tuned.  Some of the girls are even planning on posting a YouTube process video.  Are you ready to see the Medallion Coverplate Die?  Here’s what it looks like:


    Here are some amazing samples by the design team.


    CAREN BARTHOLOMEW


    Caren created this super cute Valentine’s Day card with the new coverplate die and did some inlaid technique.  She used the stitched sentiment strip die for her Happy Valentine’s Day sentiment. What an awesome card, Caren!


    Caren created another card using the medallion coverplate and die-cut a scalloped circle as her focal point.  She also used the Give Thanks sentiment from the Happy Fall Y’all stamp set and added the fall leaf and some sequins to adorn the card. Wow!


    LISA GOLZBEIN


    Lisa did some ink-blending on her card stock with some distress oxide inks in pastel colors, and die cut the same using the medallion coverplate.  She also used the Thank You script sentiment die and added some jewels to finish her design.  So beautiful and perfect for Spring.  Here’s a closer look:


    MARIA RUSSELL


    I created a love-themed card.  I die-cut the medallion coverplate from some 110 lb card stock and adhered acetate sheet.  I added the foam adhesive to create the well and used the Golden Anniversary sequins as my shaker element.  I adhered this piece onto a white card-base and added an image from a stamp set from my stash.  I also used the new Stiched Sentiment strip die and heat-embossed the sentiment and adhered this strip on the center of my card.  Here’s a closer look:


    I created this simple card by die-cutting a tiffany-blue card stock using the coverplate die.  I stamped the sentiment from Virginia Turtle stamp set (purchased from the shop awhile back) using Versafine ink.  I added the black bow using a Penny Black die set.  I finished the design by adding some Sparkling clear jewels from the shop.  Doesn’t the black bow remind you of the outfit by Audrey Hepburn in the movie, Breakfast at Tiffany’s? Here’s a closer look:


    MARTHA GOMEZ


    Martha used the Medallion coverplate die and cut it in half.  She adhered the die-cut on top of a green background using foam adhesive and stamped her sentiment on the stitched sentiment strip die.  To finish her design, she added the red heart.  Here’s a closer look:


    PRISCILLA JOSEPH


    Priscilla created this gorgeous Valentine’s Day card with the Medallion Coverplate as her background.  She stamped and heat-embossed the heart wreath using the Floral Heart stamp set by Neat and Tangled.  To finish her design, she added some Fuschia Jewels.  Here’s a closer look:


    Priscilla used the Medallion Coverplate die with the Cross Stitched Rectangle dies and a stamp set from Papertrey Ink called “Glorious Globes”.  I love the tone on tone background that she created on her card.   Here’s a closer look:


    TINA GUIGUI DORNBAUM


    Tina created this beautiful card by inking up her background with distress oxide inks and die-cut the piece using the coverplate die.  She adhered this piece onto a black card stock to make the colors pop!  She stamped the sentiment with versamark ink and heat embossed with white embossing powder and added some sequins to finish her design.  I love the colors that she used!


    Here’s another card from Tina but this time, she colored the background instead of the die-cut and added a very colorful butterfly as her focal point.


    HOW TO WIN:

    WOULD YOU LIKE TO WIN THE MEDALLION COVERPLATE DIE?  Leave a comment everyday during the reveals in the comments section below for a chance to win the die.  Deadline to leave a comment is on Friday, February 8, 2019.  Winners will be announced on the blog on Saturday, February 9, 2019.  I hope you love the as much as I do.  This Medallion Coverplate die is now available for purchase here –> http://bit.ly/2MQXcn4


    Happy crafting!