Hi all, Jo Herbert here bring to you another blog post using the beautiful Happy Fall stampset. I have enjoyed…

Hi all, Jo Herbert here bring to you another blog post using the beautiful Happy Fall stampset. I have enjoyed…
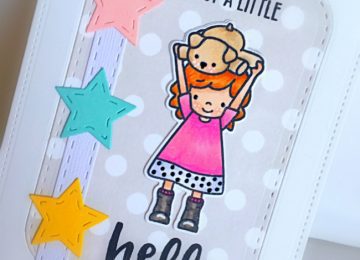
Hello Kat Scrappiness fans! Maria here with you today with some simple cards featuring the new Peacock Backdrop die, the…

It feels like it’s been ages ago since I last posted on this blog (or maybe it’s the jet lag…

I know it’s only August but I like working on my Halloween cards as early as possible as I make…
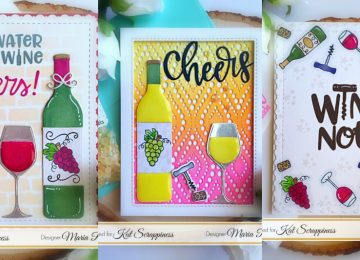
Howdy Kat Scrappiness fans! Maria here on the blog today with a simple card, showcasing the Crafter’s Essentials 1 die…
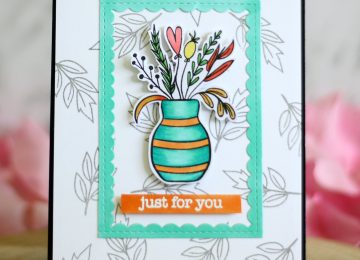
Hello my crafty friends! I hope you are all having a great week so far! Maria here with you today…
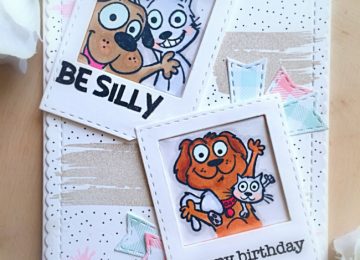
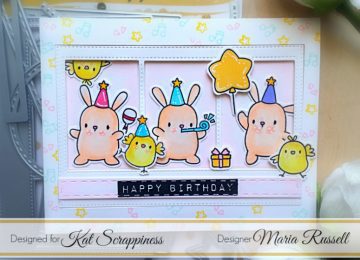
Do you ever run out of birthday cards? I do! I make them a lot but I always seem to…