Tag: Fluffy clouds sequins

  • Snow Globe Shaker Card

    Snow Globe Shaker Card

    Hi Everyone, it’s Tina here. Do you struggle with Shaker Cards? Kat Scrappiness now has Shaker Card Kits. These kits take the guess work out of making shaker cards. It comes with everything except the filler to create a fun shaker card. For my card today I used the Snowglobe Shaker Card Kit #058. Below you will find the steps to create your own card.

    Step 1 – Trim White Cardstock to 8 1/2″ x 5 1/2″, score at 4 1/4″ and fold in half for a horizontal side fold card. (A2)

    Step 2 – Trim Patterned Paper to 5 1/2″ x 4 1/4″ and adhere to card front using Nuvo Deluxe Adhesive. The Patterned Paper I used is no longer in print but I linked to a set that would go well with the sequins and sprinkles I used.

    Step 3 – Trim a piece of Patterned Paper that will be the background of the shaker. Adhere to card using Nuvo Deluxe Adhesive. Adhere the Foam Shape to the card front on top of the Patterned Paper that was just adhered using Nuvo Deluxe Adhesive. Be sure to let it dry thoroughly before adding the filler.

    Step 4 – Add Falling Snow Sprinkes and Fluffy Clouds Sequins inside of the Foam Shape. Adhere the acetate window on top of the Foam Shape using Nuvo Deluxe Adhesive. Do not shake yet. Let it dry thoroughly. You can place an acrylic block on top.

    Step 5 – Before placing the Decorative Frame Overlay be sure to color in or adhere Patterned Paper. I used a Spectrum Noir Illustrator in Black to the cover. Then used a Wink of Stella Glitter Pen for some added sparkle. Once it is dry and to the shaker using Nuvo Deluxe Adhesive. Once again let dry thoroughly.

    Step 6 – Add a sentiment to the front. My sentiment for from the Patterned Paper set I used as well as the bird. I trimmed and adhered it to the card using Nuvo Deluxe Adhesive.

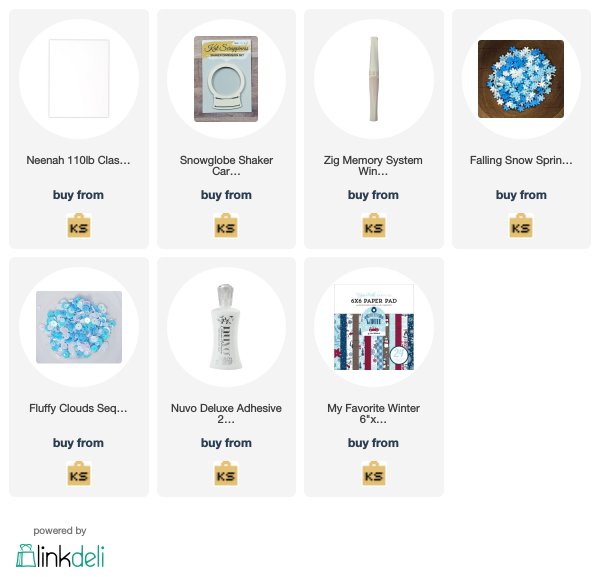
    There are many shaker card kits to choose from and it covers any occasion. Below is a link to all the products used. Thank you for stopping by and have a wonderful day.

    Products Used:


    https://linkdeli.com/widget.js?1559654439292

  • Love What You Do

    1. Hi Everyone!

    Today I have a card that I think is fitting for what we all enjoy doing–creating art!  Kat’s new Everyday Brush Strokes stamp set and Lawn Fawn’s Fairy Friends stamp set make a whimsical combination.  This card is perfect for a crafty friend or as a reminder to ourselves as to why we love this great hobby of paper crafting.


    I started off by blending some Salty Ocean Distress Oxide ink onto the front of a white notecard.  The perfect shade of light blue to create a dreamy look.  I also cut out a heart from Kat’s Double Stitched Heart Dies.  I used Tim Holtz/Ranger Distress Watercolor Cardstock for this since I would be stamping a rainbow of brush strokes on top.  I wanted to give the look of a little painting that the fairies created :).

    I used my stamp platform to stamp a rainbow of colors down the heart die cut.

     I stamped the fairies and wands and colored them in with a variety of Copic markers,  then cut them out with their matching dies.  I colored their little wings in with a Clear Overlay Sparkle Marker from Spectrum Noir.

    I backed the heart with a square I cut out using the Wonky Wavy Stitched Square die and some kraft cardstock.  I popped everything else up with foam squares and added some sequins from the Fluffy Clouds sequin mix.

    Thanks so much for joining me today.  I have all the supplies I used from the Kat Scrappiness shop linked below.  Be sure to use my coupon code, Heidi10 to receive 10% off your purchase in the shop.

    Heidi


    –SUPPLIES–

    Everyday Brush Strokes stamp set

    Lawn Fawn’s Fairy Friends stamp set

    Lawn Fawn’s Fairy Friends die set

    Double Stitched Heart Dies

    Wonky Wavy Stitched Square die

    Salty Ocean Distress Oxide ink

    Versamafine Onyx Black Ink

    Tim Holtz Tonic Stamp Platform

    Clear Overlay Sparkle Marker from Spectrum Noir

    Tim Holtz/Ranger Distress Watercolor Cardstock

    Fluffy Clouds sequin mix

  • Modern Vintage With Heidi

    Hi Everyone!

    For today’s card, I wanted to give you a little peek inside my thought process when I’m creating a card….I was in the mood for Spring.  Fresh, light colors, bright blooms, happy sentiments….I wanted to do the “homespun look” of vintage linens, but with a modern feel.  I gathered some supplies together not knowing exactly what my plan was.  Sometimes I do this if I have a little bit of an idea, but I’m not sure exactly how I want to lay out my card design.   Once I see all the supplies in front of me, then the card starts to come together in my mind.  I chose Mudra’s Botanical Blooms stamp set and paired it with Kat’s Wonky, Wavy Stitched Circle dies.   I love the purple-y blue dotted Swiss paper in the Doodlebug 6×6 pad: Swiss Dot Petite Prints, so I added that too.


    Next, I was pretty sure I wanted to use a coral-pink ink for the flowers so I stamped a bunch of the flowers and leaves using my stamp press.  The flowers from the Botanical Blooms stamp set are 3 step layering stamps.  A little trick I like to do to “season” my solid stamp is to use an eraser that doesn’t leave a lot of shavings and rub that over the top of the stamp.  This gives it a little texture so the ink can really grip to the clear stamp.


    I heat embossed a strip of light gray cardstock with a sentiment from Mudra’s Wild Rose stamp set using white embossing powder.  After that, I decided to a cut a strip of the Swiss dot paper.  Those strips, combined with the stitched circle, I thought would look nice as a collage on the front of a crisp, white, notecard.

    The bottom flower was a little too big, so I just snipped off the lower part and added that to the card flush with the edge.  I did the same with the leaf cluster.  This is great to try anytime you add die cuts to cards.  It works with stamping too–just having things peeking up or down from the edges adds movement and flow.

    If I’m not sure where to place sequins, I first take some old enamel dots I removed the “stick” from and place those around my card.  I cannot remember exactly where I got this trick from, but it has saved me from having to start my card all over again, LOL!

    I used the gorgeous large blue sequins from the Fluffy Clouds mix along with the tiny silver-y white cupped sequins in the Fairytale Princess mix.

    This card kind of reminds me of a deconstructed embroidery hoop that maybe contained a vintage handkerchief or napkin.   I encourage you to try taking a modern approach to an older style you like.  Maybe, take an older card you created a few years ago, when styles were different and give it a modern make-over!

    Thanks so much for joining me today.  I have all the products I used from the Kat Scrappiness shop linked below.  Please feel free to use my coupon code Heidi10 at checkout to receive 10% off your purchase.  Have a great day!

    –Heidi

    SUPPLIES:

    Kat Scrappiness Wonky, Wavy Stitched Circle dies

    Mudra Botanical Blooms stamp set

    Mudra Wild Rose stamp set

    Doodlebug Swiss Dot Petite Prints 6×6 paper pad

    Wow Opaque Bright White embossing powder

    Inkadinkado Embossing Magic Pad

    Versamark Ink

    Kat Scrappiness Fluffy Clouds sequin mix

    Kat Scrappiness Fairytale Princess sequin mix

    Tim Holtz Tonic Stamp Platform