Tag: Distress Oxide

  • Rainbow Post Card

    Hello Friends Waleska Galindo here, for my second post for the month of May, for today’s post I was inspired by one of my crafty friends in need of a cheer up card! I made her a very colorful card using the beautiful post card die let me share with you how I created this card.

    CARD DETAILS:

    For this card I started by die cutting the Post Card Die on white cardstock, I then with oxide inks in colors : Candied Apple, Carved Pumpkin, Mustard Seed, Mowed Lawn, Salty Ocean and Wilted Violet Inked this piece, I added some water splashes and sparkle.

    After that I stamped and color the color pencils on the Crafters Gonna Craft stamp set in the same colors I used for the background.  I adhere them around the inked piece and stamped some crafty words for a crafty friend with the Everyday Brush Strokes stamp set

    I finish this card by adding some sequins and adhering this panel to a black cardbase.  I hope you can be inspired by this colorful card and you can also think on some crafty friend that might need some encouragement.  Happy Saturday!


    Waleska Galindo

  • Have an Amazing Day | Masculine Wood Framed Cards

    Have an Amazing Day | Masculine Wood Framed Cards

    Hi Everyone, it’s Priscilla here. Today I have three cards using the Kat ScrappinessWood Grain Frame Die.” It is so easy to create “masculine-feeling” cards with this rustic- looking frame die combined with Sizzix “3-D Texture Fades” Embossing Folders and oversized resin embellishments. Plus, don’t forget to scroll to the end of this post to take advantage of our final day of the “President’s Day Sale”!

    Let’s get started!

    This frame die runs through your die cutting machine in one pass, but for an extra “wood grain” look, I suggest using an additional shim before you pass the die through your machine.


    For my first card, I ran the wood grain frame die through using Kraft card stock and then sponged on “Frayed Burlap” Distress Oxide Ink to enhance the “wood grain” look. I ran some eggplant card stock through my Big Shot using the Sizzix “Botanical” 3-D Texture Fades Embossing Folder and then sponged on some matching ink to deepen the embossing. The sentiment “Have an amazing day” was also stamped in Eggplant ink.


    I used deep purple alcohol inks to dye a Prima resin leaf embellishment, which I adhered to the front of the card along with some Kat ScrappinessSparkling Clear Jewels.”


    For my second card, I followed the same procedure, but this time using steel gray card stock with the wood grain frame and combined it with the Sizzix “Foundry” 3-D Texture Fades Embossing Folder.


    The same sentiment was stamped with dark gray ink and the resin leaf was dyed with dark gray alcohol ink. Kat ScrappinessSparkling Clear Jewels” again were the finishing touch.


    For my third and final card of this collection, I used Kraft card stock again for the frame, but this time I sponged “Walnut Stain” Distress Oxide Ink on it to deepen the grain.


    I ran metallic blue card stock through my Big Shot using the Sizzix “Mechanics” 3-D Texture Fades Embossing Folder, and then once again enhanced the texture with dark blue ink..

    The sentiment was stamped with navy ink and the resin leaf was dyed with several shades of blue alcohol ink. Kat ScrappinessSparkling Clear Jewels” again were the finishing touch.


    Thanks for stopping by! And don’t forget to check out what’s NEW in Kat’s Shop, and follow my blog and Instagramfor more “Kat Scrappiness Amazingness”!

    Priscilla

    Last Day of this Sale!

    The supplies I used are listed and linked below.

    SUPPLIES

  • Bokeh Background And Zig Zag Border Dies

    Bokeh Background And Zig Zag Border Dies

    Hi Everyone, its Tina here. I have a card to share with you using a Bokeh Background and the new Zig Zag Border dies. I used the Zig Zag Stitch Border dies to tone back my background. Below you will find the steps to create your own card.

    Step 1 – Trim White Cardstock  to 8 1/2″ x 5 1/2″, score at 4 1/4″ and fold in half for a vertical side fold card. (A2)

    Step 2 – Trim White Cardstock to 5 1/2″ x 4 1/4″. Using the Picket Fence Life Changing Brushes apply Distress Oxide Inks in various sizes of circles. I used Seedless Preserves, Antique Linen, Picked Raspberry, Spiced Marmalade, Barn Door.

    Step 3 – Diecut Never Ending Circles to create a stencil of various size circles. For a smaller circle use any punch or circle you have from another set. Randomly apply various sizes of circle using White Ink and a mini ink blending tool to the background created from Step 2. See photo below for finished Bokeh Background. Let Dry then adhere to card using Nuvo Deluxe Adhesive.

    Step 4 – Diecut Zig Zag Stitch Border two times using White Cardstock. Adhere to card one on top and one on the bottom using Nuvo Deluxe Adhesive. The white helps to tone down the background.

    Step 5 – Diecut sentiment and adhere to card using Collage Medium.

    Step 6 – For added interest adhere Fuschia Jewels using a Crystal Katana and collage medium.

    This card can be used for any occasion by changing the sentiment and colors. There are many new Zig Zag Stitch Dies in the store in various shapes. To receive 10% off your next order use code: TINA10 at checkout. Below is a link to all products used. Thank you for stopping by and have a wonderful day.

    Products Used:
    https://linkdeli.com/widget.js?1551106829638

  • Reindeer Gift Tags

    Reindeer Gift Tags

    Hi everyone!  It’s Mona back with a few Christmas gift tags featuring Kat Scrappiness’ new Kat Scrappiness Woodland Reindeer Die.

    I started by die cutting two tags using Tim Holtz tag Die and a few Distress Oxide Inks, Peacock FeathersTwisted Citron and Abandoned Coral. I just smooched all colours on my craft mat, sprayed a bit of water, then dabbed my tags in it. After they were dry,  I intestified the colours using a Dream weaver  stencil brush and rubbing over the colors.

    Here I just used a old paint brush and a bit of gesso to add texture.

    To add even more texture I used my to go to script stamp and my Jet Black Lawn Fawn Ink.

    Next, I die cut my Woodland Reindeer Die, glued it on using my Med Nuvo Glue pen and stamped my sentiment using again my same black jet ink. And to give it a bit more colour I used my Red Berry Nuvo crystal drops  to cover the berries. This completes my project for today, thanks for stopping by.

  • Just Dropping By

    Just Dropping By

    Hi there! Hannah, from Fanciful Spaces here! I am SUPER excited to bring this card to you today! I had the awesome opportunity to work with one of the new releases by Lawn Fawn, and with Kat Scrappiness‘s great dies, to bring a card to you today and this is what I made!

    Unfortunately, my photos do not capture all of the glitter and the shimmer, but I promise you that this card virtually glows in the sunlight! I made a video for you, detailing most of the process that I went through to create this card, I hope that you’ll watch it and be inspired to craft something, it can be found here:

    [youtube https://www.youtube.com/watch?v=EHtbl3asHB4]

    If you don’t have time to watch the video, come back later it will wait for you, but for now, check out these photos that I took during the crafting process!

    I used Zig Real Brush Markers and Arches Cold Press Watercolor Paper to create a background.

    I die cut two tree panels out of Neenah Solar White paper, these were colored with Distress Oxides and Inks. I used the Pine Tree Border Die by Kat Scrappiness. The top tree set is the die used as intended, the bottom tree set is my using the die upsidedown so that I was using the negative of the cut.

    I traced out a snow bank and added glitter to the edges using Nuvo Pure Sheen Glitter in Diamond and Ranger Multi Medium Matte. Here you see my cute little-colored critters and the Copics I used, the video shows a speed up version of my coloring and it lists which color I used when.

    My video failed to record the final steps of my card making. I basically layered and taped each layer down with Scor-Tape. I did pop the snow layer off of the front by using some fun foam, which I also extended behind the critters to prevent them from getting damaged in the mail.

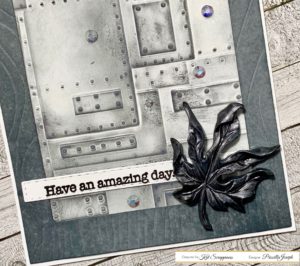
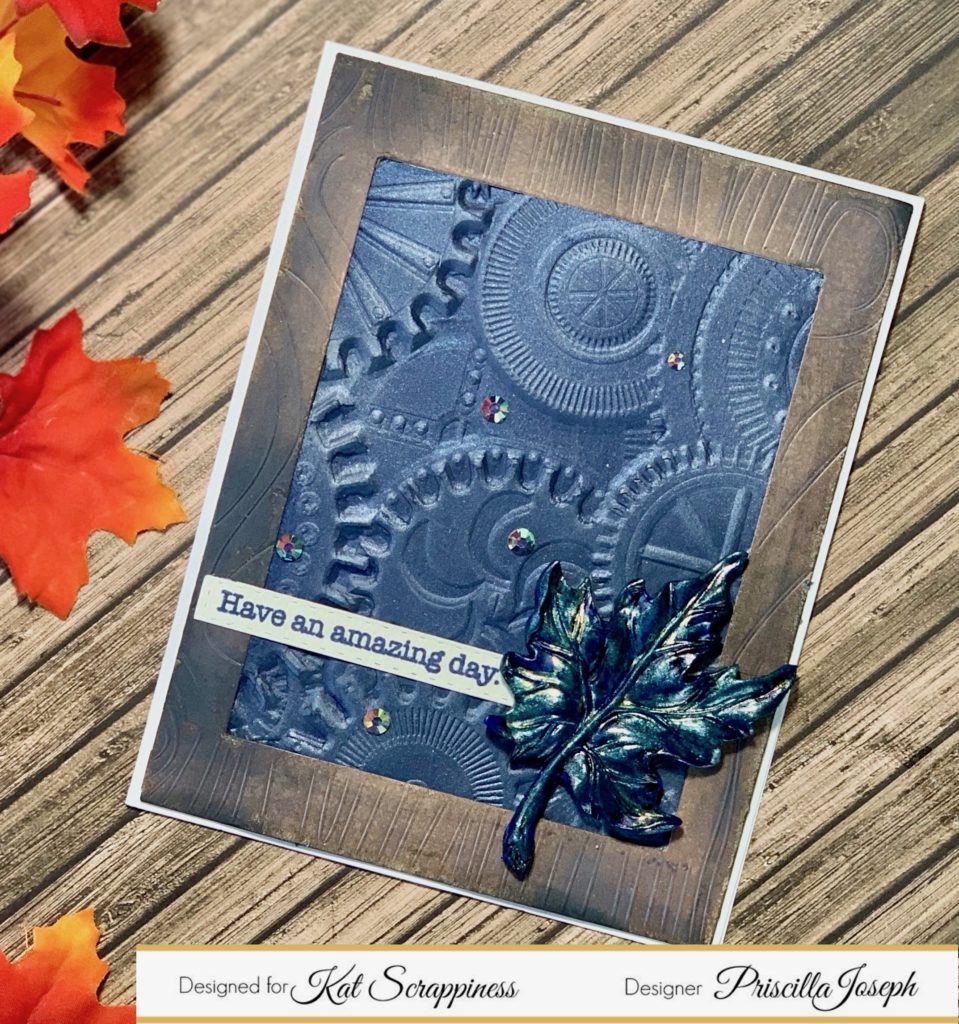
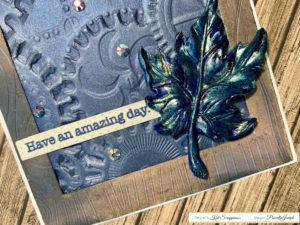
    I LOVE the soft colors of this card, and how the critters just pop out at you!

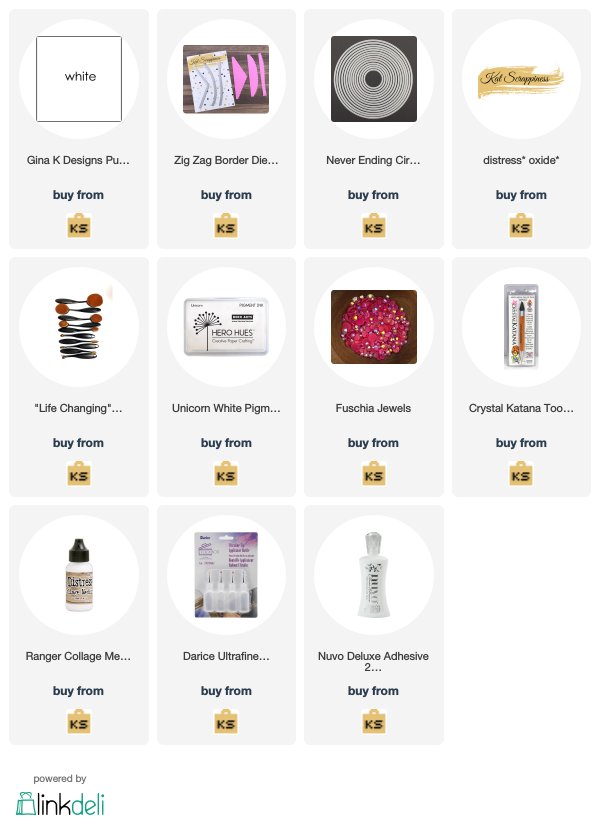
    For a full list of the products, I used see below! You can place your order, and get a discount, by using Hannah10 at check out!

    For You, Deer Stamp Set by Lawn Fawn
    For You, Deer Die Set by Lawn Fawn
    Pine Tree Border Die by Kat Scrappiness
    Cross Stitched Rectangle Dies by Kat Scrappiness
    Arches Cold Press Watercolor Paper
    Neenah Solar White Cardstock in 110 and 80lb
    Zig Clean Color Real Brush Markers
    Copic Markers
    Distress Inks and Distress Oxides
    Memento Tuxedo Black Ink
    Versamark Watermark Ink
    WOW! Clear Embossing Powder
    Sparkle Sheer Shimmer Spritz by Imagine Crafts
    Nuvo Pure Sheen Glitter in Diamond
    Ranger Multi Medium Matte
    Scor-Tape
    White Fun Foam
    Tim Holtz Tonic Stamp Platfrom