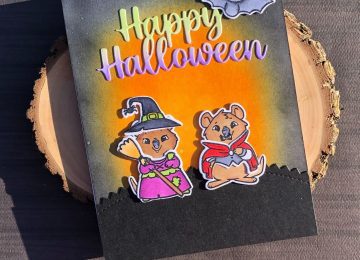
Hello friends. Hope everyone had a great long weekend. I love making Halloween cards. Today, I’m sharing one using items…

Hello friends. Hope everyone had a great long weekend. I love making Halloween cards. Today, I’m sharing one using items…
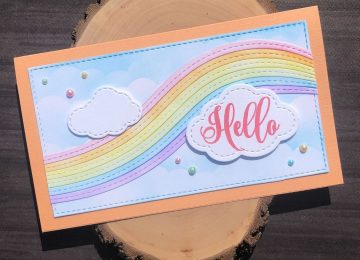
Hello crafters. It’s Caren on the blog today bringing you a fun pastel mini slimline card. I used a ton…
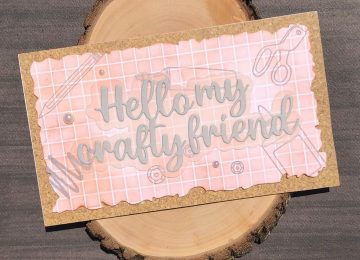
Hello Crafters! It’s Caren here on the blog today sharing a mini slimline card using a variety of Kat Scrappiness…
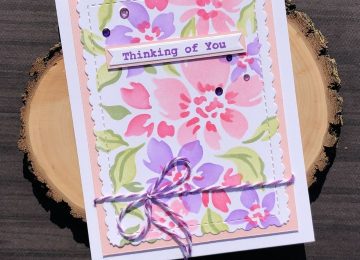
Happy Wednesday everyone! It’s Caren on the blog today. For the past couple of months, I’ve been obsessed with layering…

Hello crafters! It’s Caren here back on the blog. Today I have a mini slimline graduation card for you. I…
Hello Crafty Friends! It’s Caren here back with another card using one of the cute Quokka stamp sets! Card Details…
Mini Slimline Tri-Frames Hello my friends!! Katy here and today I have a new video up on the Kat Scrappiness…