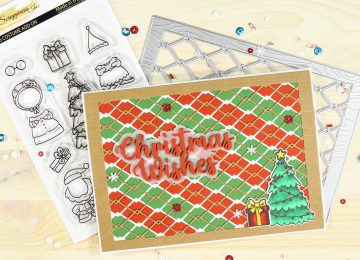
Hi everyone, it’s Tina here. I have a super fun and easy Mini Slimline Flat Shaker card to share with you using the Dress Up Quokka Stamp/Dies, Christmas Costume Add-On Stamp/Dies, Happy Holidays W/Shadow die, Elegant Borders die, and the Holiday Bliss Sequin Mix from Kat Scrappiness. Below you will find the steps to create your own card.

Step 1 – Trim White Cardstock to 7″ x 6″, score at 3 1/2″ and fold in half for a vertical side fold card. (Mini Slimline)
Step 2 – Trim White Cardstock to 3 1/2″ x 6″. Apply any ink of your preference using a Blender Brush. I used 3 shades of Teal Blue starting with the lightest in the center and working out towards to edges with the darkest. Let dry.
Step 3 – Place on top of the inked panel created in step 2 a trimmed cellophane measuring 4 1/2″ x 7″. Turn over the panel and cellophane and adhere Double Sided Adhesive Tape to the backside edges. Remove the release sheet from 3 sides and secure the cellophane. Add Holiday Bliss Sequin Mix to the front. Remove the last piece of the tape and secure. Be sure to remove the excess cellophane at each corner. Adhere the entire shaker to the card front using Bearly Art Precision Glue. A tip: Make sure not to adhere the cellophane too tightly otherwise your sequins won’t move.

Step 4 – Stamp Dress Up Quokka and Christmas Costume Add-On using Gina K Amalgam Ink on White Cardstock. Color in using Alcohol Markers of your choice. I used TriBlends from Spectrum Noir. Diecut the images with matching dies and adhere to card front using Bearly Art Precision Glue.
Step 5 – Diecut Happy Holidays W/Shadow (words only) using White Cardstock. Adhere to card using Bearly Art Precision Glue.
Step 6 – To ground the images Diecut Elegant Borders using Red Cardstock. Adhere to card using Bearly Art Precision Glue.


Flat shaker cards have become my new love and they are easier to mail since they are bulky like the traditional shaker cards. Below is a link to all the products used. Thank you for stopping by and Happy Crafting!
Products Used: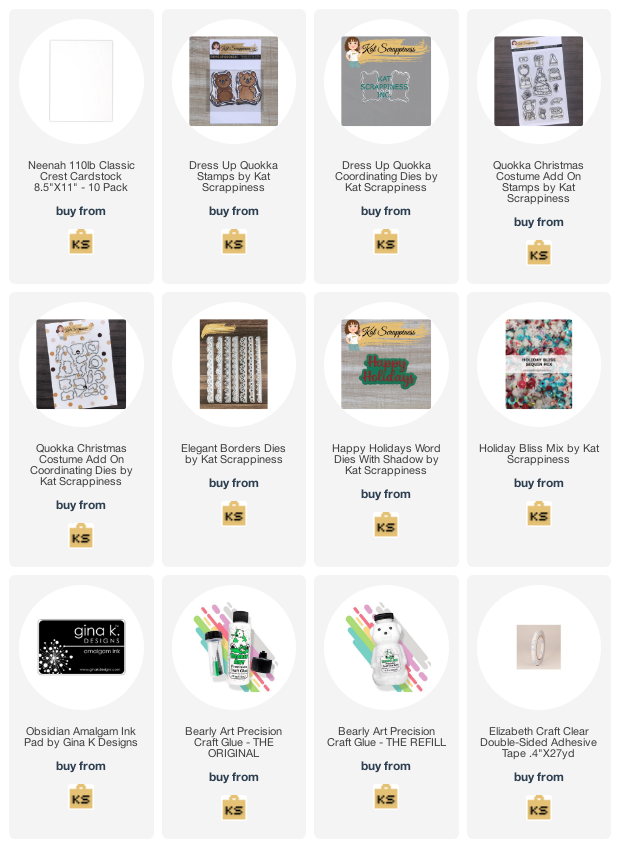
https://linkdeli.com/widget.js?id=f5e8378456858c916708