Hi everyone, it’s Tina here. Today’s card is using products from the new Summer Vibes release. I just love this release. Below are the steps to create your own card.

Step 1 – Trim White Cardstock to 7” x 6”, score at 3 1/2” and fold in half for a vertical side fold card. (Mini Slimline)
Step 2 – Diecut Mini Slimline Quilted Backdrop using White Cardstock. Apply Light Blue Ink using a Blender Brush on the top and stopping about 2” from the bottom. Adhere to card front using Bearly Art Precision Glue.
Step 3 – Diecut Mini Slimline Frame using White Cardstock. Adhere to card front using Bearly Art Precision Glue.
Step 4 – Stamp Fluttering By using 3 shades of Blue Ink. Diecut with the coordinating die. Adhere to the card using Bearly Art Precision Glue. I applied the glue only to the center to give dimension to the wings.
Step 5 – Diecut Stitched Foliage using White Cardstock. Adhere 2 Foliage behind the Butterfly and 1 in front of the Butterfly.
Step 6 – For some added interest and sparkle randomly adhere some Blue Diamond Rhinestones using a Pick Up Tool and Bearly Art Precision Glue.
Step 7 – Diecut Birthday Kisses sentiment 3 times. 2 using White Cardstock and 1 using the same Ink color used in Step 2. Attach each layer using Bearly Art Precision Glue making sure that the Blue layer is on top. Adhere to the card front.


This card can be used for many occasions by changing the color and/or sentiment. Below is a link to all the products used. Thank you for stopping by and Happy Crafting!
Products Used: 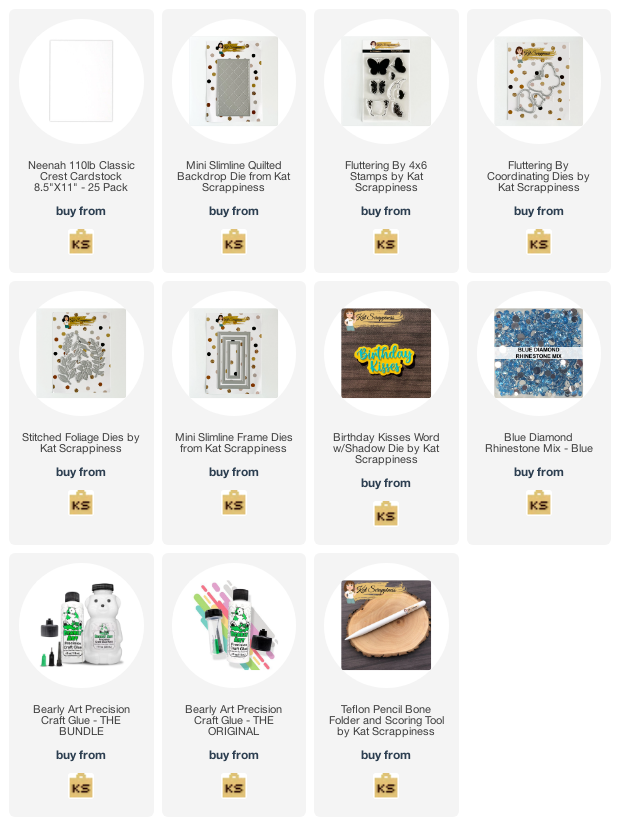
https://linkdeli.com/widget.js?id=f5e8378456858c916708