Hello my Crafty Friends!
Angelique Vuur here, one of Kat’s creative makers! From now on, you will see me here monthly with a new card. I hope you all will like what I show you! I always love to read your comments, and please let me know if you’d like to see a particular project.
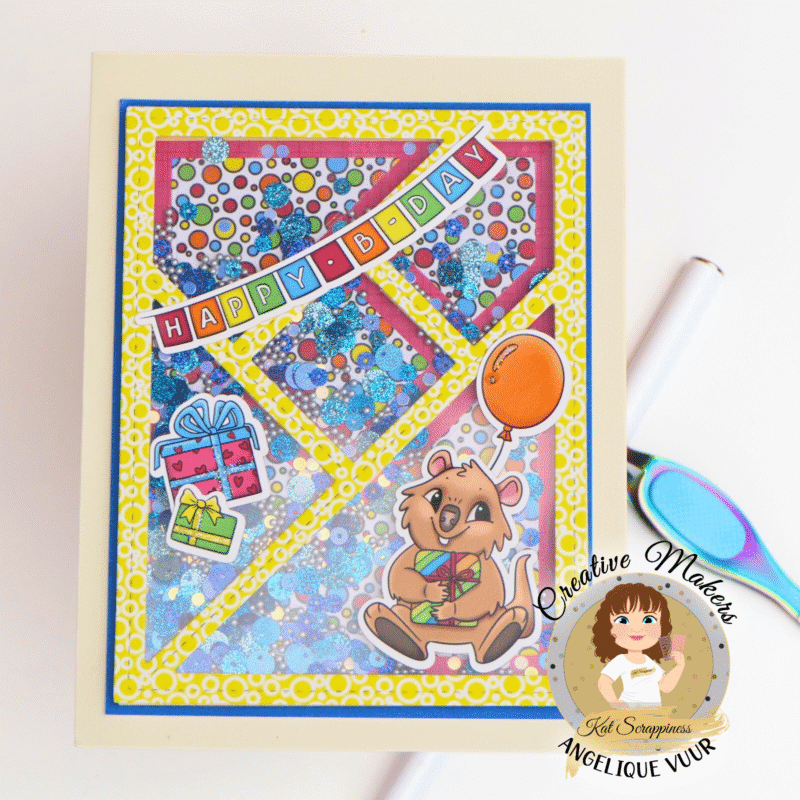
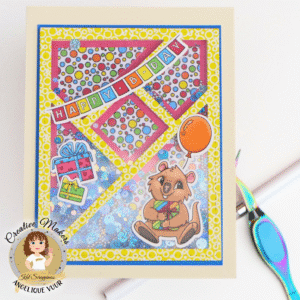
Now back to the card! We all have those moments, when you need a birthday card but don’t have one in your stash. well, I’ve got you covered with an easy card, made with the new Kat Scrappiness Card Builder Dies
🧰 Kat Scrappiness Supplies Used
- Card Builder craft dies 1
- Birthday Quokka 6×6 paperpad
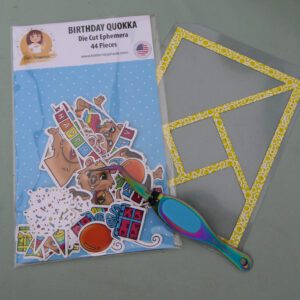
- Birthday Quokka Ephemera Pack
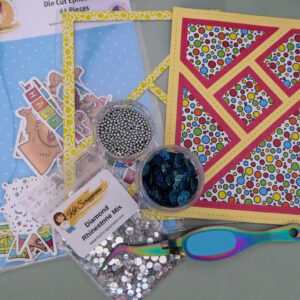
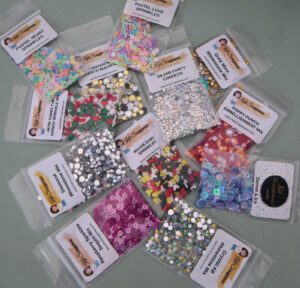
- Glitter Sequin Mix – Peacock Blue
- Silver Bullet Shaker Dots
📋 Card Details:
- I mostly make 5×7 inch cards, because I like the extra border around. So a 5×7 side-folding cream card, but you also can use an A2 side-folding cream card base. By this last option you don’t have the extra border.
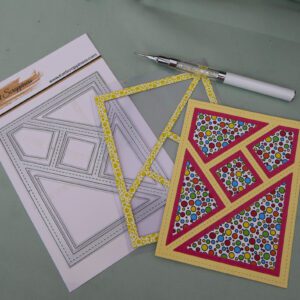
- Using the new Kat Scrappiness Essential Card Builder Dies 1, with the yellow cardstock with bubbles from the paperpad, created a frame for the shaker front.
- Die cut again a frame with this die on a yellow cardstock.
- Adhered the normal yellow frame to the red cardstock out of the paper pad.
- For an extra festive look, I die cut again on a cardstock with colored circles out the paper pad, but this time with the little pieces within the frame.
- Adhered these pieces on the red cardstock, being the background of the shaker.
- Furthermore, I adhered a piece of clear acetate behind the yellow frame with the bubbles, being the front of the shaker.
- Assembled the background of the shaker with foam tape around the edges before pouring in the shaker bits. I used Kat’s Glitter Sequin Mix – Peacock Blue and Kat’s Silver Bullet Shaker Dots.
You can fill up the shaker with shaker bits of your choice. Kat Scrappiness has a HUGE assortment with all kinds of shaker bits. Don’t forget to look on the website by Embellishments!
- Adhered the front of the shaker to the foam tape. And the shaker part itself is done!
- Now the decorating part, you can use whatever you like! Adhered some ephemera pieces to the front of the card, as you see on the picture. I wanted to keep the separate areas on top of the card intact. So I placed the presents in one area and the sweet quokka with balloon in another. Some with glue and some with some foam tape. For a sentiment, I used the “Happy b-day” from the ephemera pack.
- If chosen for an A2 card: adhere the whole shaker part to your A2 side-folding card and your card is finished.
- If you choose a 5×7 card: adhere the whole shaker part to a slightly bigger dark blue piece of cardstock and next adhere this to your 5×7 card. I cut off a bit of the card so the border is evenly wide. And the card is finished!
Thanks so much for stopping by!
Don’t forget to check out what’s NEW in Kat’s Shop, and follow my blog and Instagram for more “Kat Scrappiness Amazingness”!


1 Comment
Look at all of that BLING! How fun and festive! I am so excited for my order to arrive! Awesome card, Angelique!
August 17, 2025 at 6:53 am