Hi everyone, it’s Tina here. I have a super fun Mini Slimline card to share with you using the new…
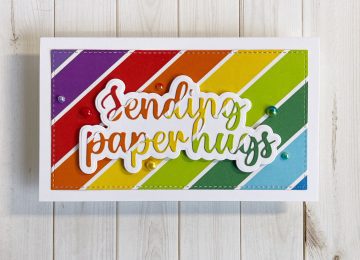

Hi everyone, it’s Tina here. I have a super fun Mini Slimline card to share with you using the new…

Hi everyone, it’s Tina here. I love creating stencils from Background dies. I used the Star Fusion Coverplate with the…
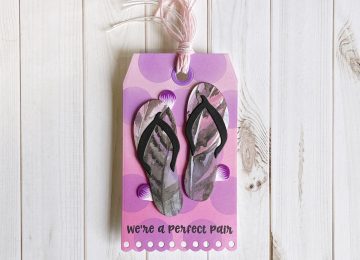
Hi everyone, it’s Tina here. Today I have a fun tag to share with you using the Tag Essentials and…
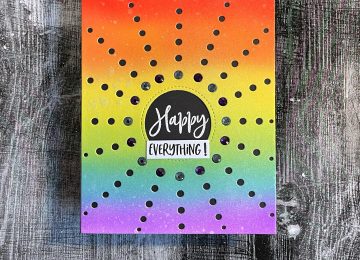
Hi everyone, it’s Tina here. Today I have 2 cards to share with you using the new Sunspot Coverplate die,…

Hi everyone, it’s Tina here. Today I am sharing a super easy card with you using Hearts from the Heart…

Hi everyone, it’s Tina here. Today I am sharing a simple way to use your Patterned Paper you have in…
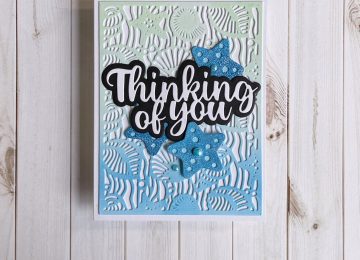
Hi everyone, it’s Tina here. Today’s card features the Under The Sea Coverplate inked with a Gel Plate and one…