Hi Everyone, it’s Tina here. Today’s card I used the new Give Thanks Wreath die with a simple Distress Oxide…


Hi Everyone, it’s Tina here. Today’s card I used the new Give Thanks Wreath die with a simple Distress Oxide…
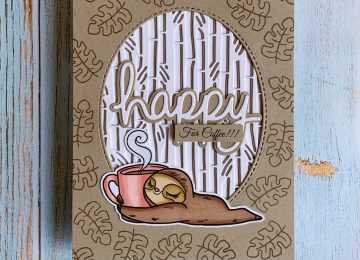
Hi Everyone, it’s Tina here. Today’s card is featuring the new Bamboo Backdrop Die and Stewart The Sloth Stamp Set….

Hi Everyone, it’s Tina here. Summer is coming to an end and although I will miss flip flops and single…
Hi Everyone, it’s Tina here. Did you see the new kits in the shop? I made 3 cards using the…
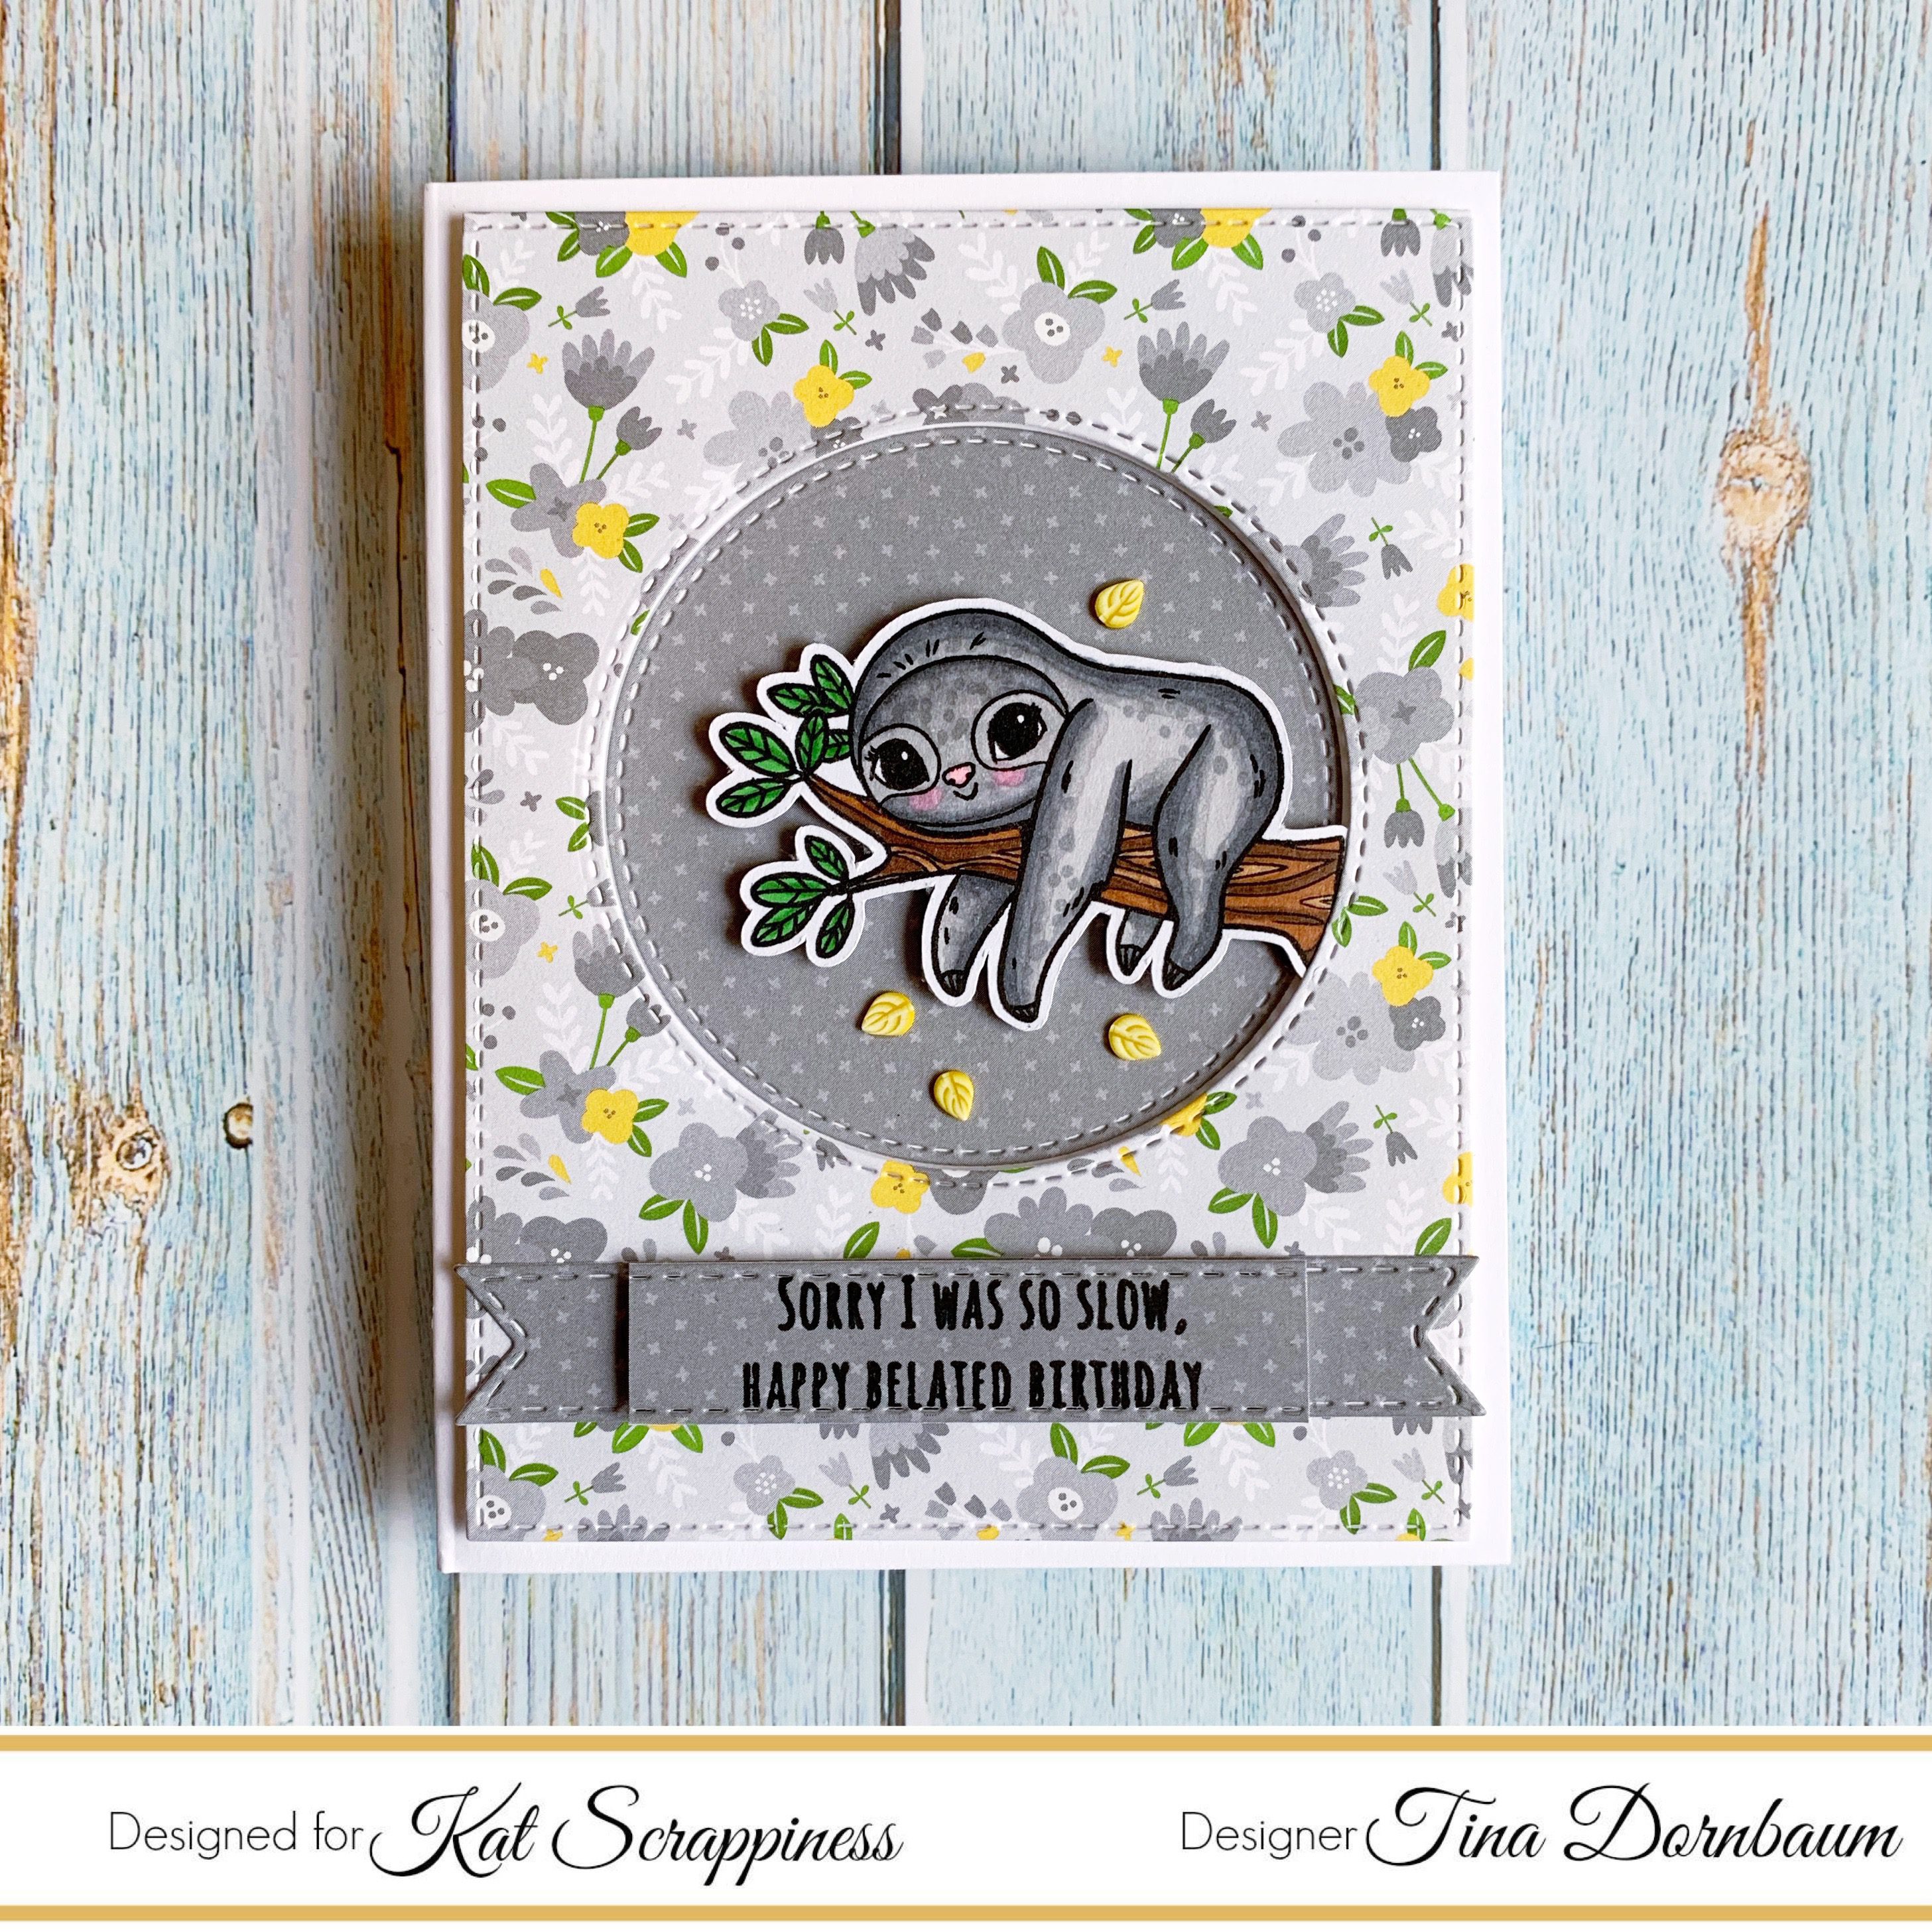
Hi Everyone, it’s Tina here. Today I have a card to share with you using the new Stewart The Sloth…
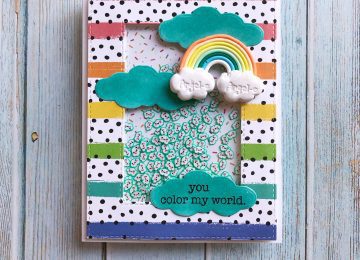
Hi Everyone, it’s Tina here. There are some new sprinkles in the shop and today’s video is featuring the Kawaii…
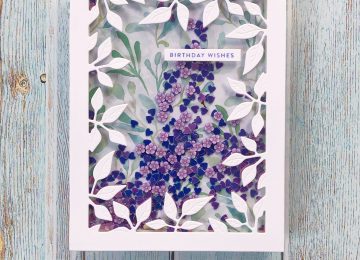
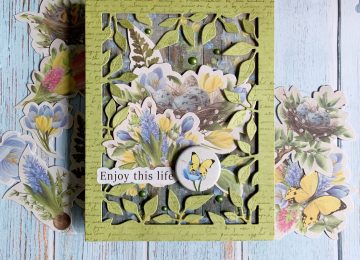
Hi Everyone, it’s Tina here. Today I have a shaker card to share using the Foliage Frame die and the…