Hi Everyone, it’s Tina here. I have one last Holiday card to share with you using the Christmas Tree Coverplate…


Hi Everyone, it’s Tina here. I have one last Holiday card to share with you using the Christmas Tree Coverplate…

Hi Everyone, it’s Tina here. Whether you want a clean and simple card or more the Ornament Strip Coverplate die…
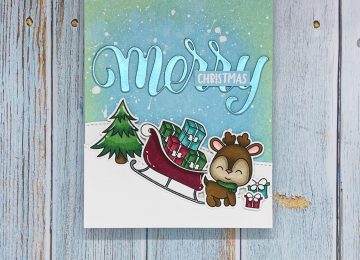
Hi Everyone, it’s Tina here. The Merry Critters Stamp Set along with the new Merry Christmas with Shadow Die is…
Hi Everyone, it’s Tina here. Today’s card is using some older but super fun dies to create a holiday scene….

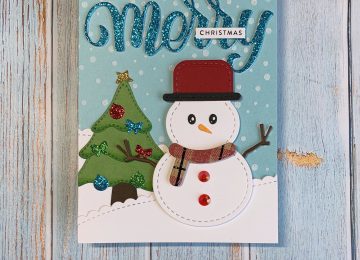
Hi Everyone, it’s Tina here. Today I have several cards to share with you using the new large holiday sentiments…

Hi Everyone, It’s Tina here. By now you have seen the new Holiday release. Today’s card is featuring the Christmas…
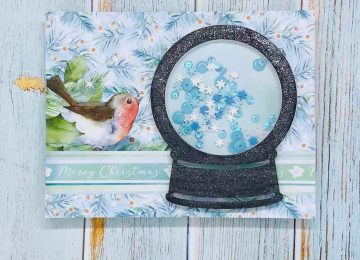
Hi Everyone, it’s Tina here. Do you struggle with Shaker Cards? Kat Scrappiness now has Shaker Card Kits. These kits…