Hello crafty friends! It is April and that means graduation season is upon us! My daughter Brooke is graduating this…
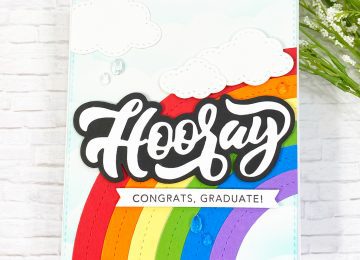

Hello crafty friends! It is April and that means graduation season is upon us! My daughter Brooke is graduating this…
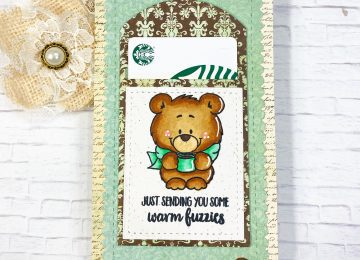
It’s Lisa here with you today on the Kat Scrappiness blog and I have this adorable mini slimline caffeinated…
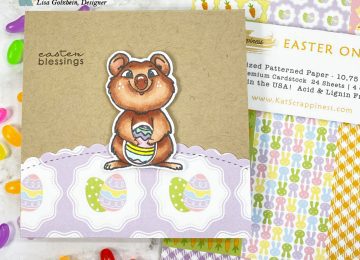
Hello! It’s Lisa here with you today on the blog with a cute little Easter card using 2…

Hi there! It’s Lisa from Oh So Cute By Lisa and I’m up on the Kat Scrappiness blog today…

The Quokka has been nicknamed the world’s happiest animal! They are marsupials and just like a kangaroo, they can…

Hello there! It’s Lisa here with you today from Oh So Cute By Lisa! Valentine’s Day 2021 is just 2…

Hi there! It’s Lisa from Oh So Cute By Lisa and I’m up on the blog today with…