When you need a last minute card, it’s nice to have some fabulous dies and patterned papers that allow you…
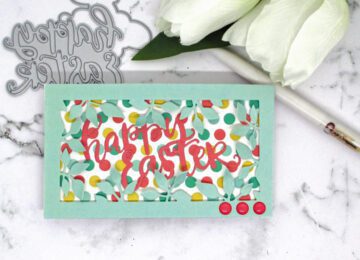

When you need a last minute card, it’s nice to have some fabulous dies and patterned papers that allow you…
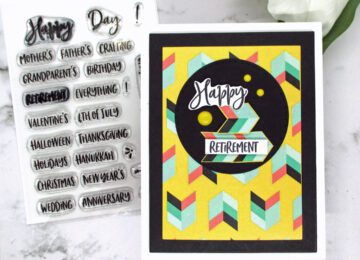
You can make some great masculine cards with the new Spring Fling paper. The secret is in the geometric papers!…
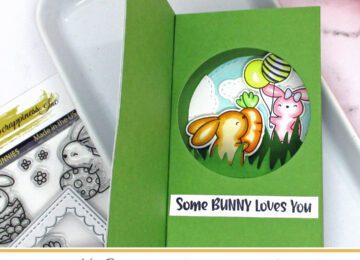
I think everyone is loving these sweet Hippity Hoppity Bunnies and the Hop into Easter papers. I couldn’t resist using…
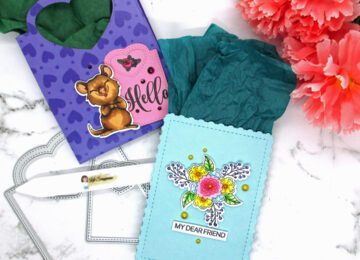
I always love sharing ways to stretch your stash. Anytime that you use your supplies in a new way, you…
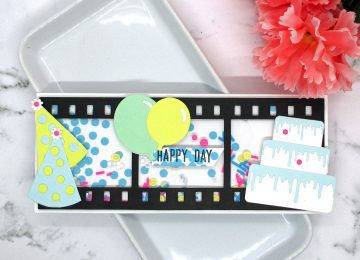
Hi friends! I have a shaker celebration card to share with you today. I decided that I wanted to create…
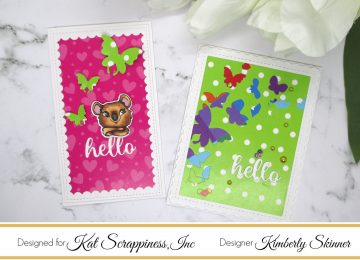
Hi friends! Kim here to share 2 bright spring cards with lots of die cutting tips and techniques! …
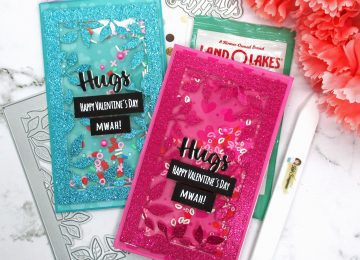
Hi friends! I have a Valentine’s Day mini slimline shaker that is also a hot cocoa mix holder! I couldn’t…