Hi, everyone! This is Nicki from the Design Team here with a stencil project. I am so excited that Kat is launching stencils. These are affordable and easy to use to jazz up your cards. Today, we will look at using the same stencil in different ways on one card. Make sure to watch the video for all the details.
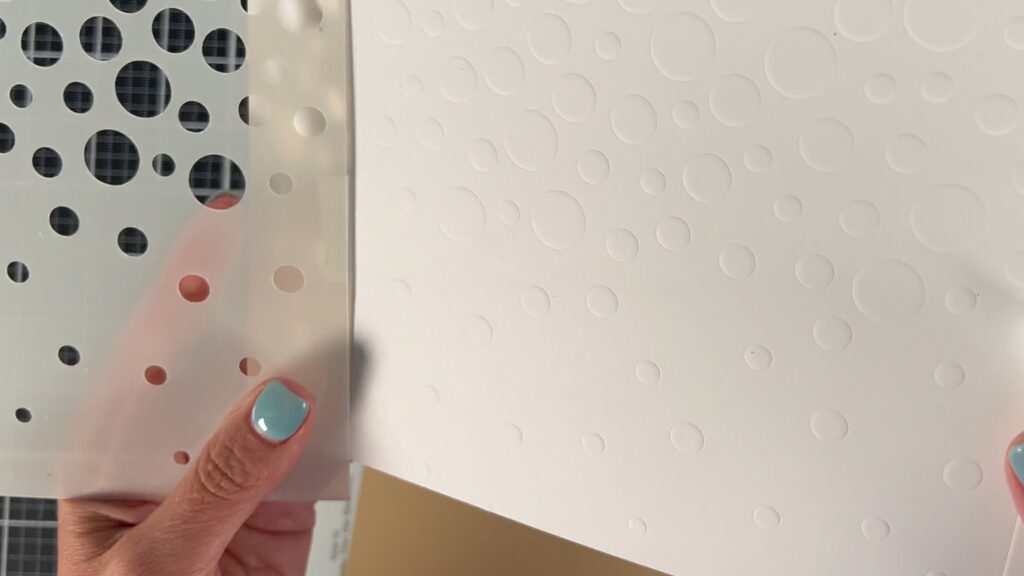
First, I dry embossed the stencil on white paper.
Next, I had some scraps that I wanted to use on the project so I color matched these to distress oxide colors.
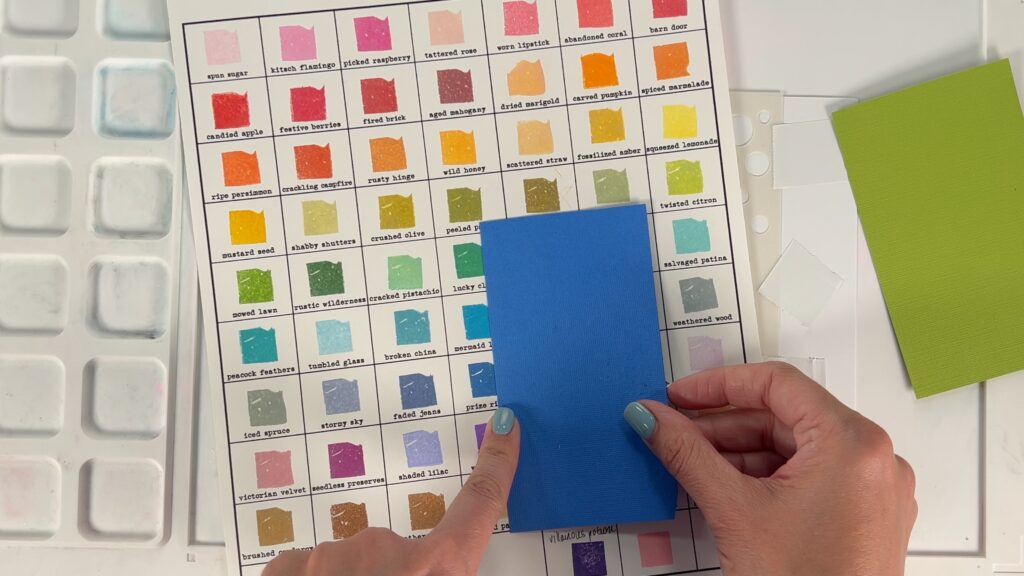
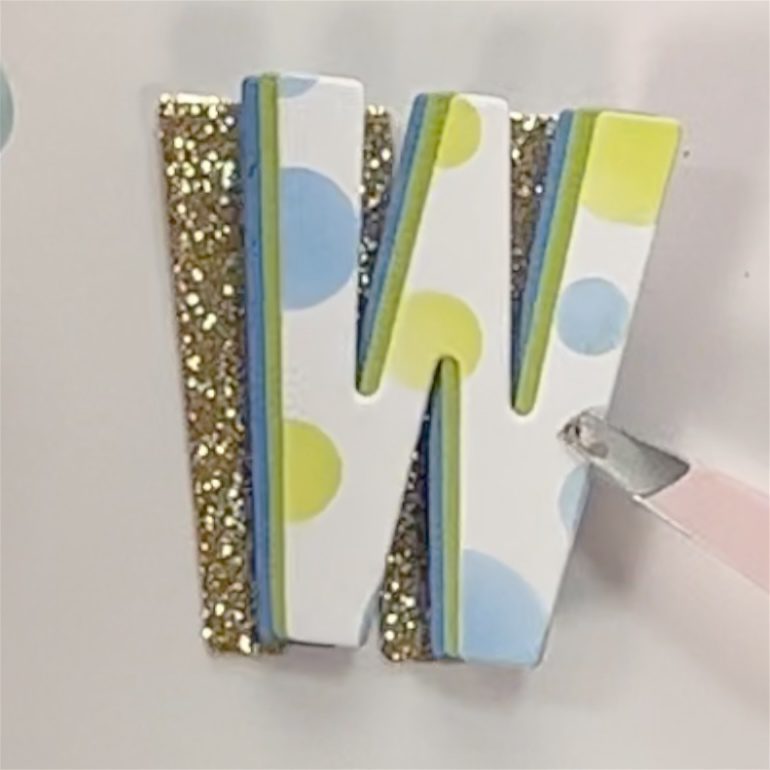
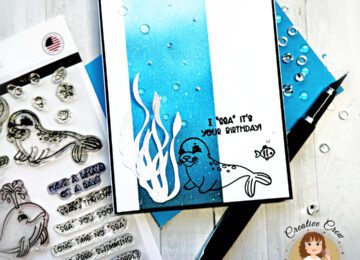
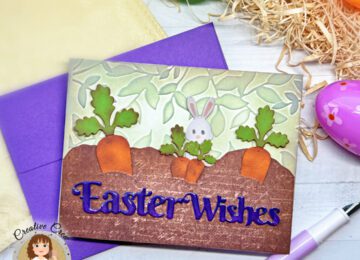
Once I had the colors, I used the stencil in the traditional way to add color to a piece of white card stock. Kat’s new small blending brushes helped make this multicolored design easier. After the stenciling was complete, I used the condensed lowercase letter dies to cut out the word “Wish” from blue, green, gold and the stenciled paper. I layered them together like this.
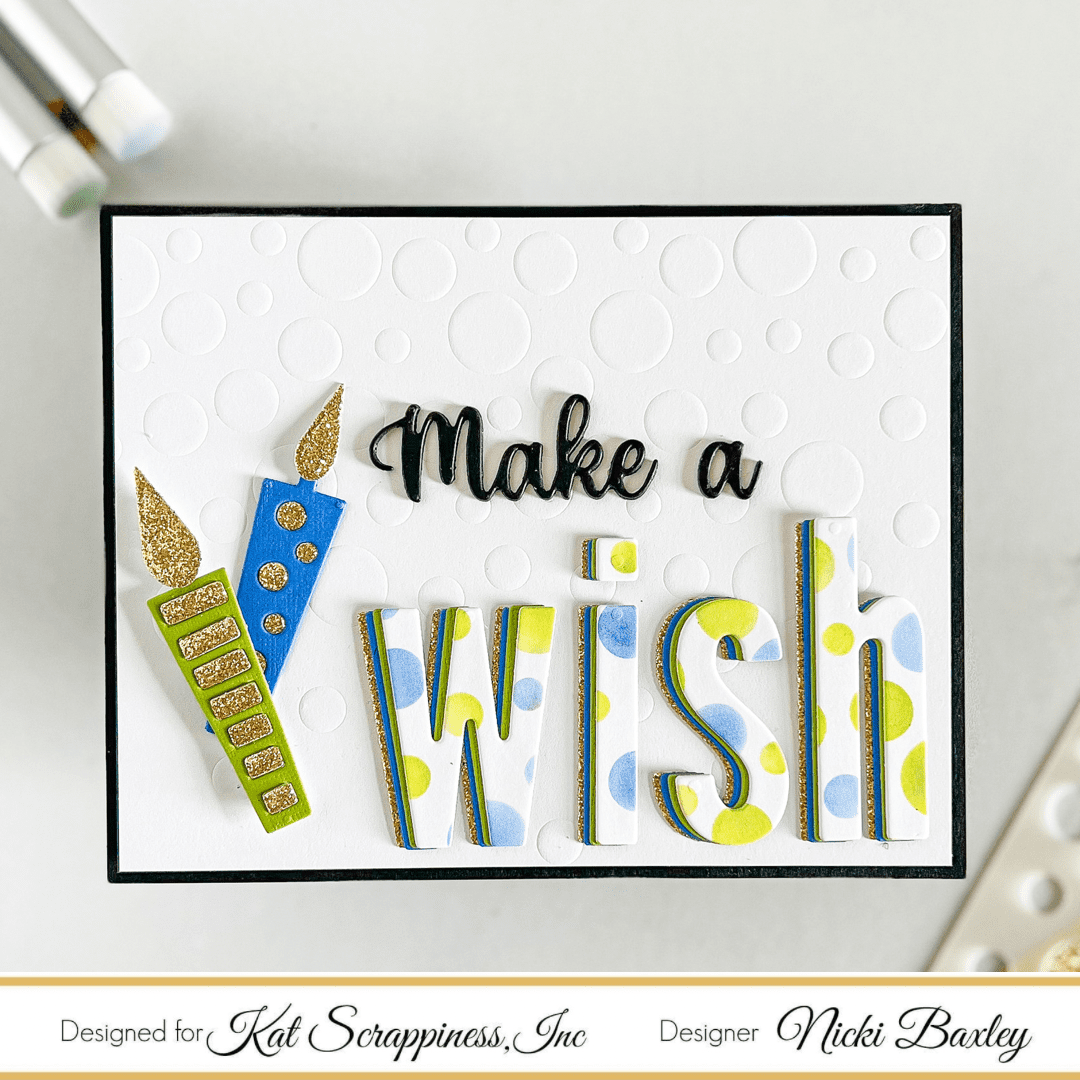
While I was layering the letters, I decided that adding some candles would make a great impact so I used the same colors on the candle die cuts. Last, I need to cut out the “make a” from the “make a wish” die cut. All that was left was to put the card together.
Please click through these links if you are interested in any of the products or if you are planning to shop today. This helps support me and I appreciate your support so much!
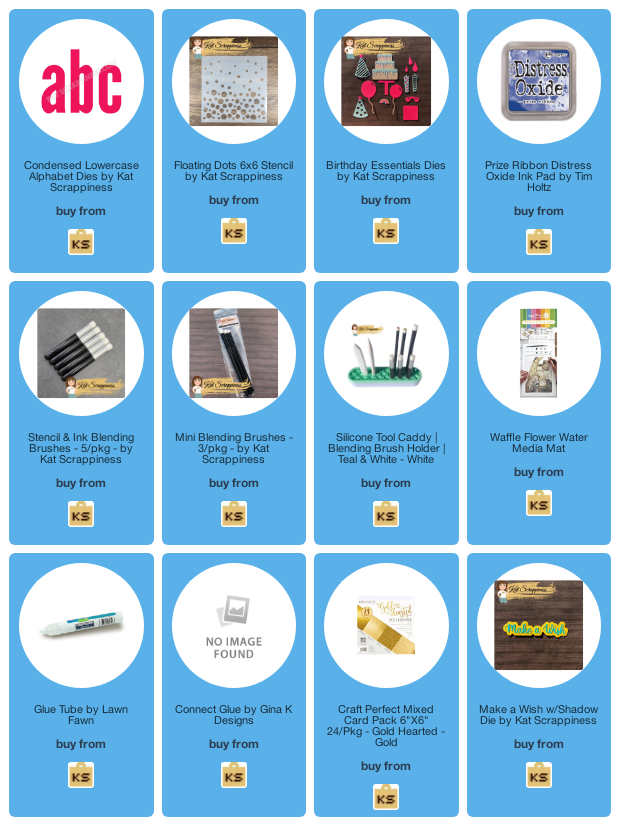
PRODUCT LINKS:
Condensed Lowercase Alpha Dies
Prize Ribbon Distress Oxide Ink Pad
Stencil & Ink Blending Brushes

No Comments