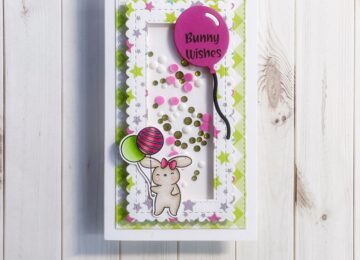
Hi everyone, it’s Tina here. I am totally loving the new Hippity Hoppity Bunnies and Sentiments Stamp Sets and the Hop Onto Easter paper in the new 6 x 8 size. Below you will find a steps to create your own card.
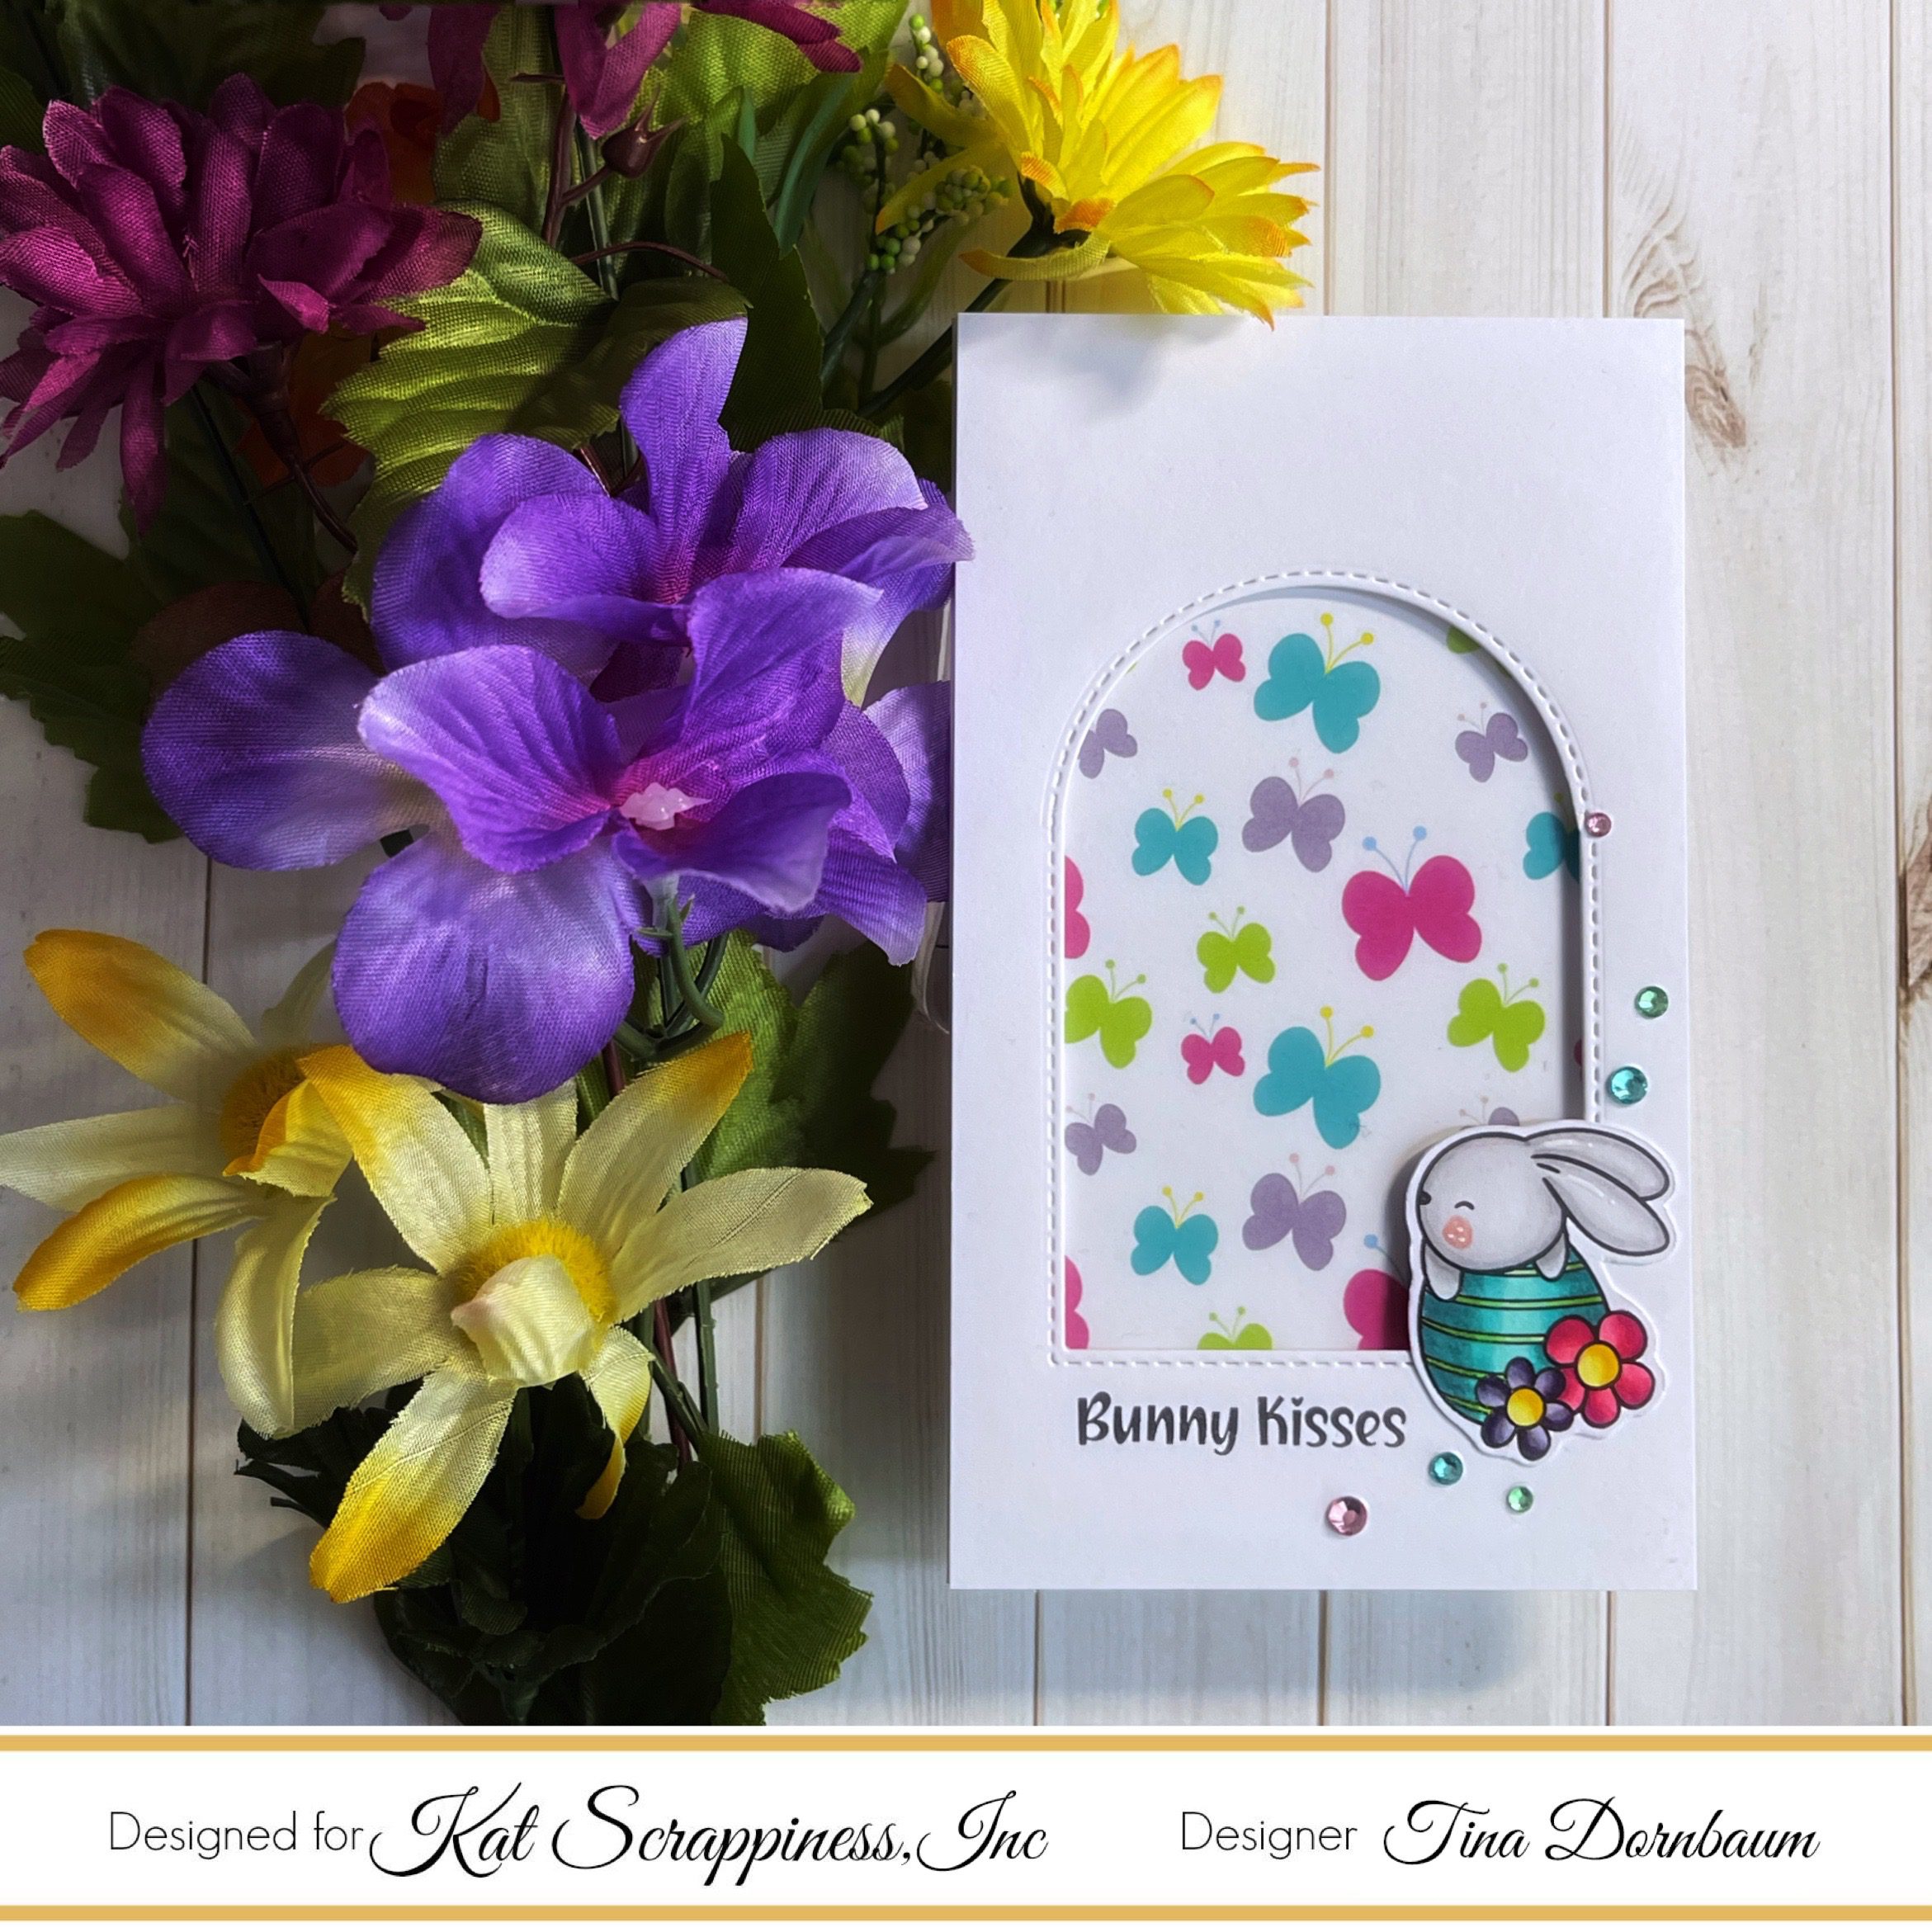
Step 1 – Trim White Cardstock to 7” x 6”, score at 3 1/2” and fold in half for a vertical side fold card. (Mini Slimline)
Step 2 – Trim Hop Onto Easter to 3” x 5 1/2” and adhere to card front using Bearly Art Precision Glue.
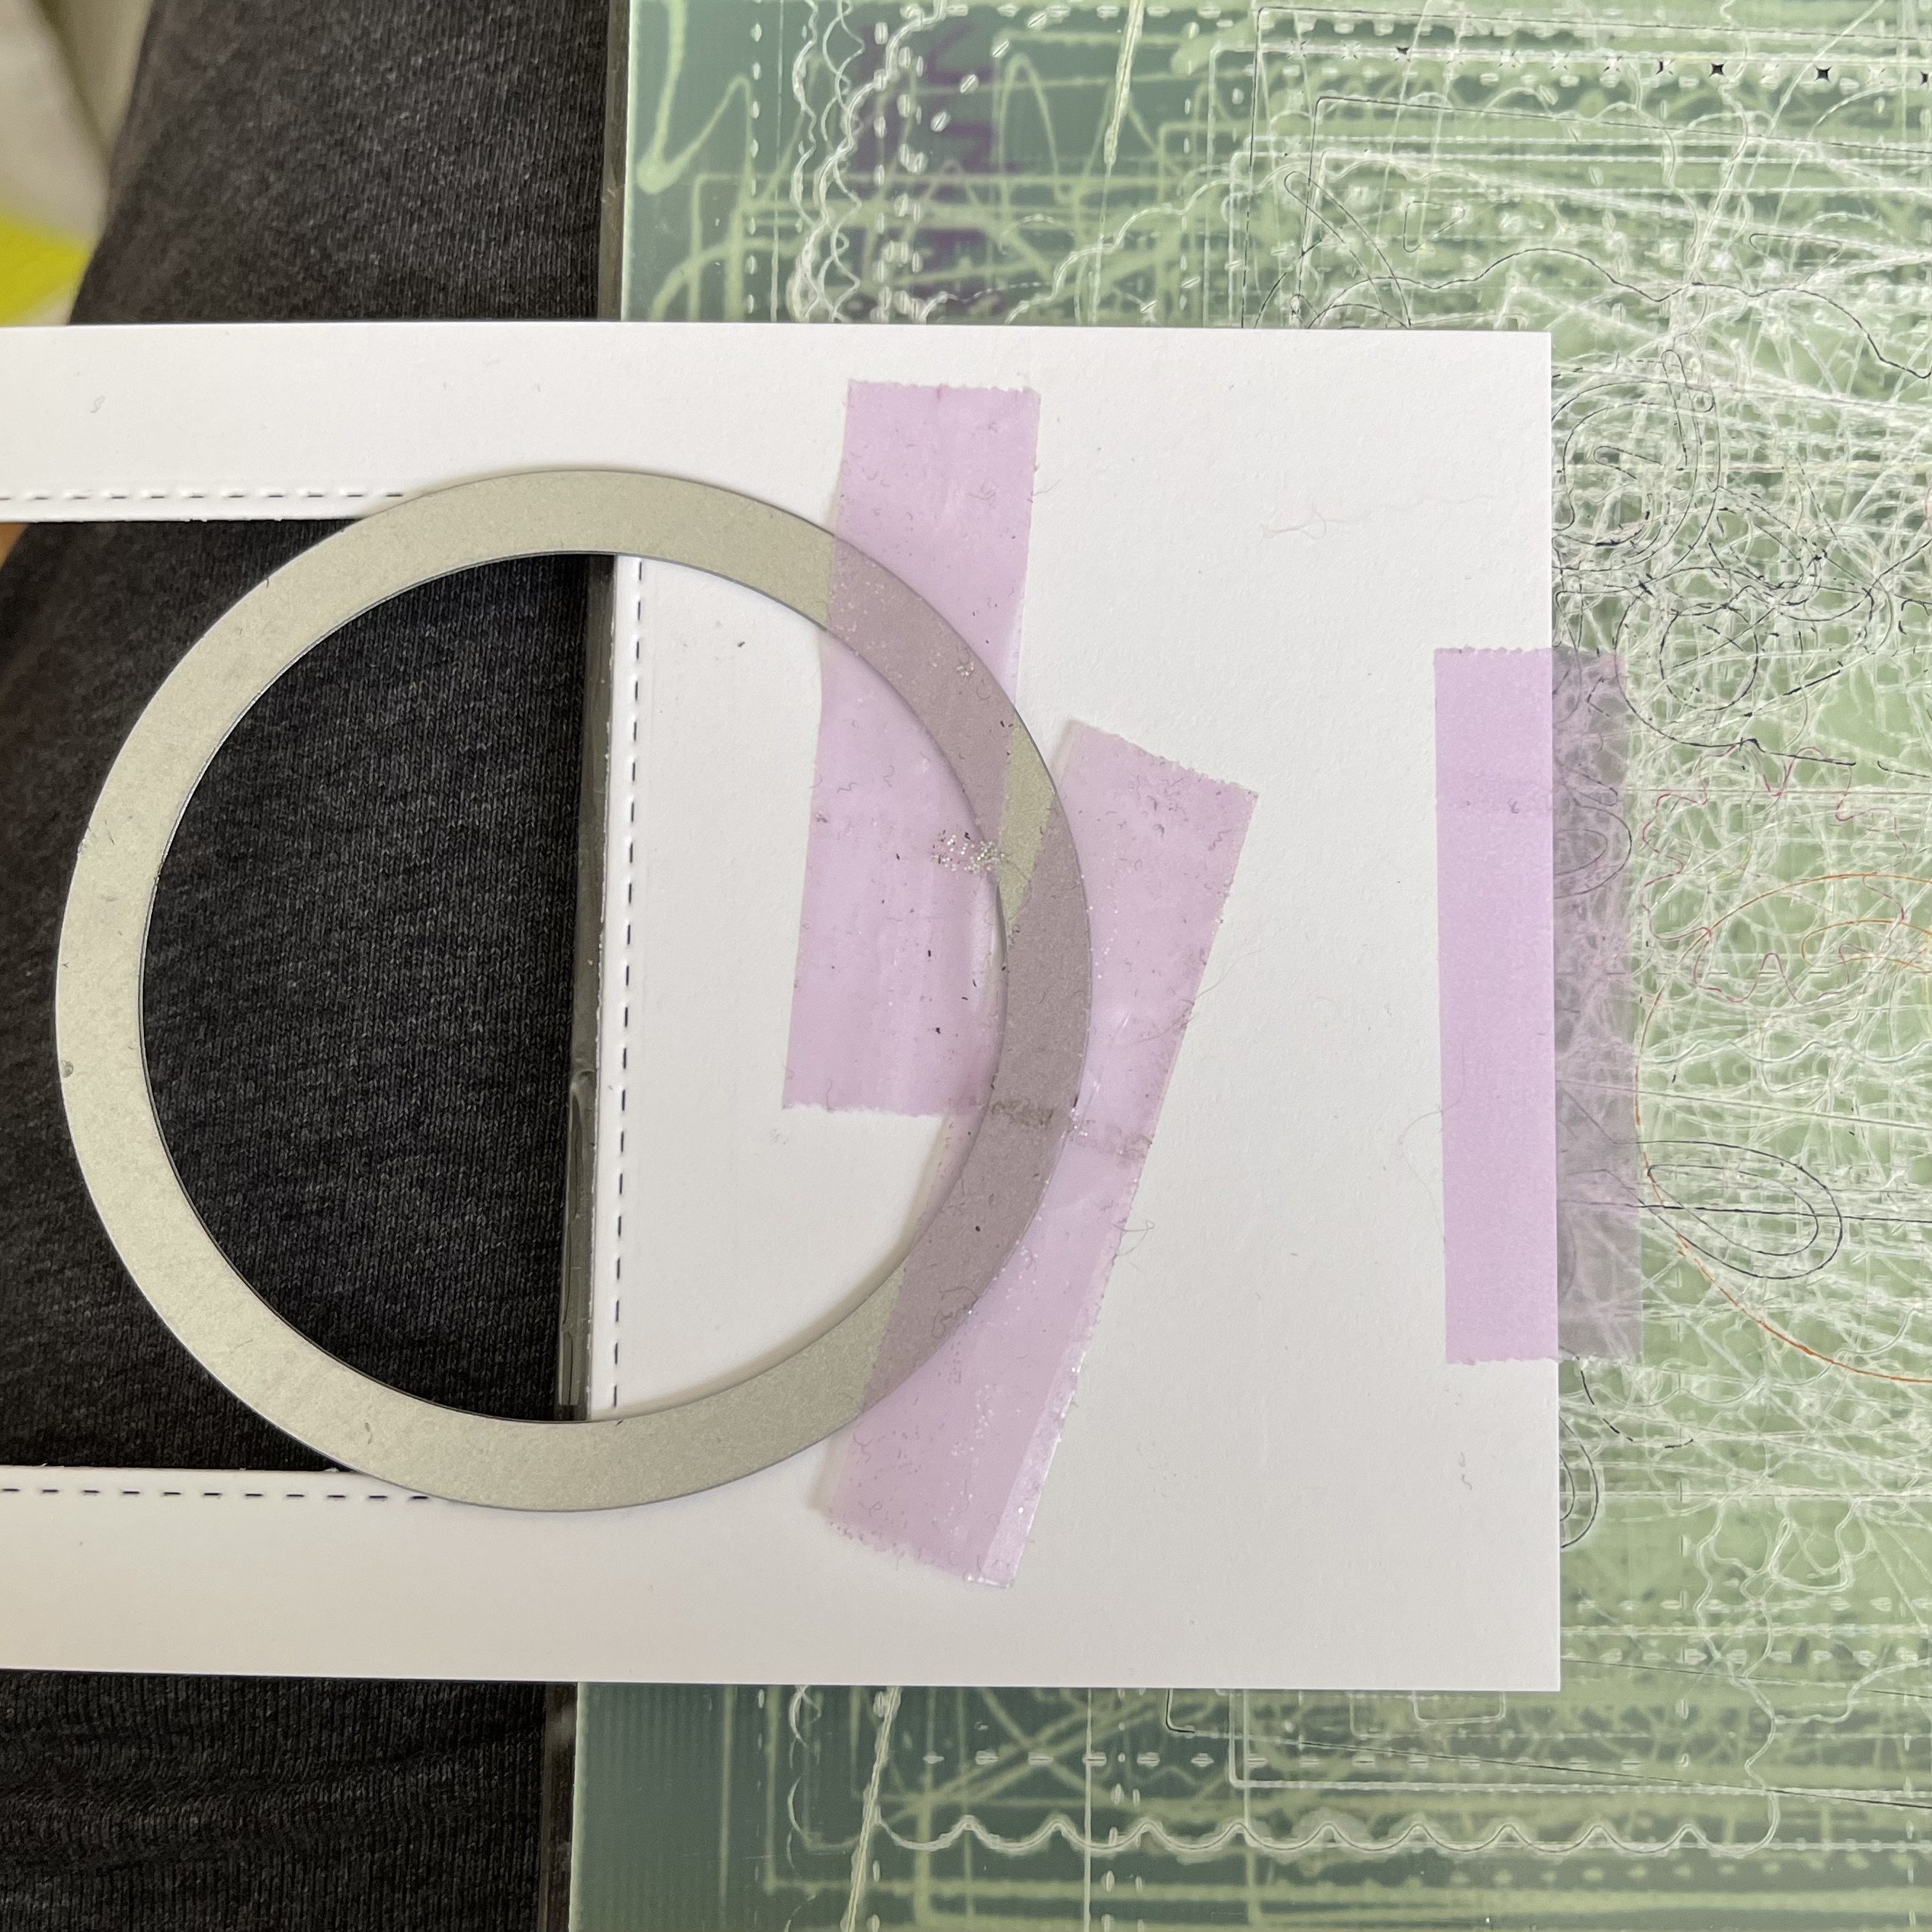
Step 3 – I didn’t have a Domed diecut so I diecut the Doubled Stitched Squares and then the Double Stitched Circles. First diecut the Square using White Cardstock trimmed to 3 1/2” x 6” and then place the circle so it is half way from the top of the diecut Square. When you diecut make sure the area you want to diecut only is covered inside the cutting plate. Anything hanging out with not diecut. See photo below for visual. I didn’t take a photo with the top plate on so you can see the die is at the edge to the area I only want. You would place the top plate at the same area.
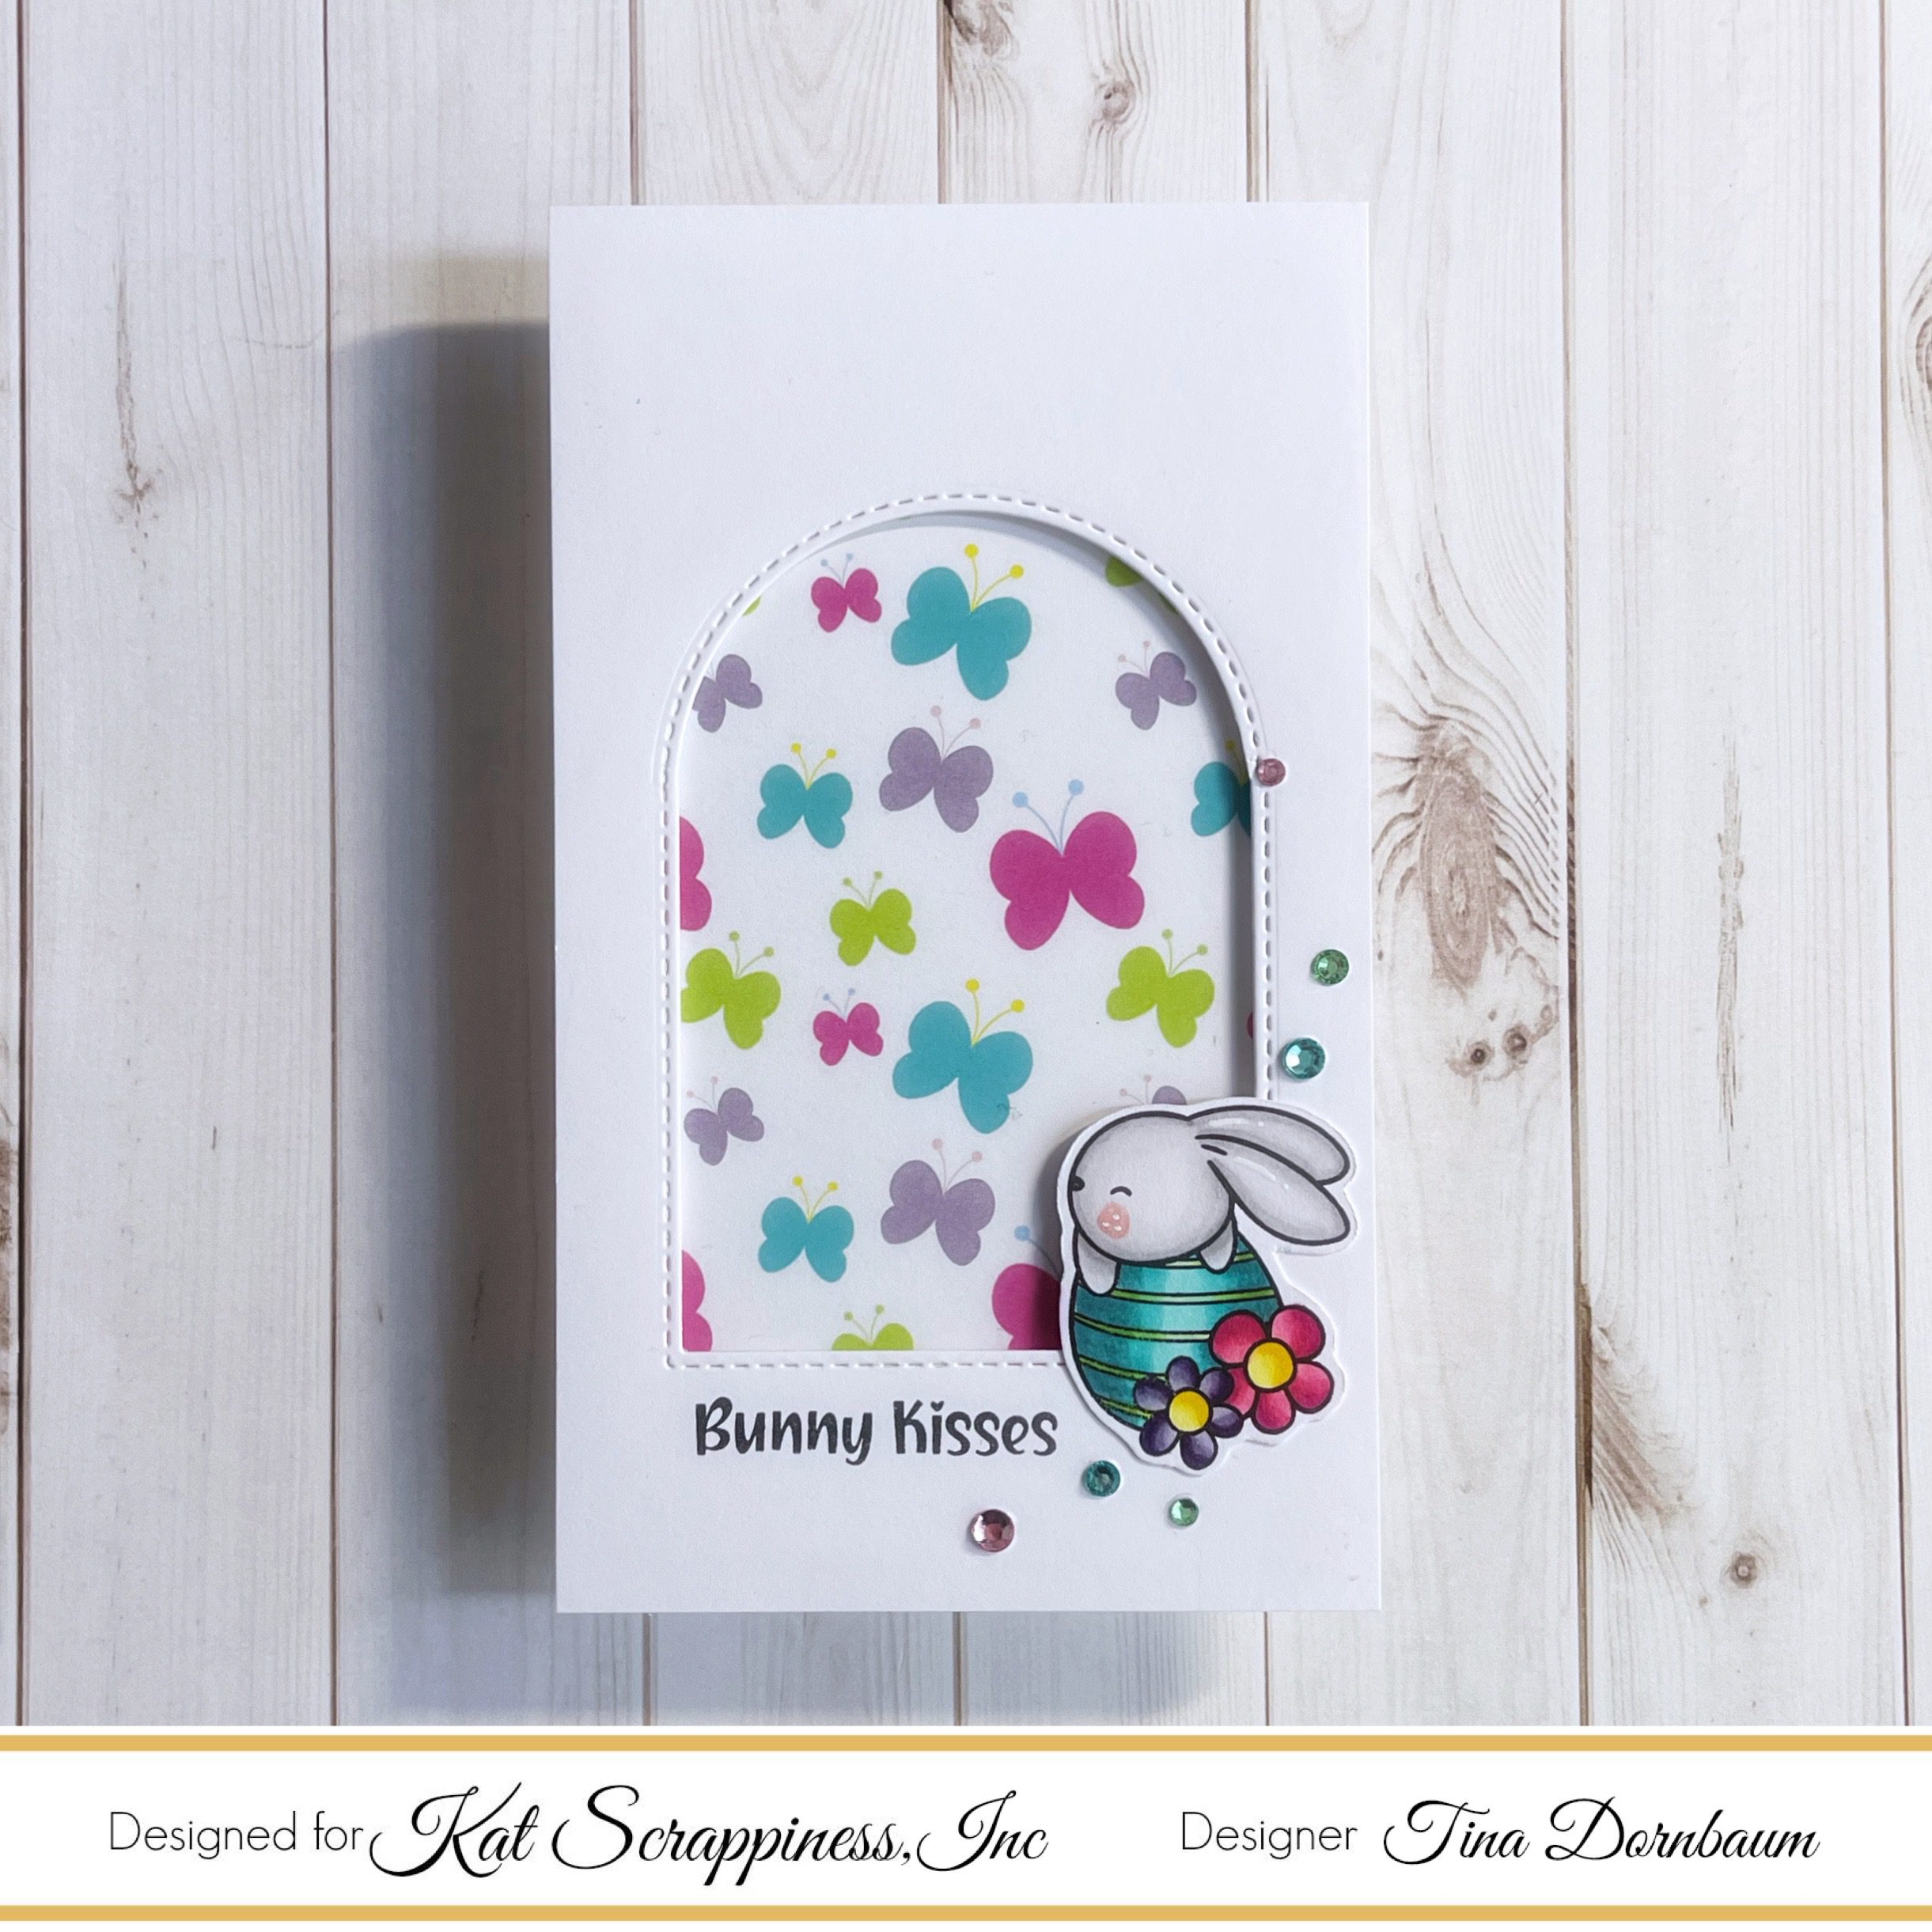
Step 4 – Stamp Hippity Hoppity Sentiment to the panel created in Step 3 under the Dome left side using Versafine Onyx Black Ink. Adhere the panel to the card front using Foam Tape.
Step 5 – Stamp Hippity Hoppity Bunnies onto White Cardstock using Gina K Amalgam Ink. Colour in with any alcohol markers of your choice. I used Copics. Fussy cut it leaving a little border and adhere to card using Foam Tape and a little Bearly Art Precision Glue.
Step 6 – Optional – For a little added interest and sparkle randomly adhere Rhinestone’s using a Pink Up Tool and Bearly Art Precision Glue. I used Pink Sapphire, Emerald and Turquoise Blue. They are absolutely stunning so I couldn’t resist.
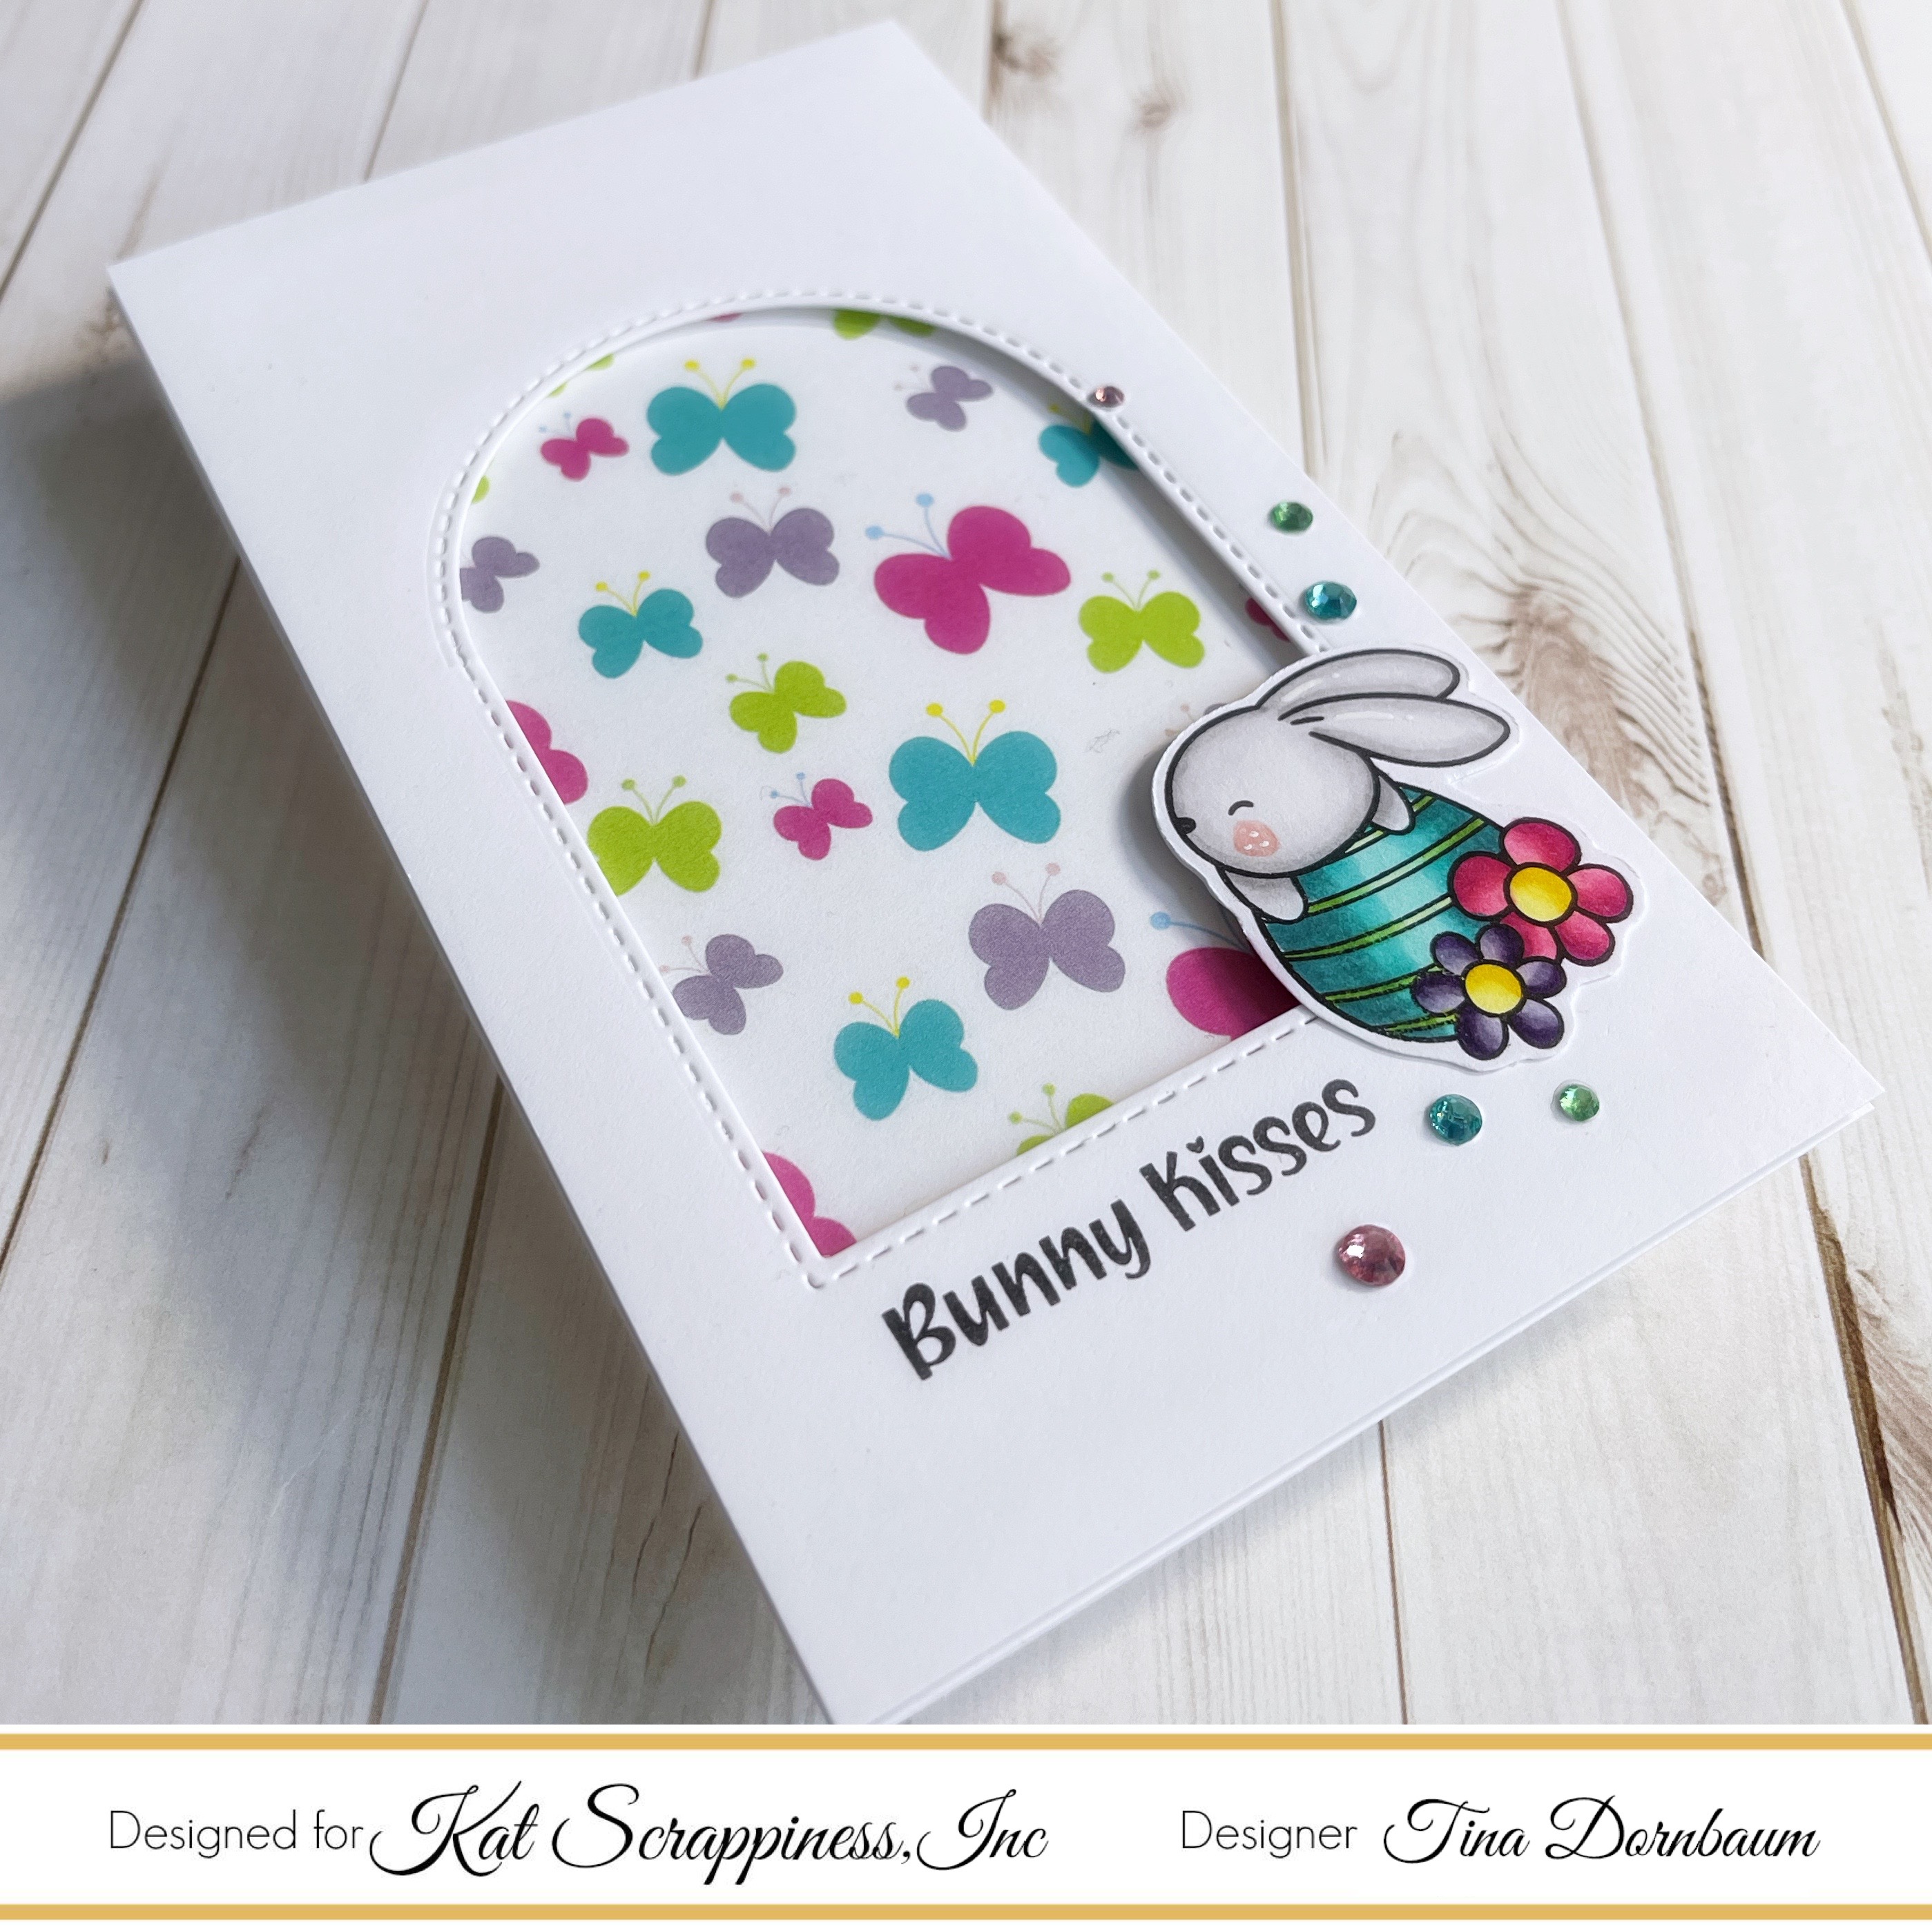
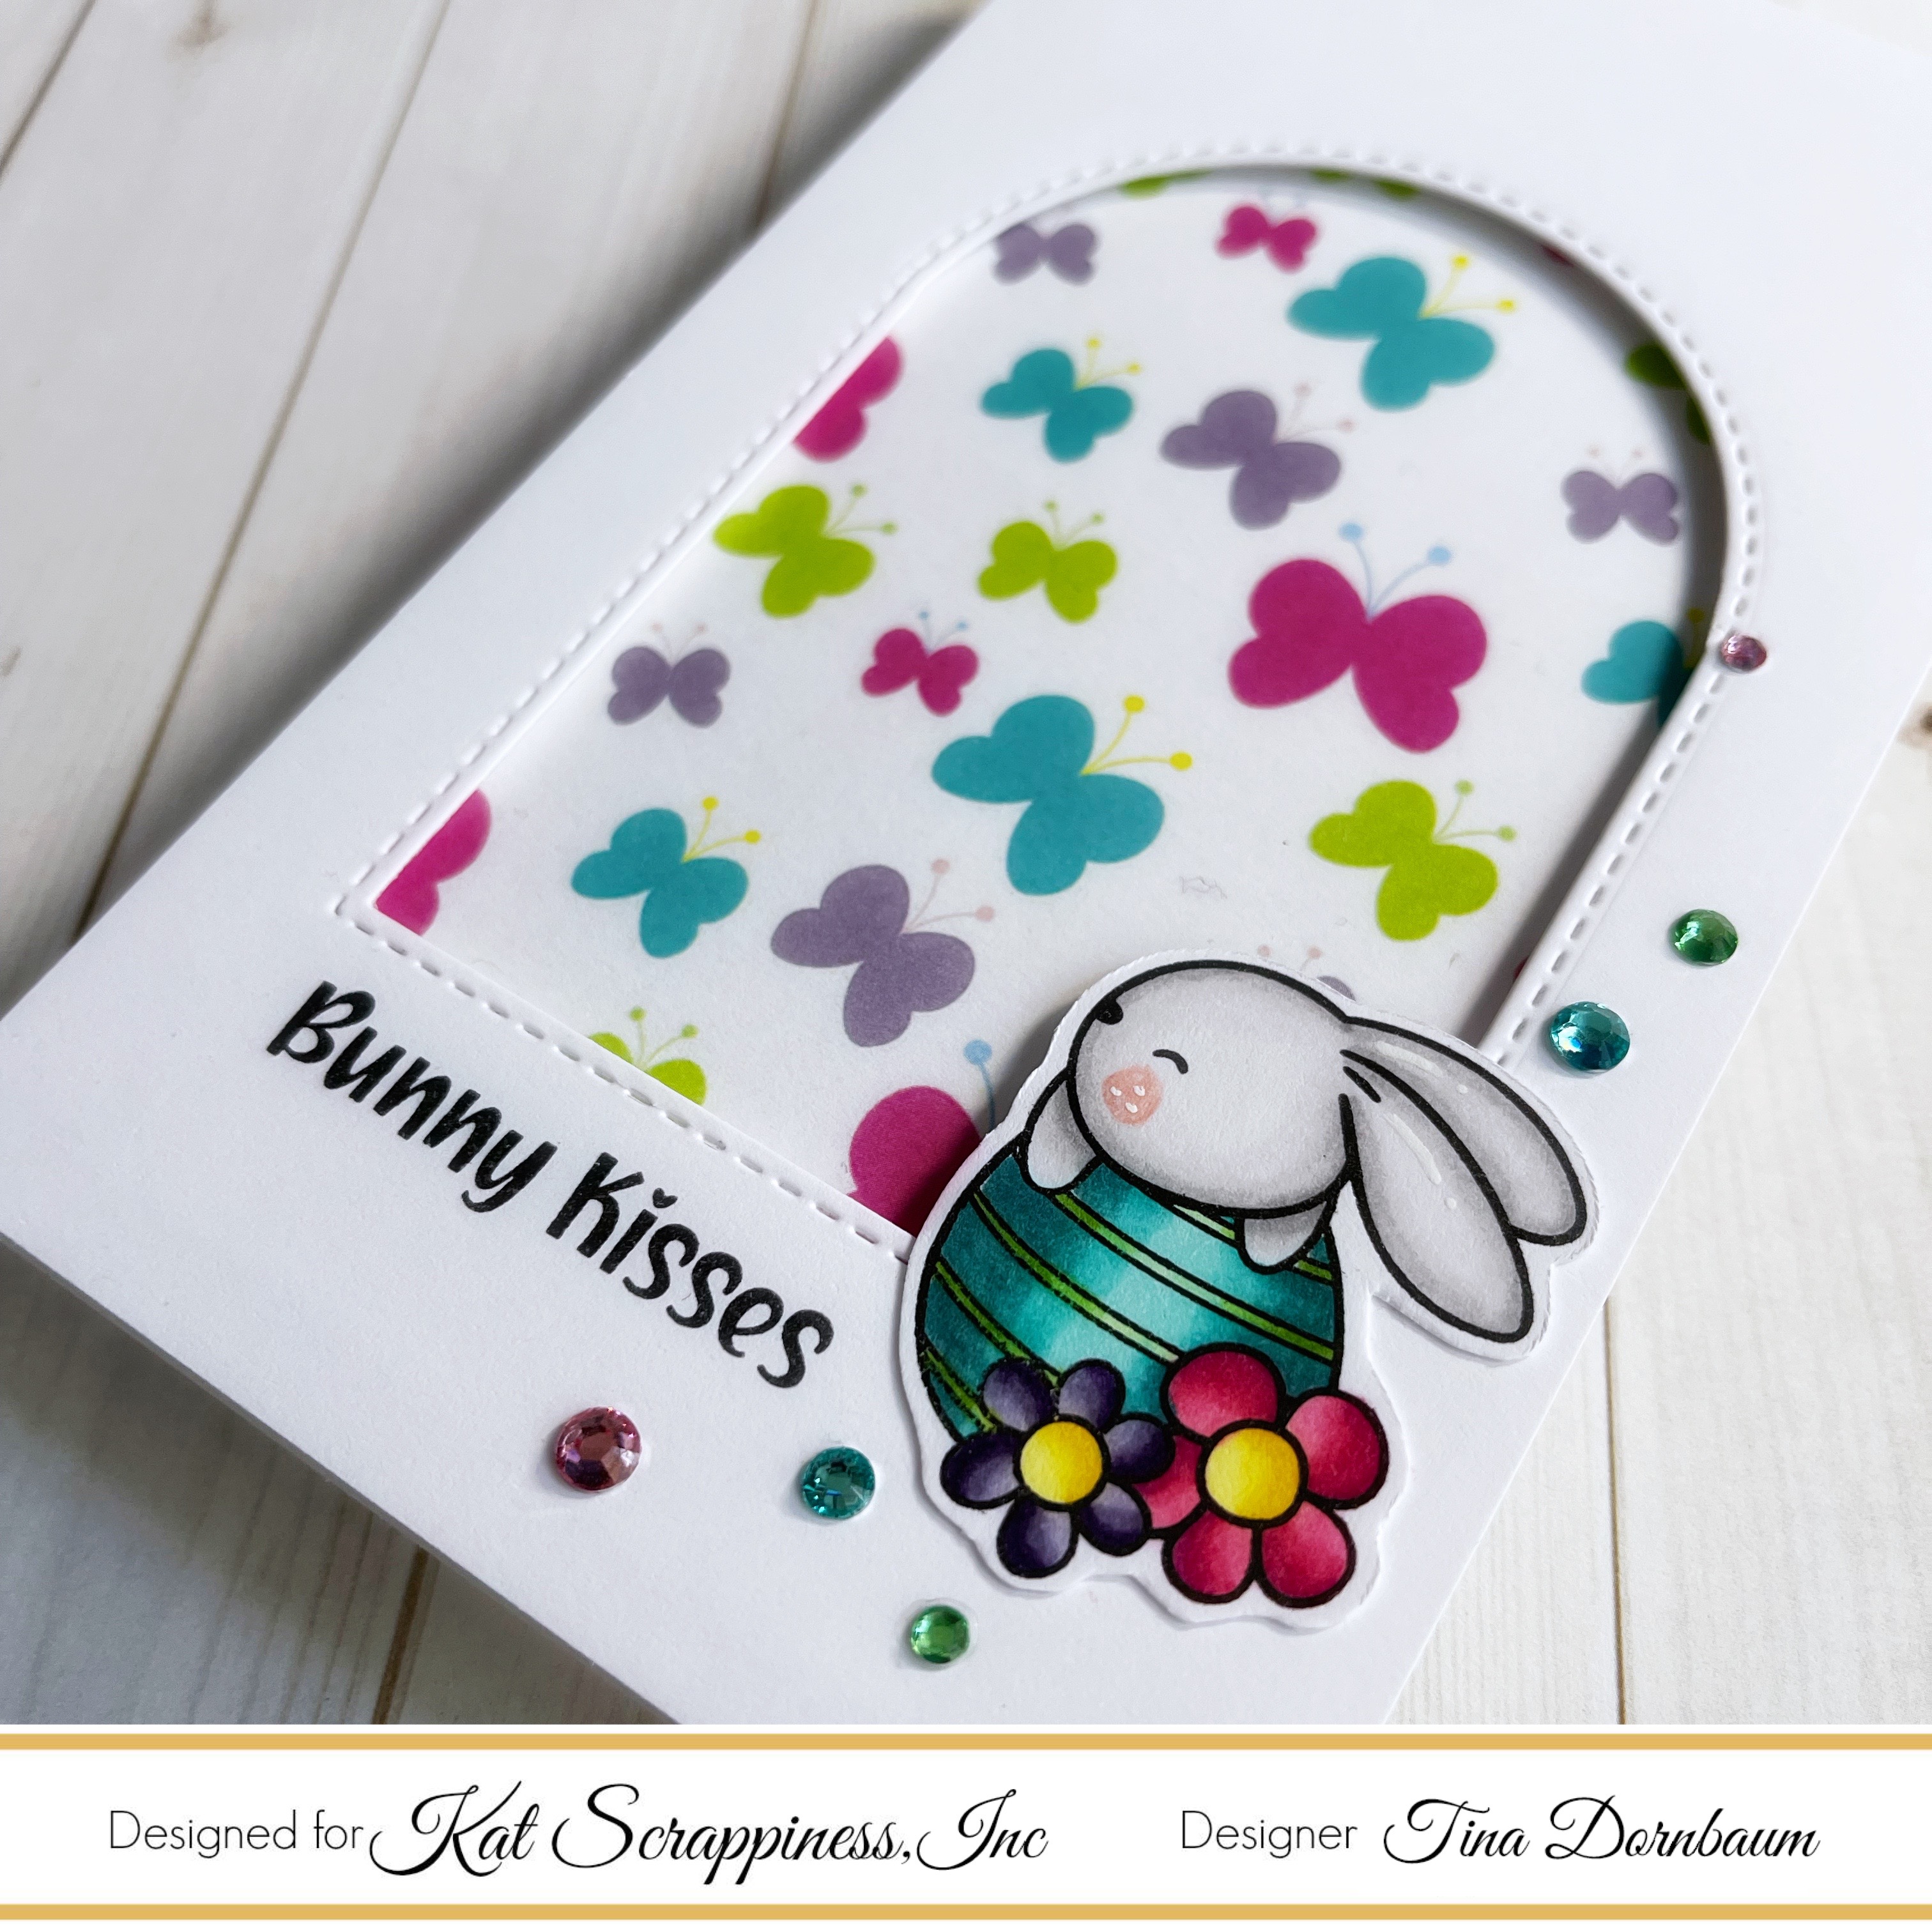
This card can be for used for several occasions by changing the sentiment. Below is a link to all the products used. Thank you for stopping by and Happy Crafting!
Products Used: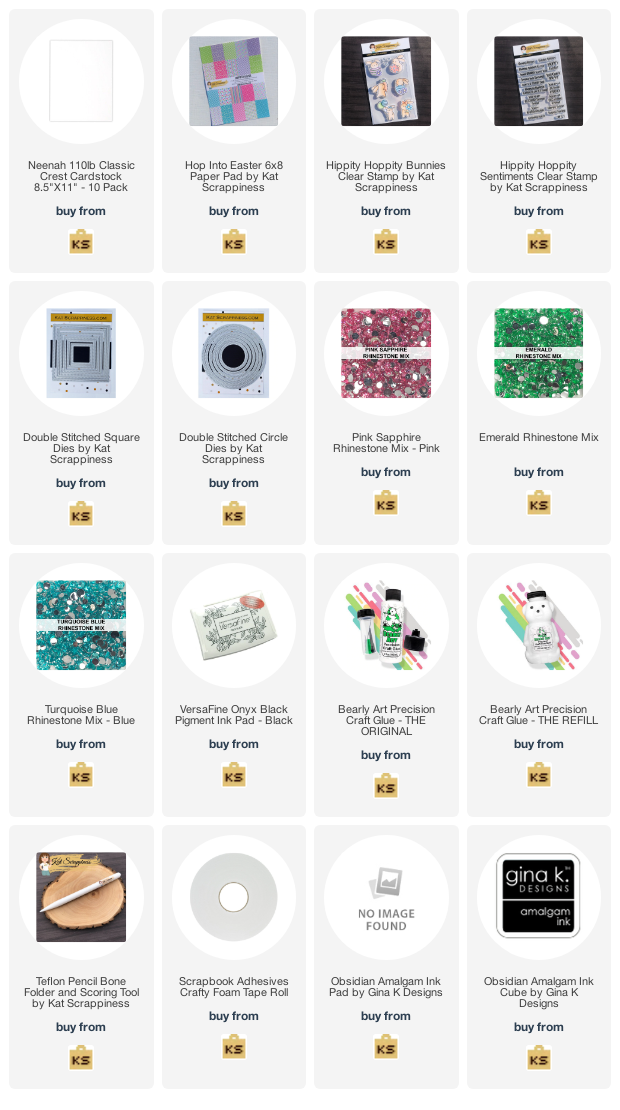
https://linkdeli.com/widget.js?id=f5e8378456858c916708

No Comments