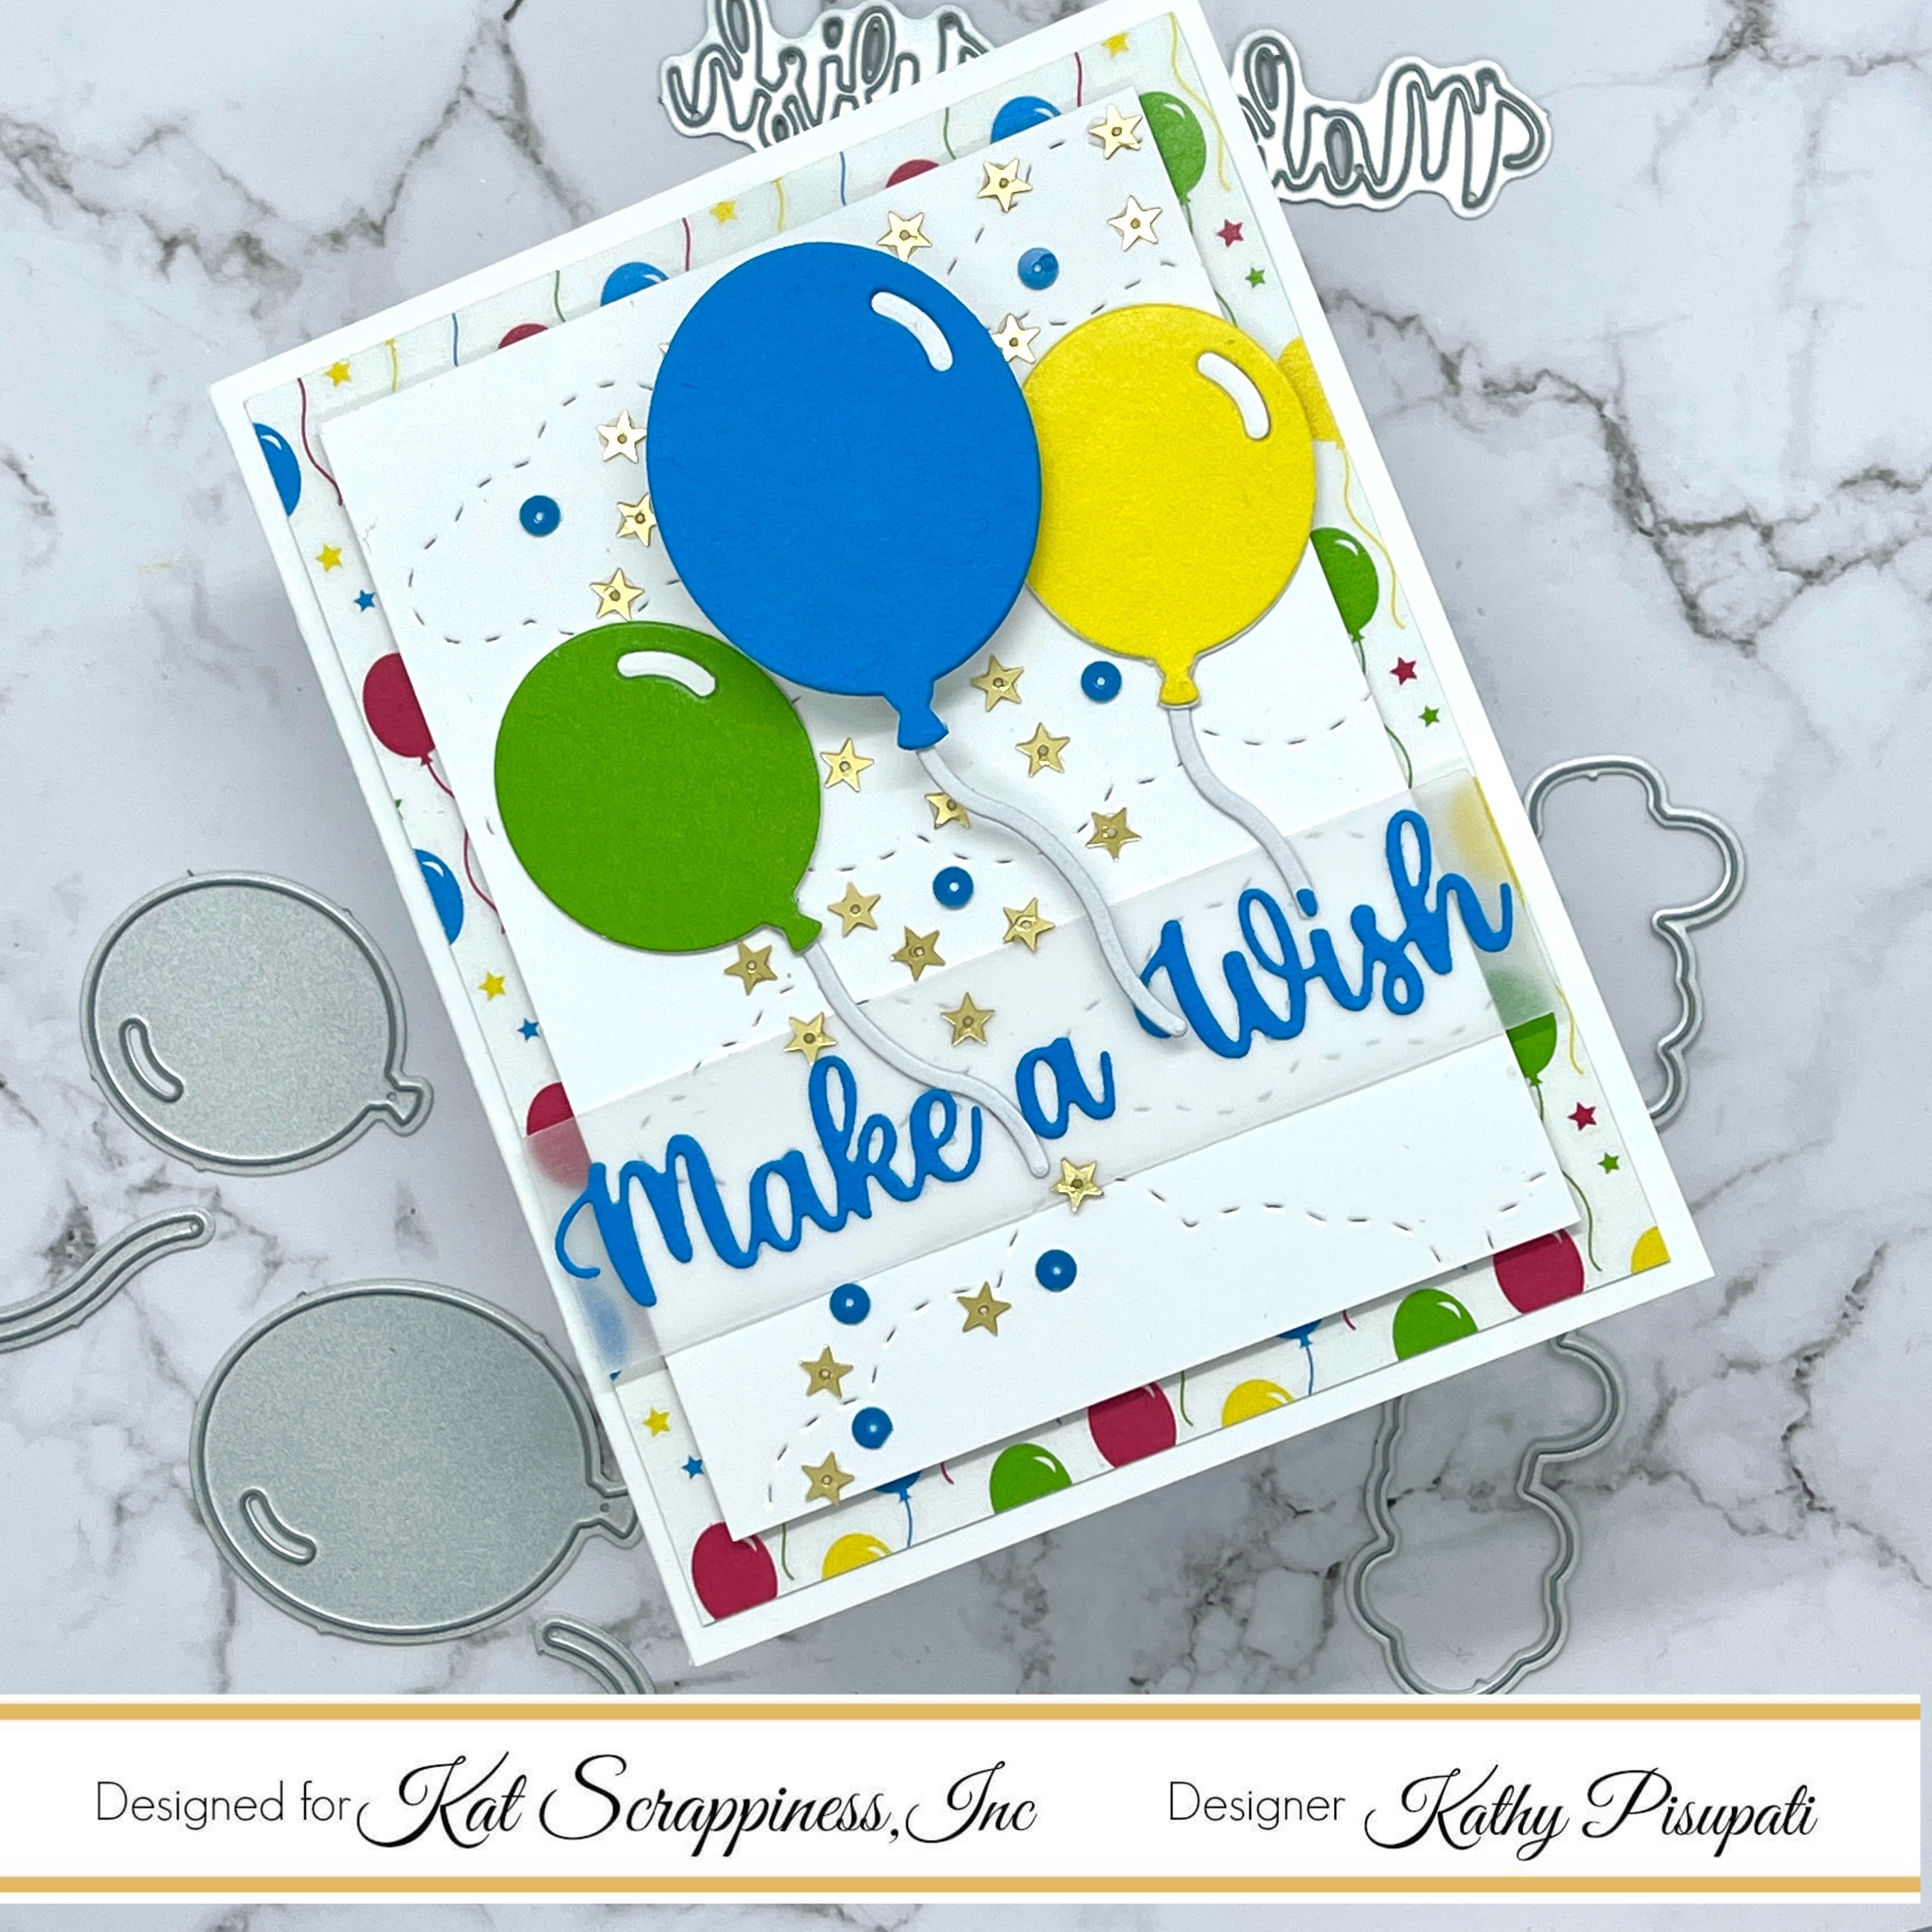
Do you like interactive cards? do you like easy cards? This is Kathy with the Design Team. I am up on the Kat Scrappiness Blog with just that! Recently I have fallen in love with the Birthday Essentials die set from Kat Scrappiness and wobbles! These cards are so easy to make. So let me show you how!
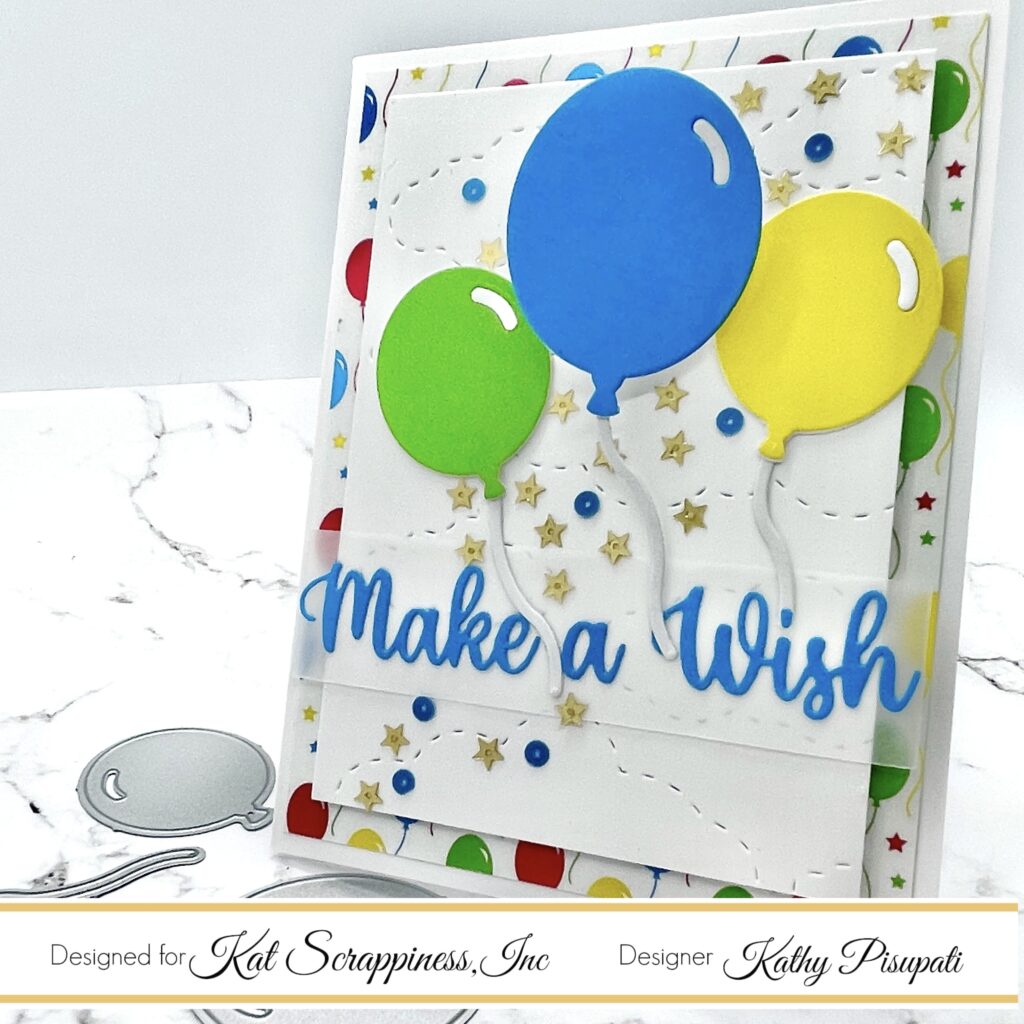
- Kat Scrappiness Birthday Essentials die set
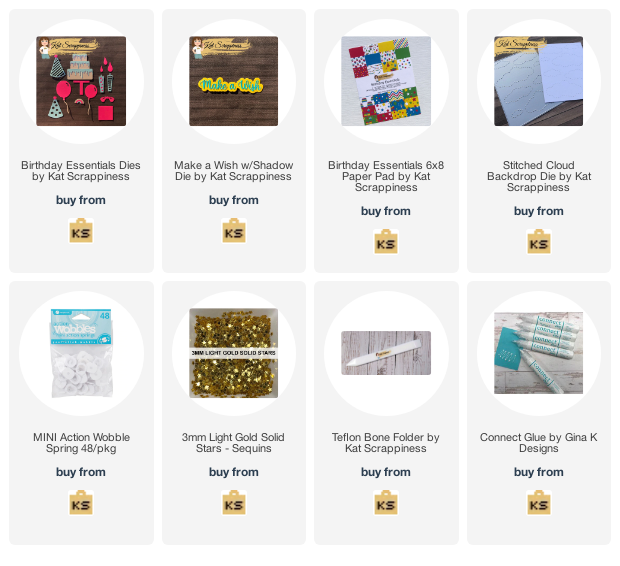
- Kat Scrappiness Birthday Essentials Paper Pack
- Kat Scrappiness Make A Wish Sentiment with Shadow die
- Kat Scrappiness Stitched Cloud Cover Plate
- Kat Scrappiness 3mm Light Gold Star Sequins
- Kat Scrappiness Teflon Bone Folder
- Wobbles
- Paper Trimmer
- Die-Cutting machine
- Neenah Classic Crest Solar White
- Foam Tape
- Gina K Connect Glue
- Vellum
[youtube https://www.youtube.com/watch?v=NuHLs4eejwg]
- Cut, score, and fold a standard A2 card base.
- Cut the background panel from the Birthday Essentials Paper Pack. Size 4″ x 5.25″
- Die-cut a 4.25″ x 5.5″ white panel with the Stitched Clouds Cover Die. We will trim this to 3.5″ x 4.75″.
- Die-cut the Make A Wish sentiment from a card stock that coordinates with your patterned paper.
- Cut a piece of vellum to 1.25″ x 4″.
- Put liquid glue on the back of sentiment, center, and adhere to vellum. I let the glue dry for about 30 seconds or tap some of the glue before applying it to the vellum.
- Die-Cut your balloons in a solid color card stock. Don’t lose the litte highights. These will be inlaid after we glue the balloon pieces together.
- I also cut an additional white piece for each balloon. Glue the colored piece to the white piece. Allow drying.
- I put a tiny piece of tape on the back of each balloon where the highlight was cut from. Then I glued both highlights in. White highlight gets glued on top.
- The strings were cut from white card stock as well.
- I added a wobble to the largest balloon.
- Decide where you want your balloons to go. It helps to adhere to your sentiment first. You can cut the strings of the balloons if needed.
- Glue the smaller balloons directly to the white panel. Remove the tape from the wobble, add a bit of glue and glue the largest balloon down.
- Now go crazy with sequins 🙂 I wanted the sequins to draw your eye upward.
- I used double-sided adhesive to attach these two layers to the card base. That’s it the card is done!
Thank you for stopping by the Kat Scrappiness Blog today. Please subscribe to receive daily inspiration from our design team. Have a great day and keep on crafting! (Affiliate links are provided below at no additional cost to you.)


No Comments