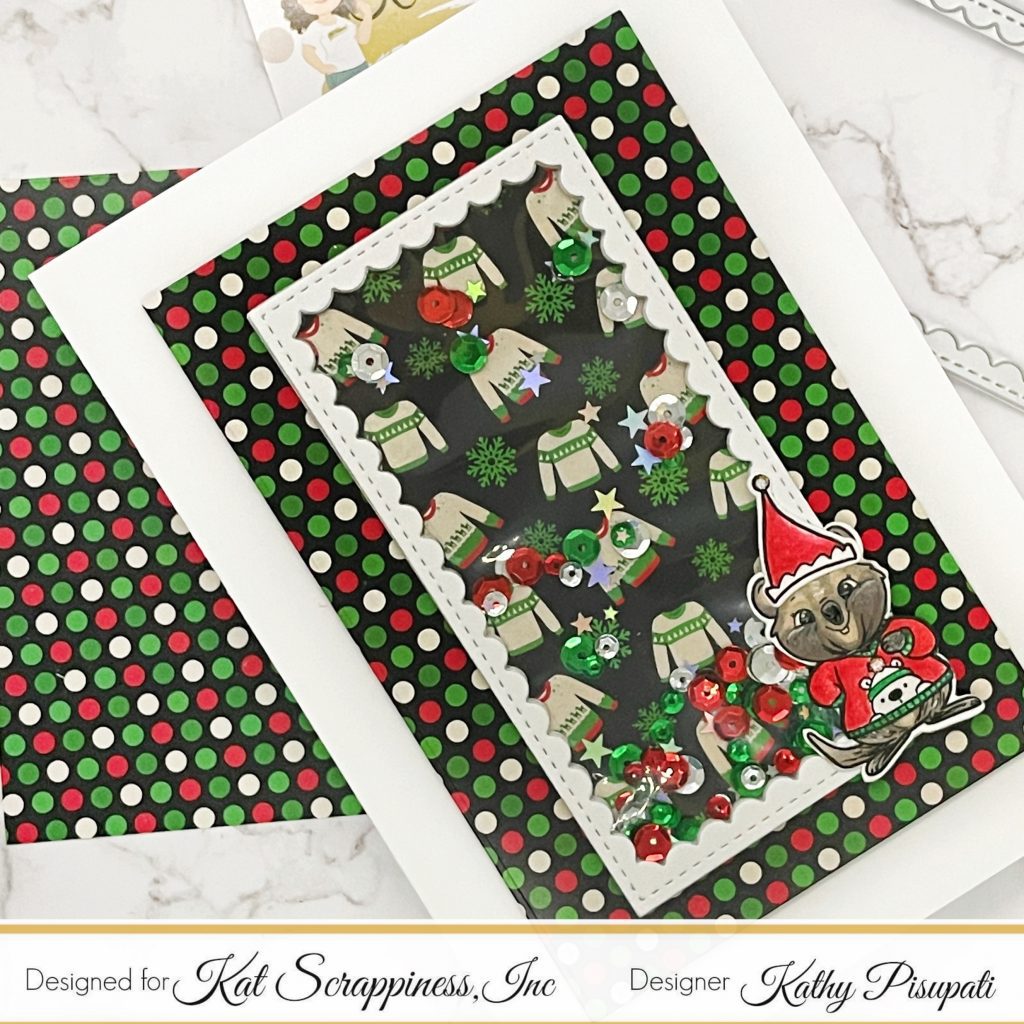
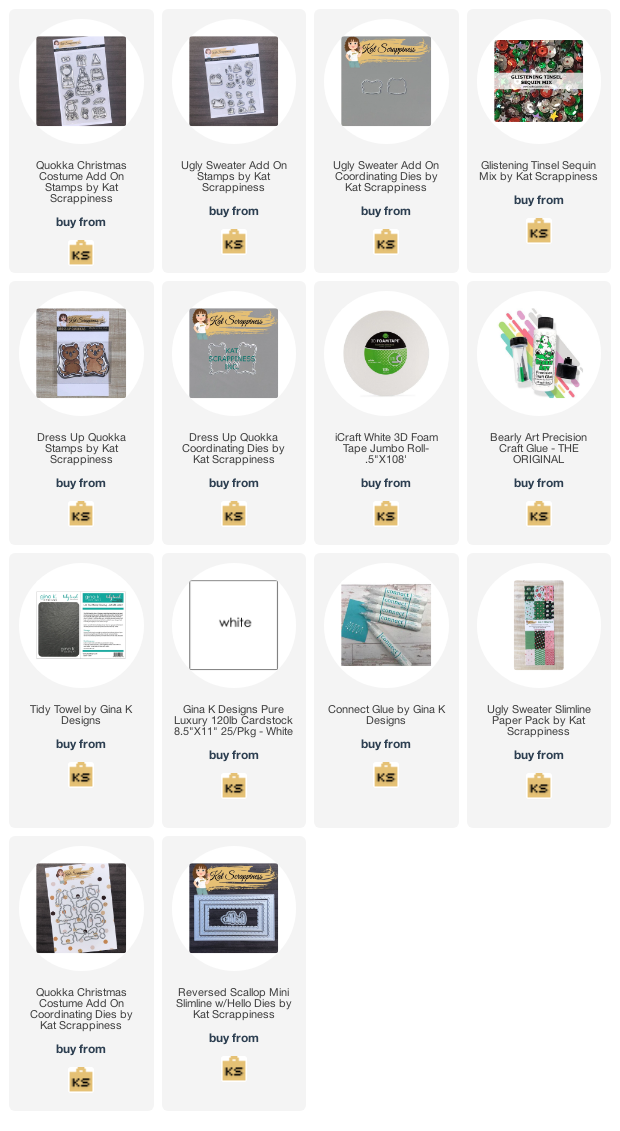
I am not ready for the holidays yet! The store shelves are lined with Christmas items. I haven’t even finished my Halloween cards. (Don’t even mention Thanksgiving!) Do you have your Christmas cards done? Today’s featured card uses Kat Scrappiness products. I will be making a Christmas Shaker Card. Check out my post on the Kat Scrappiness Blog today. It features the Ugly Sweater Paper pack, Quokka stamp and dies, Reverse Scallop Dies, 5 x 7 Never Ending Rectangle dies, Ugly Sweater add-on stamps, and dies. I will provide links to products at the end of this post. Card-making commencing now.

card details
- First, I cut, scored and folded my base. I am making a 5 x 7 card. You can use and size base, just adjust the size of of shaker card element.
- Next, pick a holiday sentiment. I used Happy Chrismas in red and green. Here, I used the Happy Day set.
- In this step, cut the Ugly Sweater paper(polka dot) with one of the Never Ending Rectangles.
- Next I cut 5 Reverse Scallop dies. Mine measure 2.5 x 4.875.
- In the next step, glue together 4 scallop pieces.
- Next, glue down the acetate to the back of the fifth panel only. You can trim the extra acetate from the sides.
- After this, I glued acetate and allowed it to dry. Adhere the additional 4 to the back.
- In the next step, add sequins to the back of the frame.
- Now, carefully add glue around the backside of the frames. Add your Ugly Sweater panel. If it is a bit big you can allow it to dry and trim it.

- Now, stamp, color and cut the cute little sweater and hat for the Quokka.
- It is now time for the Quokka, stamp, color and cut the image.
- Next, I glued the hat and sweater to the Quokka.
- For some bling, apply glitter gel to the puff on his cap and the polar bears hat.
- Next, I applied the scalloped frame to the polka dot panel.
- Add your Christmas Quokka to bottom corner.
- Now add foam tape to the back of the polka dot panel. Glue this to the 5 x 7 card base.
As always, thank you for sharing your time with me. Please subscribe to my blog below. I also appreciate it if you follow me on Instagram @expressivepaper.


