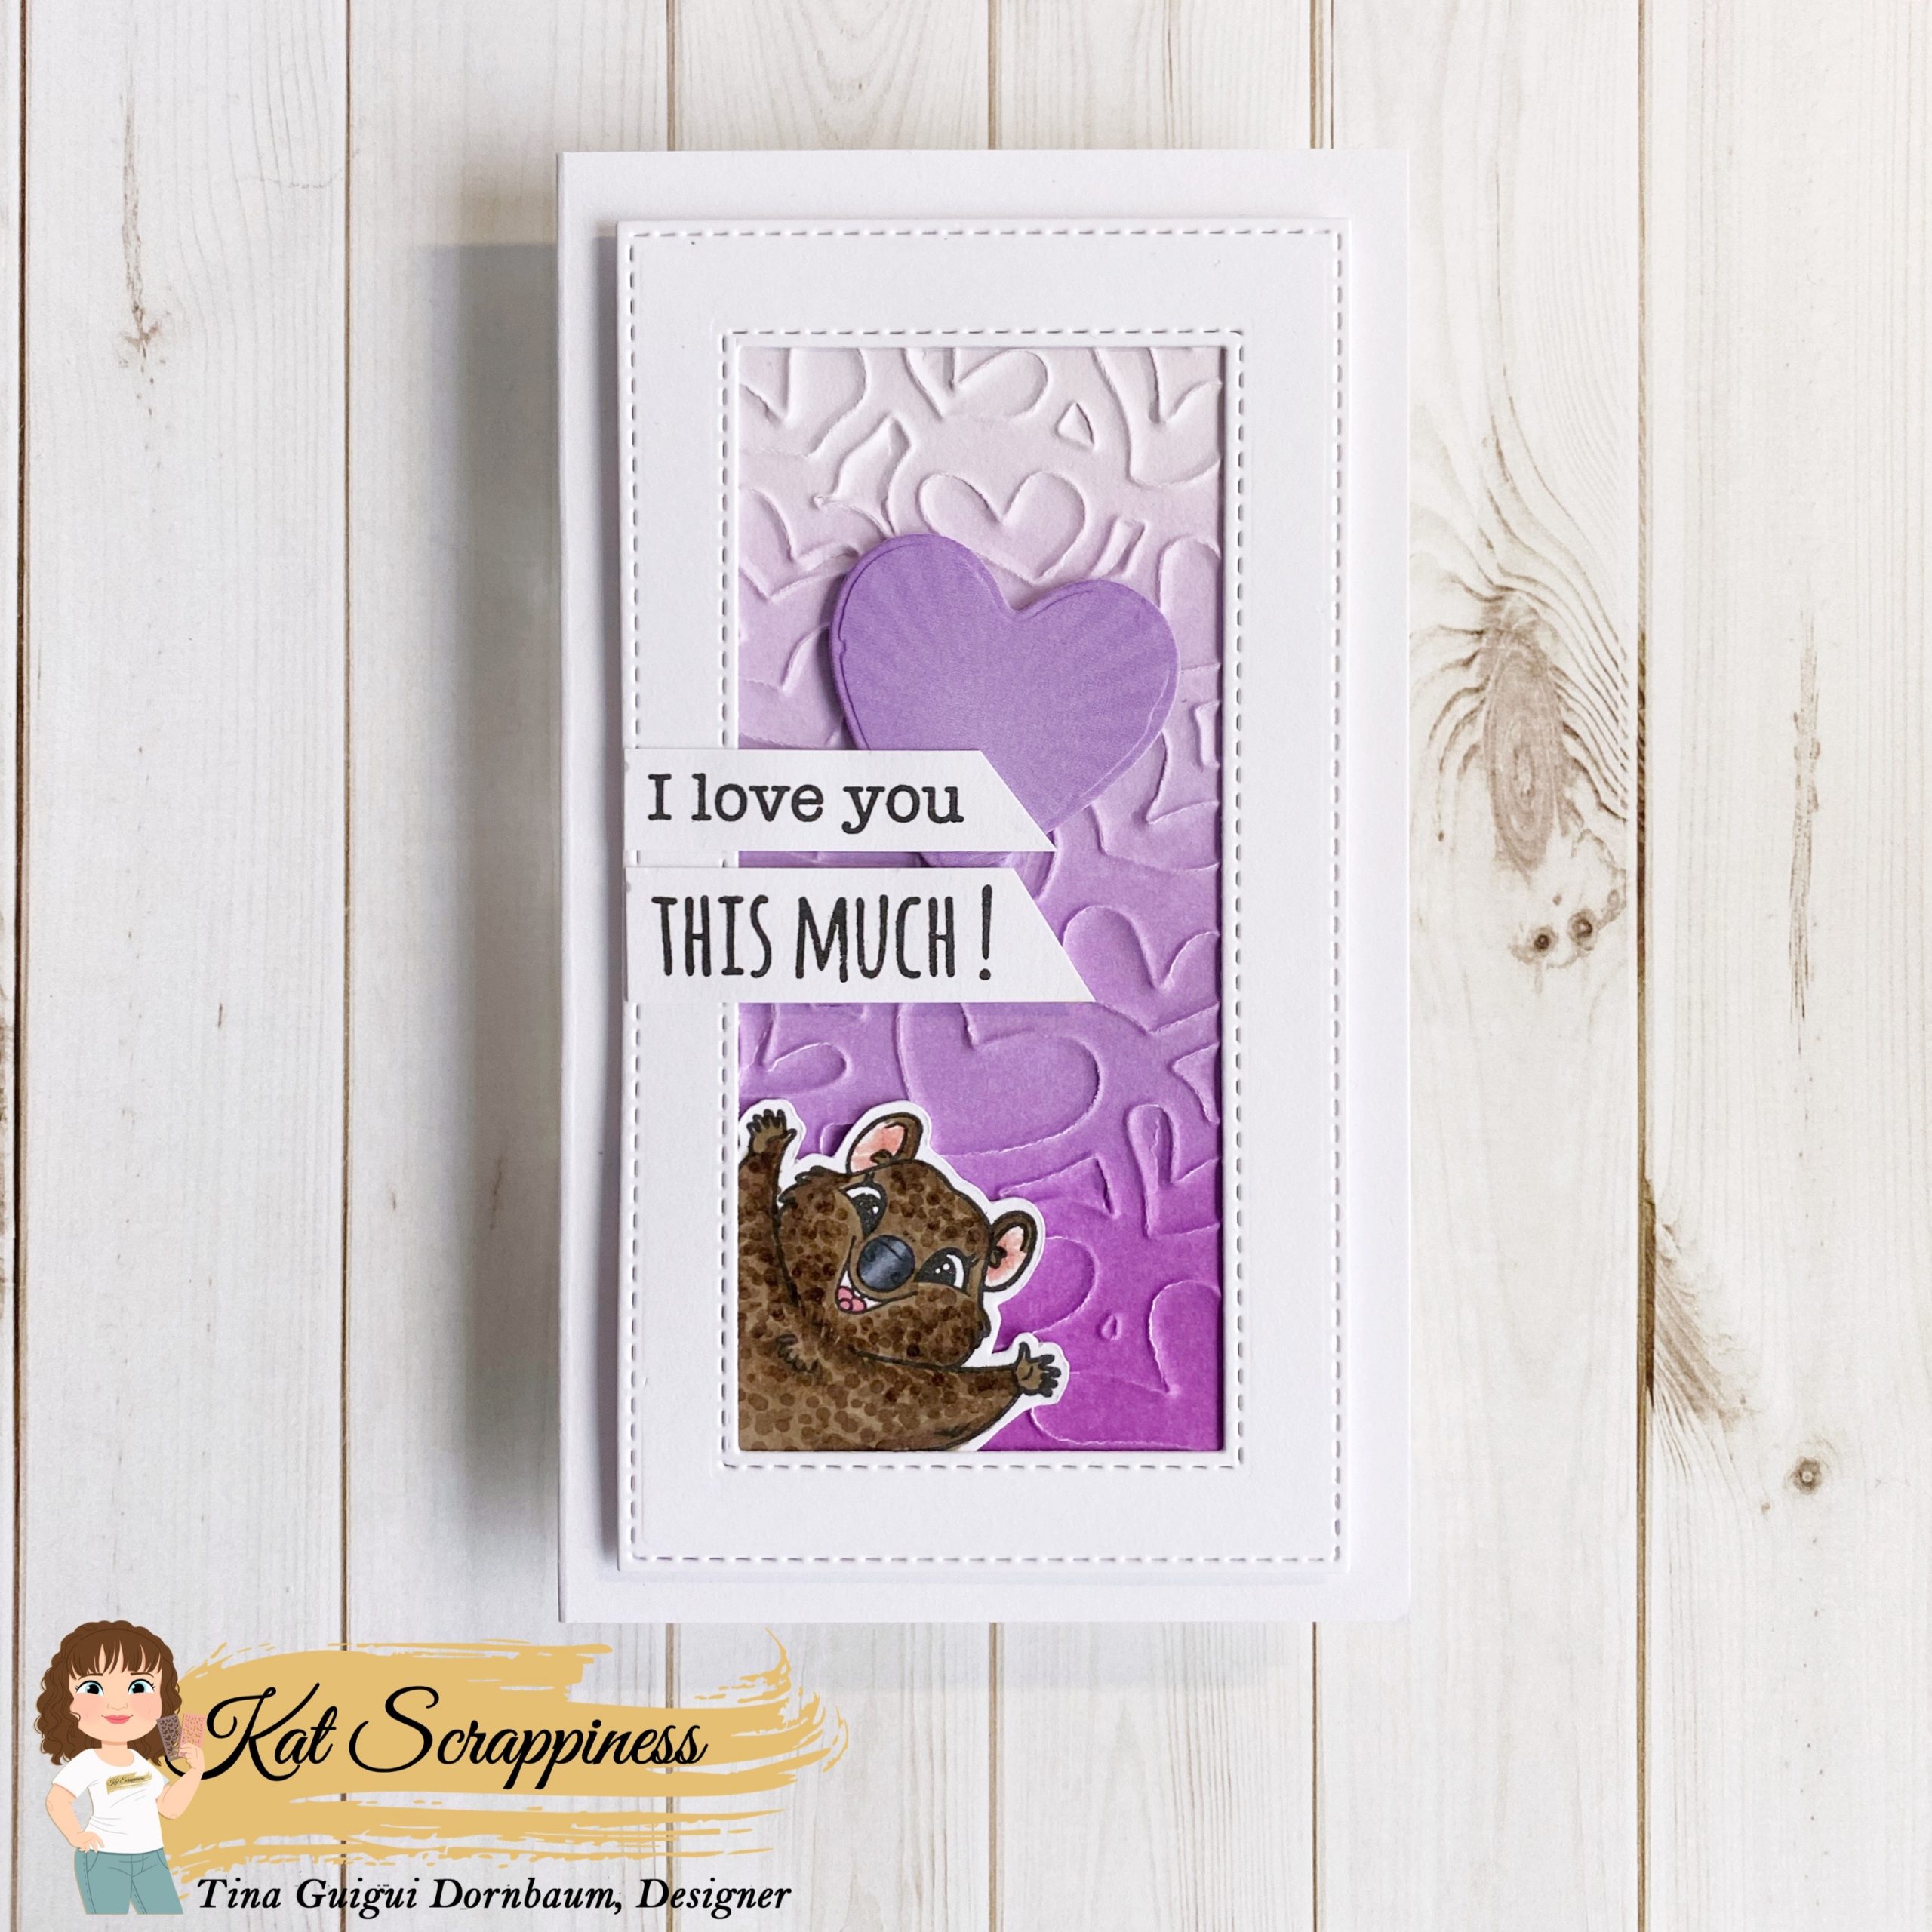
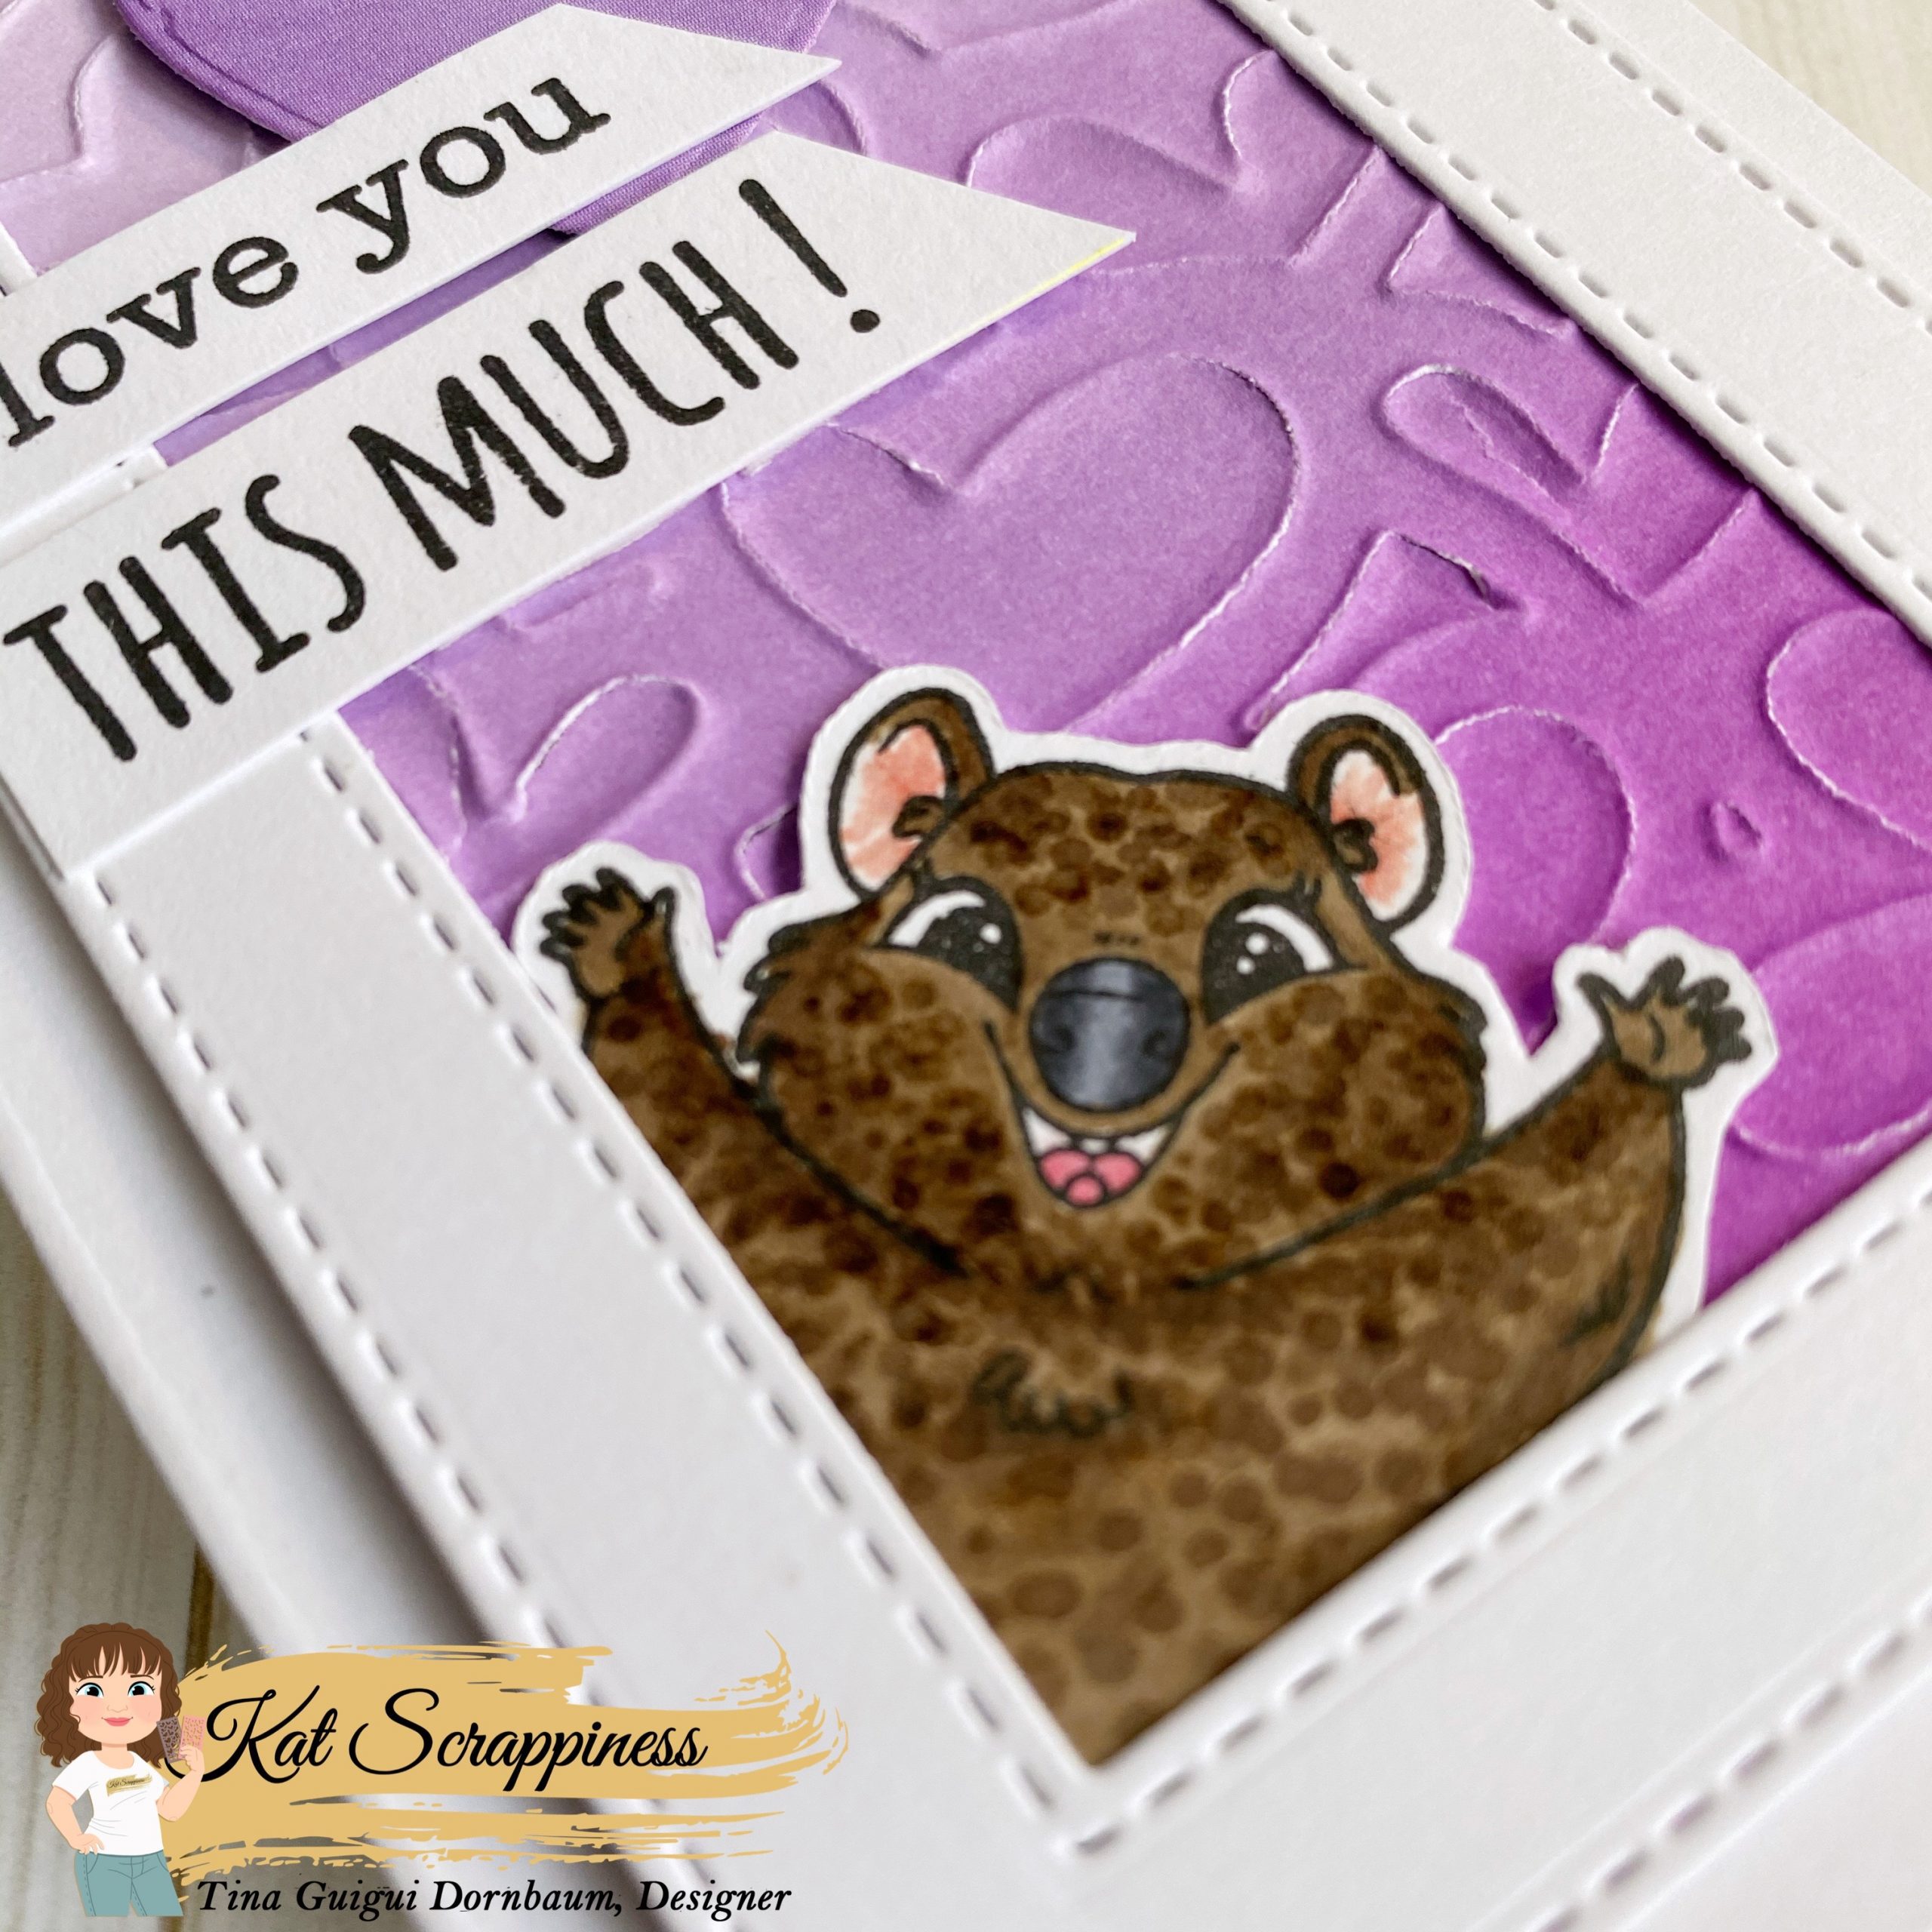
Hi everyone, it’s Tina here. Today’s card is using the new Double Stitched Mini Slimline dies along with the Quokka’N Up Stamp Set. I also used the Heart Panel to emboss on a Ombré Inked Background. Below you will find the steps to create your own card.
Step 1 – Trim White Cardstock to 7” x 6”, score at 3 1/2” and fold in half for a vertical side fold card. (Mini Slimline)
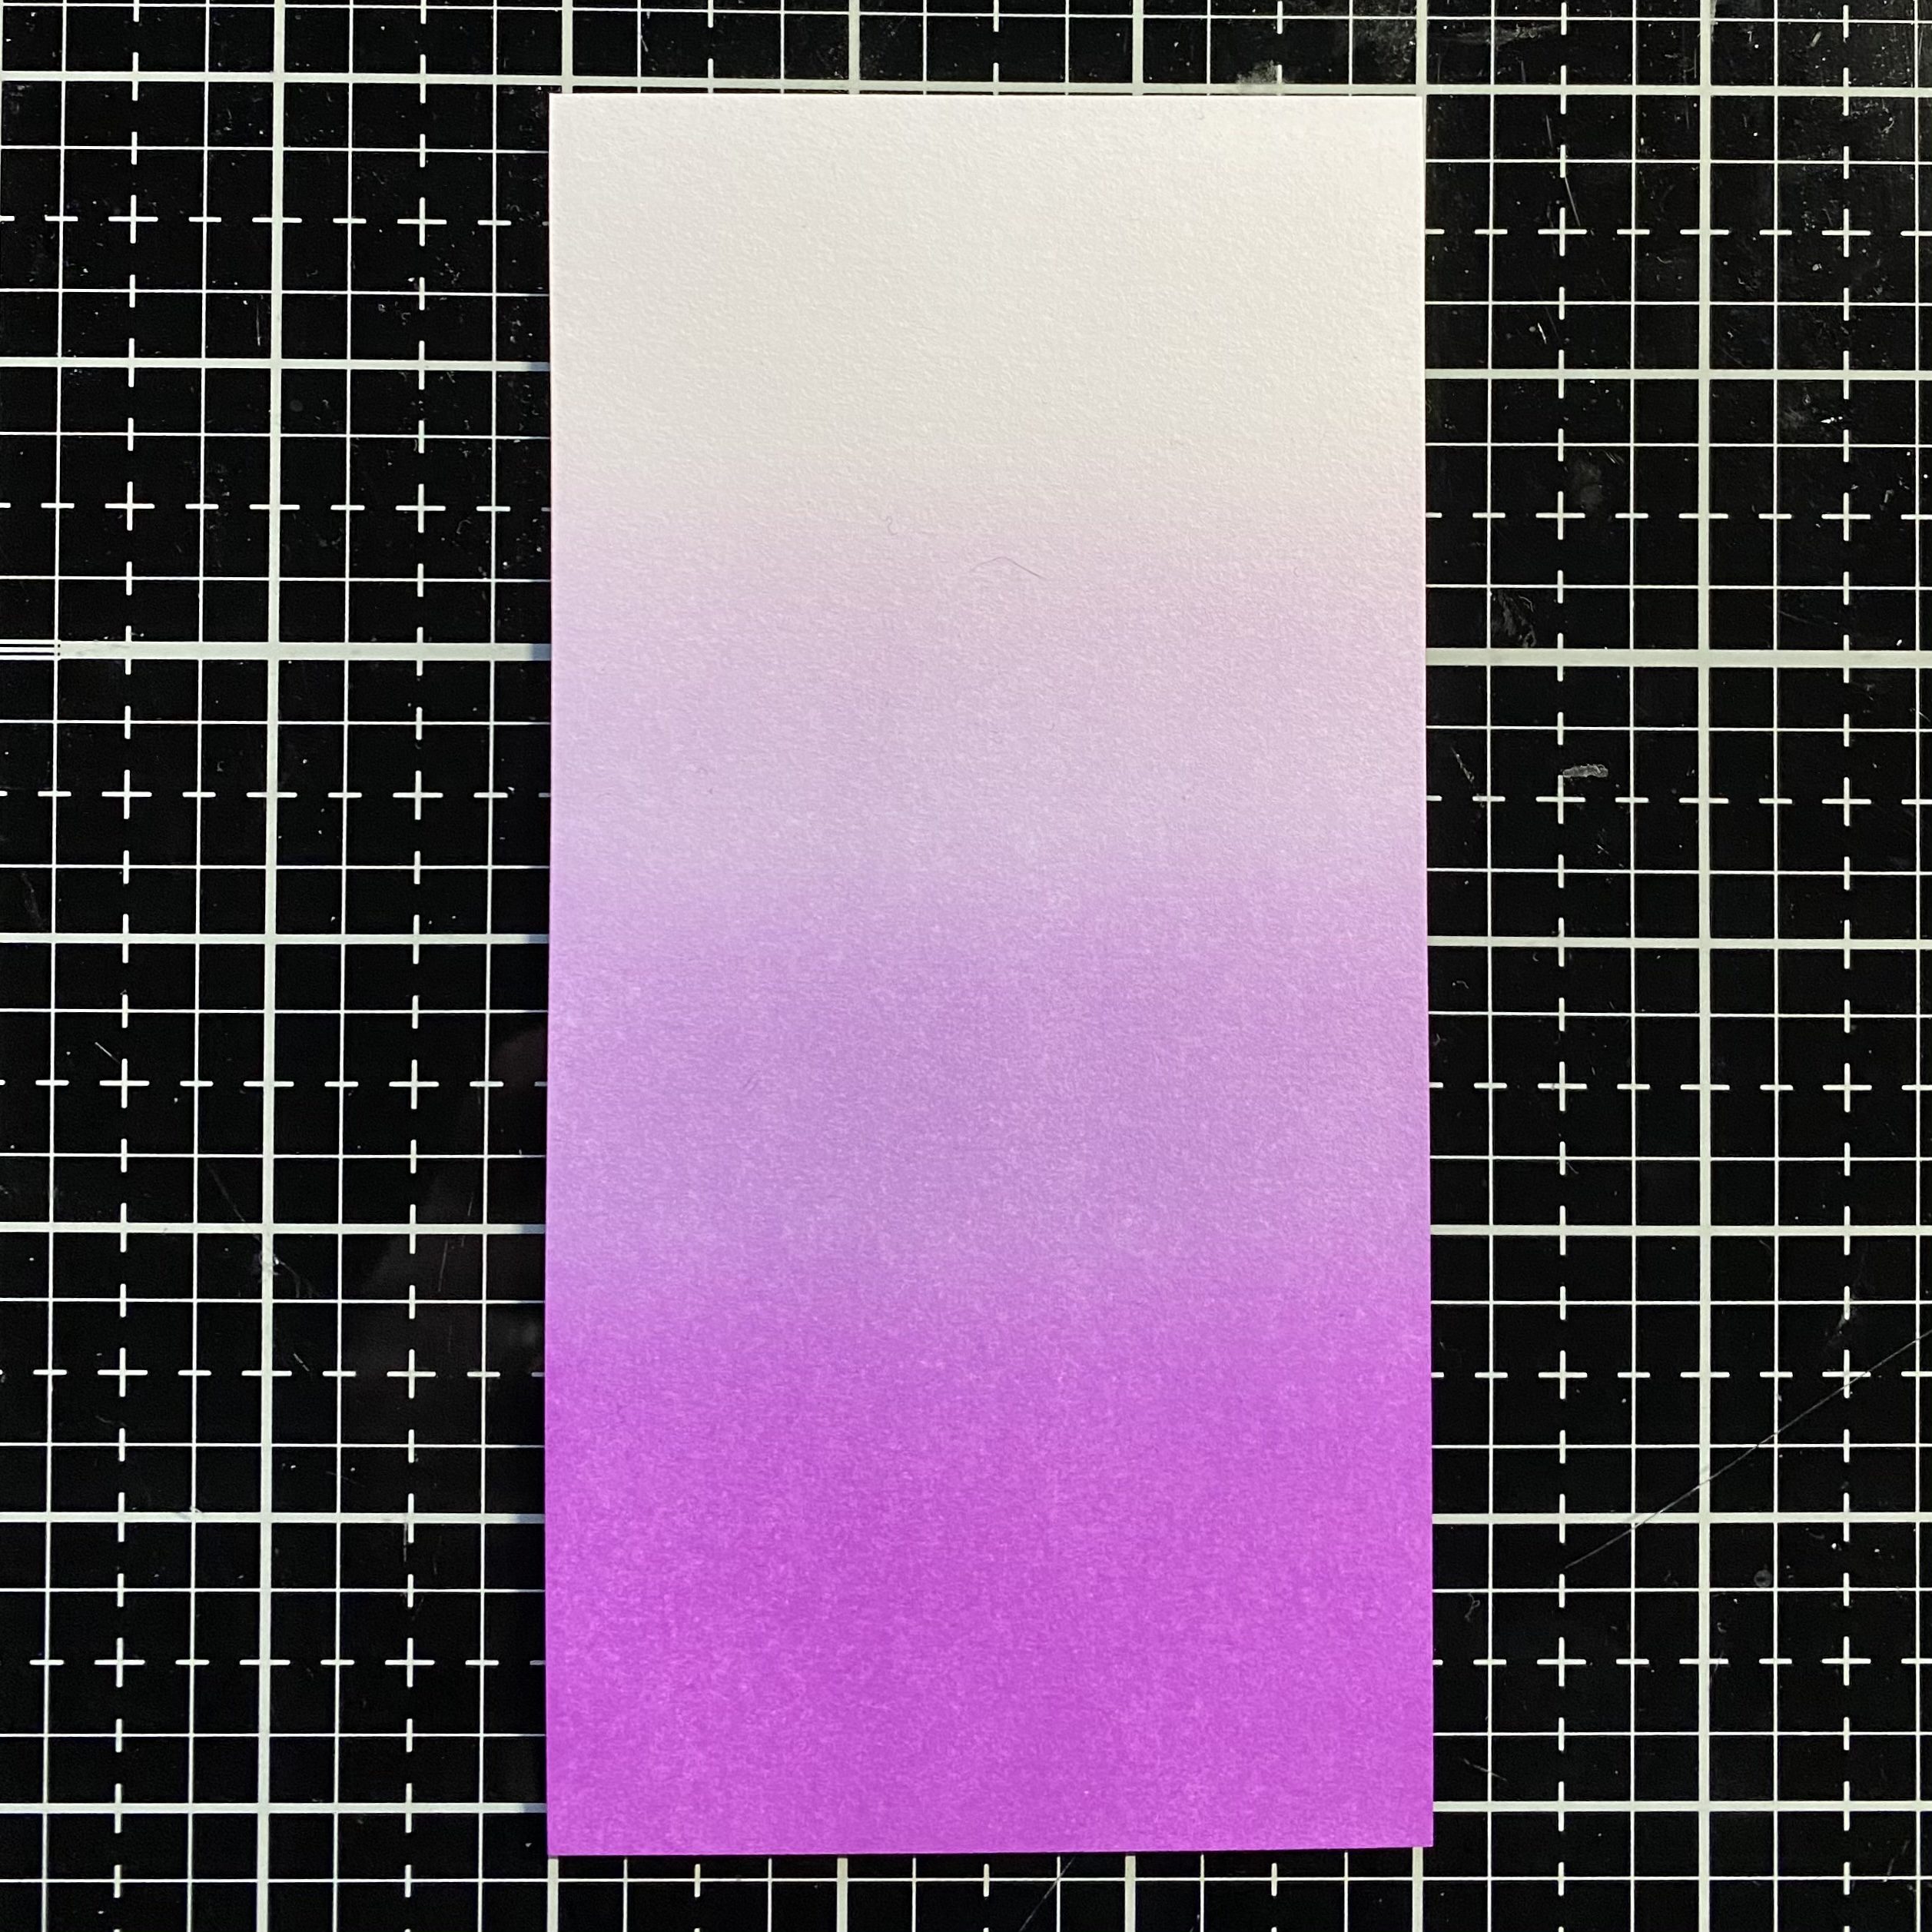
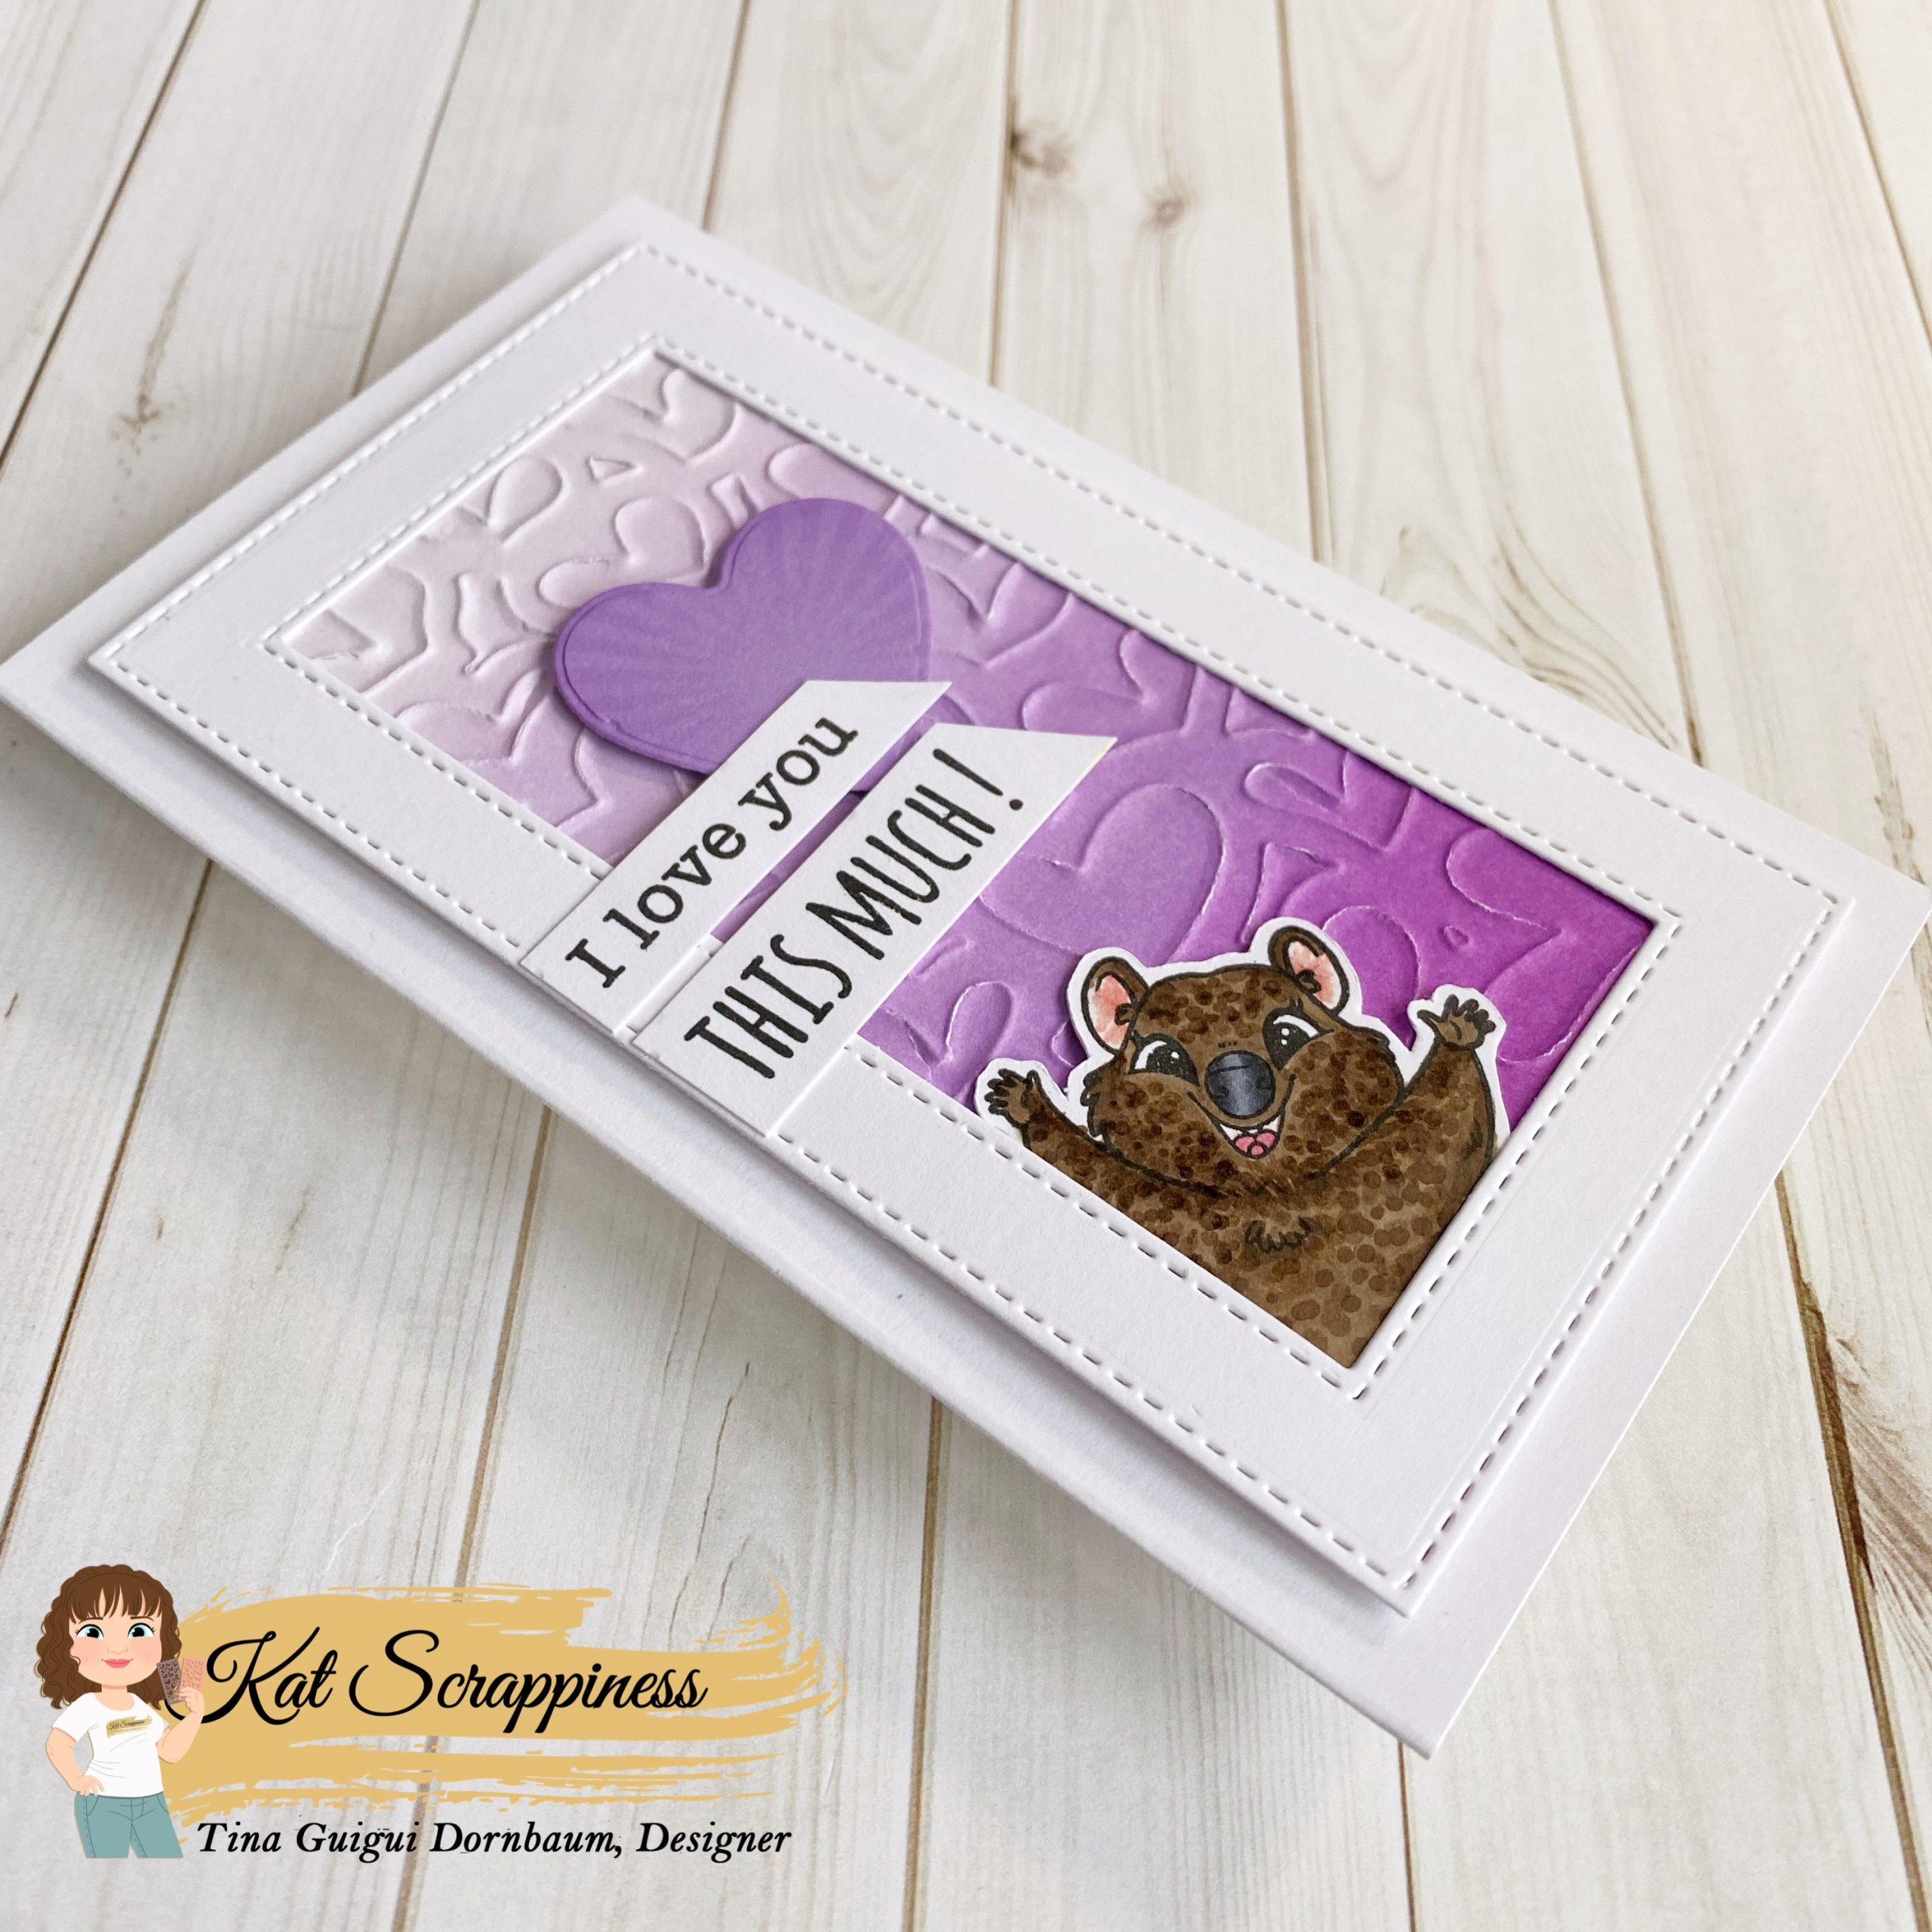
Step 2 – Trim White Cardstock to 3 1/2” x 6”. Apply various shades of ink in the same color family using a Blending Brush starting from top lightest color working down to the darkest color. Emboss Heart Panel using your favourite die cutting machine. Be sure to check the sandwich needed to emboss using a die. I embossed the wrong side but decided to keep it as I liked the effect it created. Adhere to card front using Nuvo Deluxe Adhesive.
Step 3 – Diecut Double Stitched Mini Slimline using White Cardstock (2 dies together) to create a frame. Adhere to card using Nuvo Deluxe Adhesive.
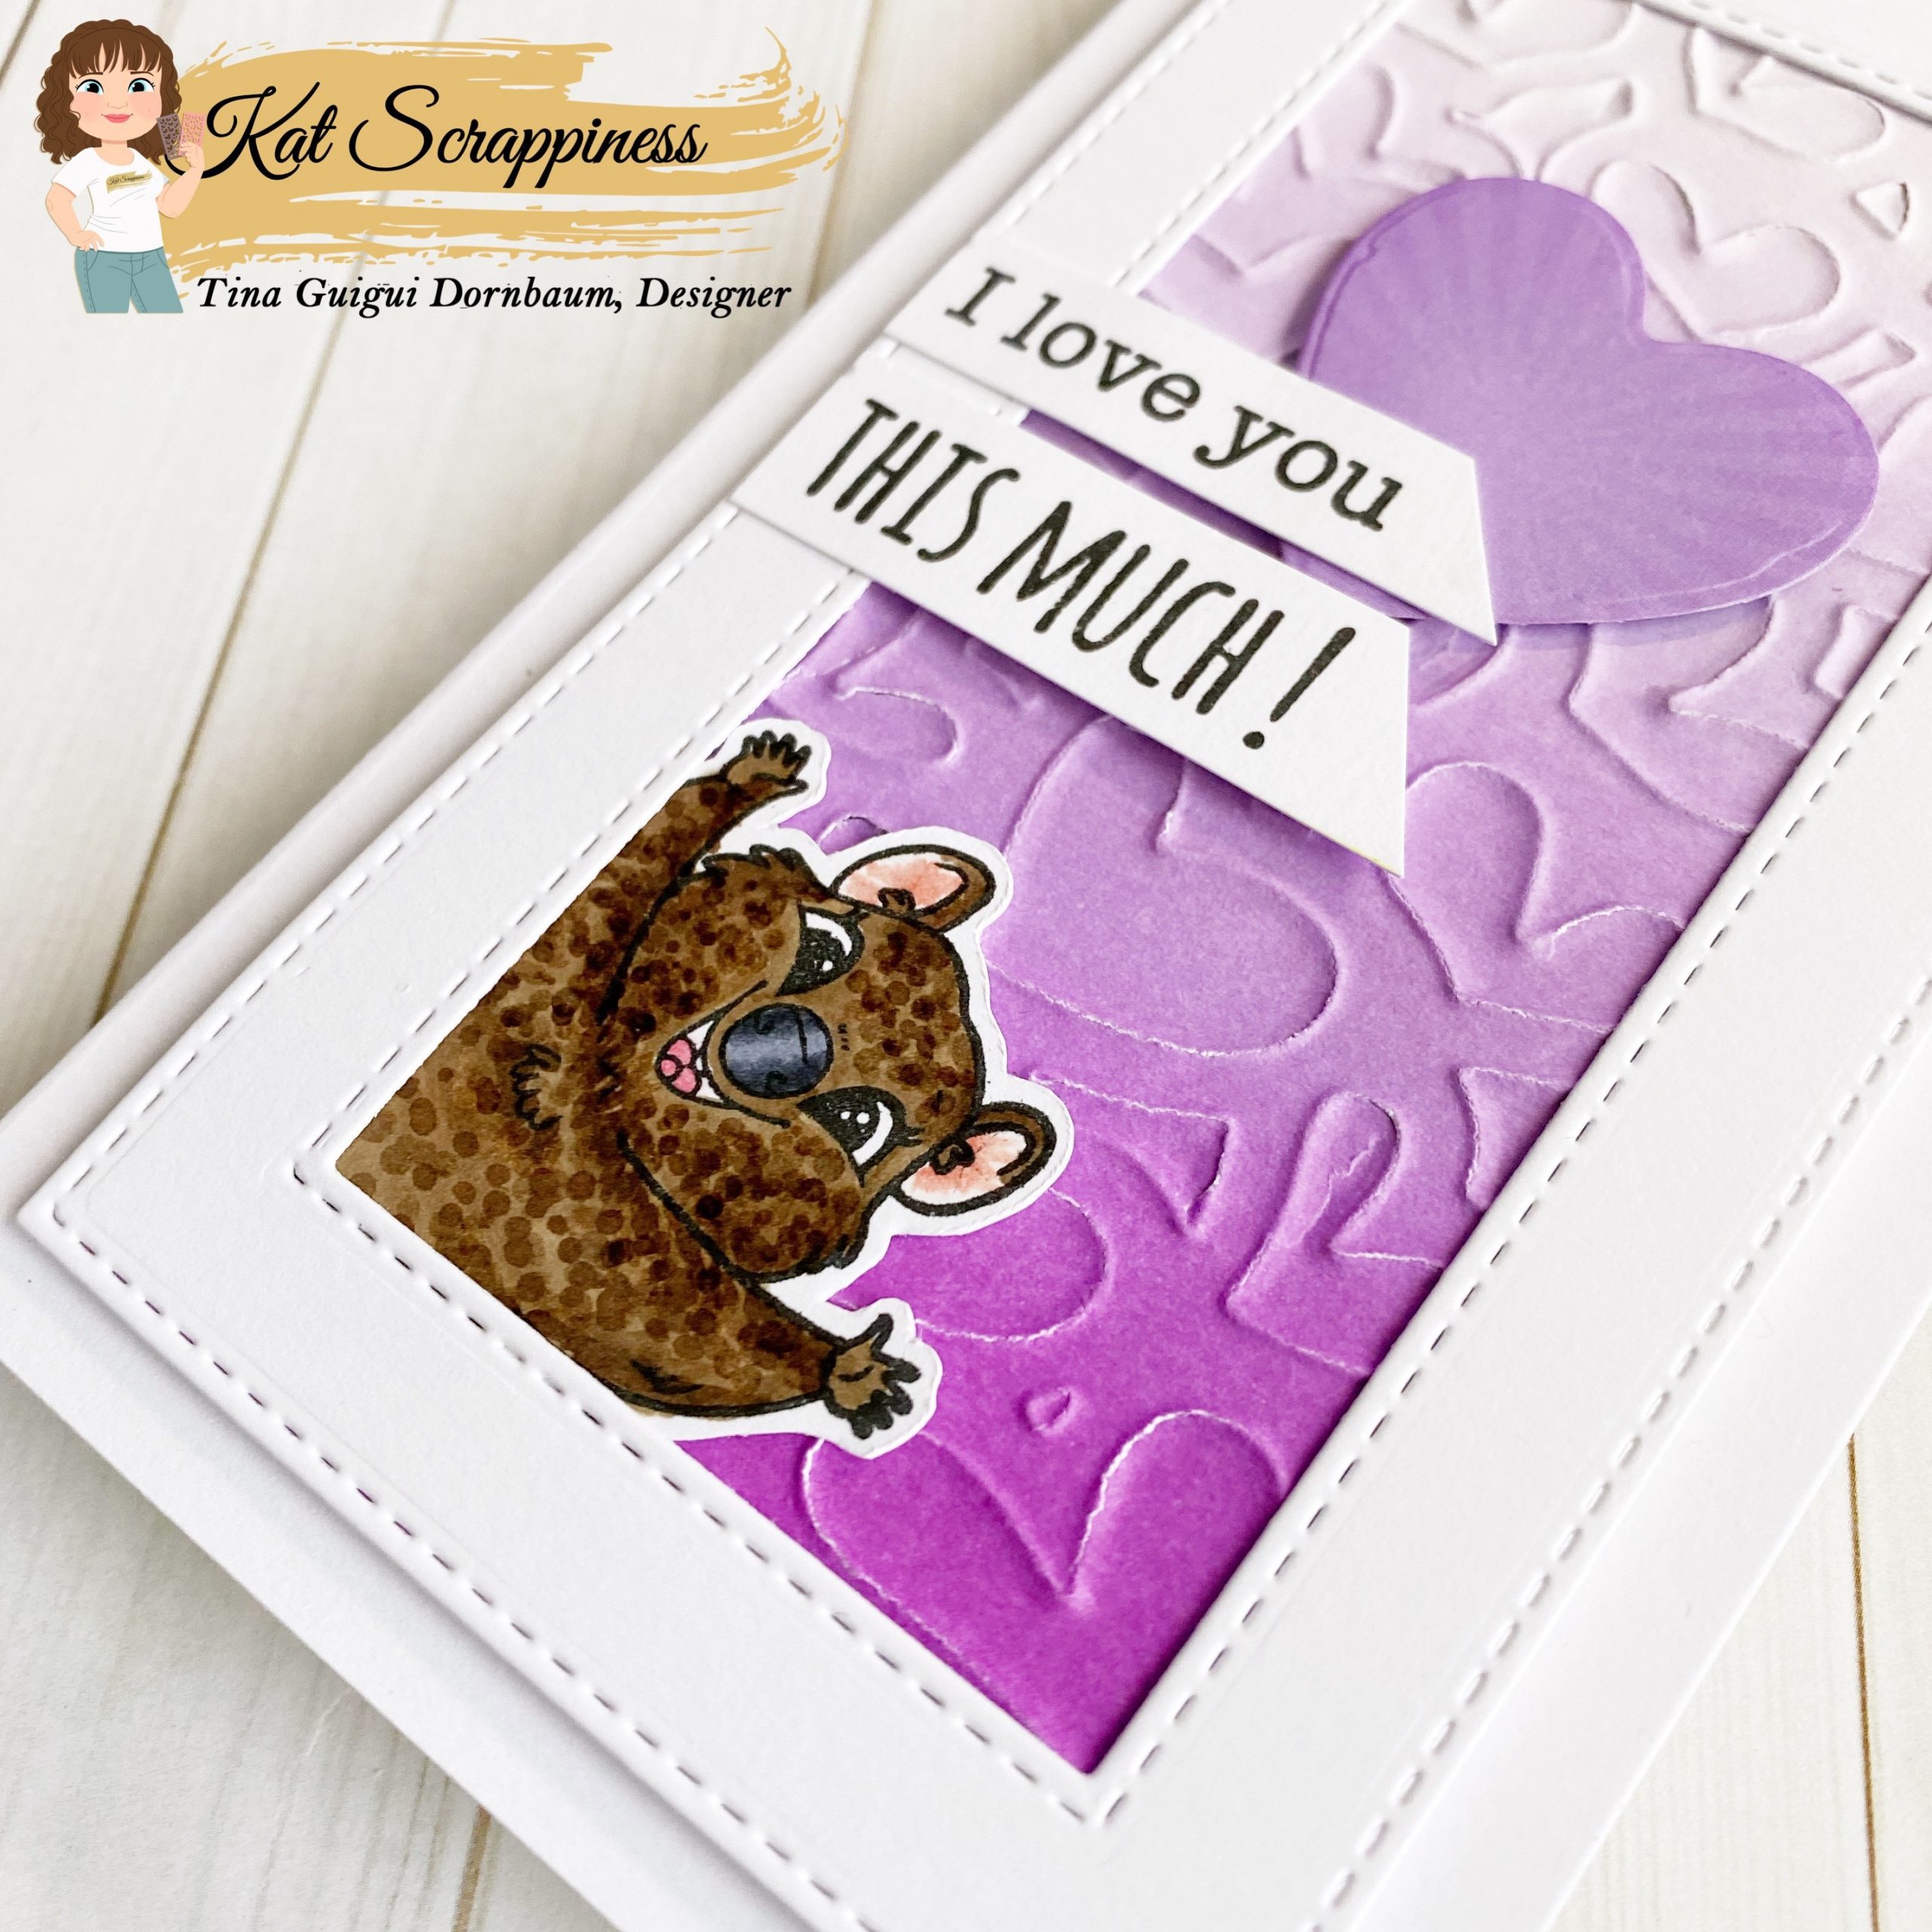
Step 4 – Stamp Quokka’N Up (image) using Gina K Amalgam Ink on White Cardstock. Color in with alcohol markers of your choice. I used Spectrum Noir Illustrator Markers. Diecut with matching die and adhere to card using Nuvo Deluxe Adhesive.
Step 5 – Stamp Quokka’N Up (sentiments) using Versafine Onyx Black Ink on White Cardstock. Trim out the sentiments and adhere to card using Nuvo Deluxe Adhesive.
This card can be used for several occasions by changing the colors, sentiments and image. Below is a link to all the products used. Thank you for stopping by and Happy Crafting!
Products Used: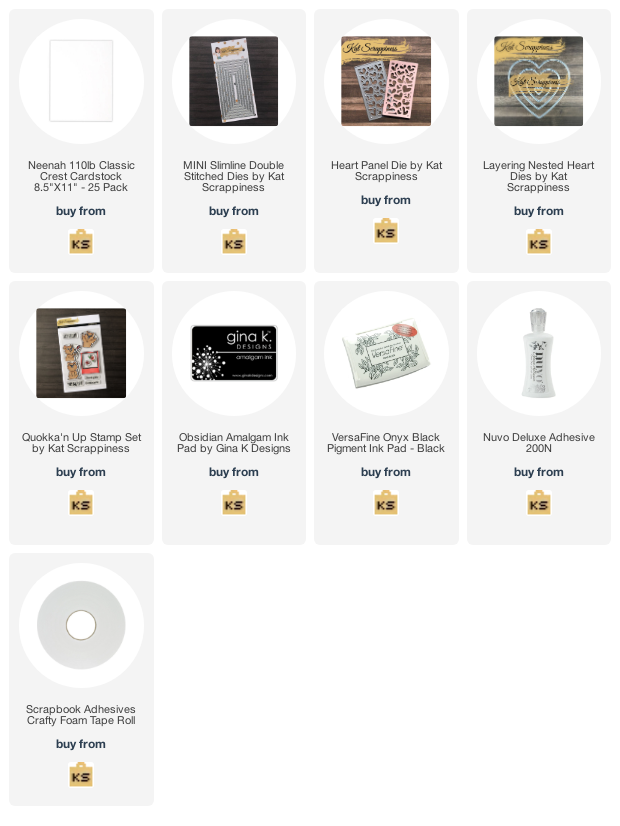
https://linkdeli.com/widget.js?id=f5e8378456858c916708

No Comments