Hi everyone, it’s Tina here. I have been playing around with the Never Ending Circle dies to create rainbows. It is super easy and by stacking the Circle dies you end up getting 2 with one pass. Below you will find the steps to create your own You Color My World Rainbow Card.
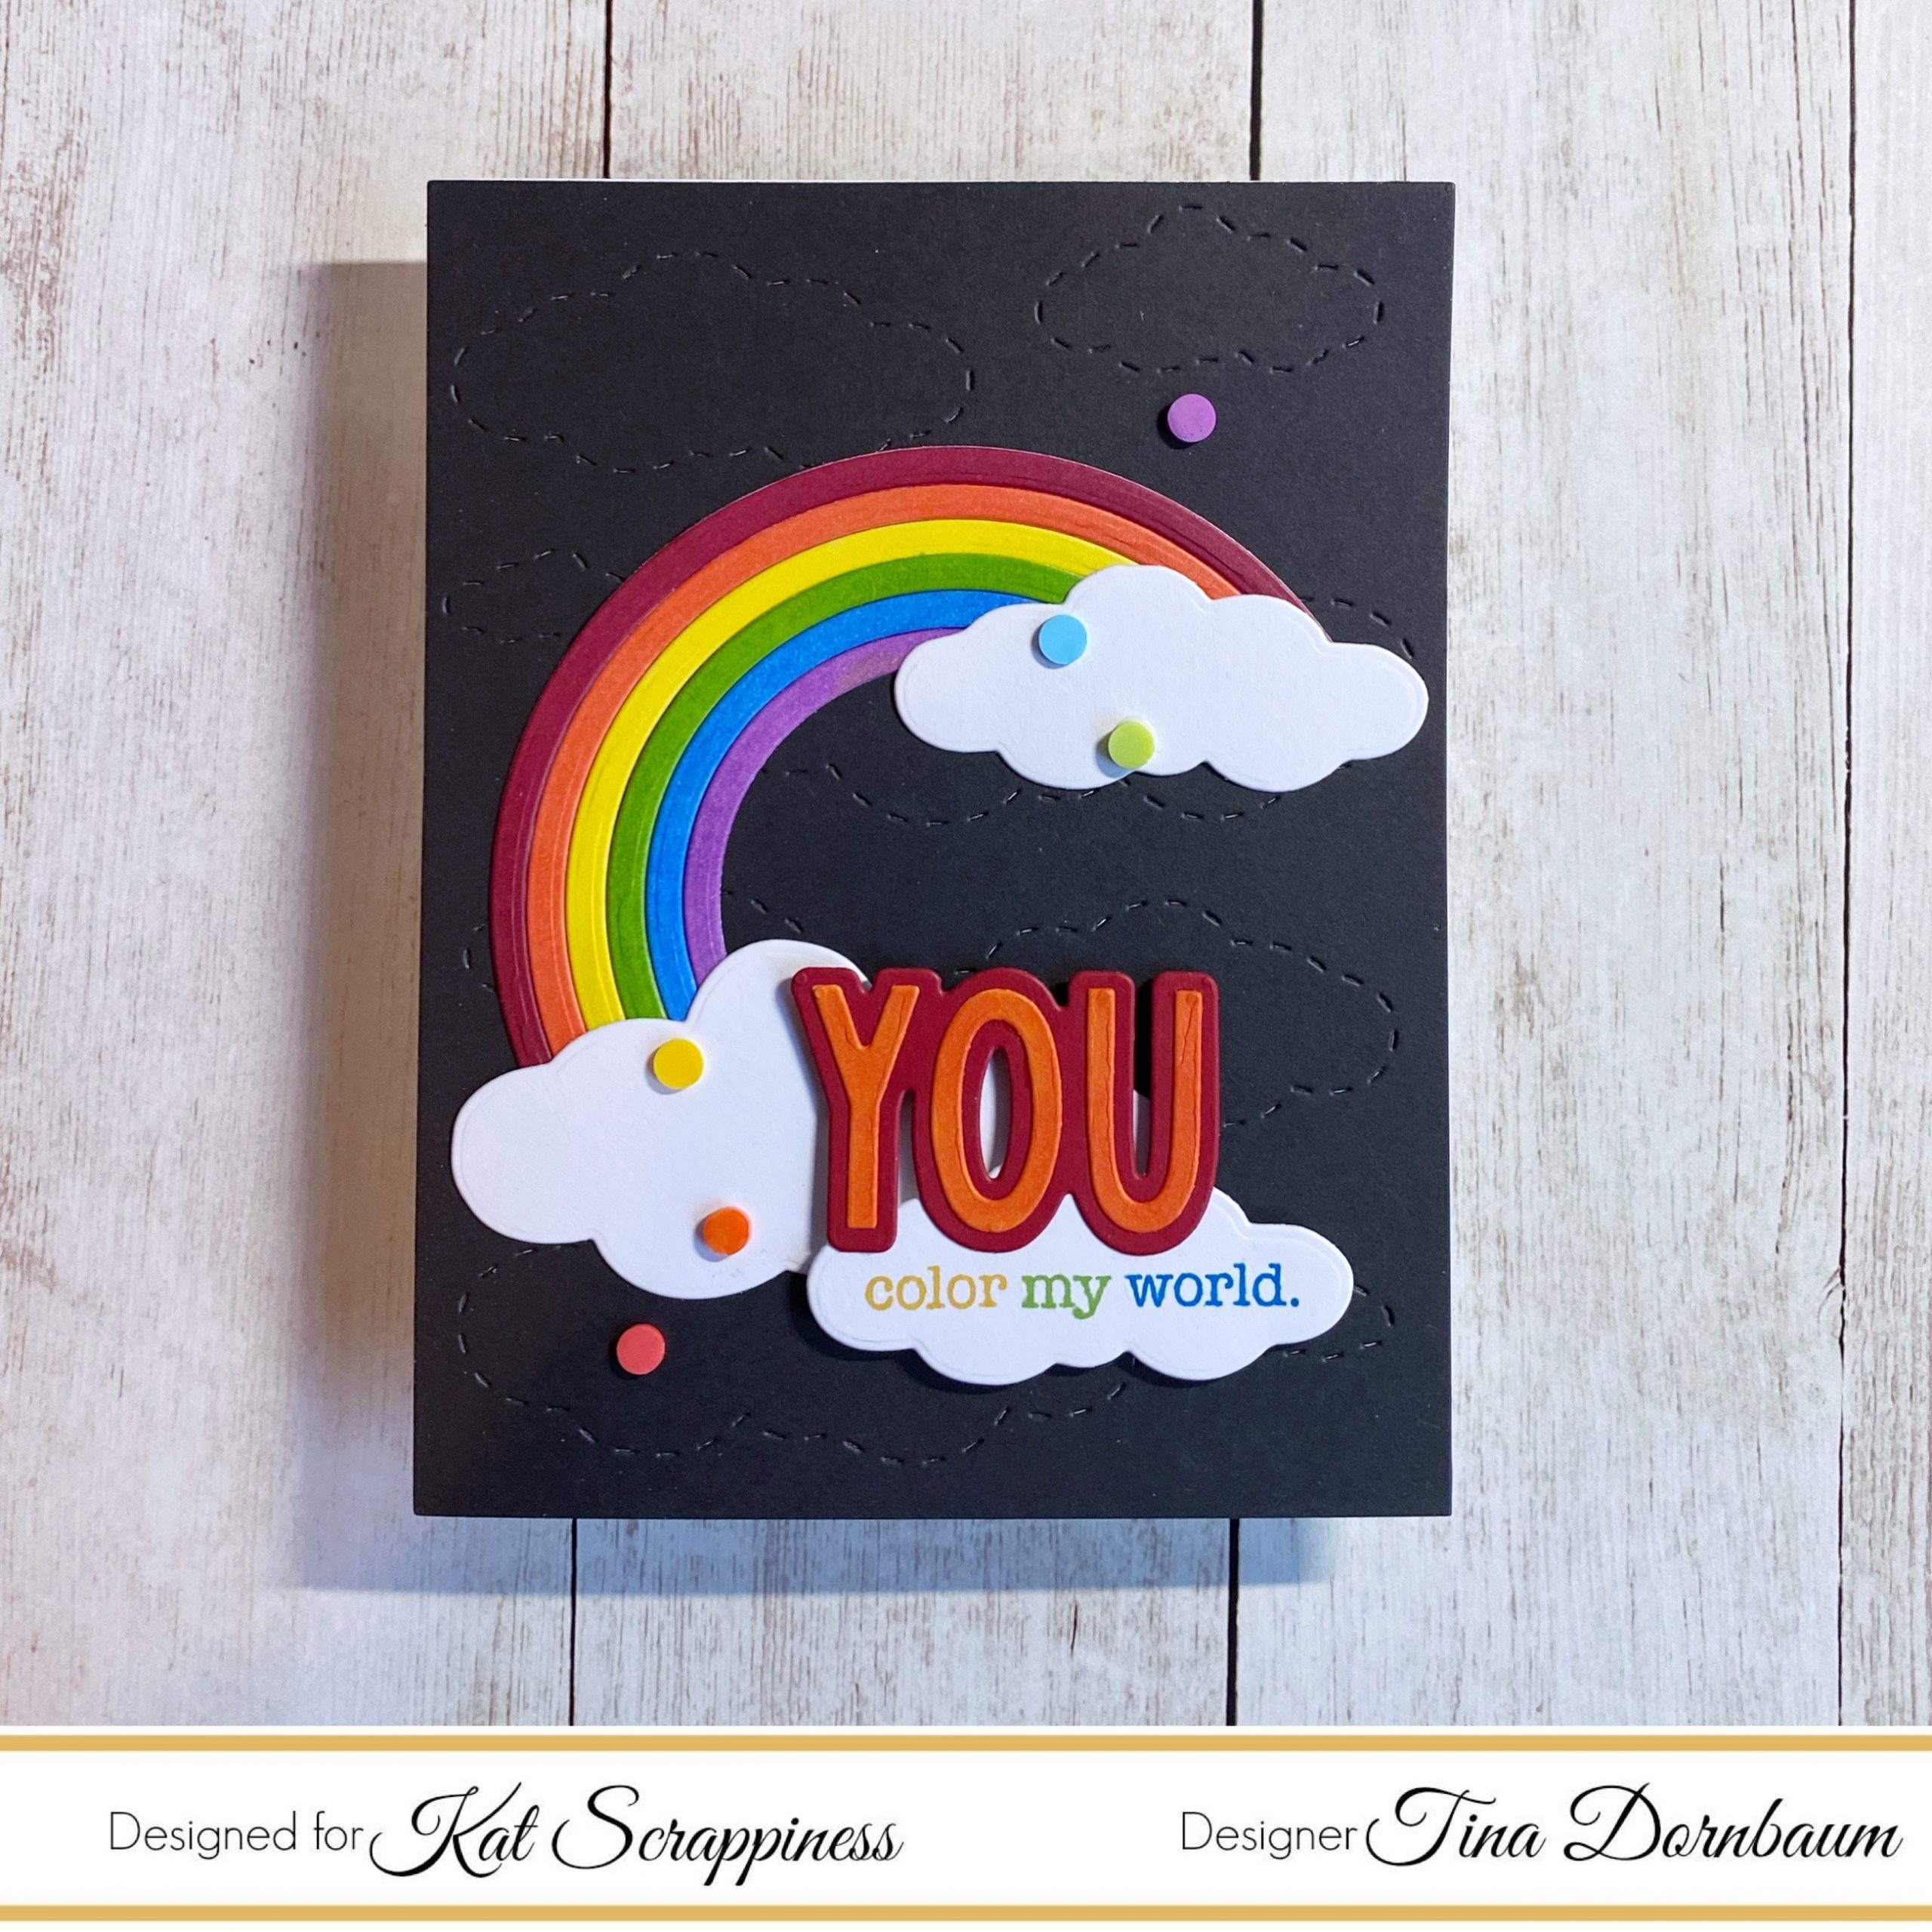
Step 1 – Trim White Cardstock to 8 1/2” x 5 1/2”, score at 4 1/4” and fold in half for a vertical side fold card. (A2)
Step 2 – Diecut Stitched Cloud Backdrop using Black Cardstock. Adhere to card using Nuvo Deluxe Adhesive.
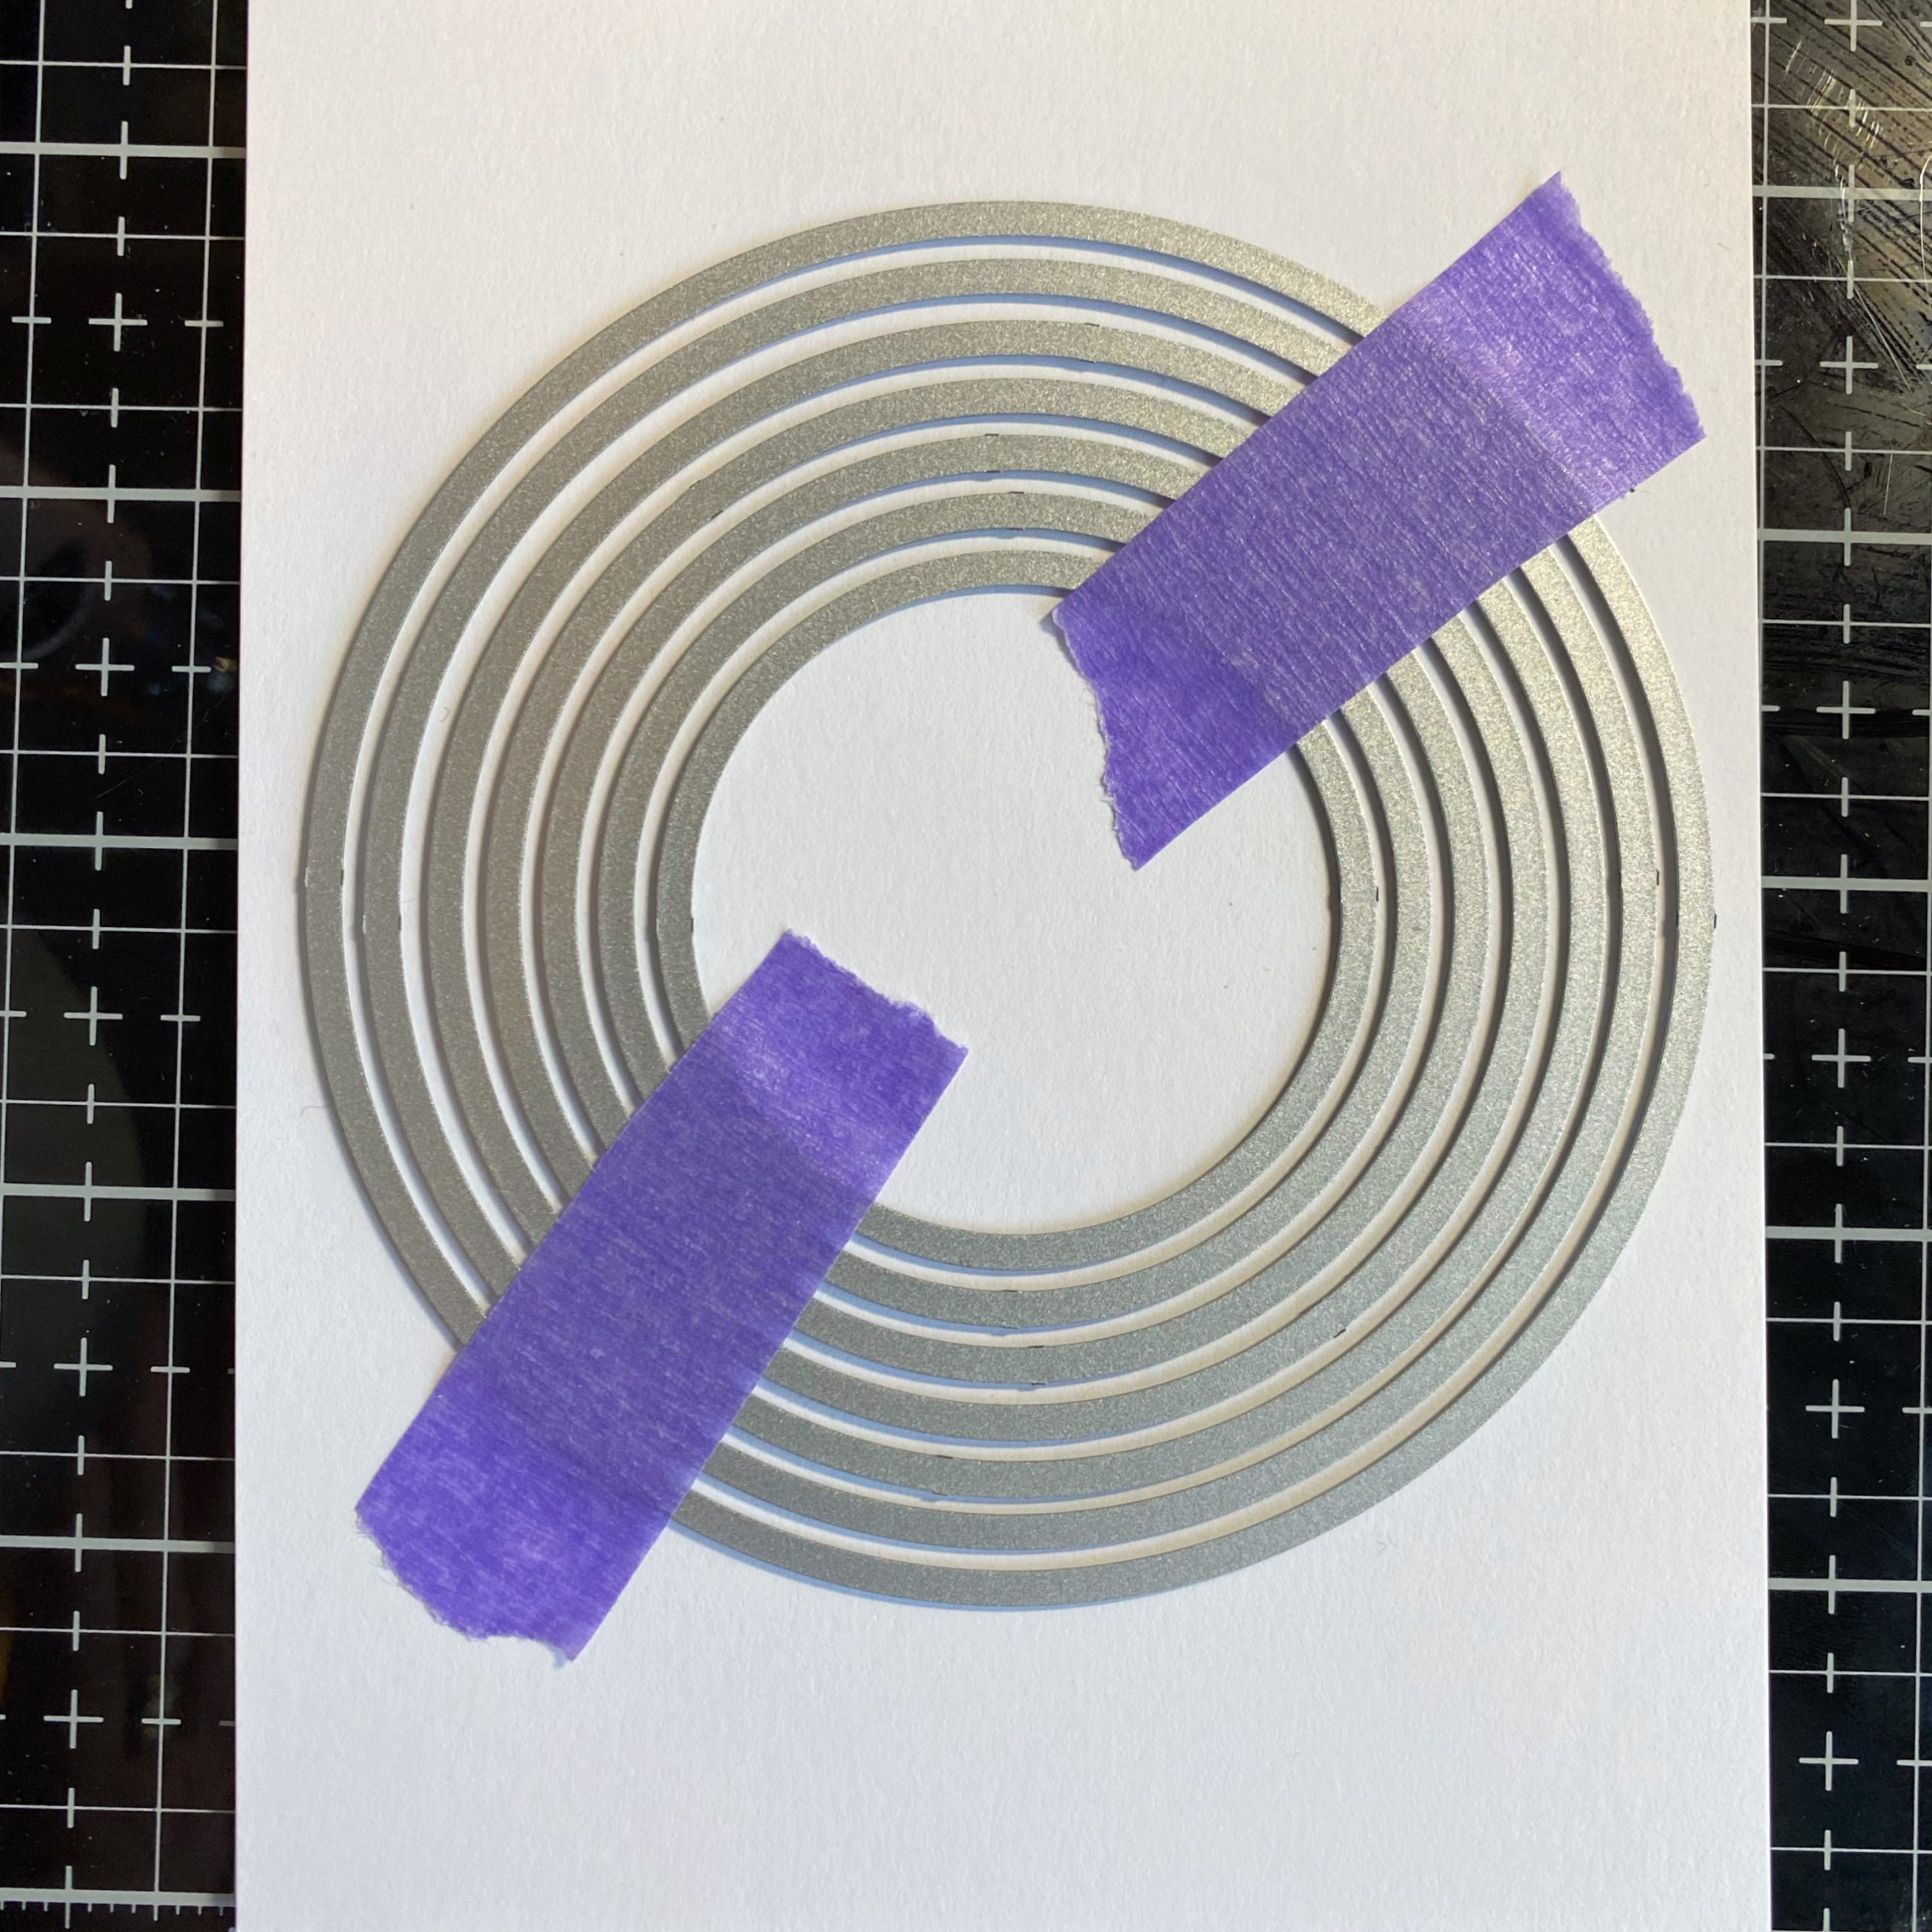
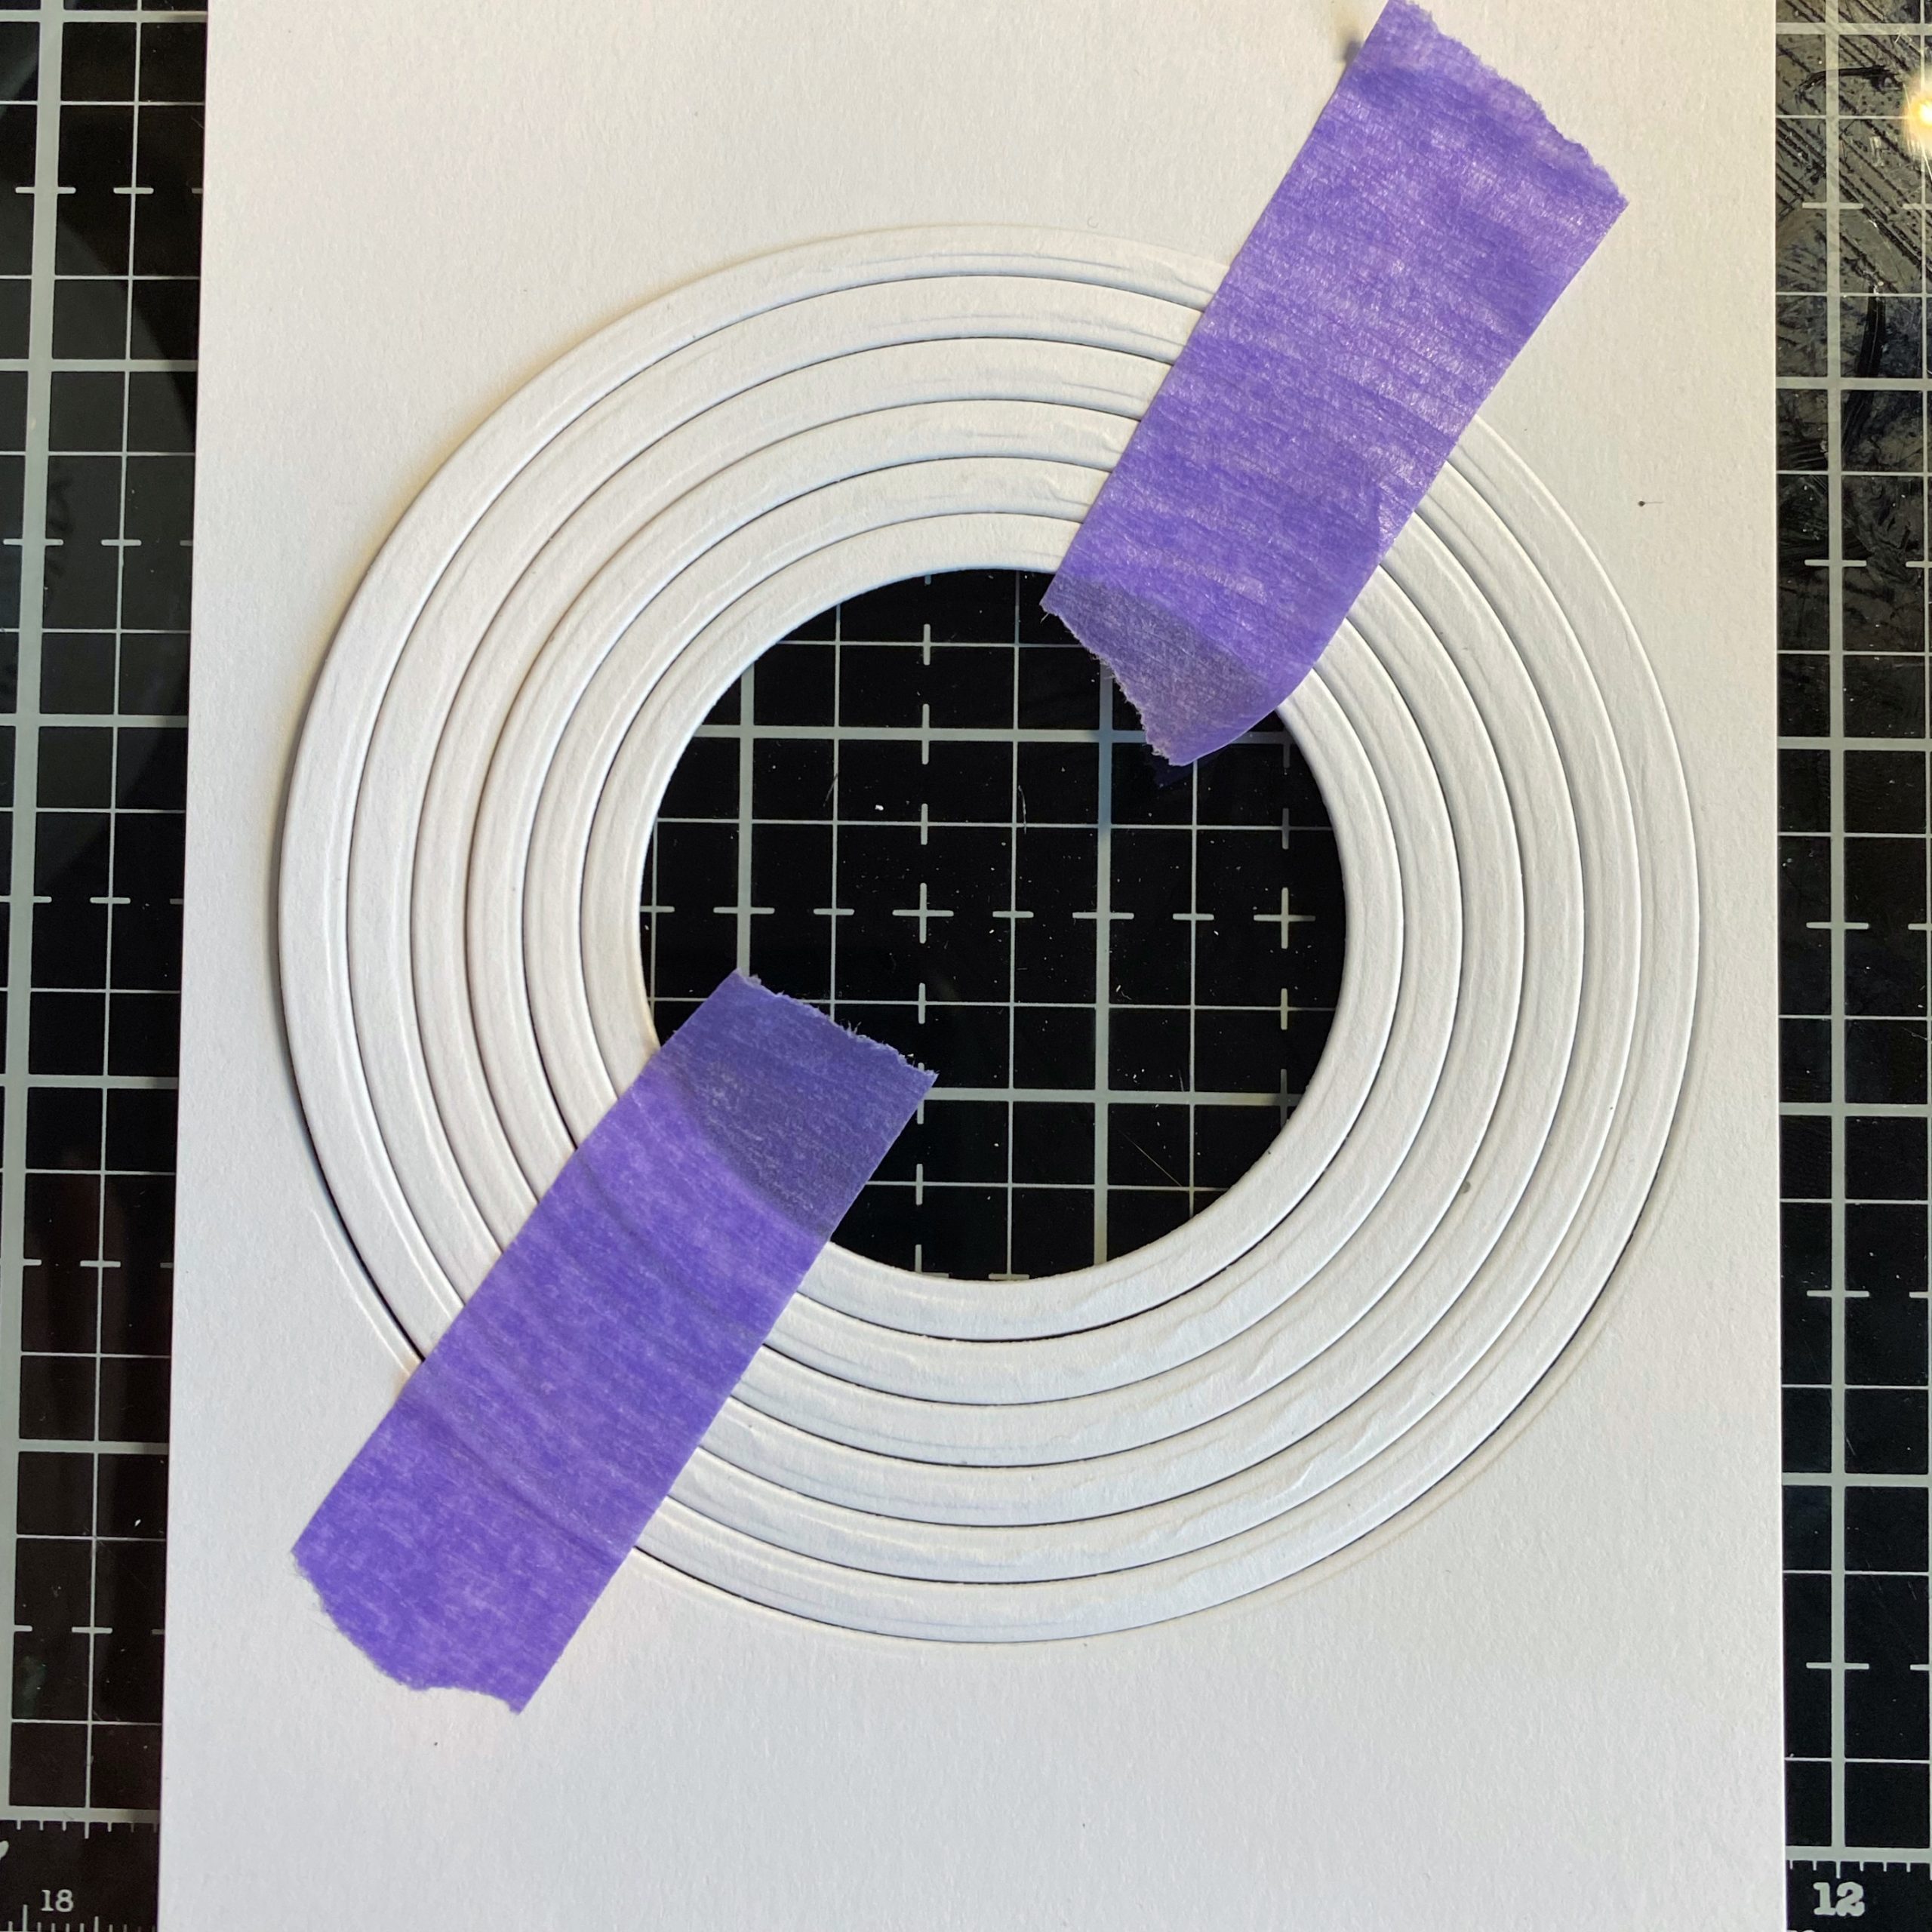
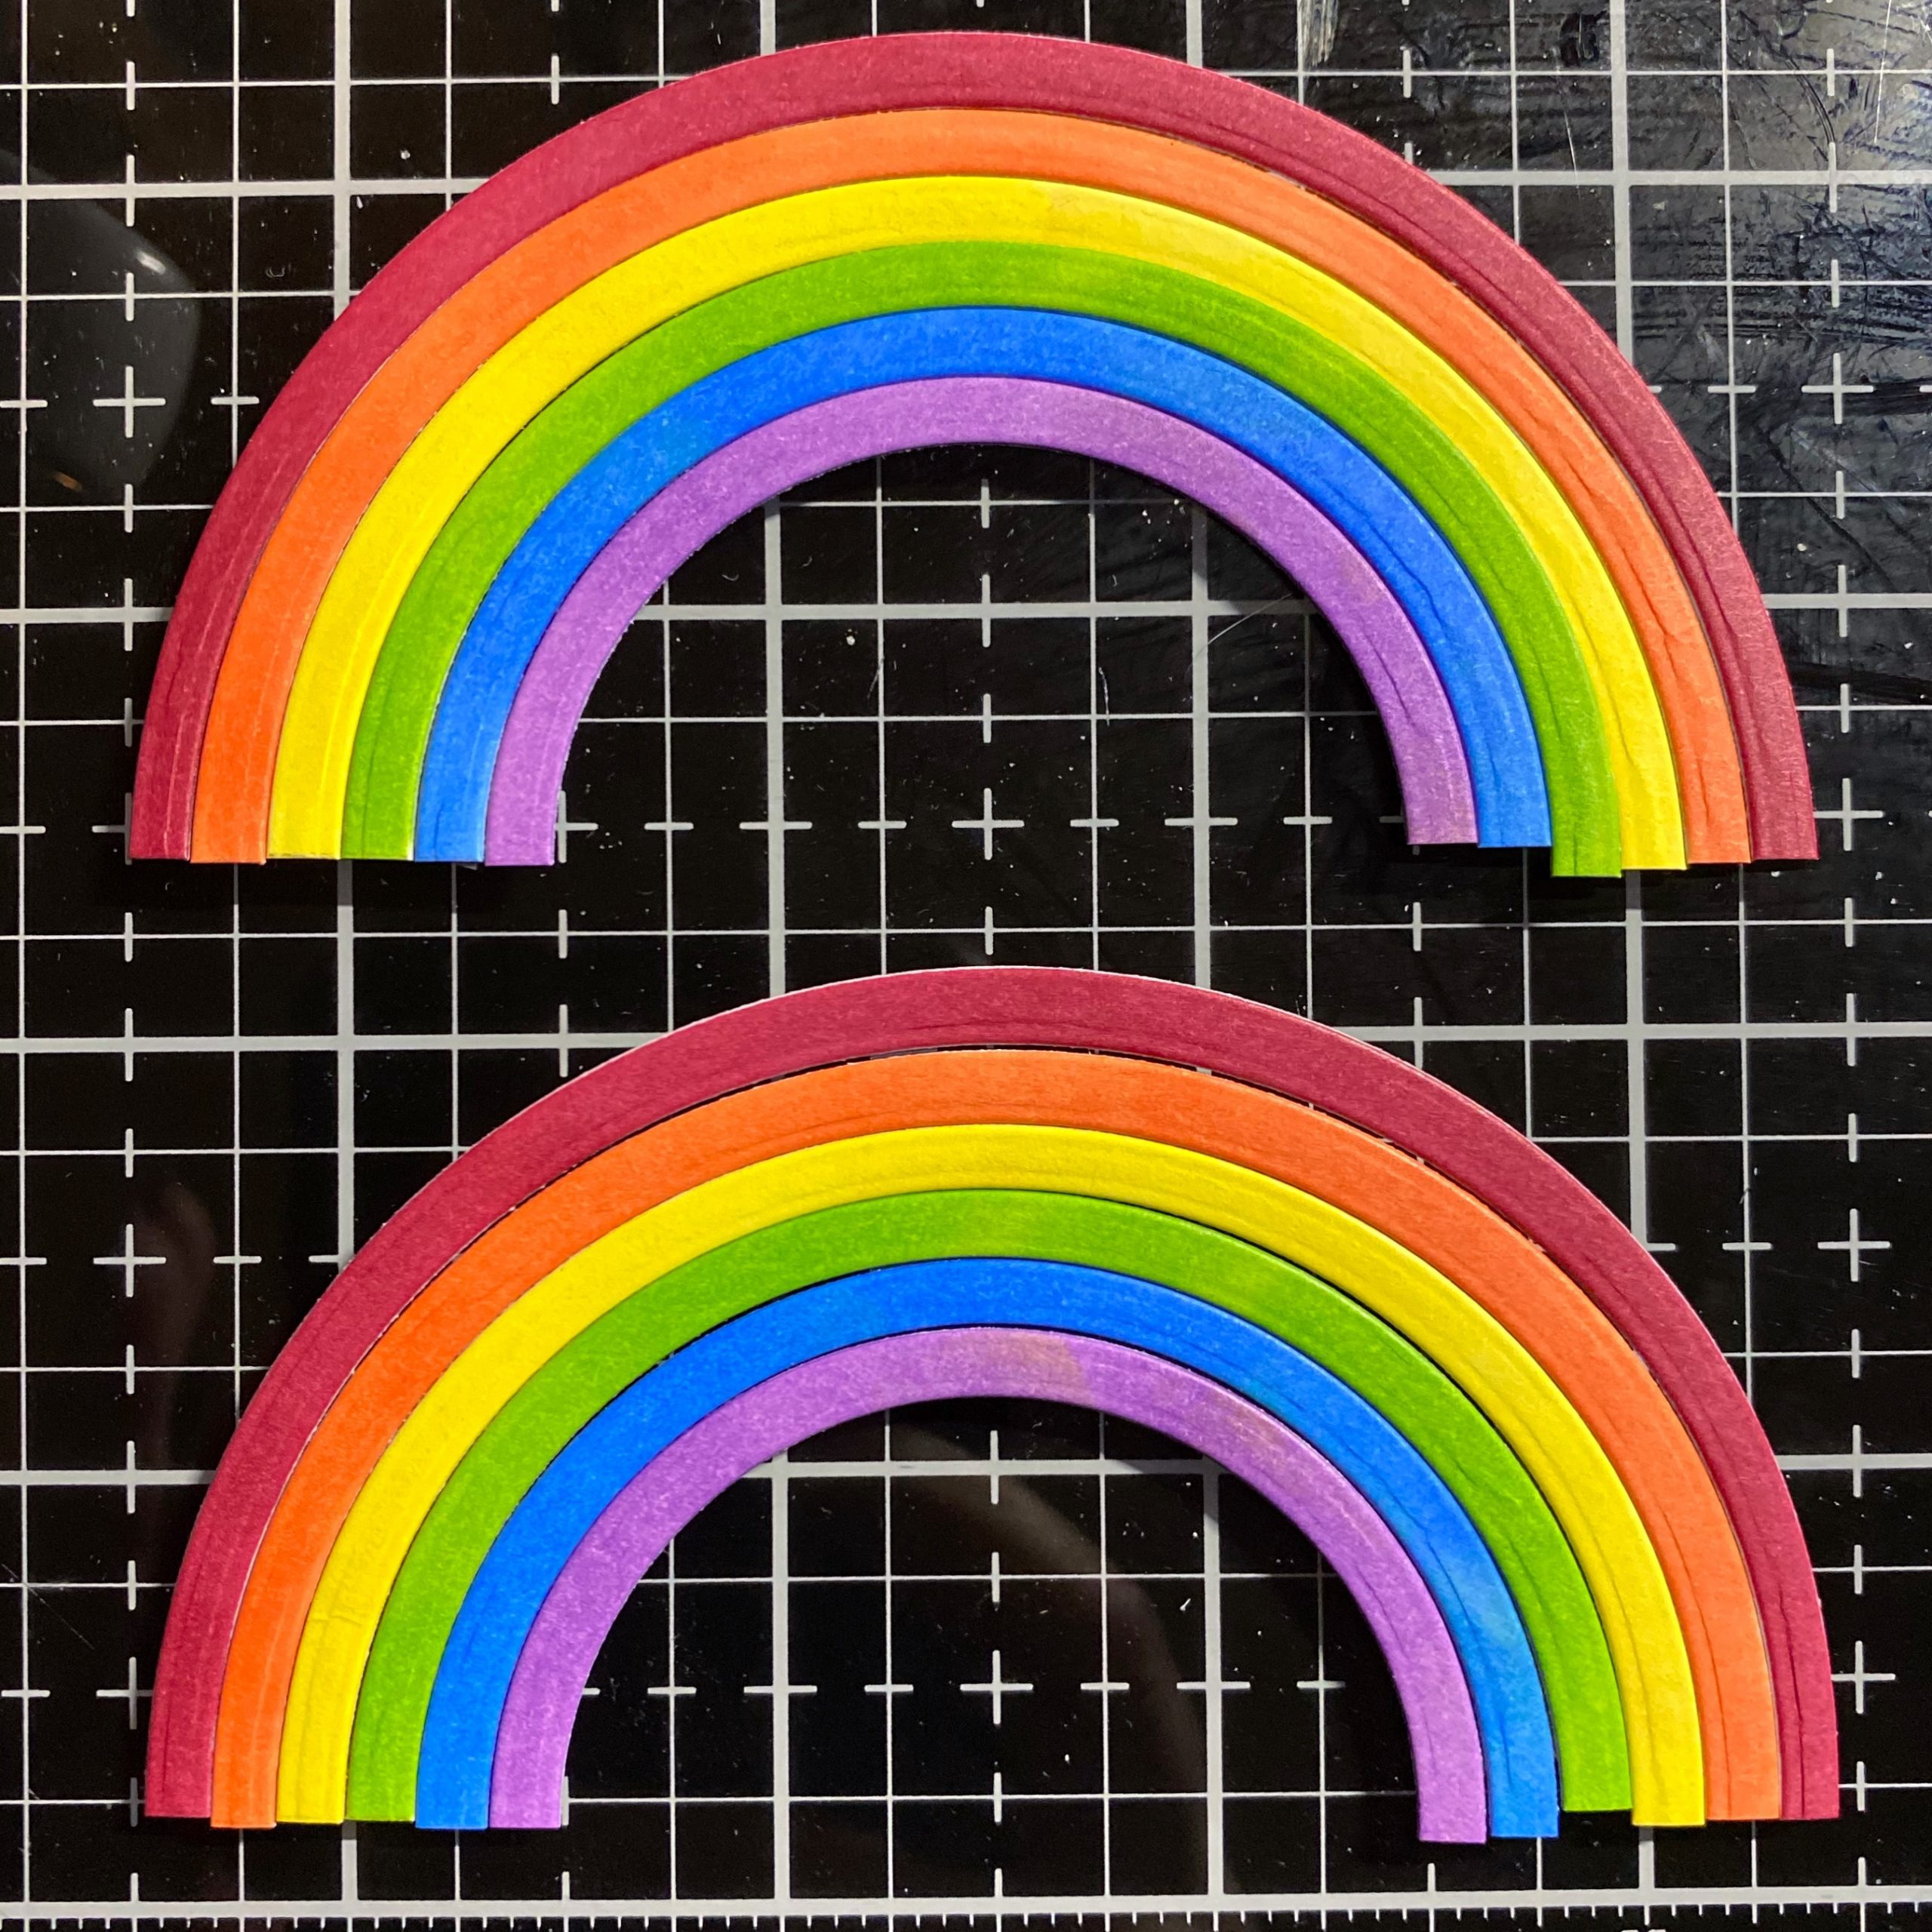
Step 3 – Diecut 7 of the largest Never Ending Circles using White Cardstock. Colour in each layer in rainbow order using any colour medium of your choice. I used alcohol markers. Once coloured cut in half. Adhere the rainbow using Nuvo Deluxe Adhesive. See below photos.
Step 4 – Diecut He Is Risen (x2 small cloud and 1x large cloud) using White Cardstock. Adhere small cloud and large cloud using Nuvo Deluxe Adhesive. For the last small cloud stamp Everyday Brush Strokes sentiment Color My World. I used Washi Tape to cover the word You and the other words except one word in one colour. I removed the Washi Tape and stamped. I repeated this process to have each word in a different colour. Adhere the stamped cloud using Foam Tape.
Step 5 – Diecut I Love You With Shadow using Red Cardstock for the shadow and Orange Cardstock for the word. Assemble and adhere to card using Foam Tape.
Step 6 – For added interest I adhered Confetti Sprinkles using all the 6 colours used in the rainbow using Collage Medium and a Crystal Katana. The colours of the Confetti Sprinkles are Red, Orange, Bright Yellow, Lime Green, Light Blue and Purple.
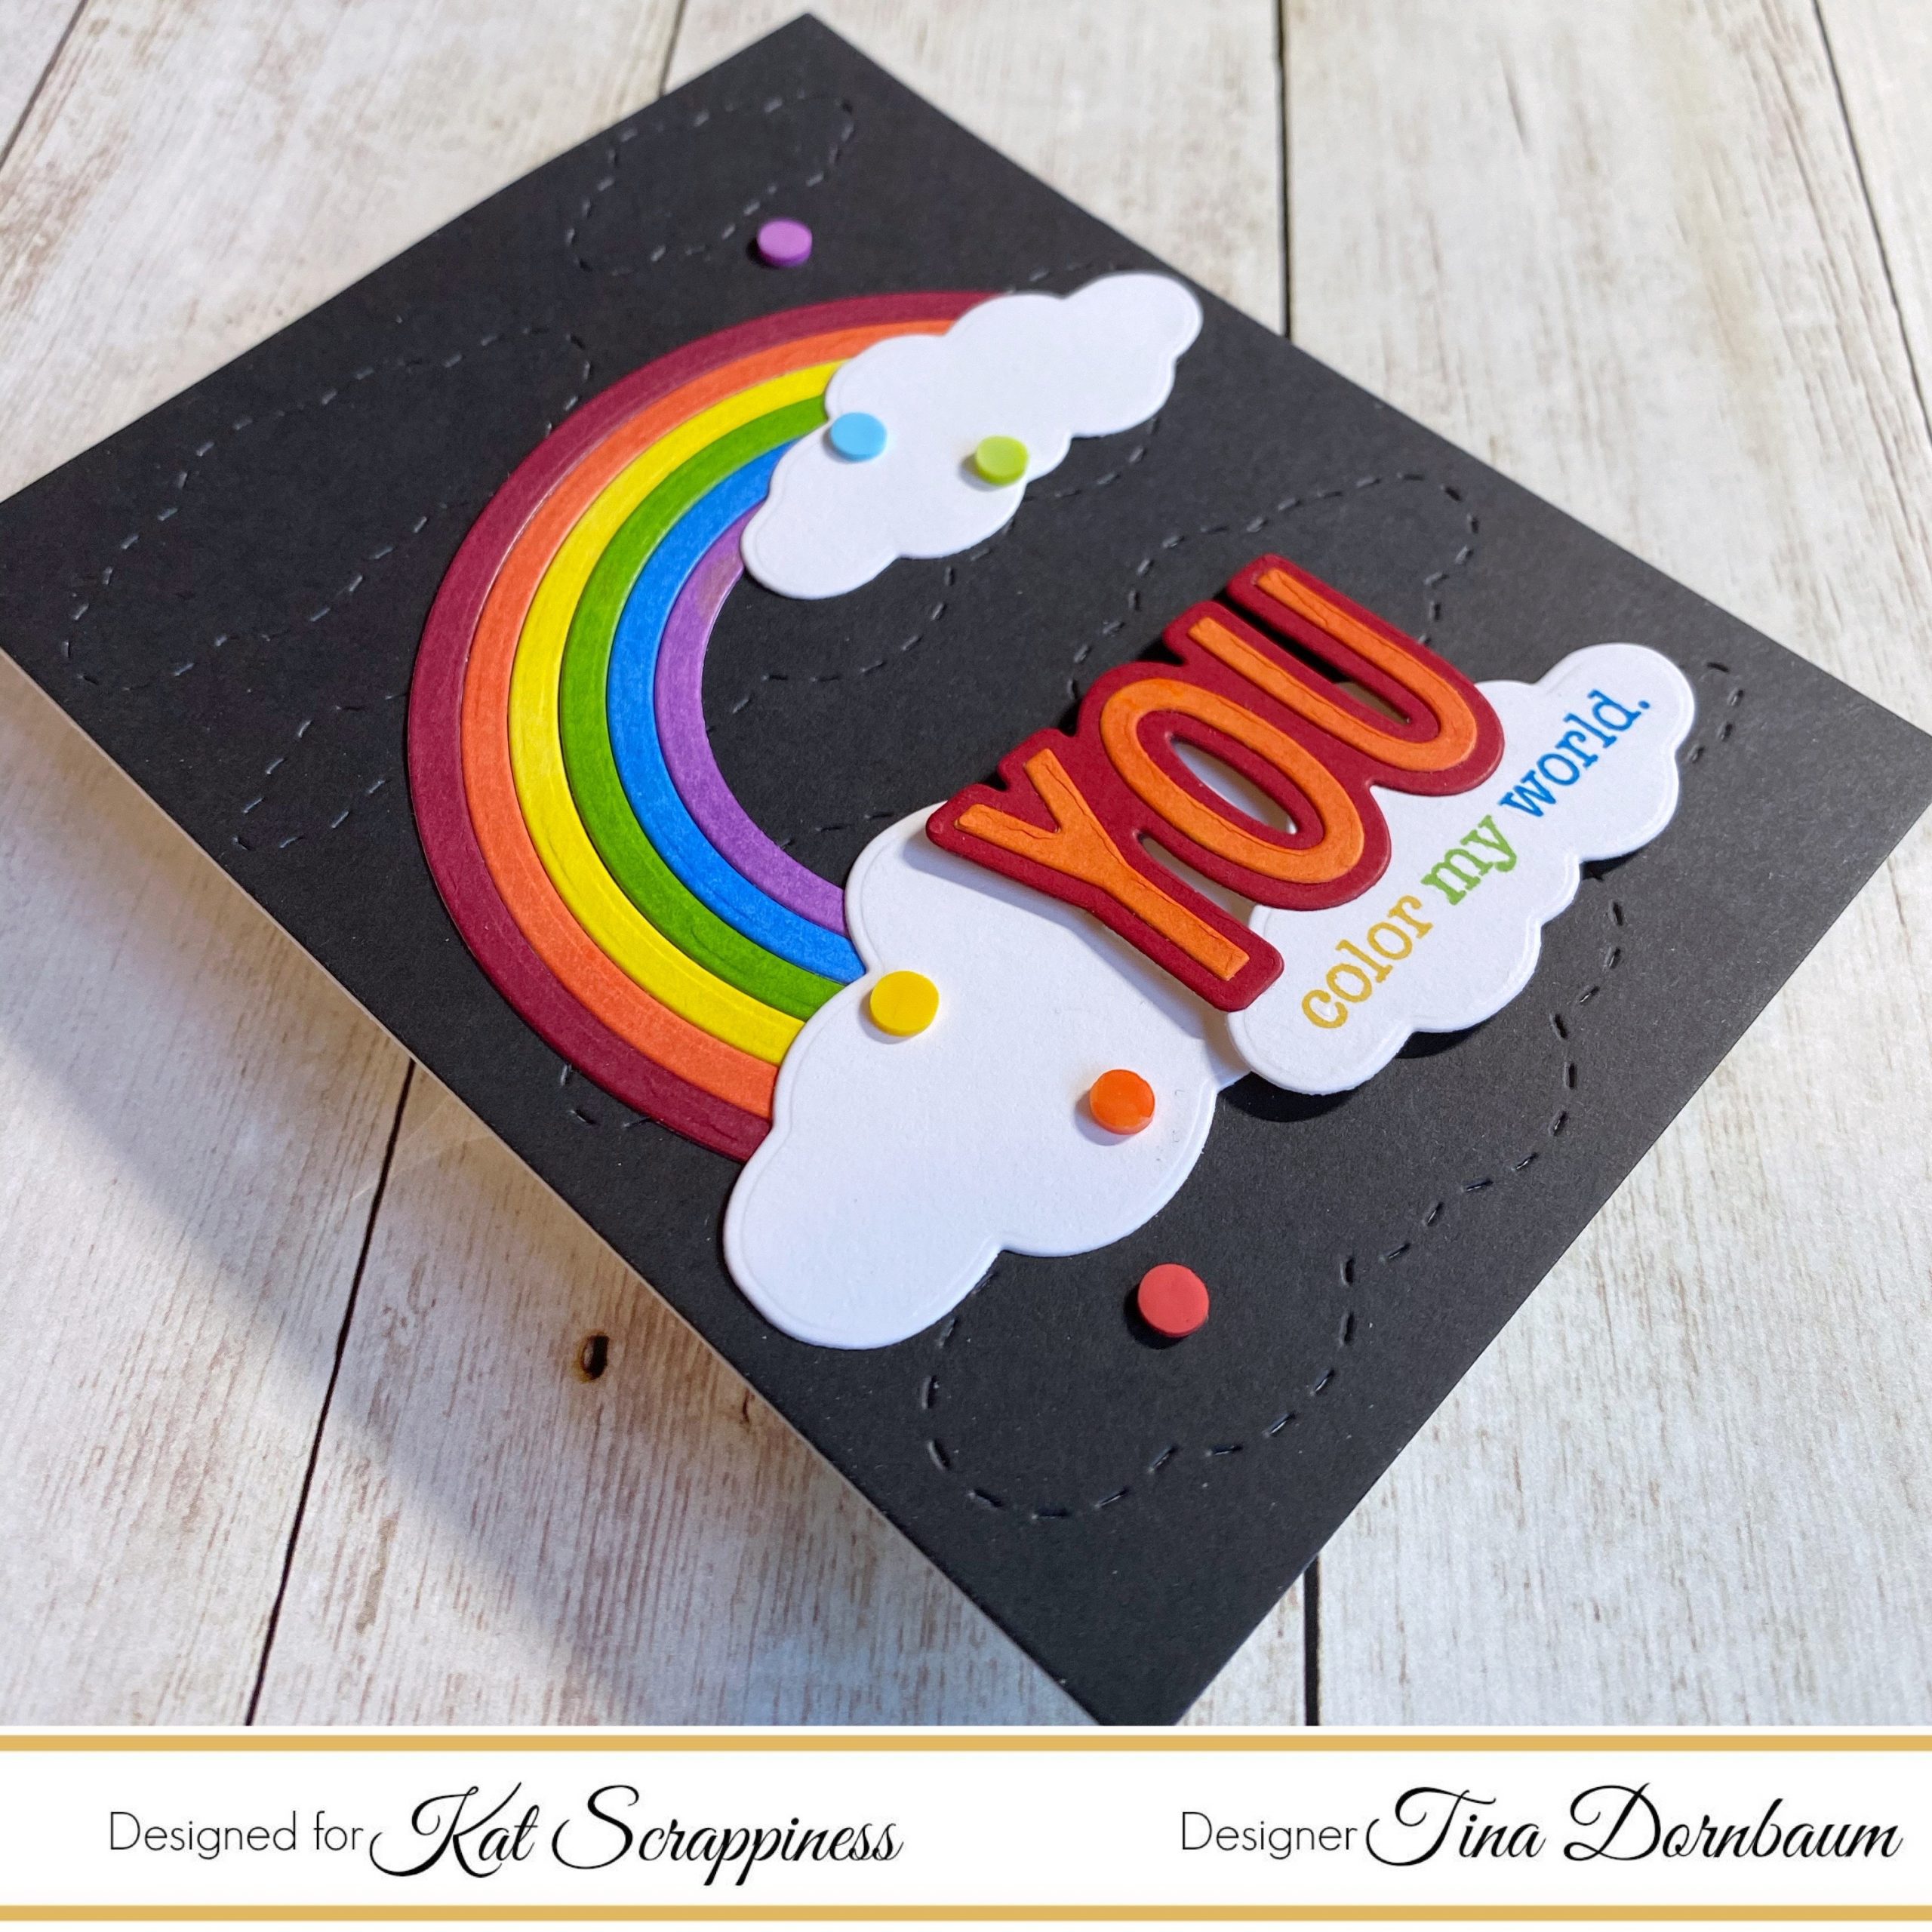
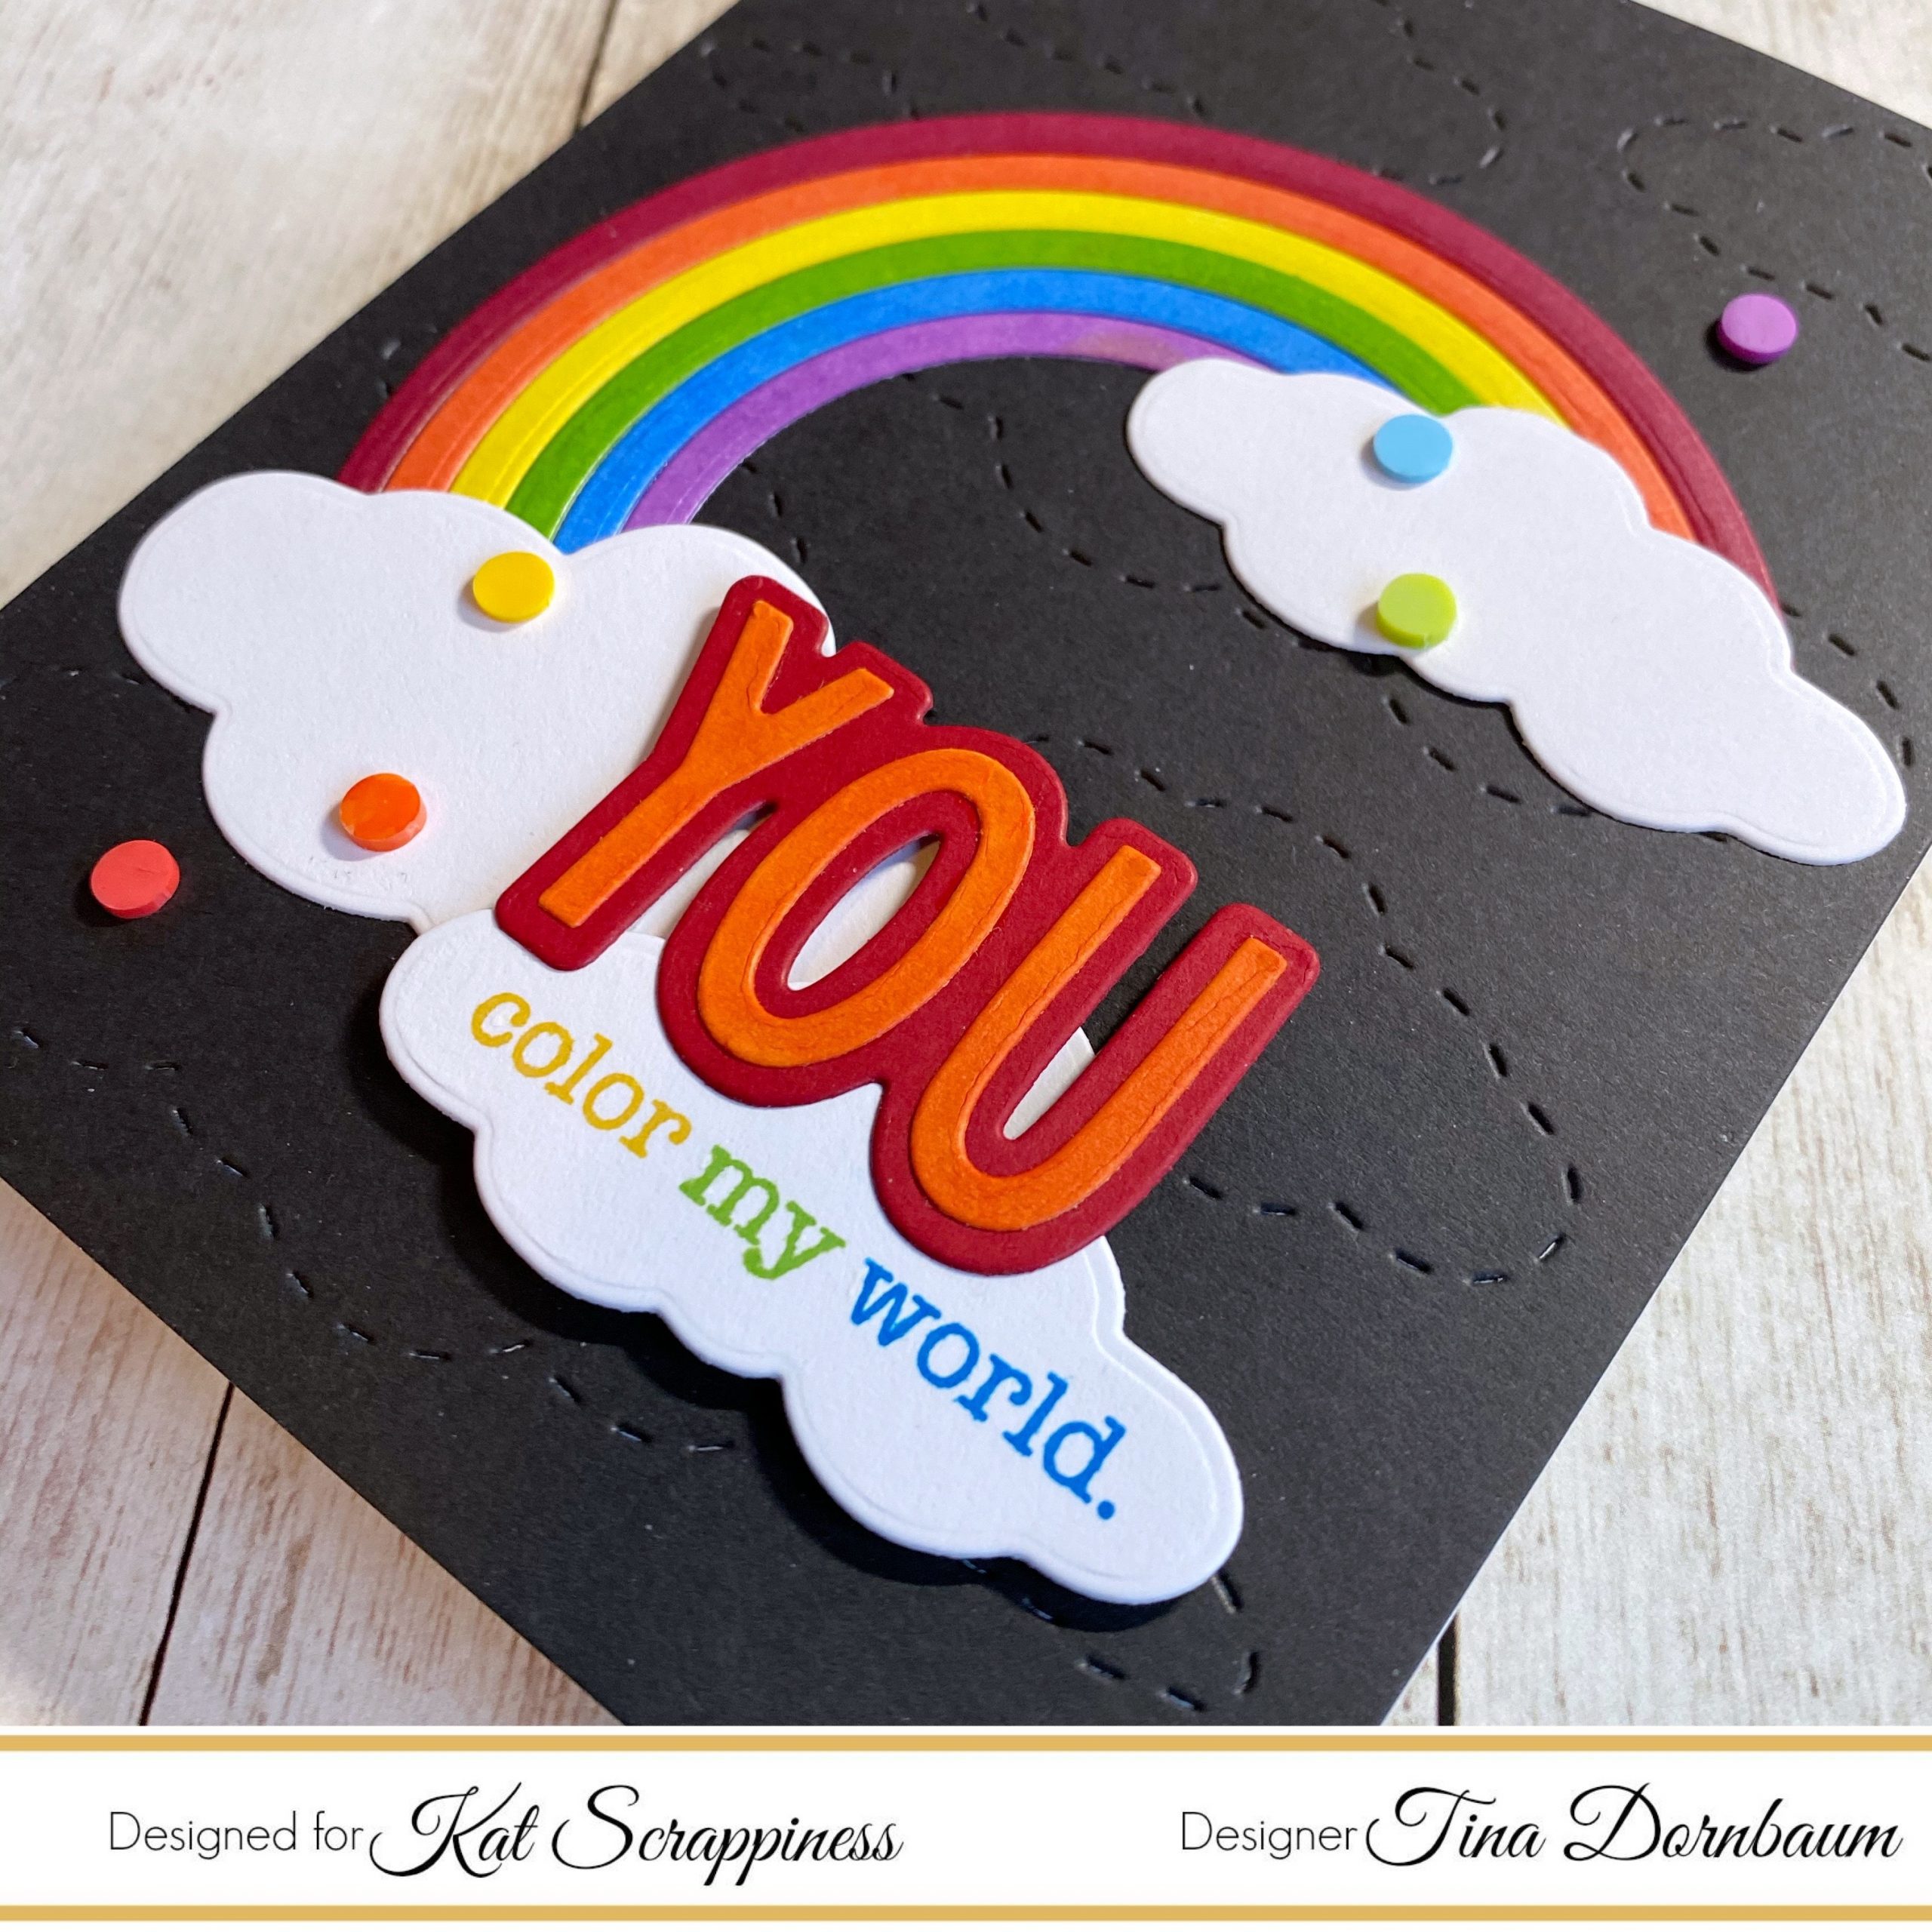
This card can be used for any occasion by changing the colours and sentiment. Right now cards using Rainbows with words of encouragement are the rage. Below you will find the link to all the products used. Thank you for stopping by and Happy Crafting!
Products Used:
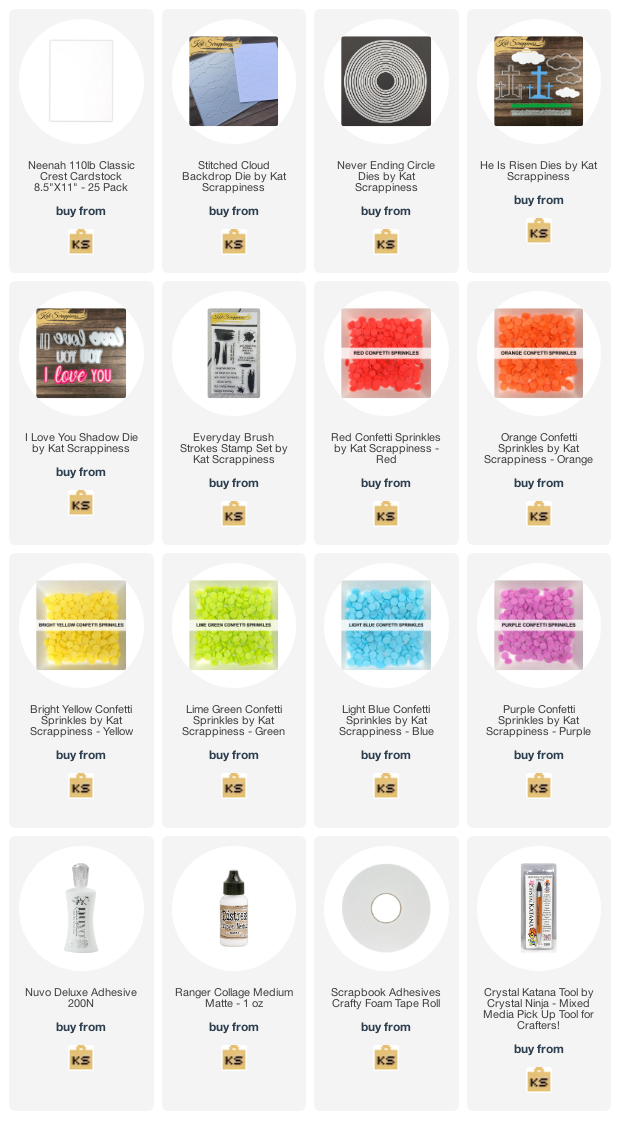
https://linkdeli.com/widget.js?id=f5e8378456858c916708



1 Comment
Pretty rainbow card!
June 18, 2020 at 5:58 pm