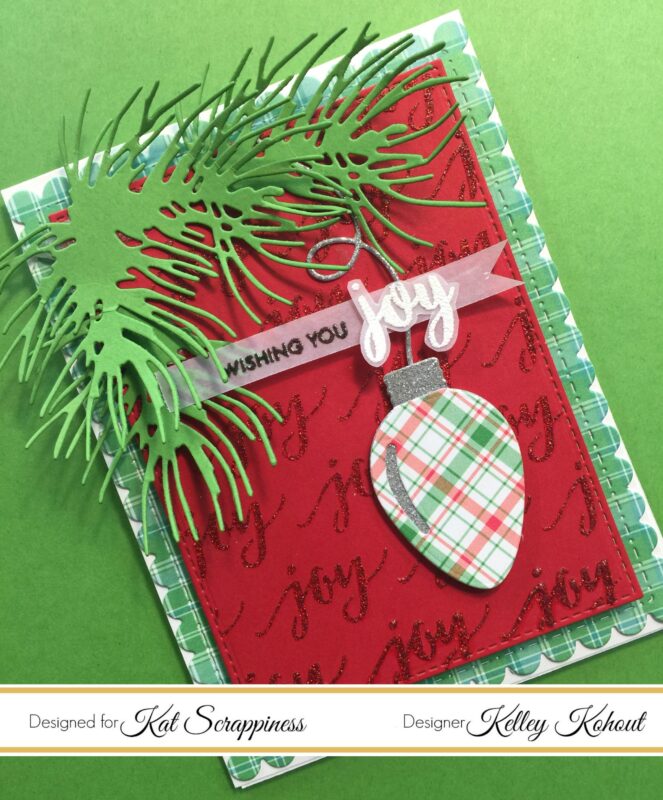
Hello and Merry Christmas everyone! I hope you all are enjoying the season.
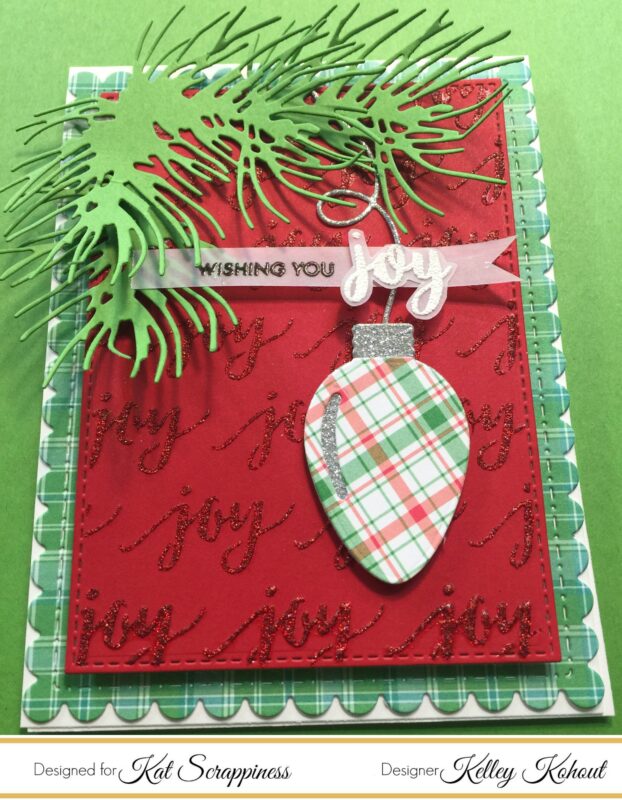
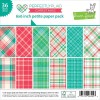
Today’s project was both fun and super easy to put together! I started out by die cutting both of my background panels, the little light bulb and the pine needles. The green plaid paper and the plaid on the little bulb is from Lawn Fawn’s Perfectly Plaid Christmas 6×6 paper pad. I cut the green panel using the Gina Marie Designs Scalloped Stitched Rectangle die set. The red background was cut with the Kat Scrappiness Double Stitched Rectangle die set.
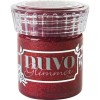
After die cutting all of the elements for the card, I used the Carta Bella Joy Stencil and Nuvo Glimmer Paste in Garnet Red to give the red background a shimmery tone on tone effect. It becomes the perfect backdrop for the green pine needles and the light bulb! When die cutting the pine needles, I cut them twice. I clipped apart the second set and adhered them on opposite sides of the first pine needle bunch to make the pine swag larger. Next, I adhered the light bulb with a small piece of foam tape to pop it up off of the red background. The string for the bulb is tucked into the pine needles and then clipped shorter.
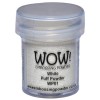
The Joy greeting was stamped onto 40lb. vellum with Versamark sticky ink. I covered the Versamark with White Puff Embossing Powder. When you heat set this powder it puffs up and resembles snow. It’s so fun to add this to winter and Christmas projects. I used Versafine Black Onyx Ink to stamp Wishing you and then coved that with clear embossing powder and heat set it. The greeting banner is tucked into the pine needles and adhered to finish this project.
For more details, please check out my video below.
Thank you for visiting.
Kelley;)
Video:








No Comments