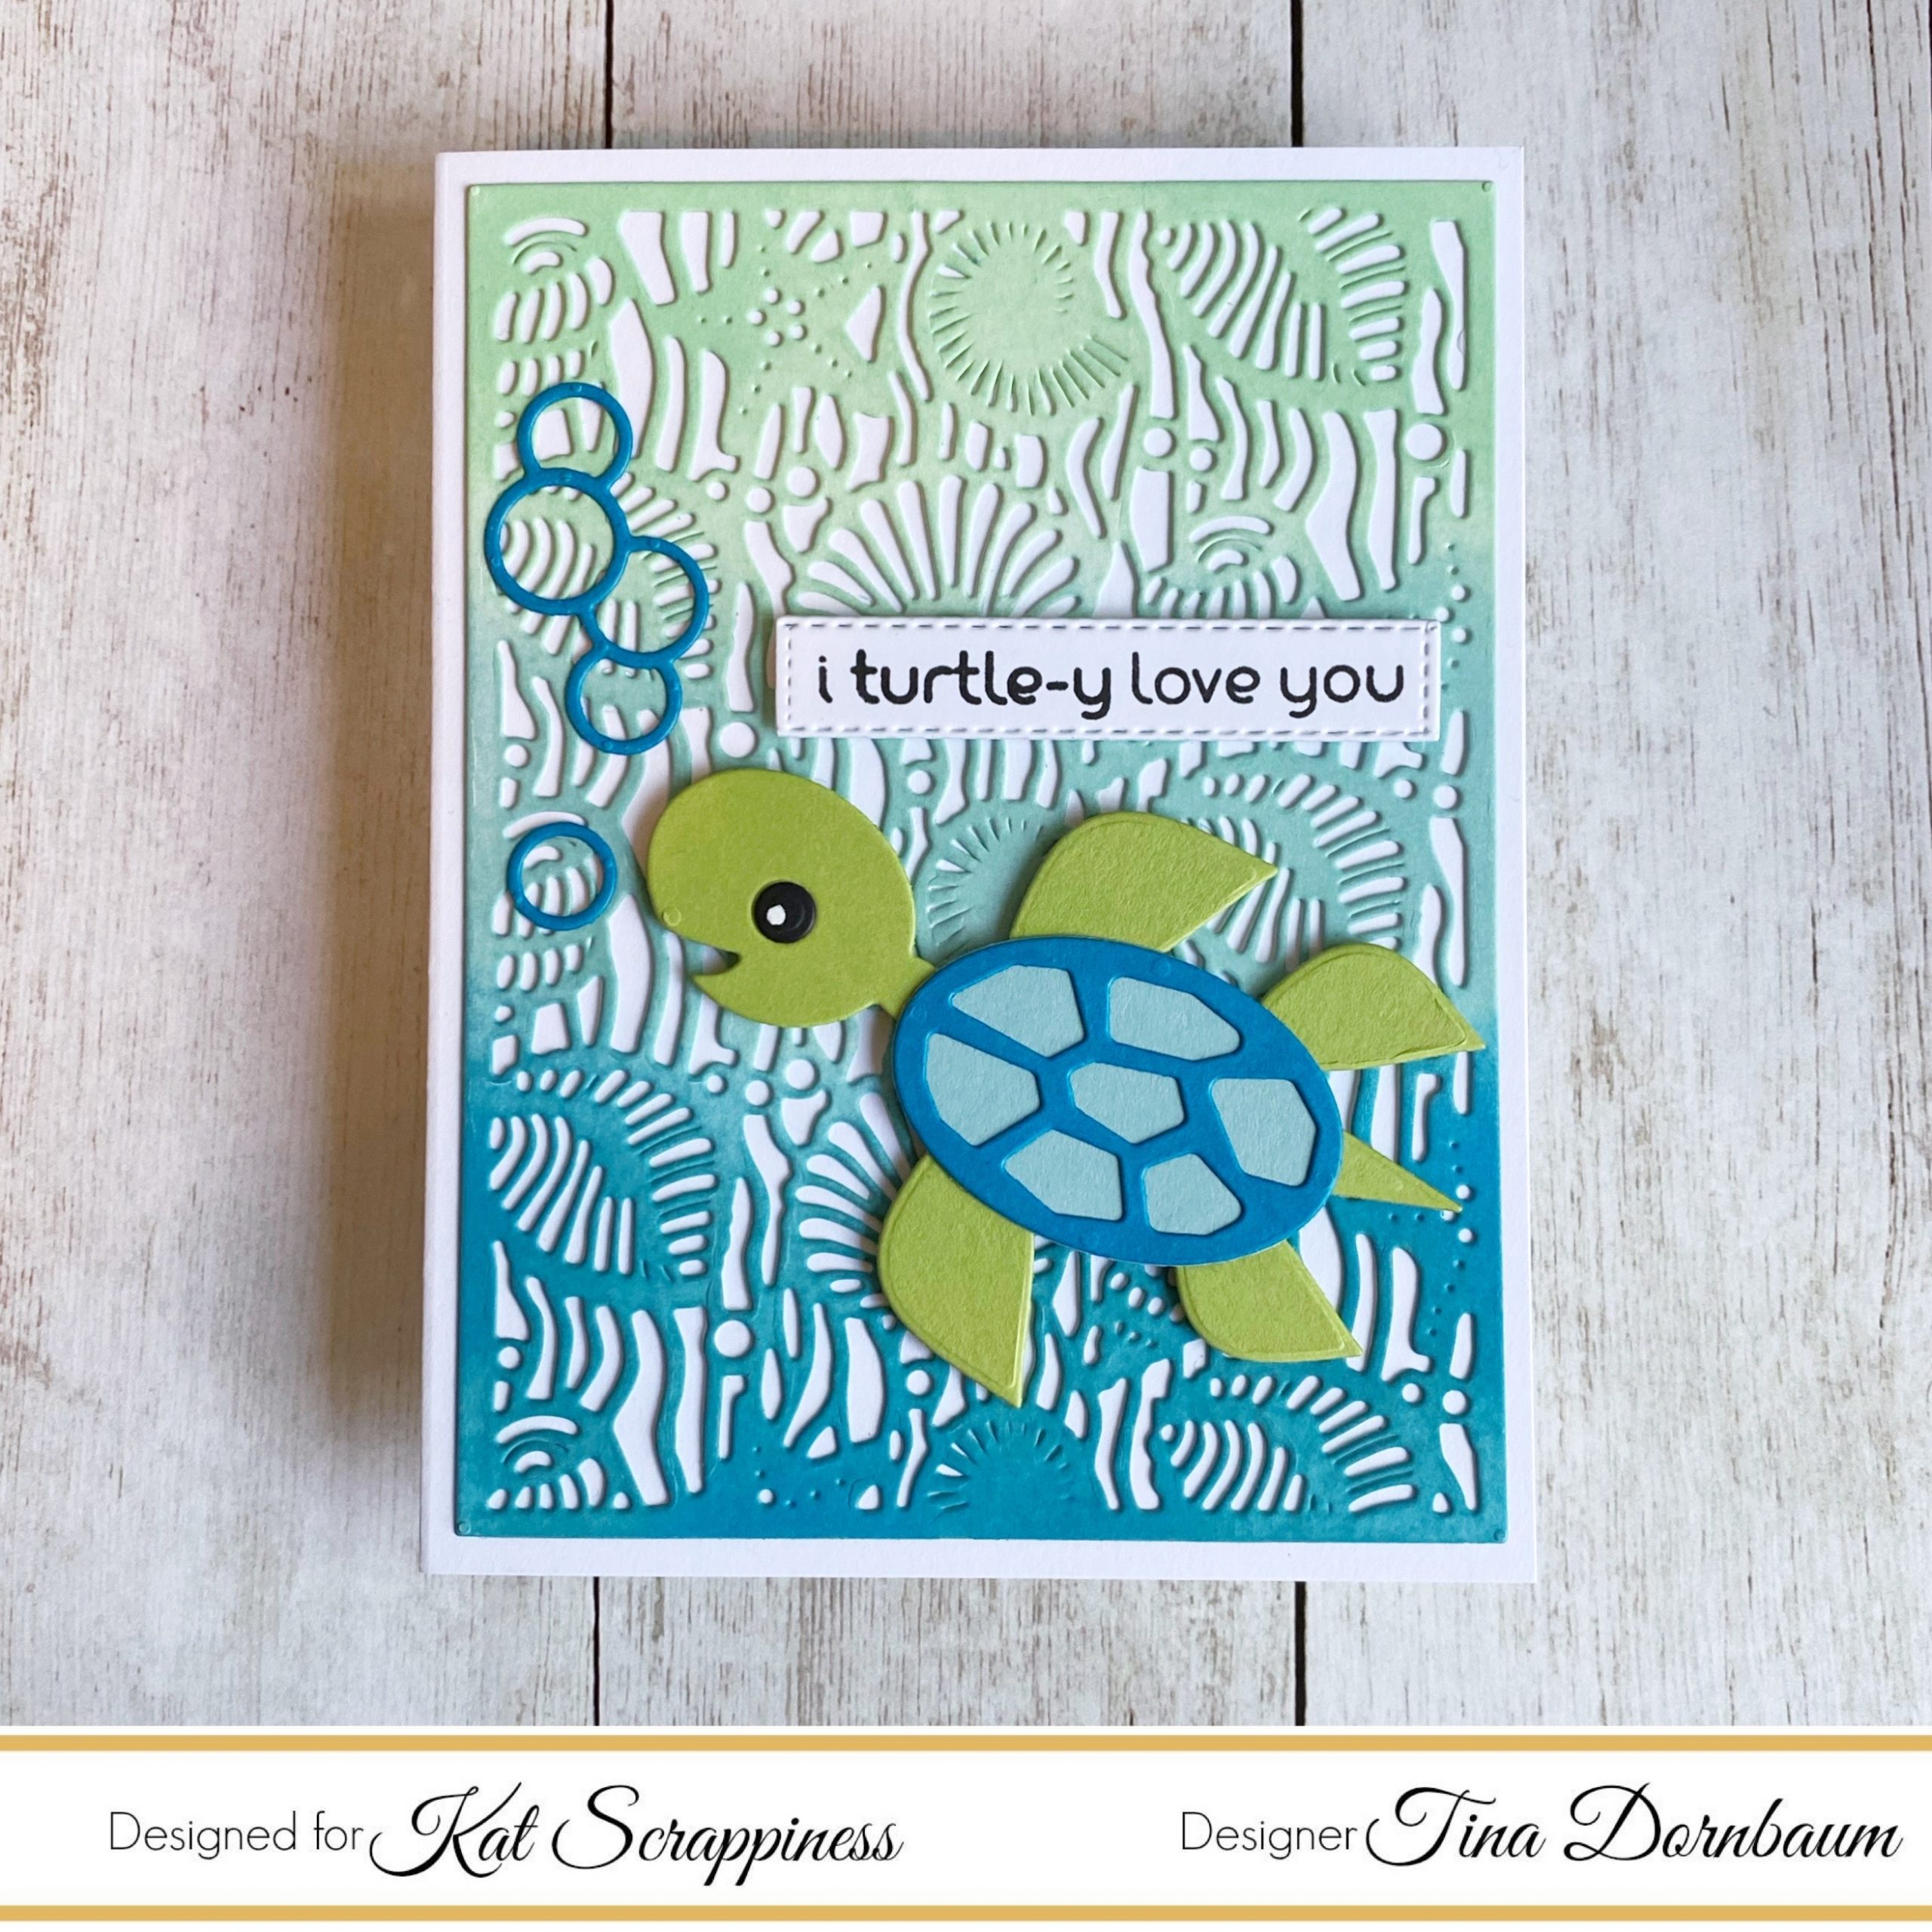
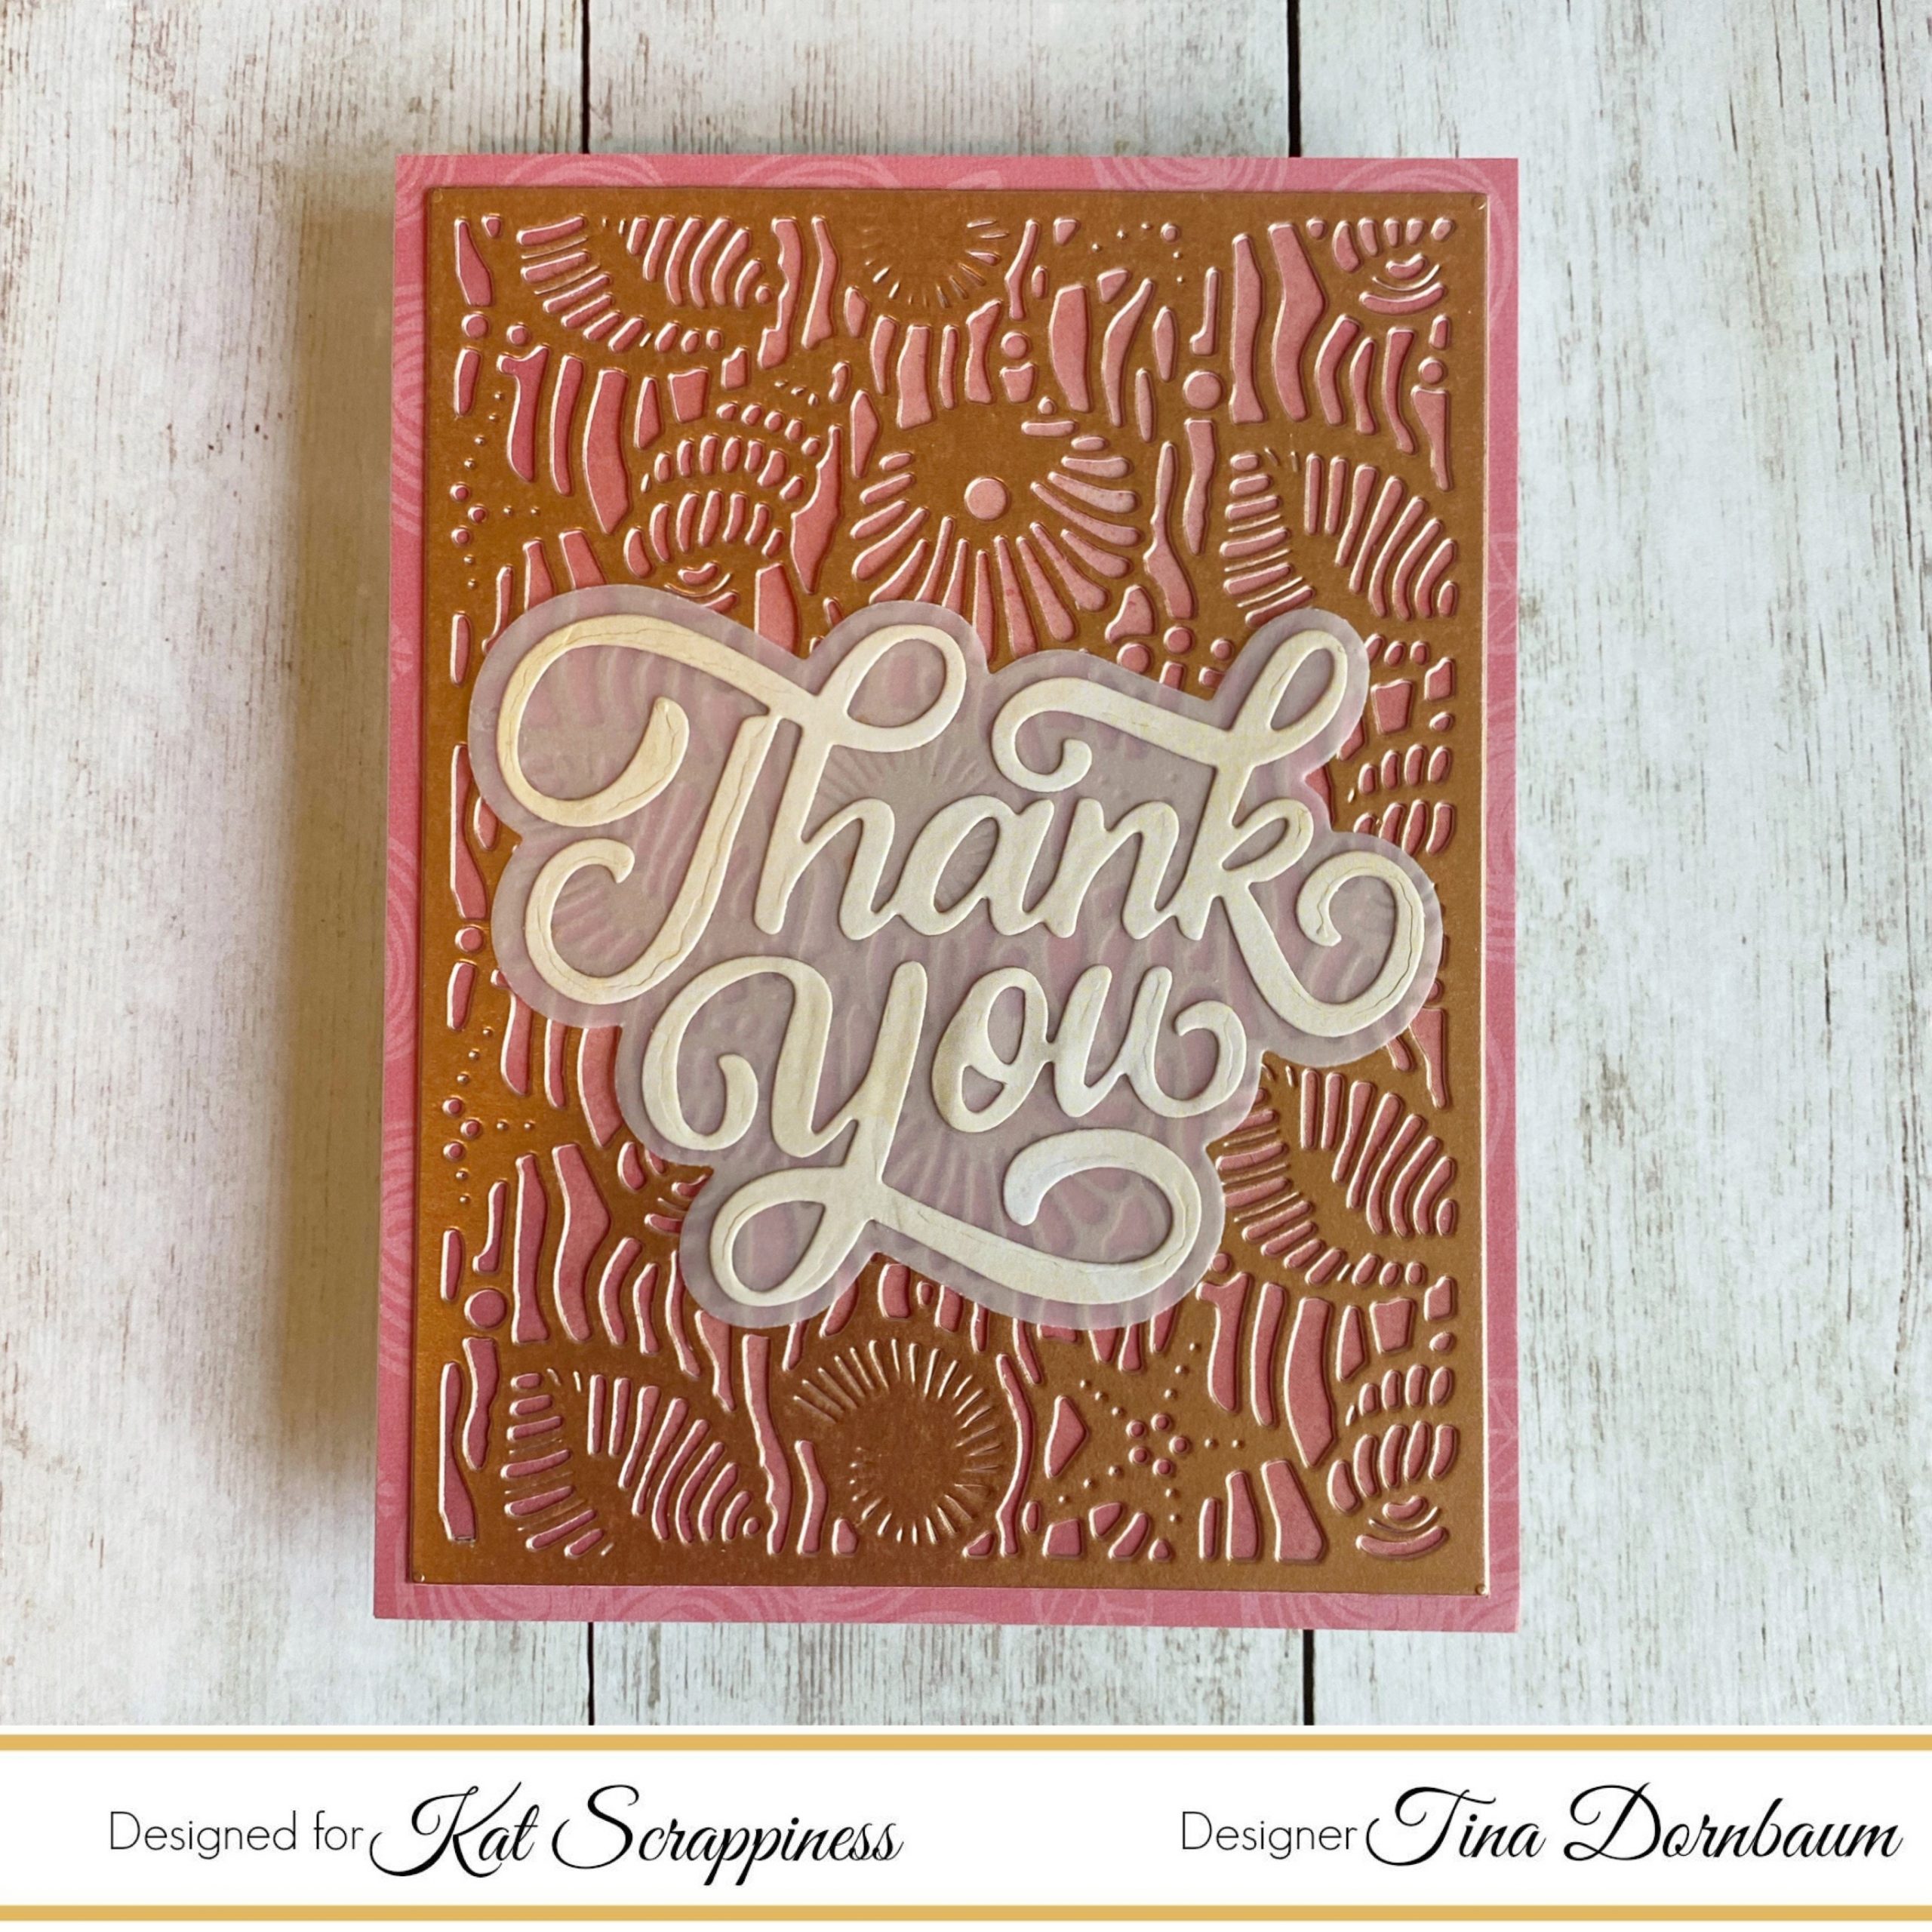
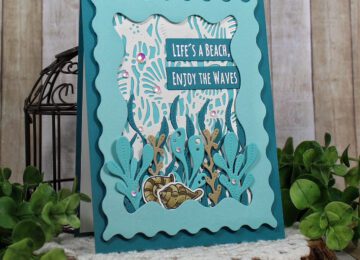
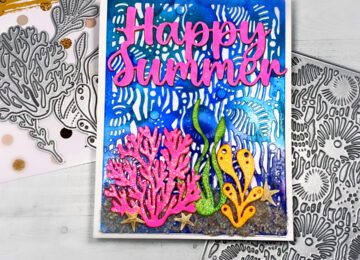
Hi Everyone, it’s Tina here. Today I have two easy and fast cards to share with you using the new Under The Sea Coverplate from Kat Scrappiness. One card is a simple solid background and another is inked in several colours. Below you will find the steps for both cards.
Card #1
Card #2
Card #1
Step 1 – Trim White Cardstock to 8 1/2” x 5 1/2”, score at 4 1/4” and fold in half for a vertical side fold card. (A2)
Step 2 – Trim White Cardstock to 5 1/2” x 4 1/4”. Ink the panel using Distress Oxide Inks using Cracked Pistachio, Tumbled Glass and Salty Ocean.
Step 3 – Diecut Under The Sea Coverplate using the panel created from Step 2. Adhere to card using Nuvo Deluxe Adhesive.
Step 4 – Diecut or colour an image of your choice related to beach or ocean and adhere to card using Foam Tape.
Step 5 – Diecut Stitched Sentiment Strip using White Cardstock. A tip: if your sentiment is shorter than the Strip then you can diecut a second time by flipping it and die cutting again.
Step 6 – Stamp sentiment on the diecut created from Step 5. Adhere to card using Foam Tape.
Card #2
Step 1 – Trim White Cardstock to 8 1/2” x 5 1/2”, score at 4 1/4” and fold in half for a vertical side fold card. (A2)
Step 2 – Trim Patterned Paper of your choice to 5 1/2” x 4 1/4”. Adhere to card using Nuvo Deluxe Adhesive.
Step 3 – Diecut Under The Sea Coverplate using Kraft Metallic Paper. Adhere to card using Nuvo Deluxe Adhesive.
Step 4 – Diecut Thank you With Shadow (vellum for the shadow and Patterned paper for the words) Assemble and adhere to card using Nuvo Deluxe Adhesive.
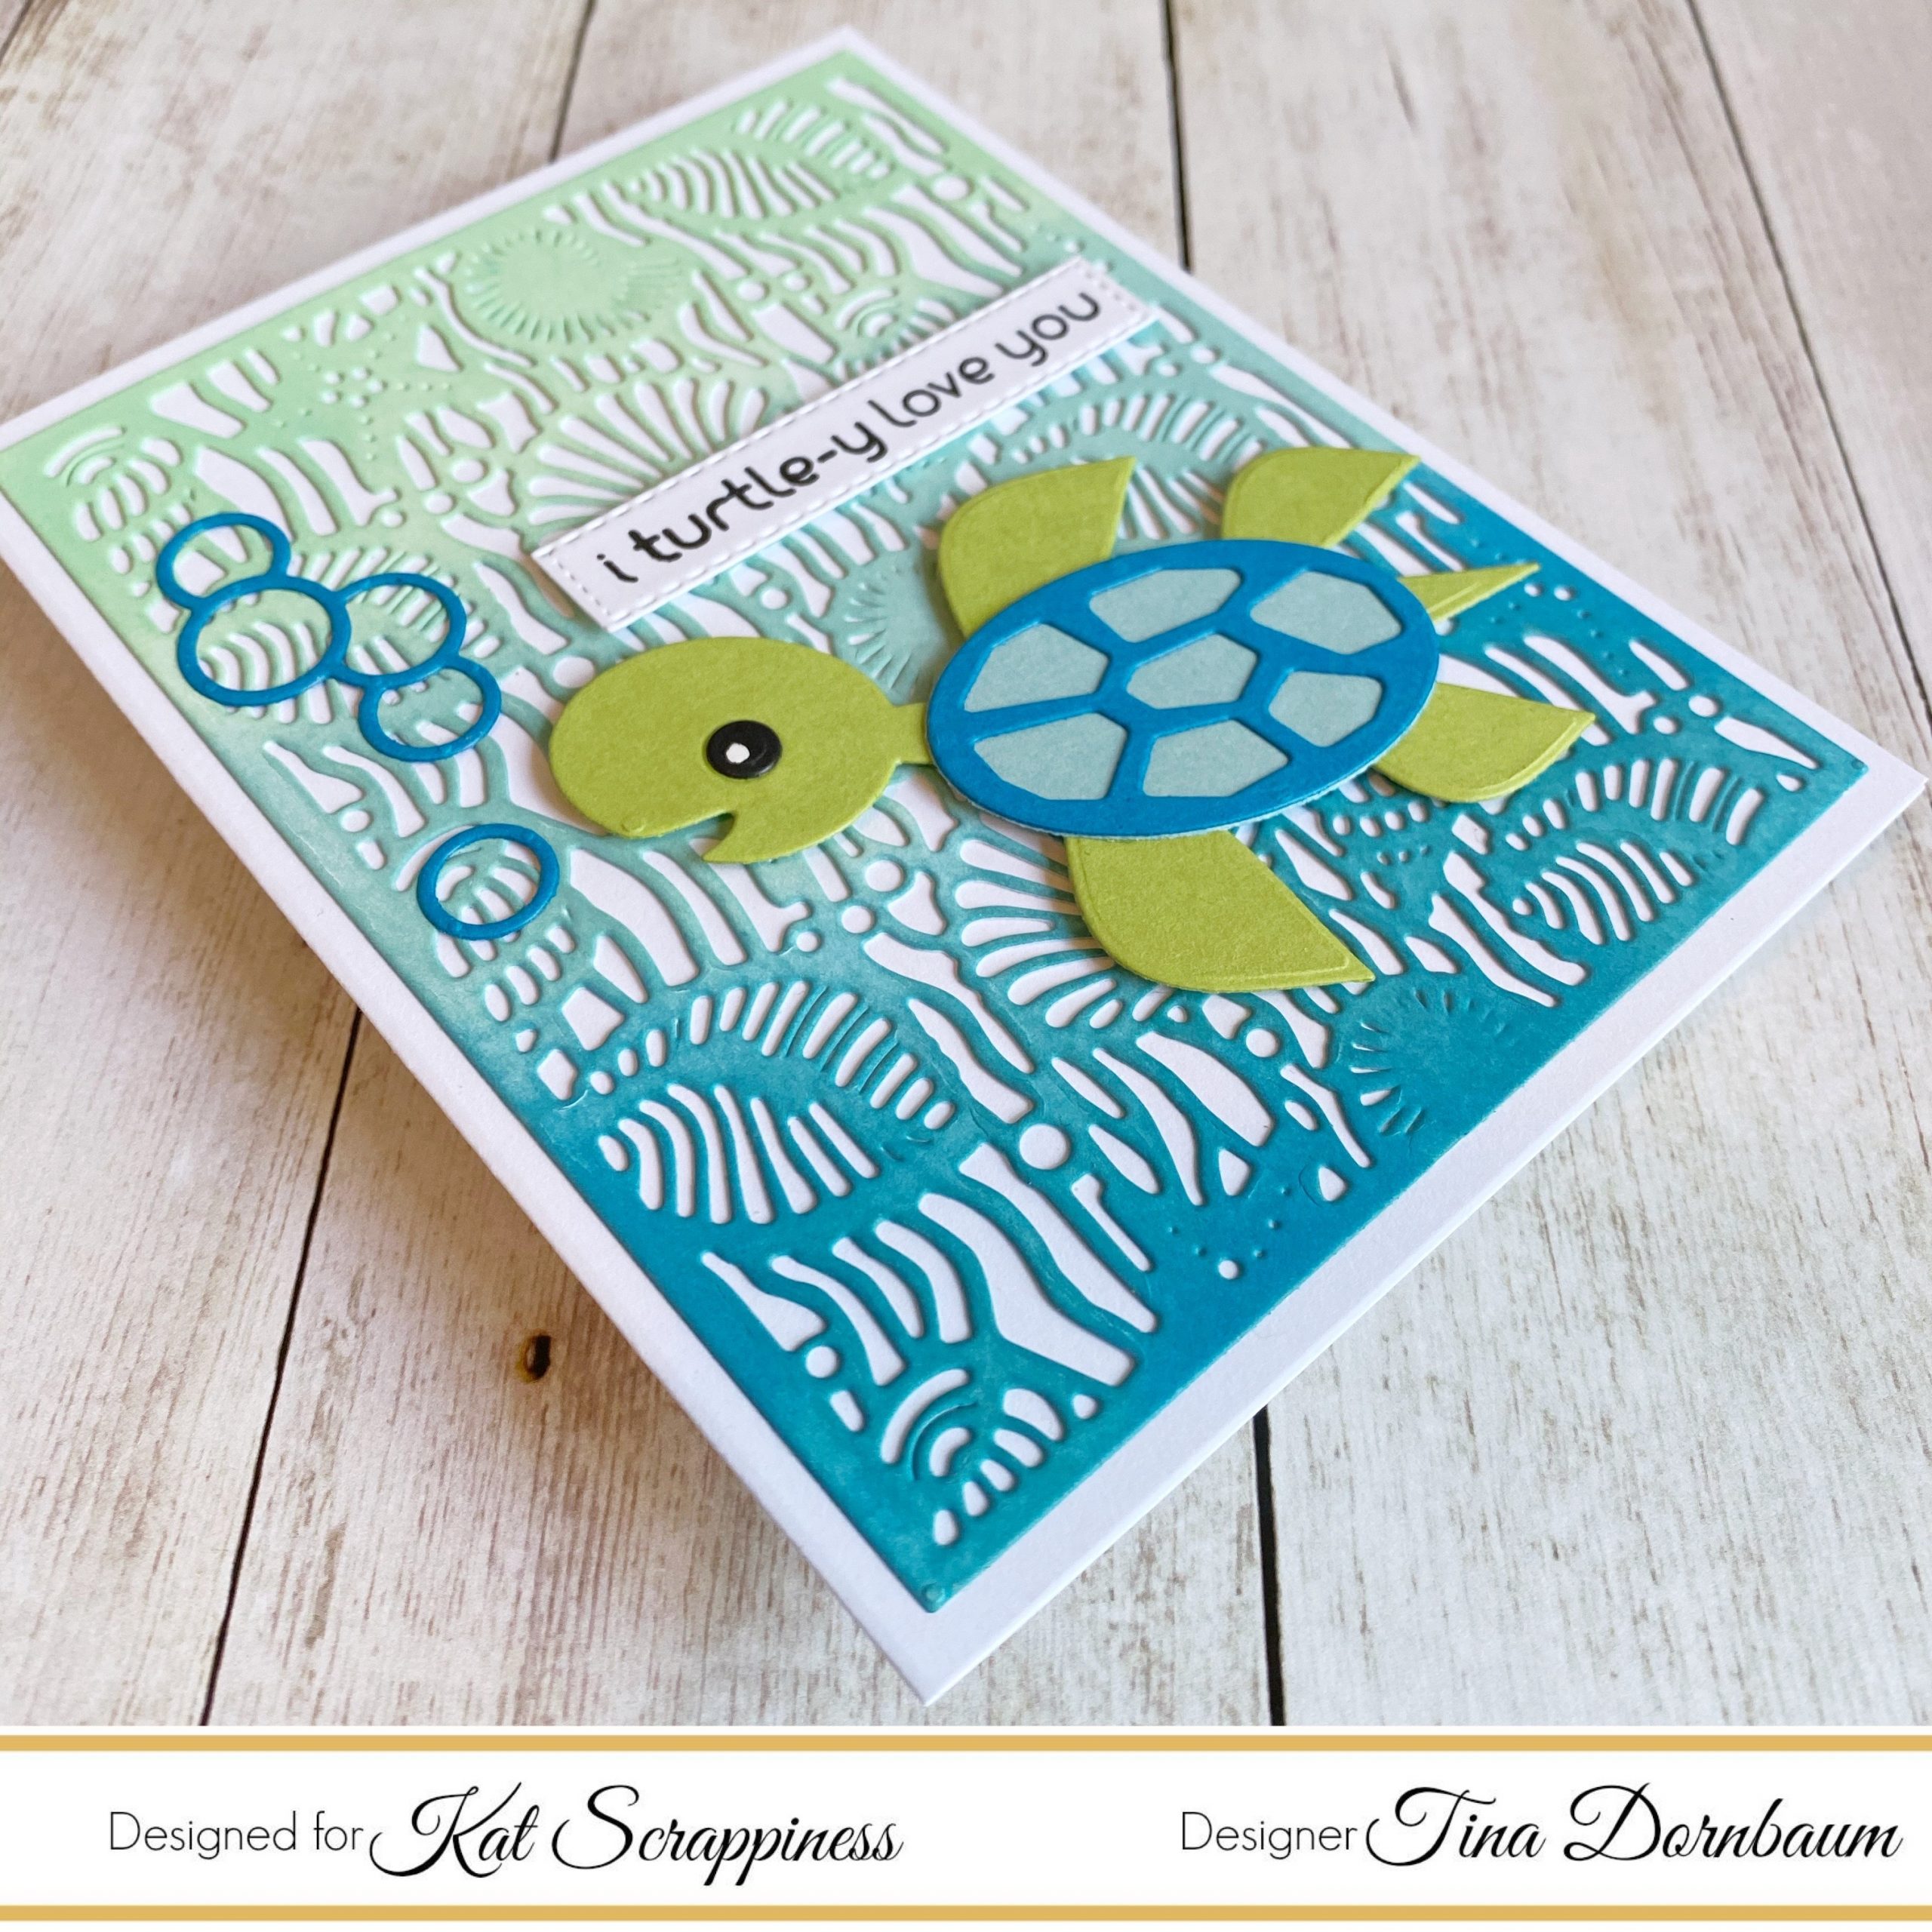
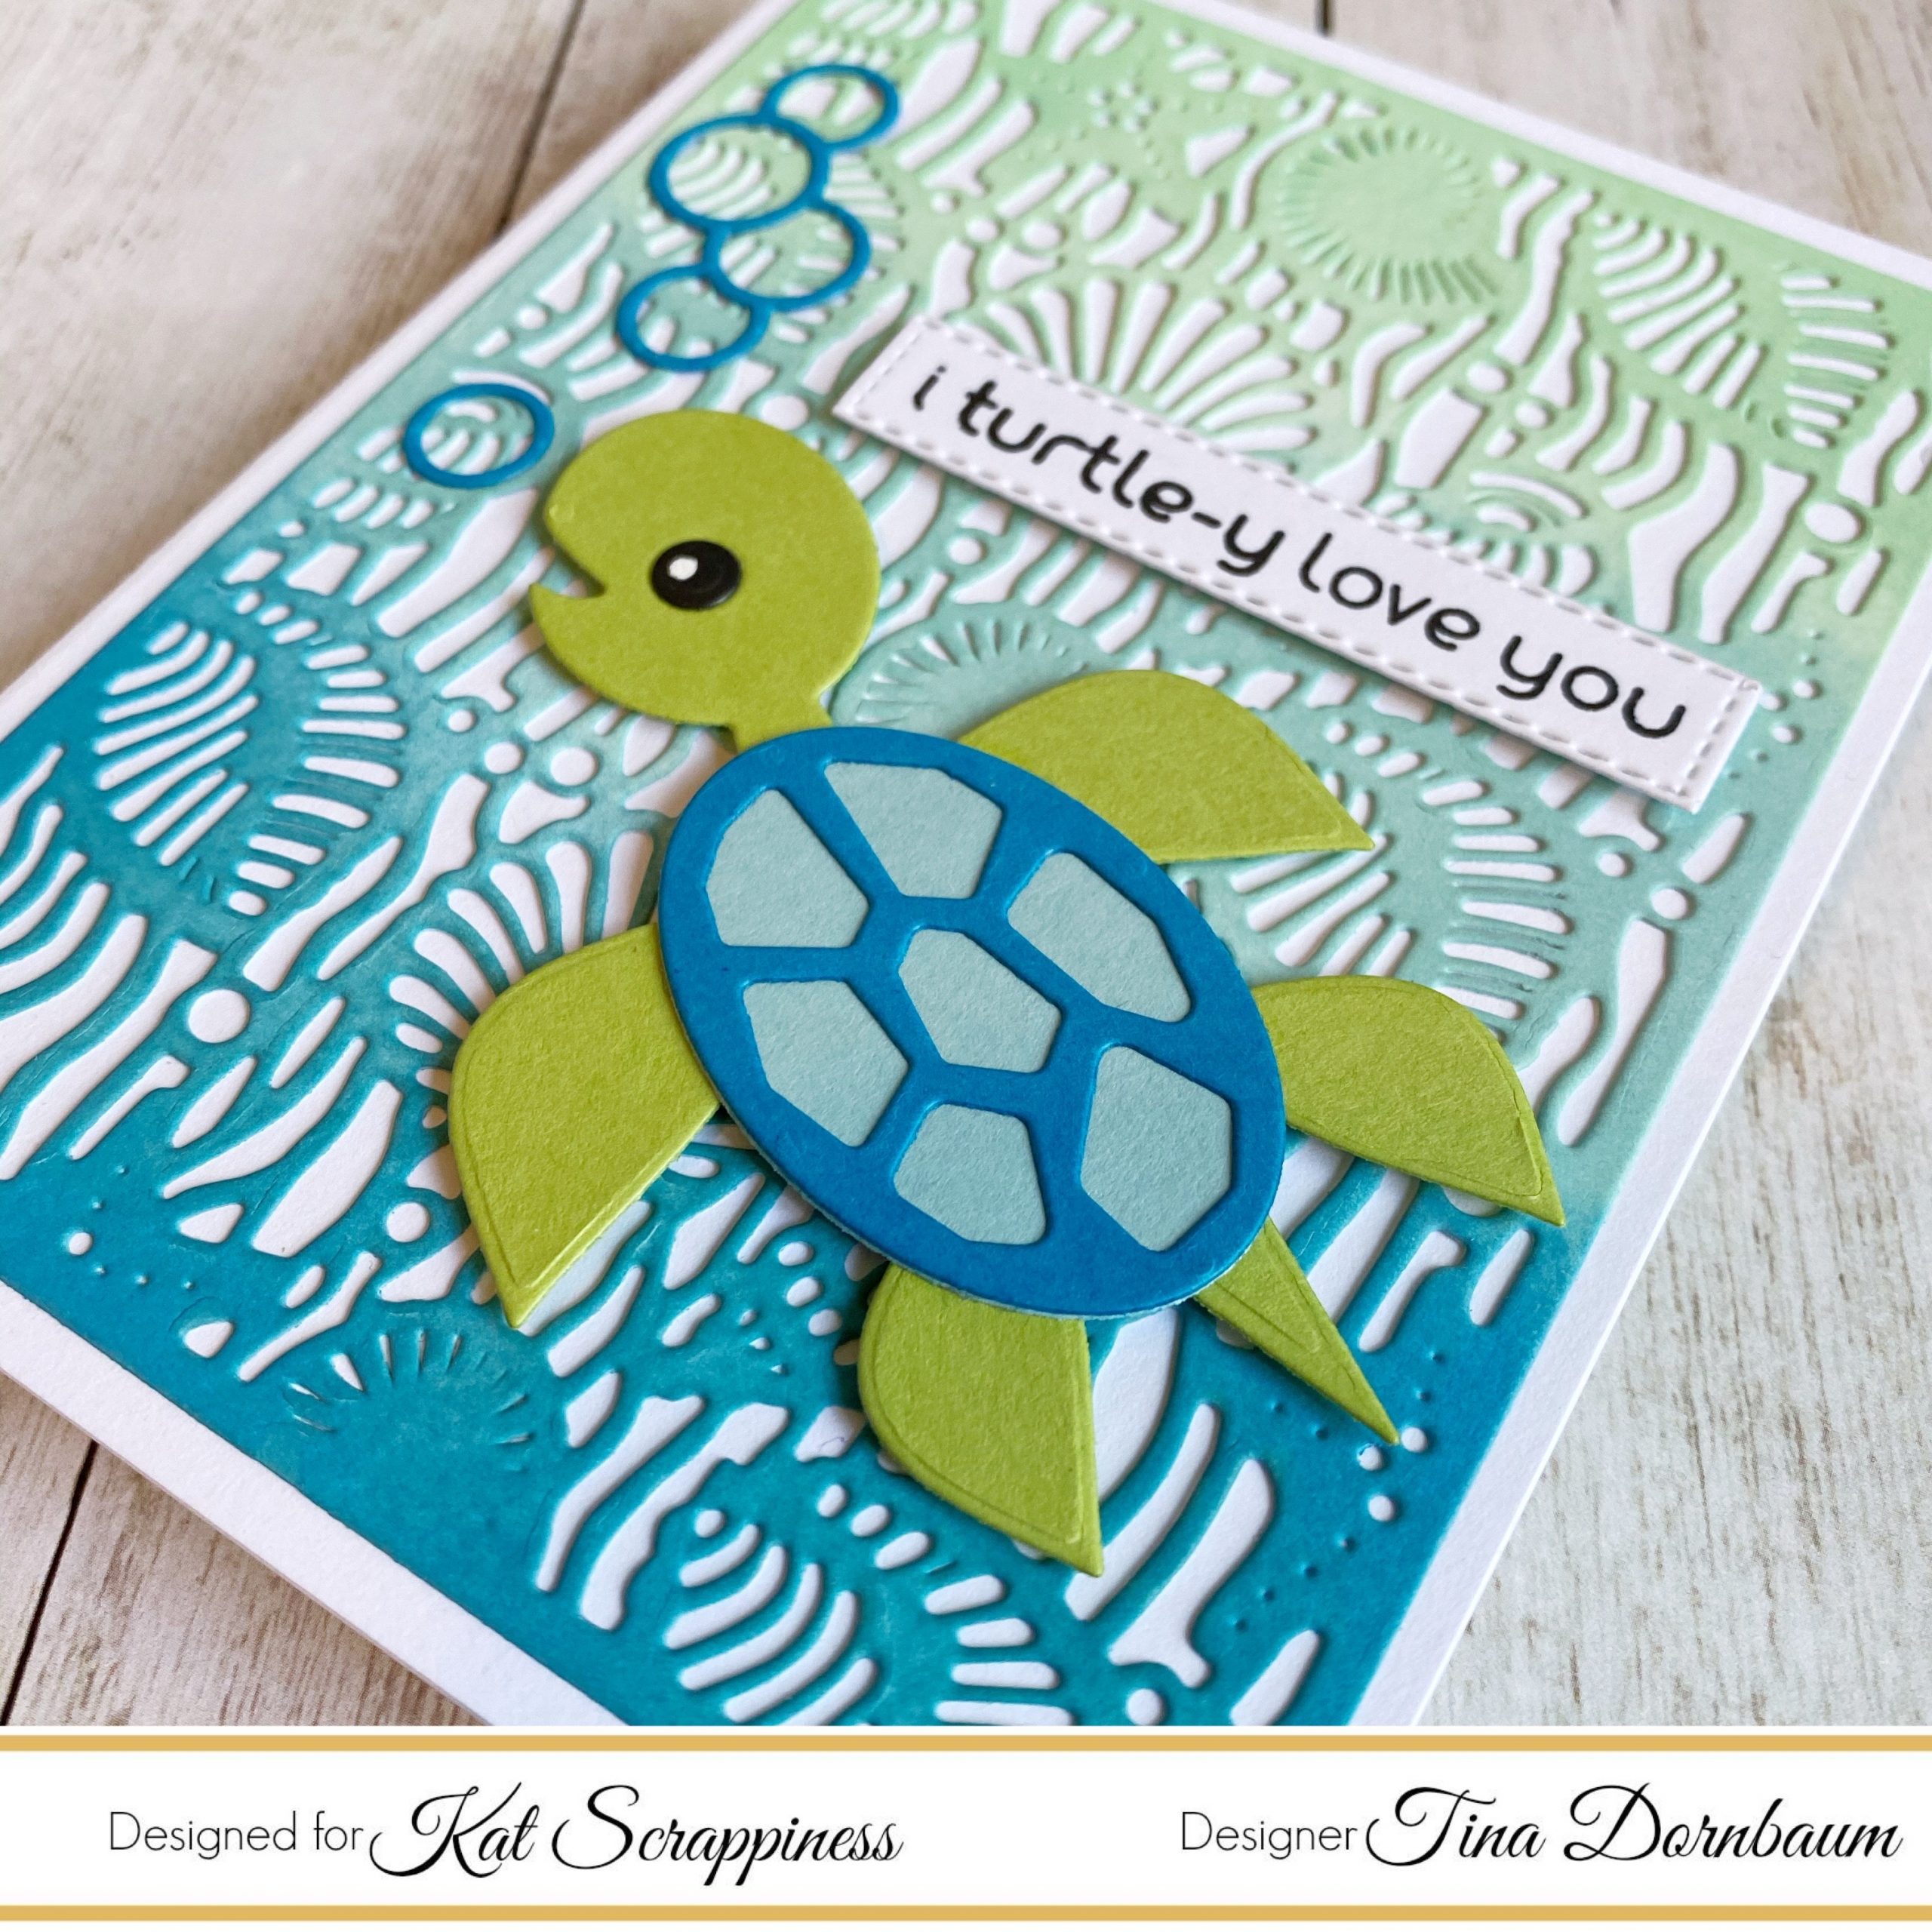
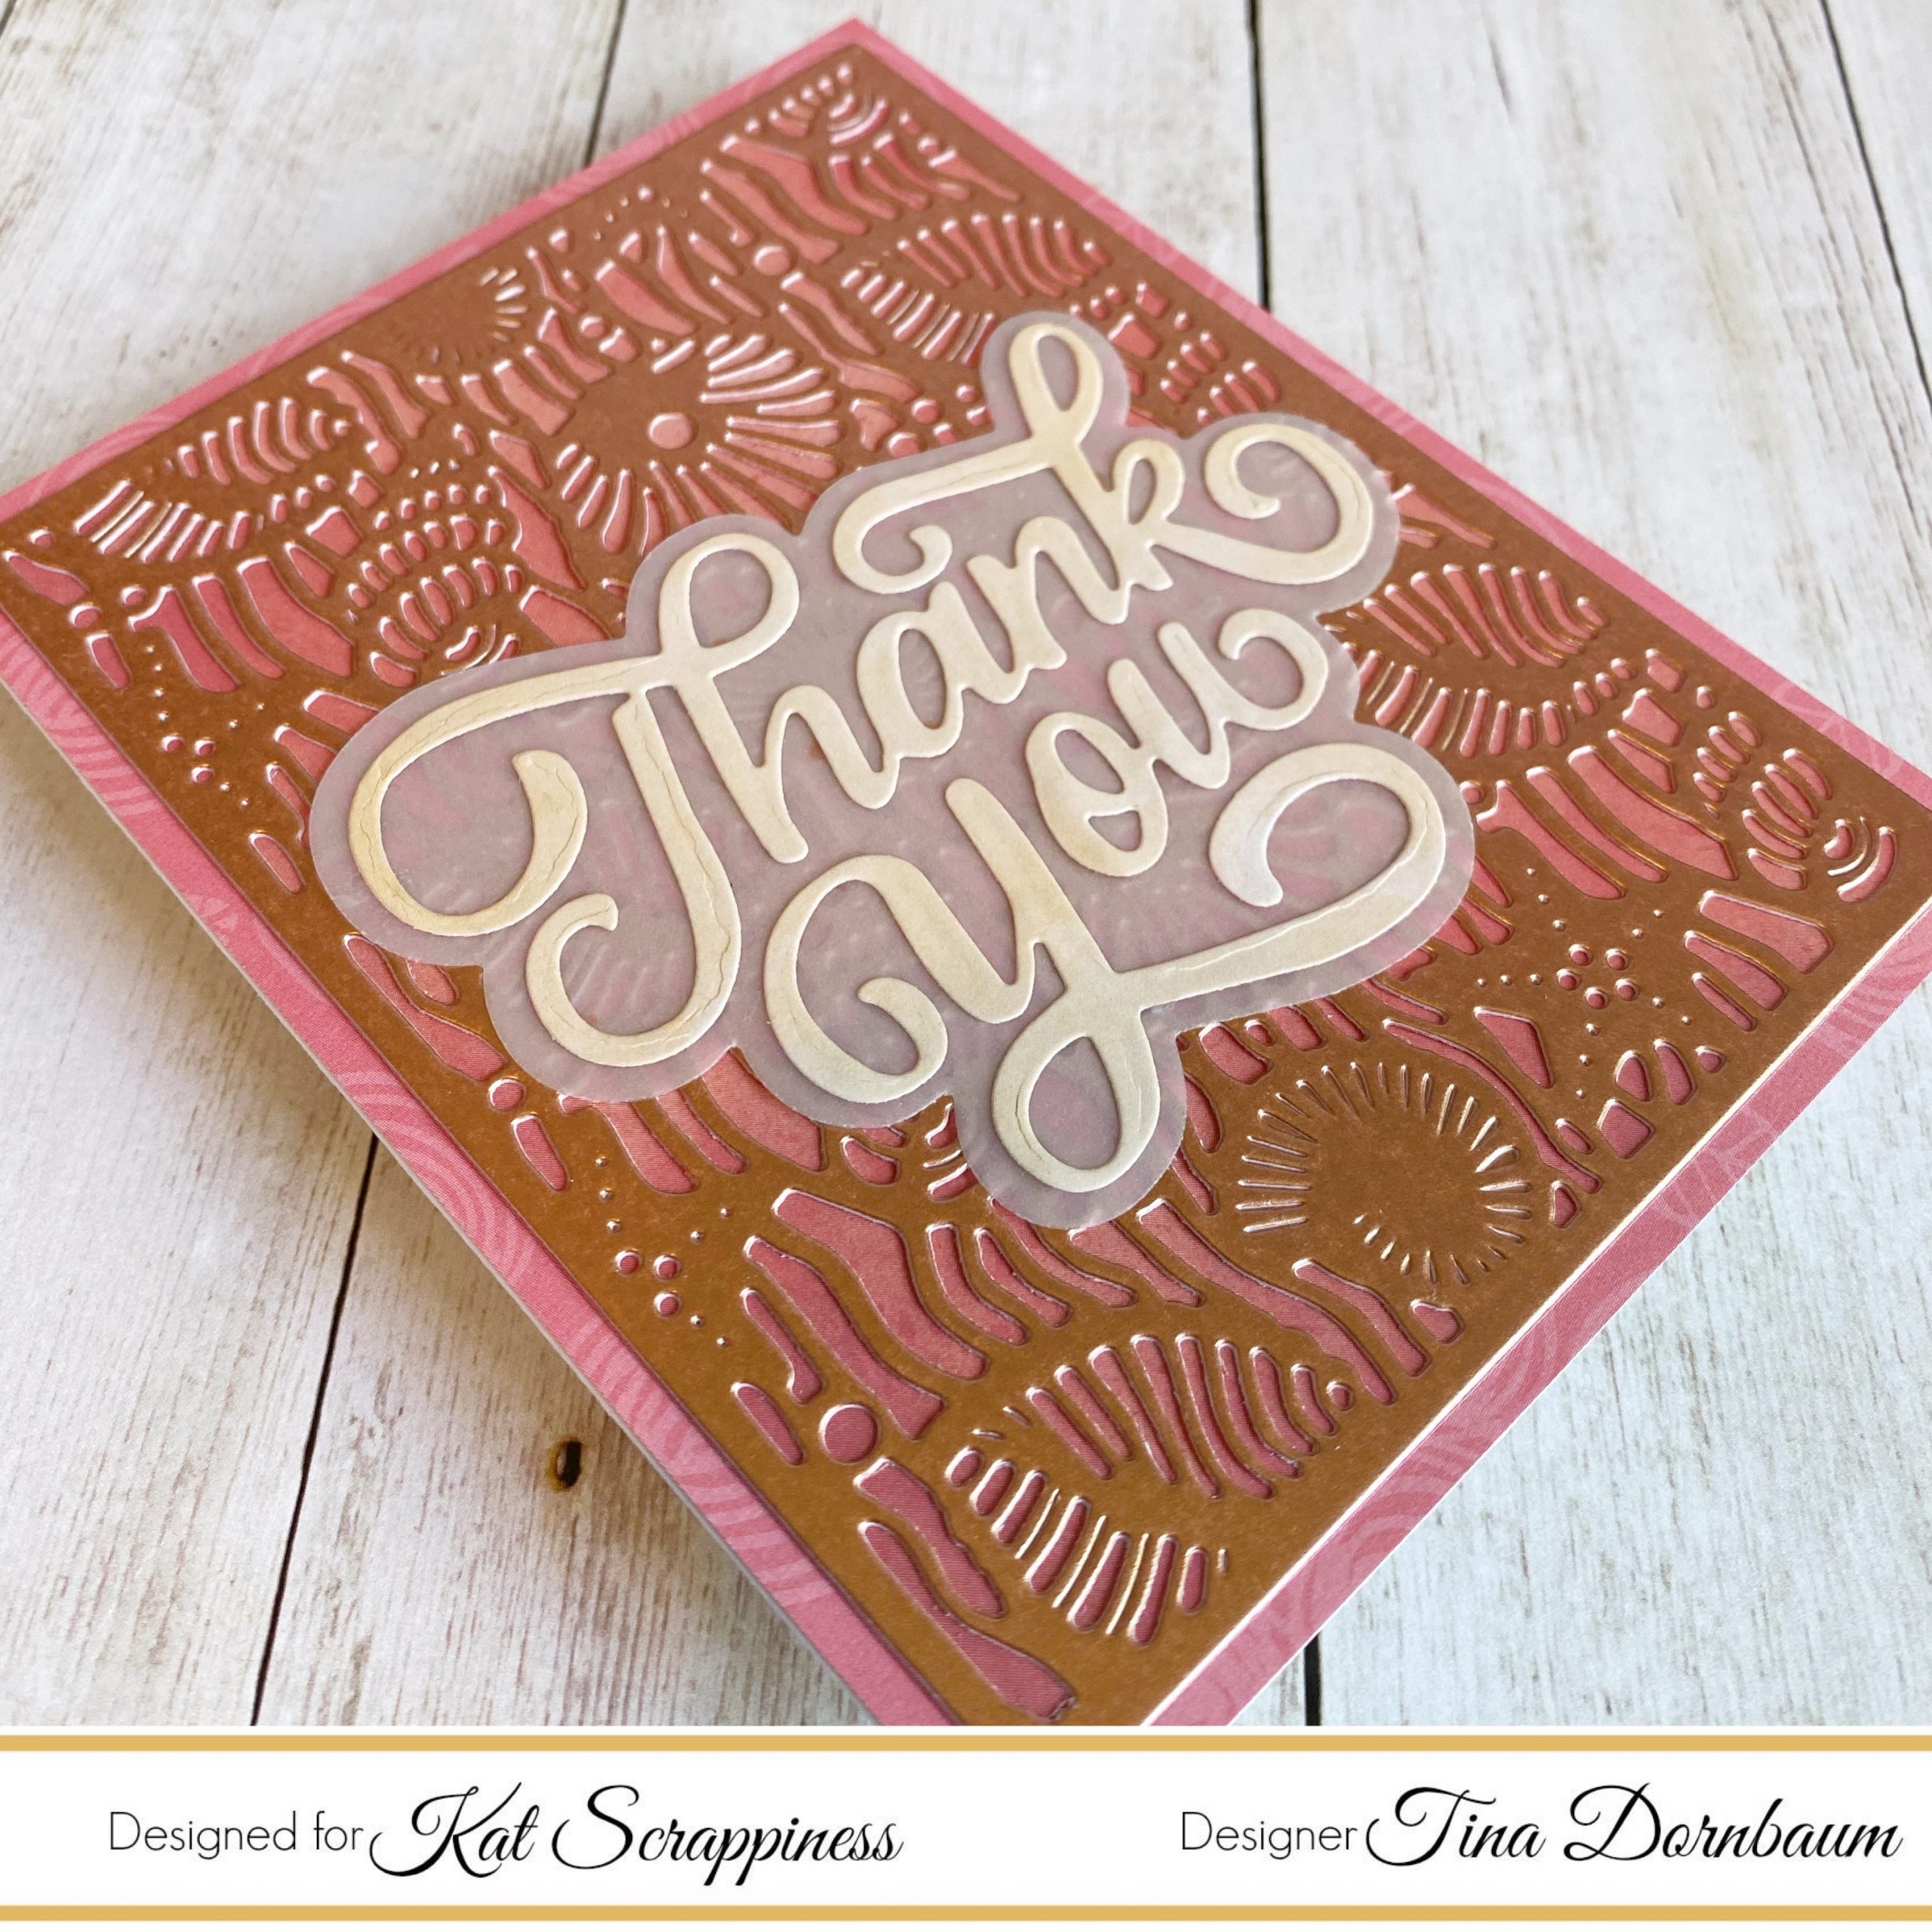
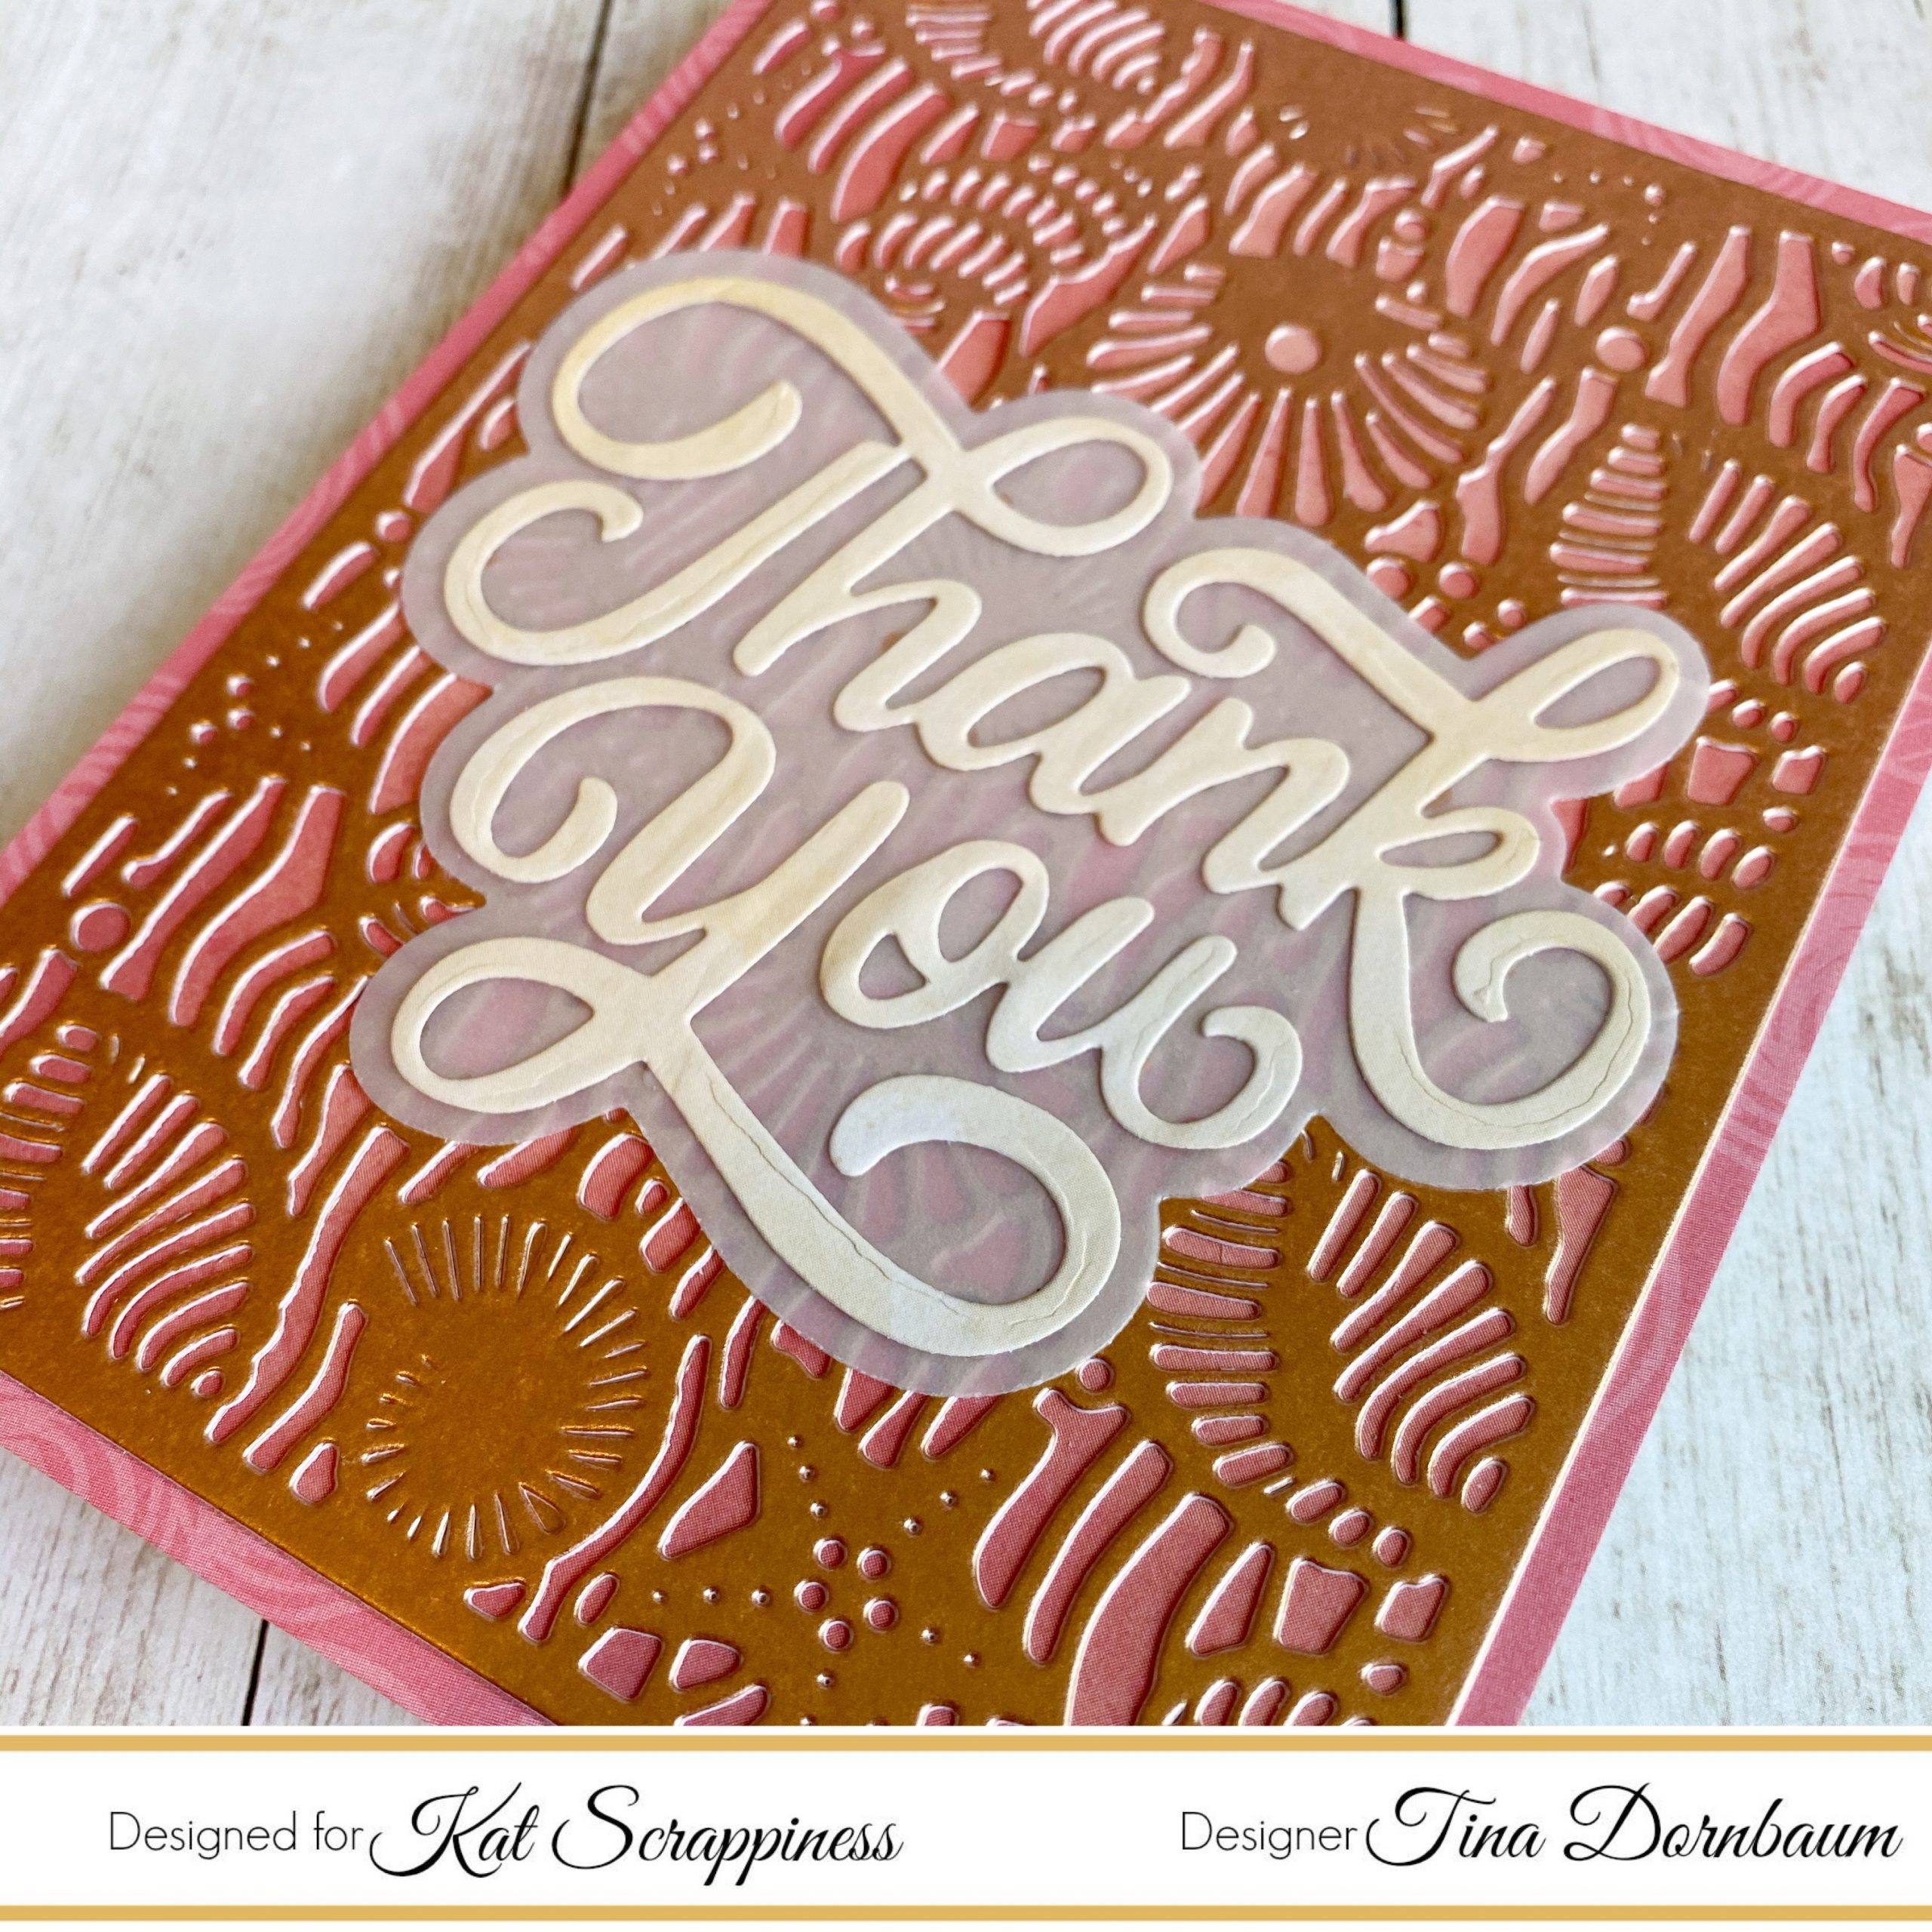
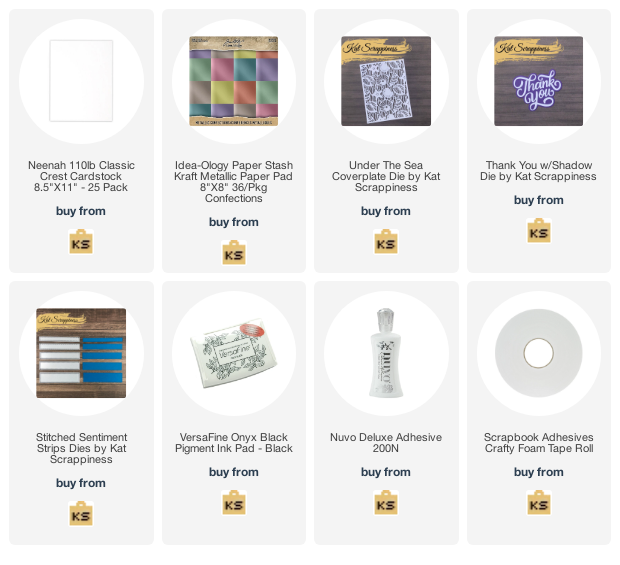
Using a solid diecut or a coloured diecut changes the look of the Under The Sea Coverplate which makes it a fun background. Below is a link to all the products used. Thanks for stopping by and Happy Crafting!
Products Used:
https://linkdeli.com/widget.js?id=f5e8378456858c916708

1 Comment
Awesome cards! I especially love the turtle and the colors you used for that card! It is a fabulous coverplate!
June 6, 2020 at 3:11 pm