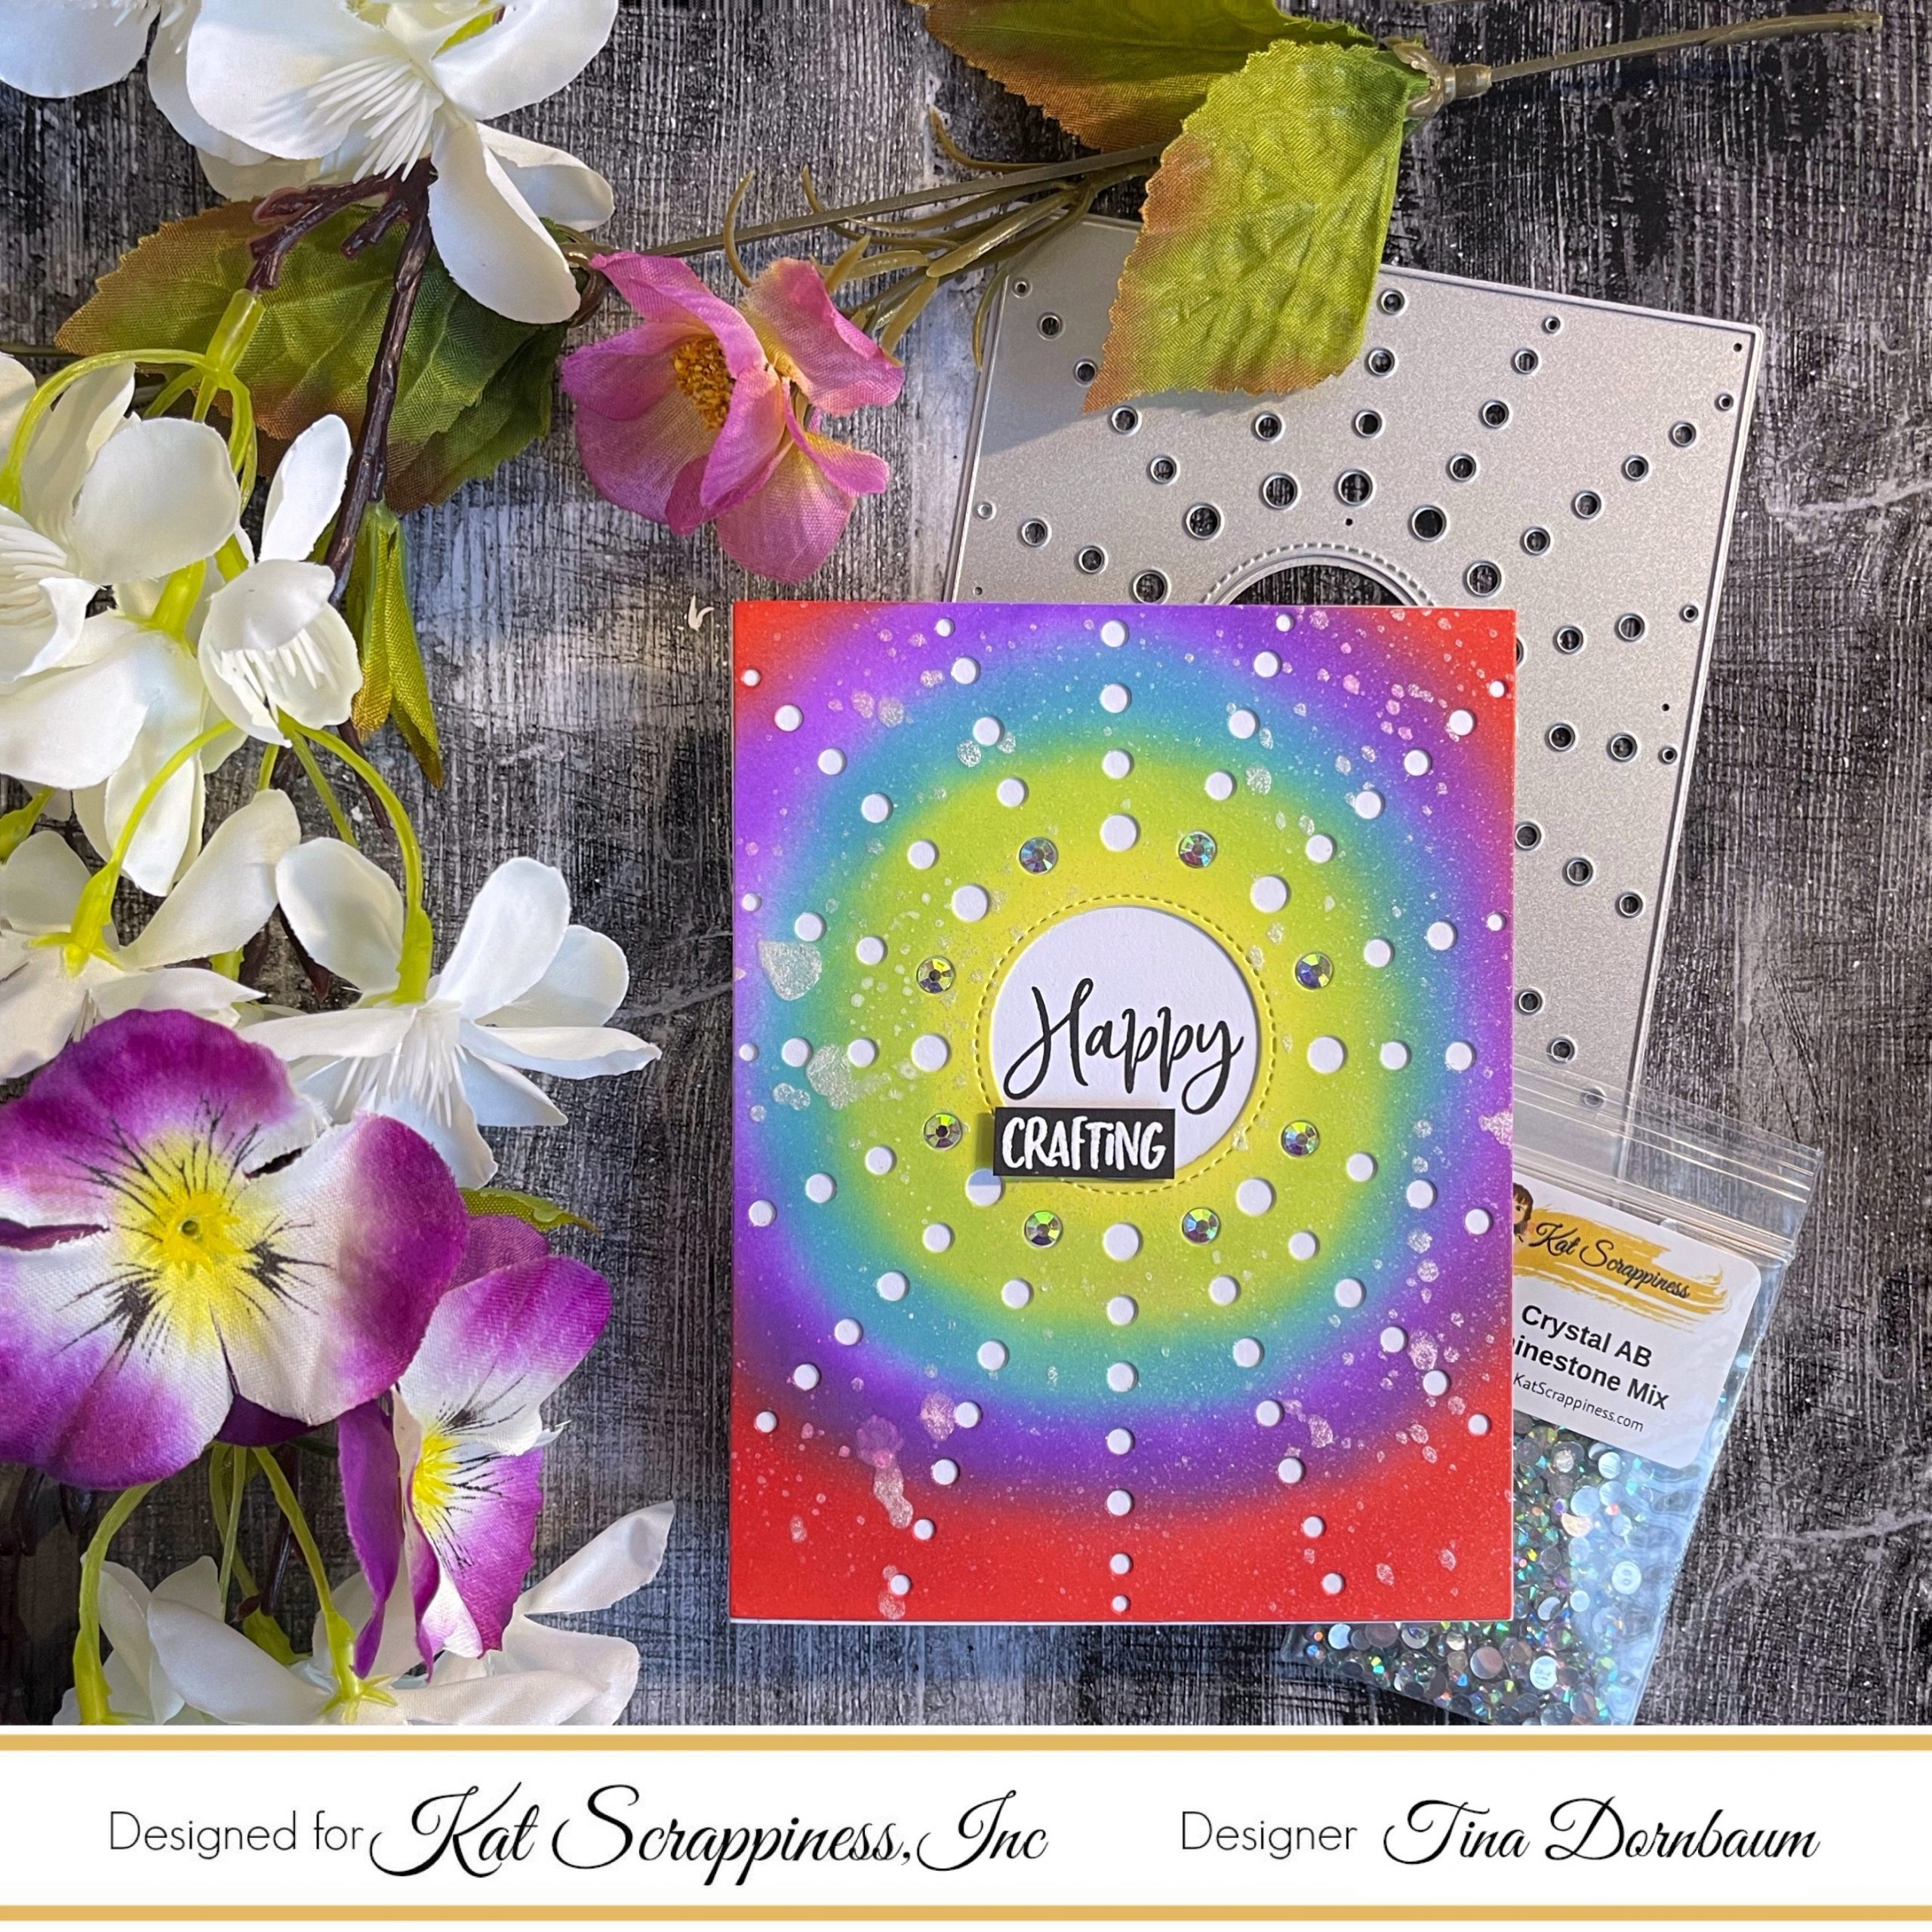
Hi everyone, it’s Tina here. Today I have 2 cards to share with you using the new Sunspot Coverplate die, Happy Day Stamps and Rhinestones. Both are similar but one is using the ink blending in strips and the other is ink blended in circles. Below you will find the steps to create your own cards.
Card 1
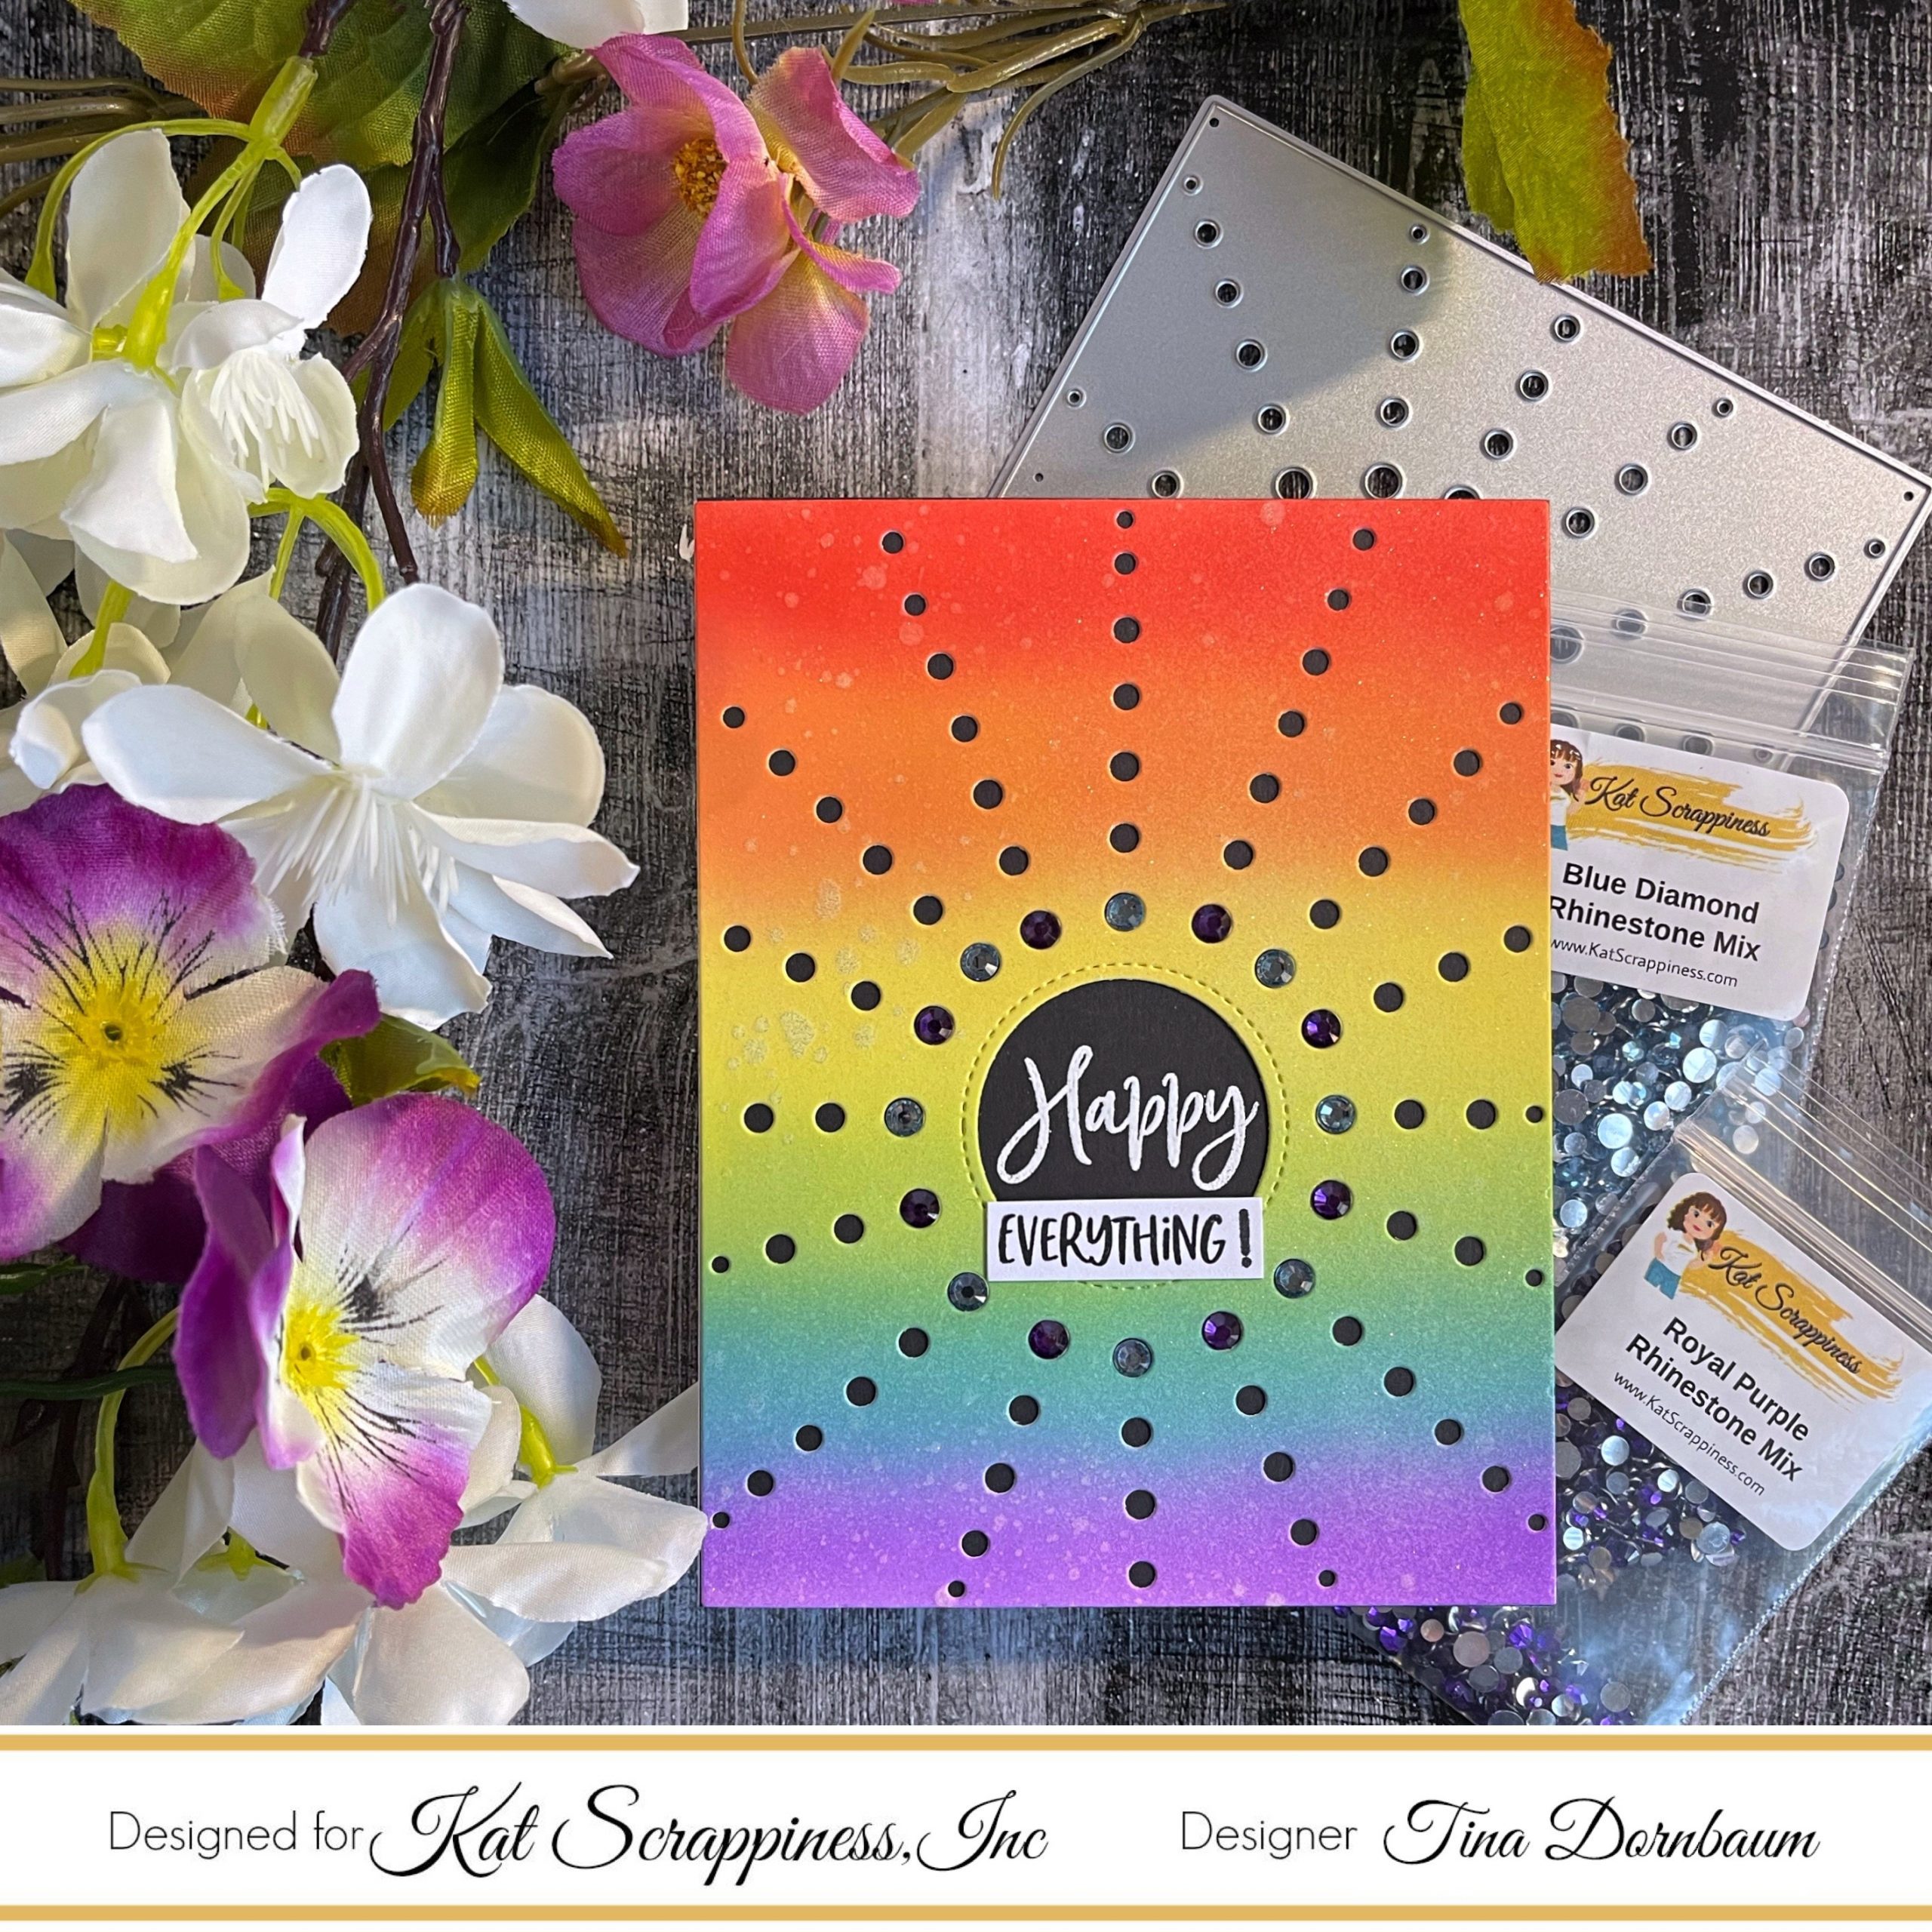
Step 1 – Trim White Cardstock to 8 1/2” x 5 1/2”, score at 4 1/4” and fold in half for a vertical side fold card. (A2)
Step 2 – Trim Black Cardstock to 5 1/2” x 4 1/4”. Adhere to card front using Bearly Art Precision Glue.
Step 3 – Trim White Cardstock to 5 1/2” x 4 1/4”. Apply Distress Oxide Ink in rainbow order. I used Candied Apple, Spiced Marmalade, Squeezed Lemonade, Twisted Citron, Broken China, Wilted Violet. Optional: Spray the background using Shimmer Spritz. Let dry.
Step 4 – Diecut Sunspot Coverplate using the panel created in Step 3. Adhere to card front using Bearly Art Precision Glue.
Step 5 – Stamp Happy Day using Versamark to the center of the circle. Sprinkle White Embossing Powder and remove the excess. Heat Set it with a Heat Tool.
Step 6 – Stamp Happy Day using Versafine Onyx Black Ink on White Cardstock. Trim the sentiment and adhere to card using Bearly Art Precision Glue.
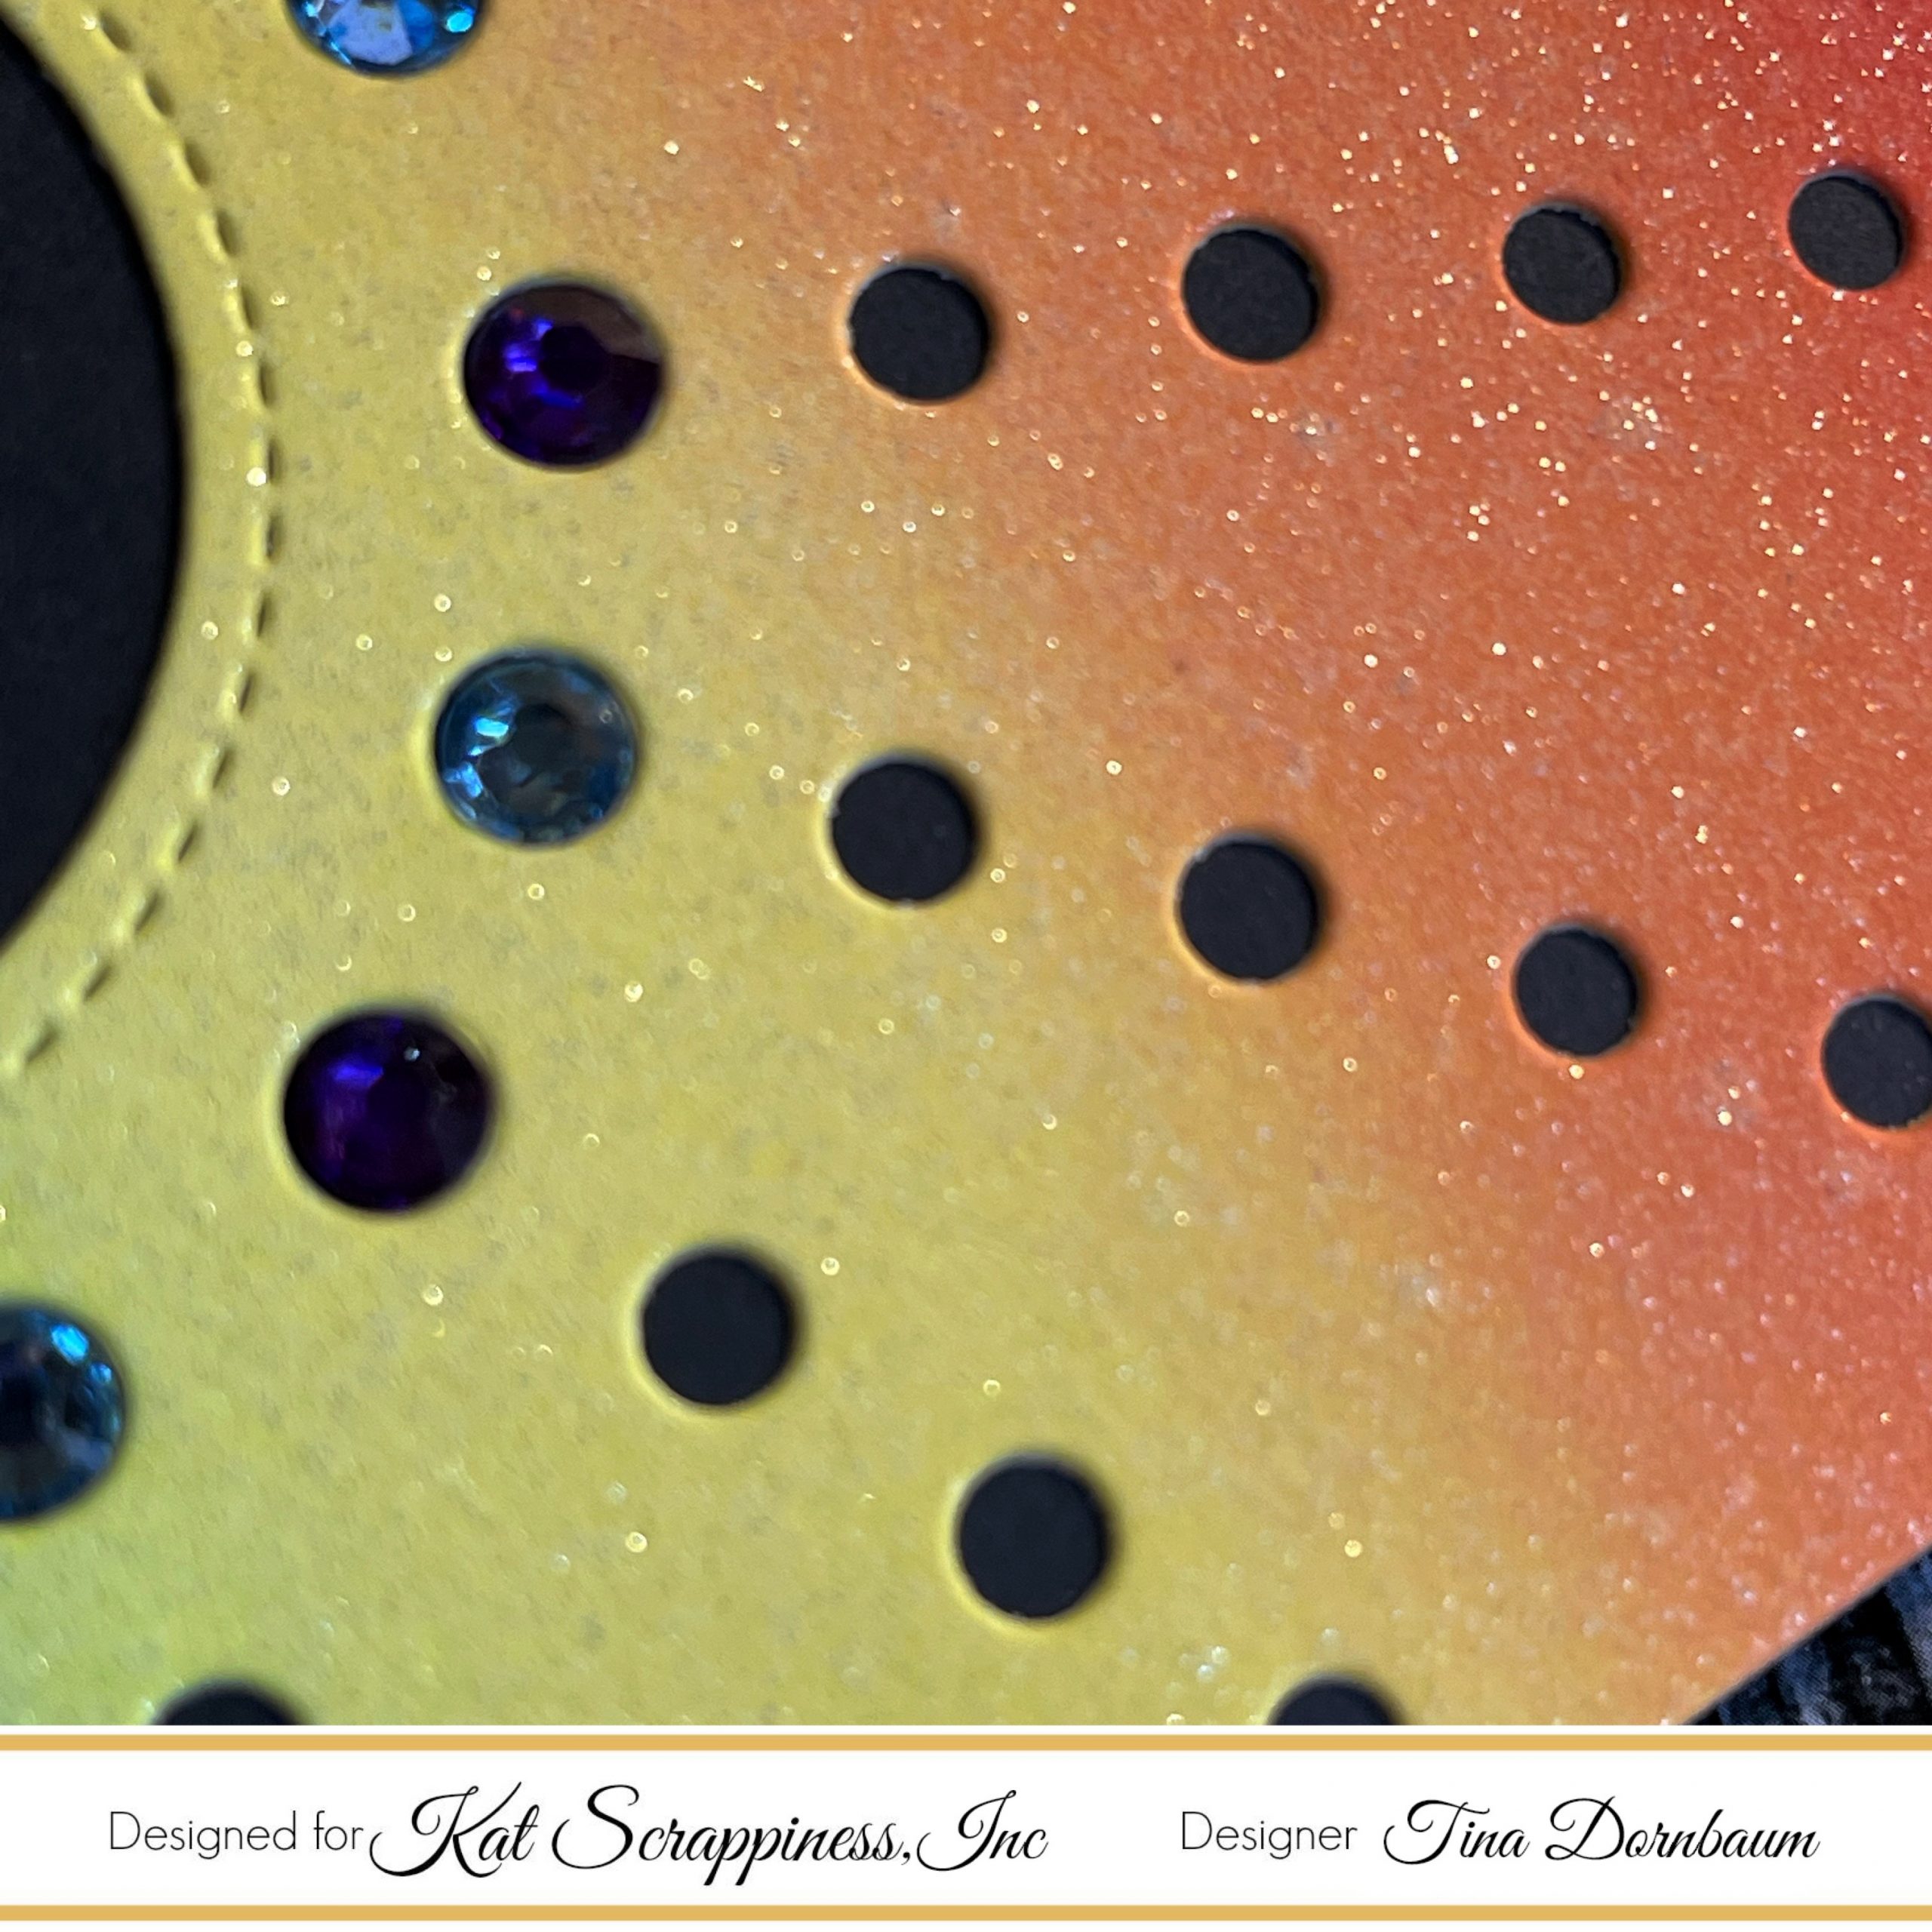
Step 7 – Adhere Rhinestone’s in colors Royal Purple and Blue Diamond to the dots closest to the center by alternating the colors.
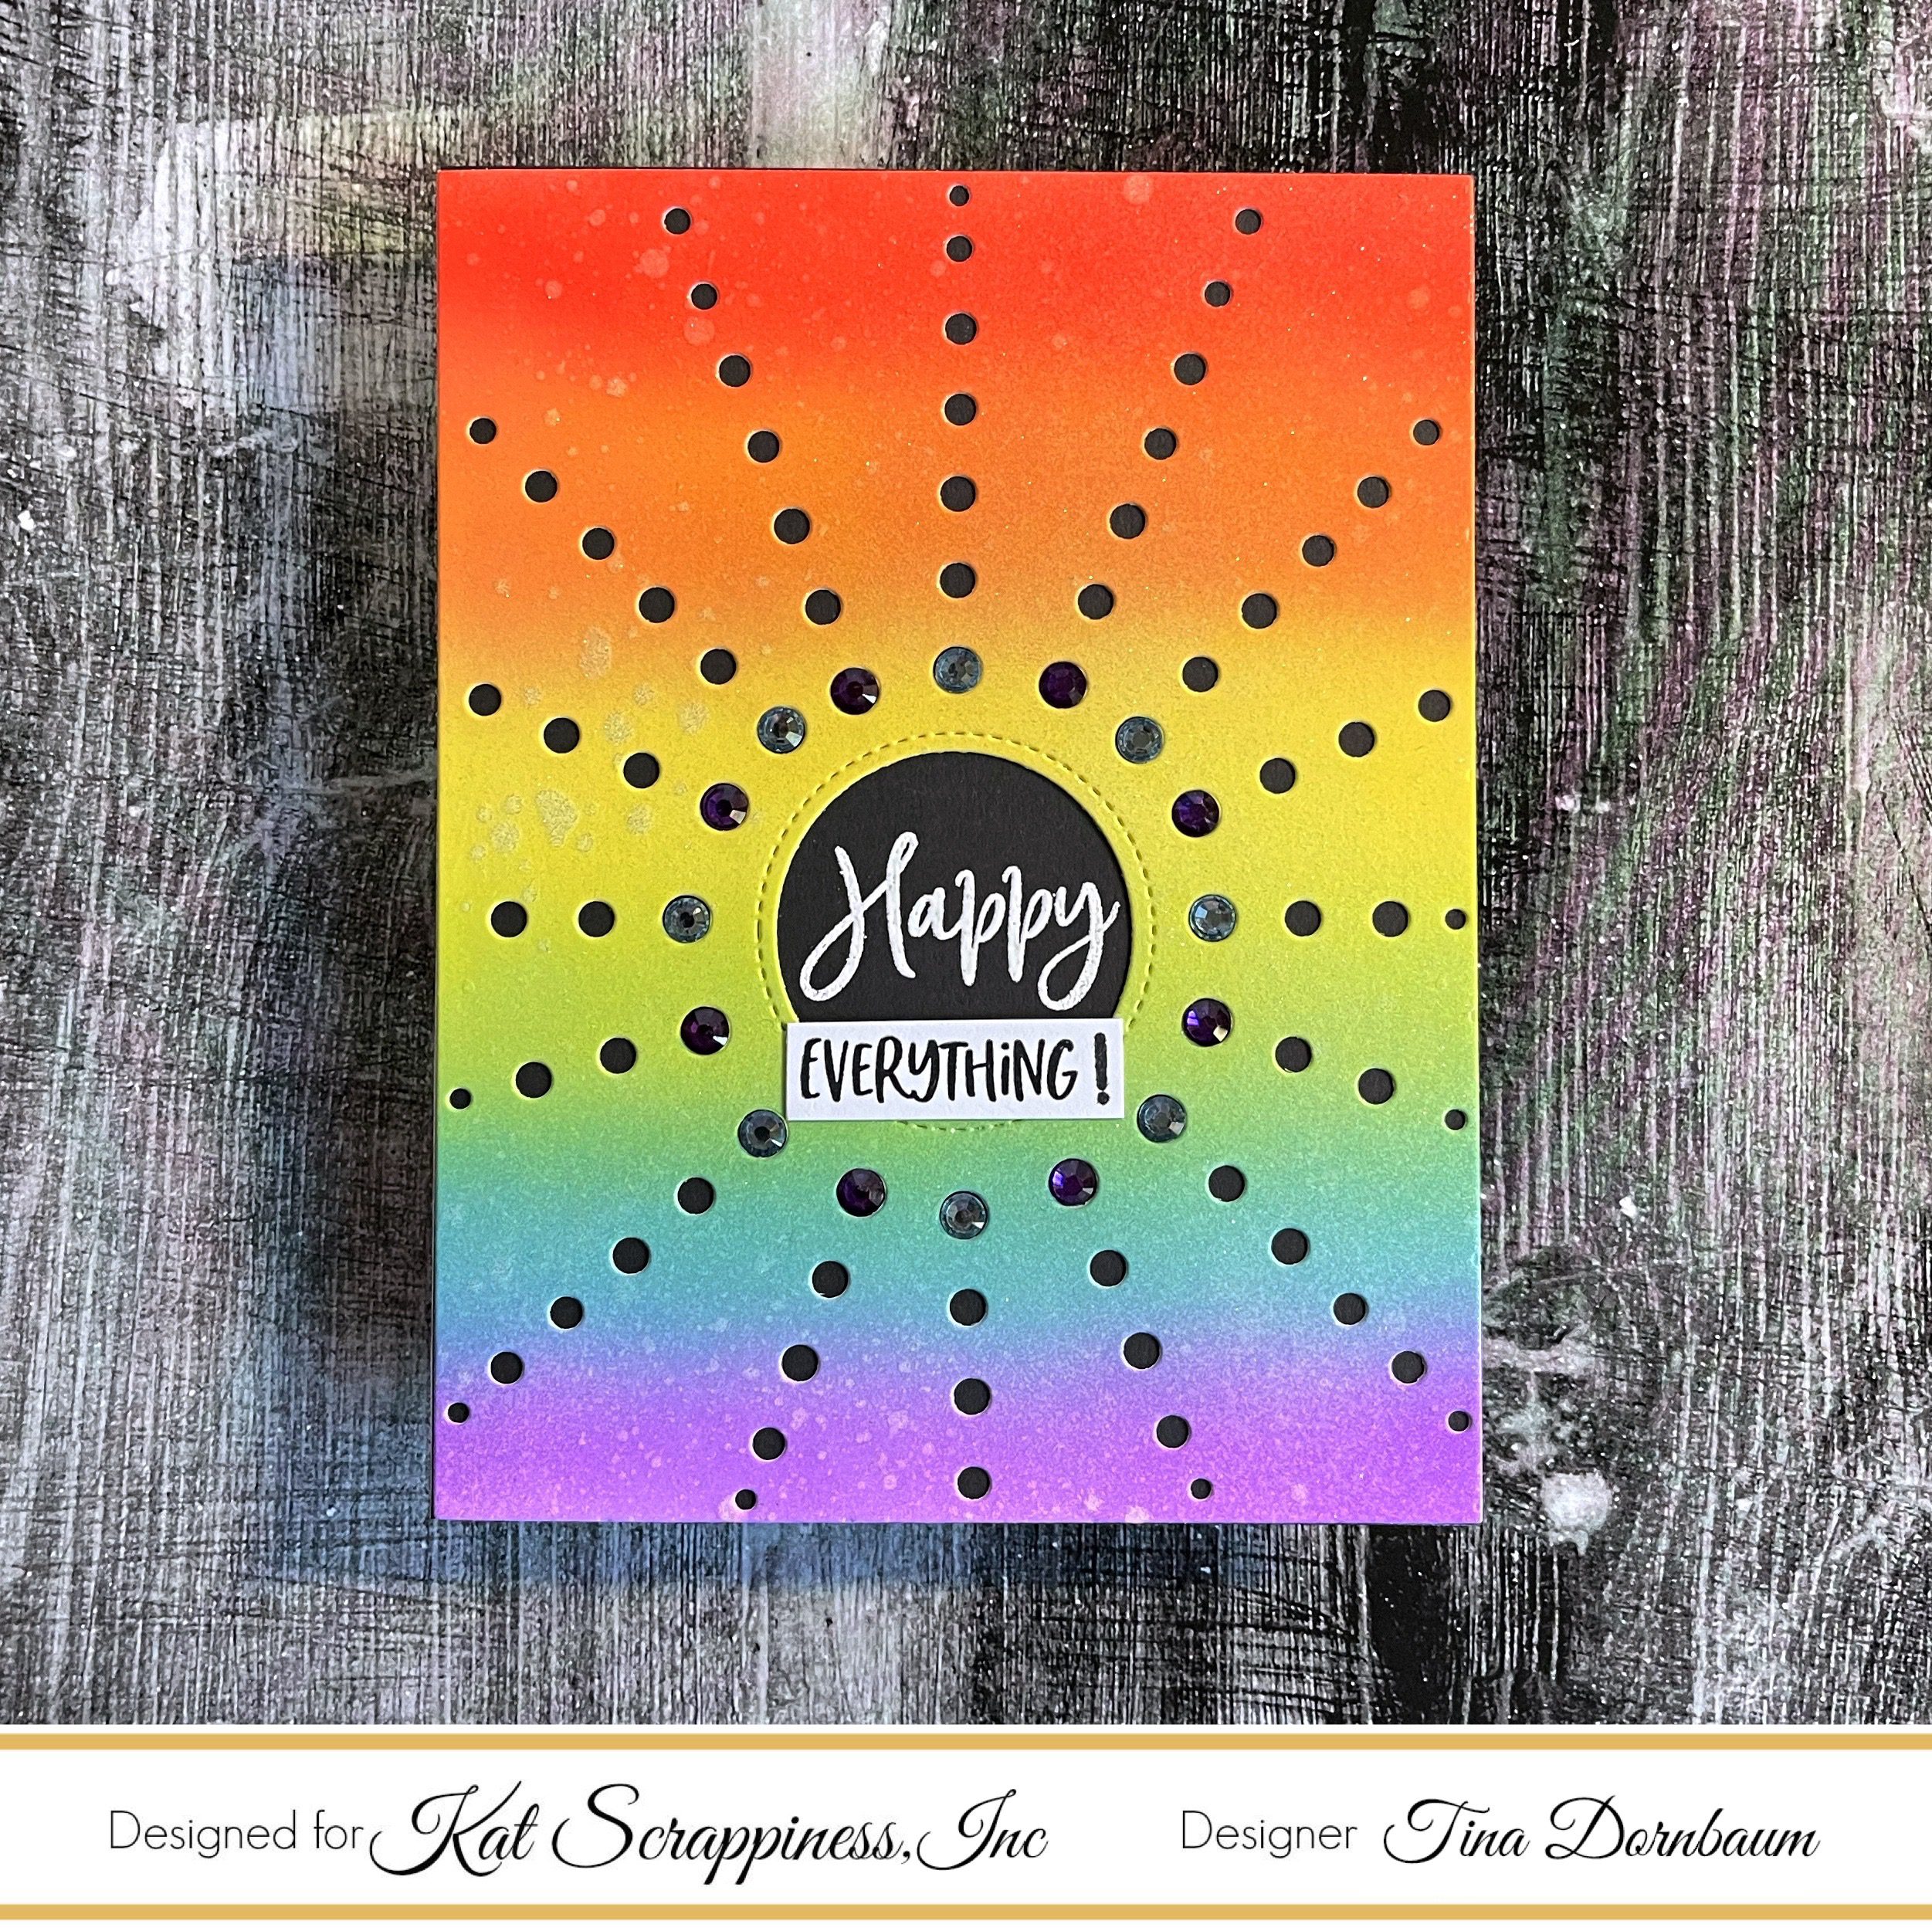
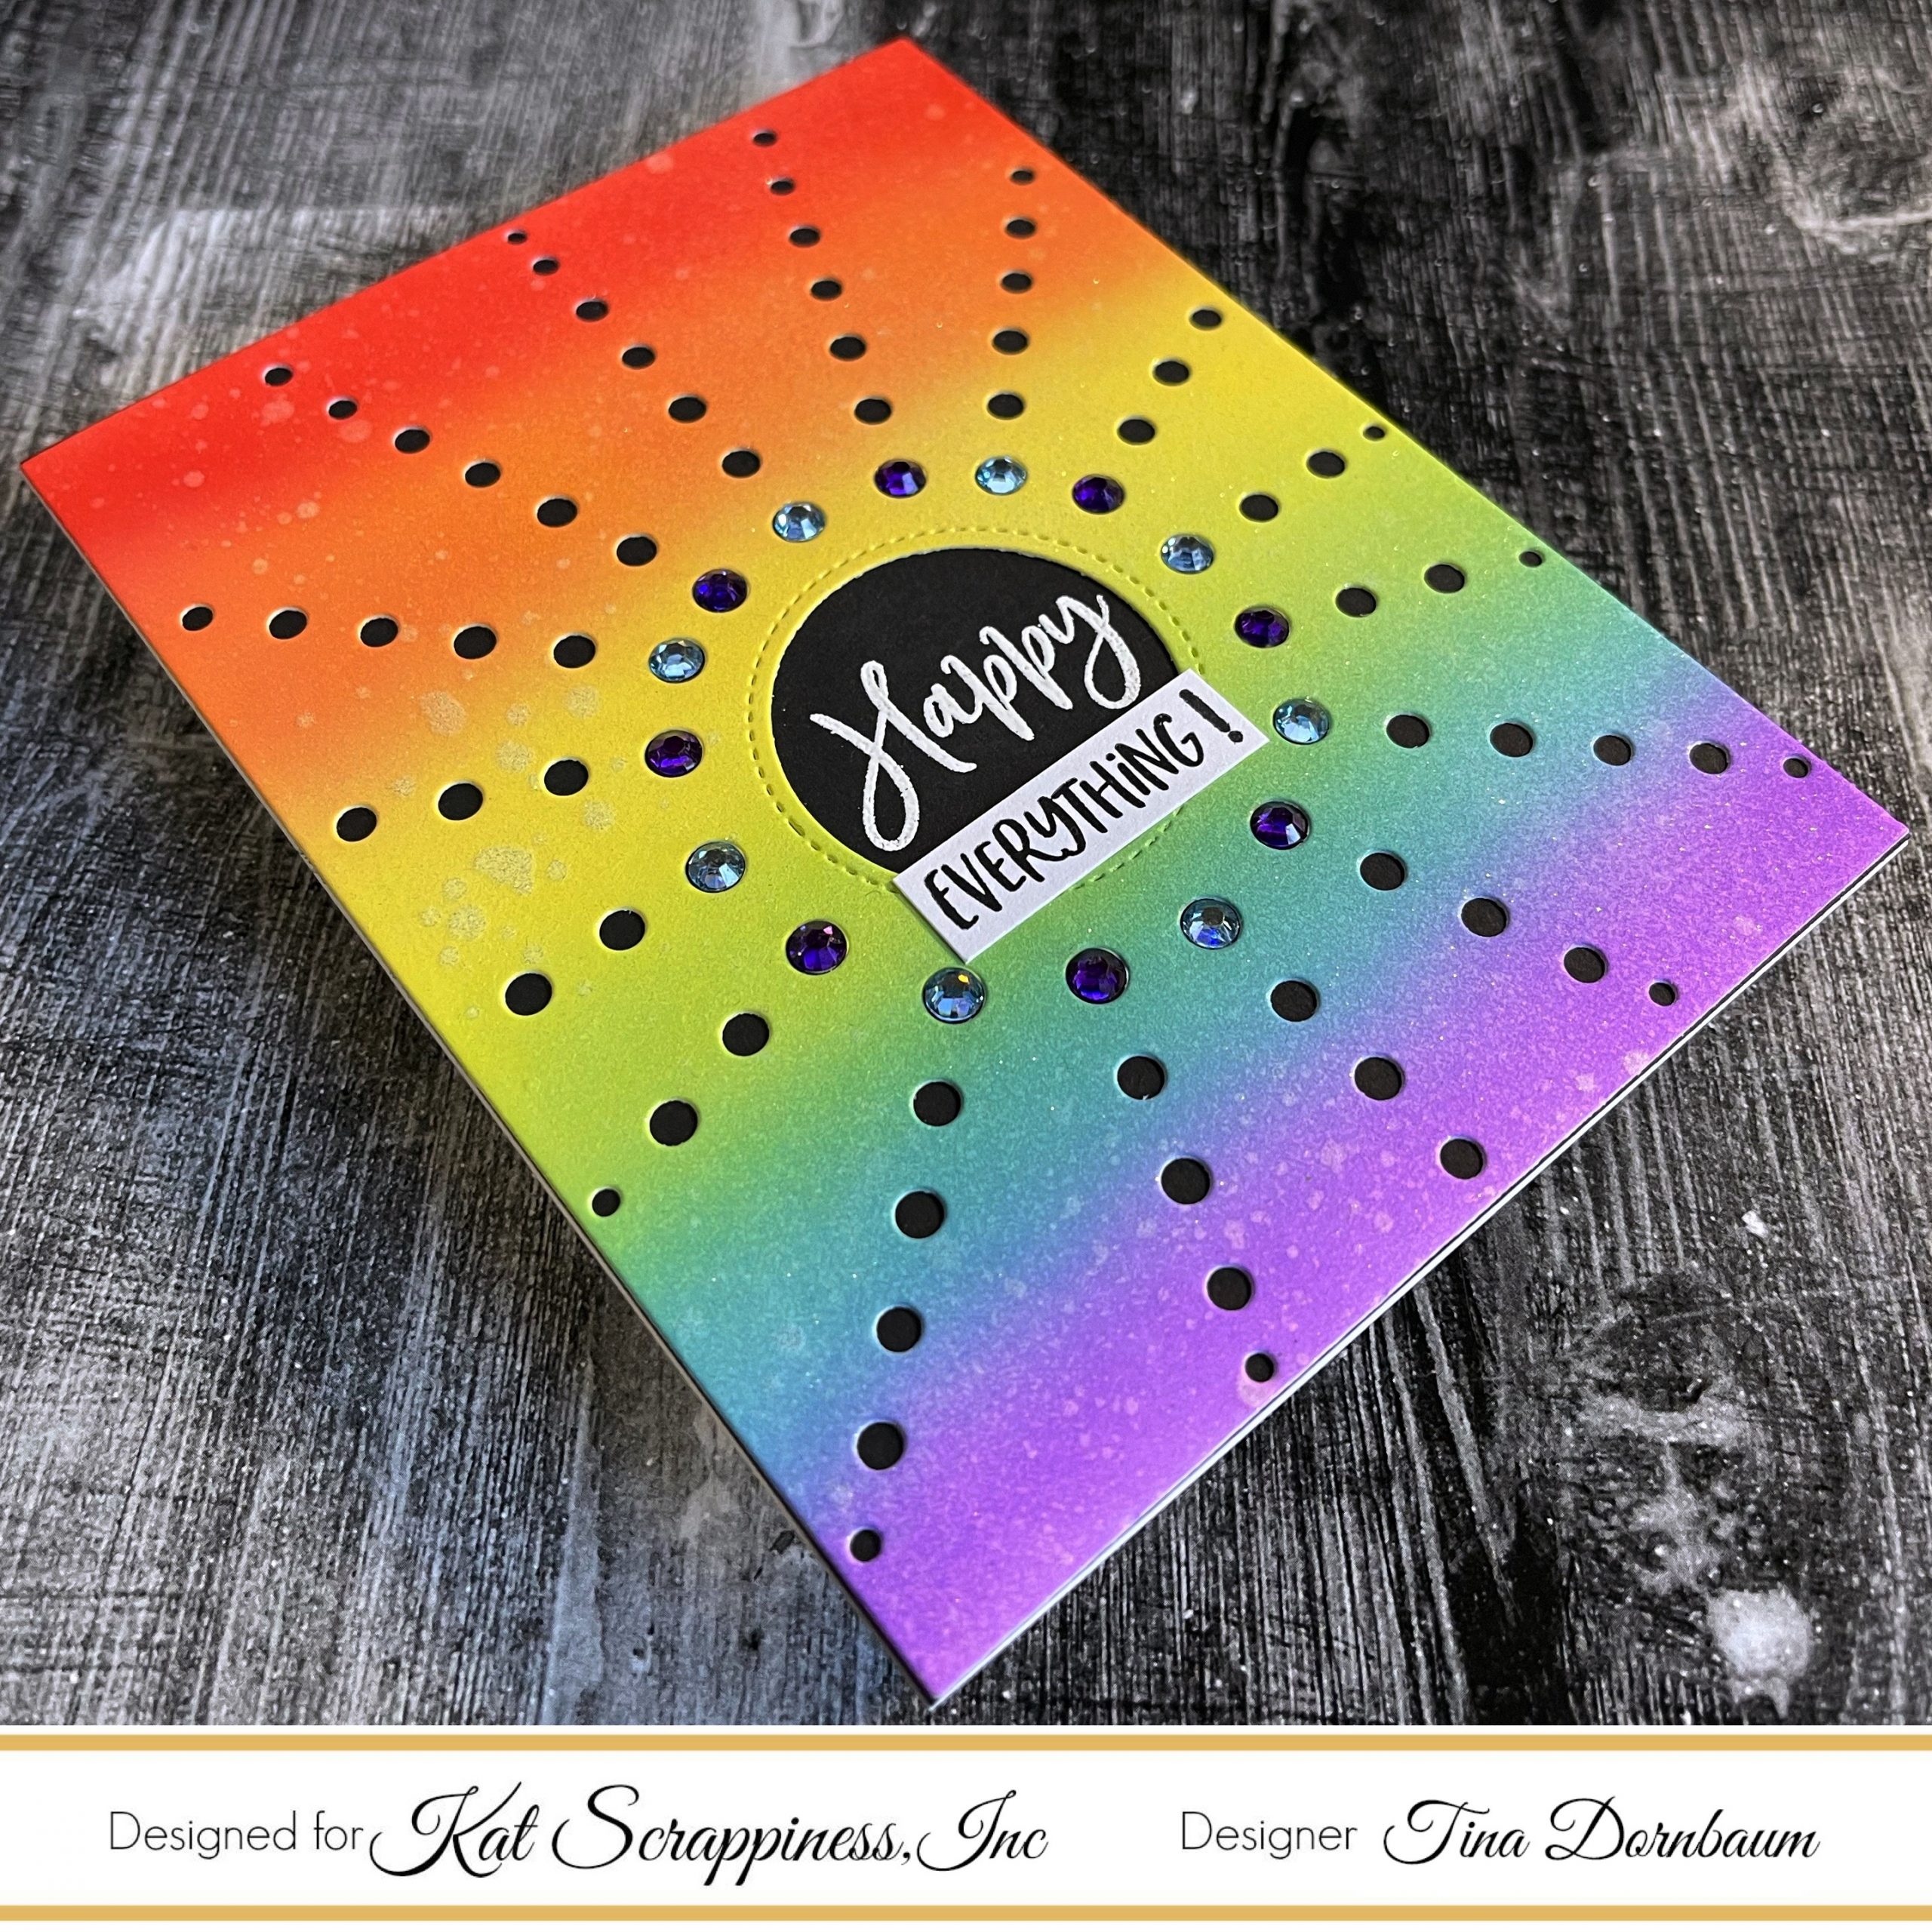
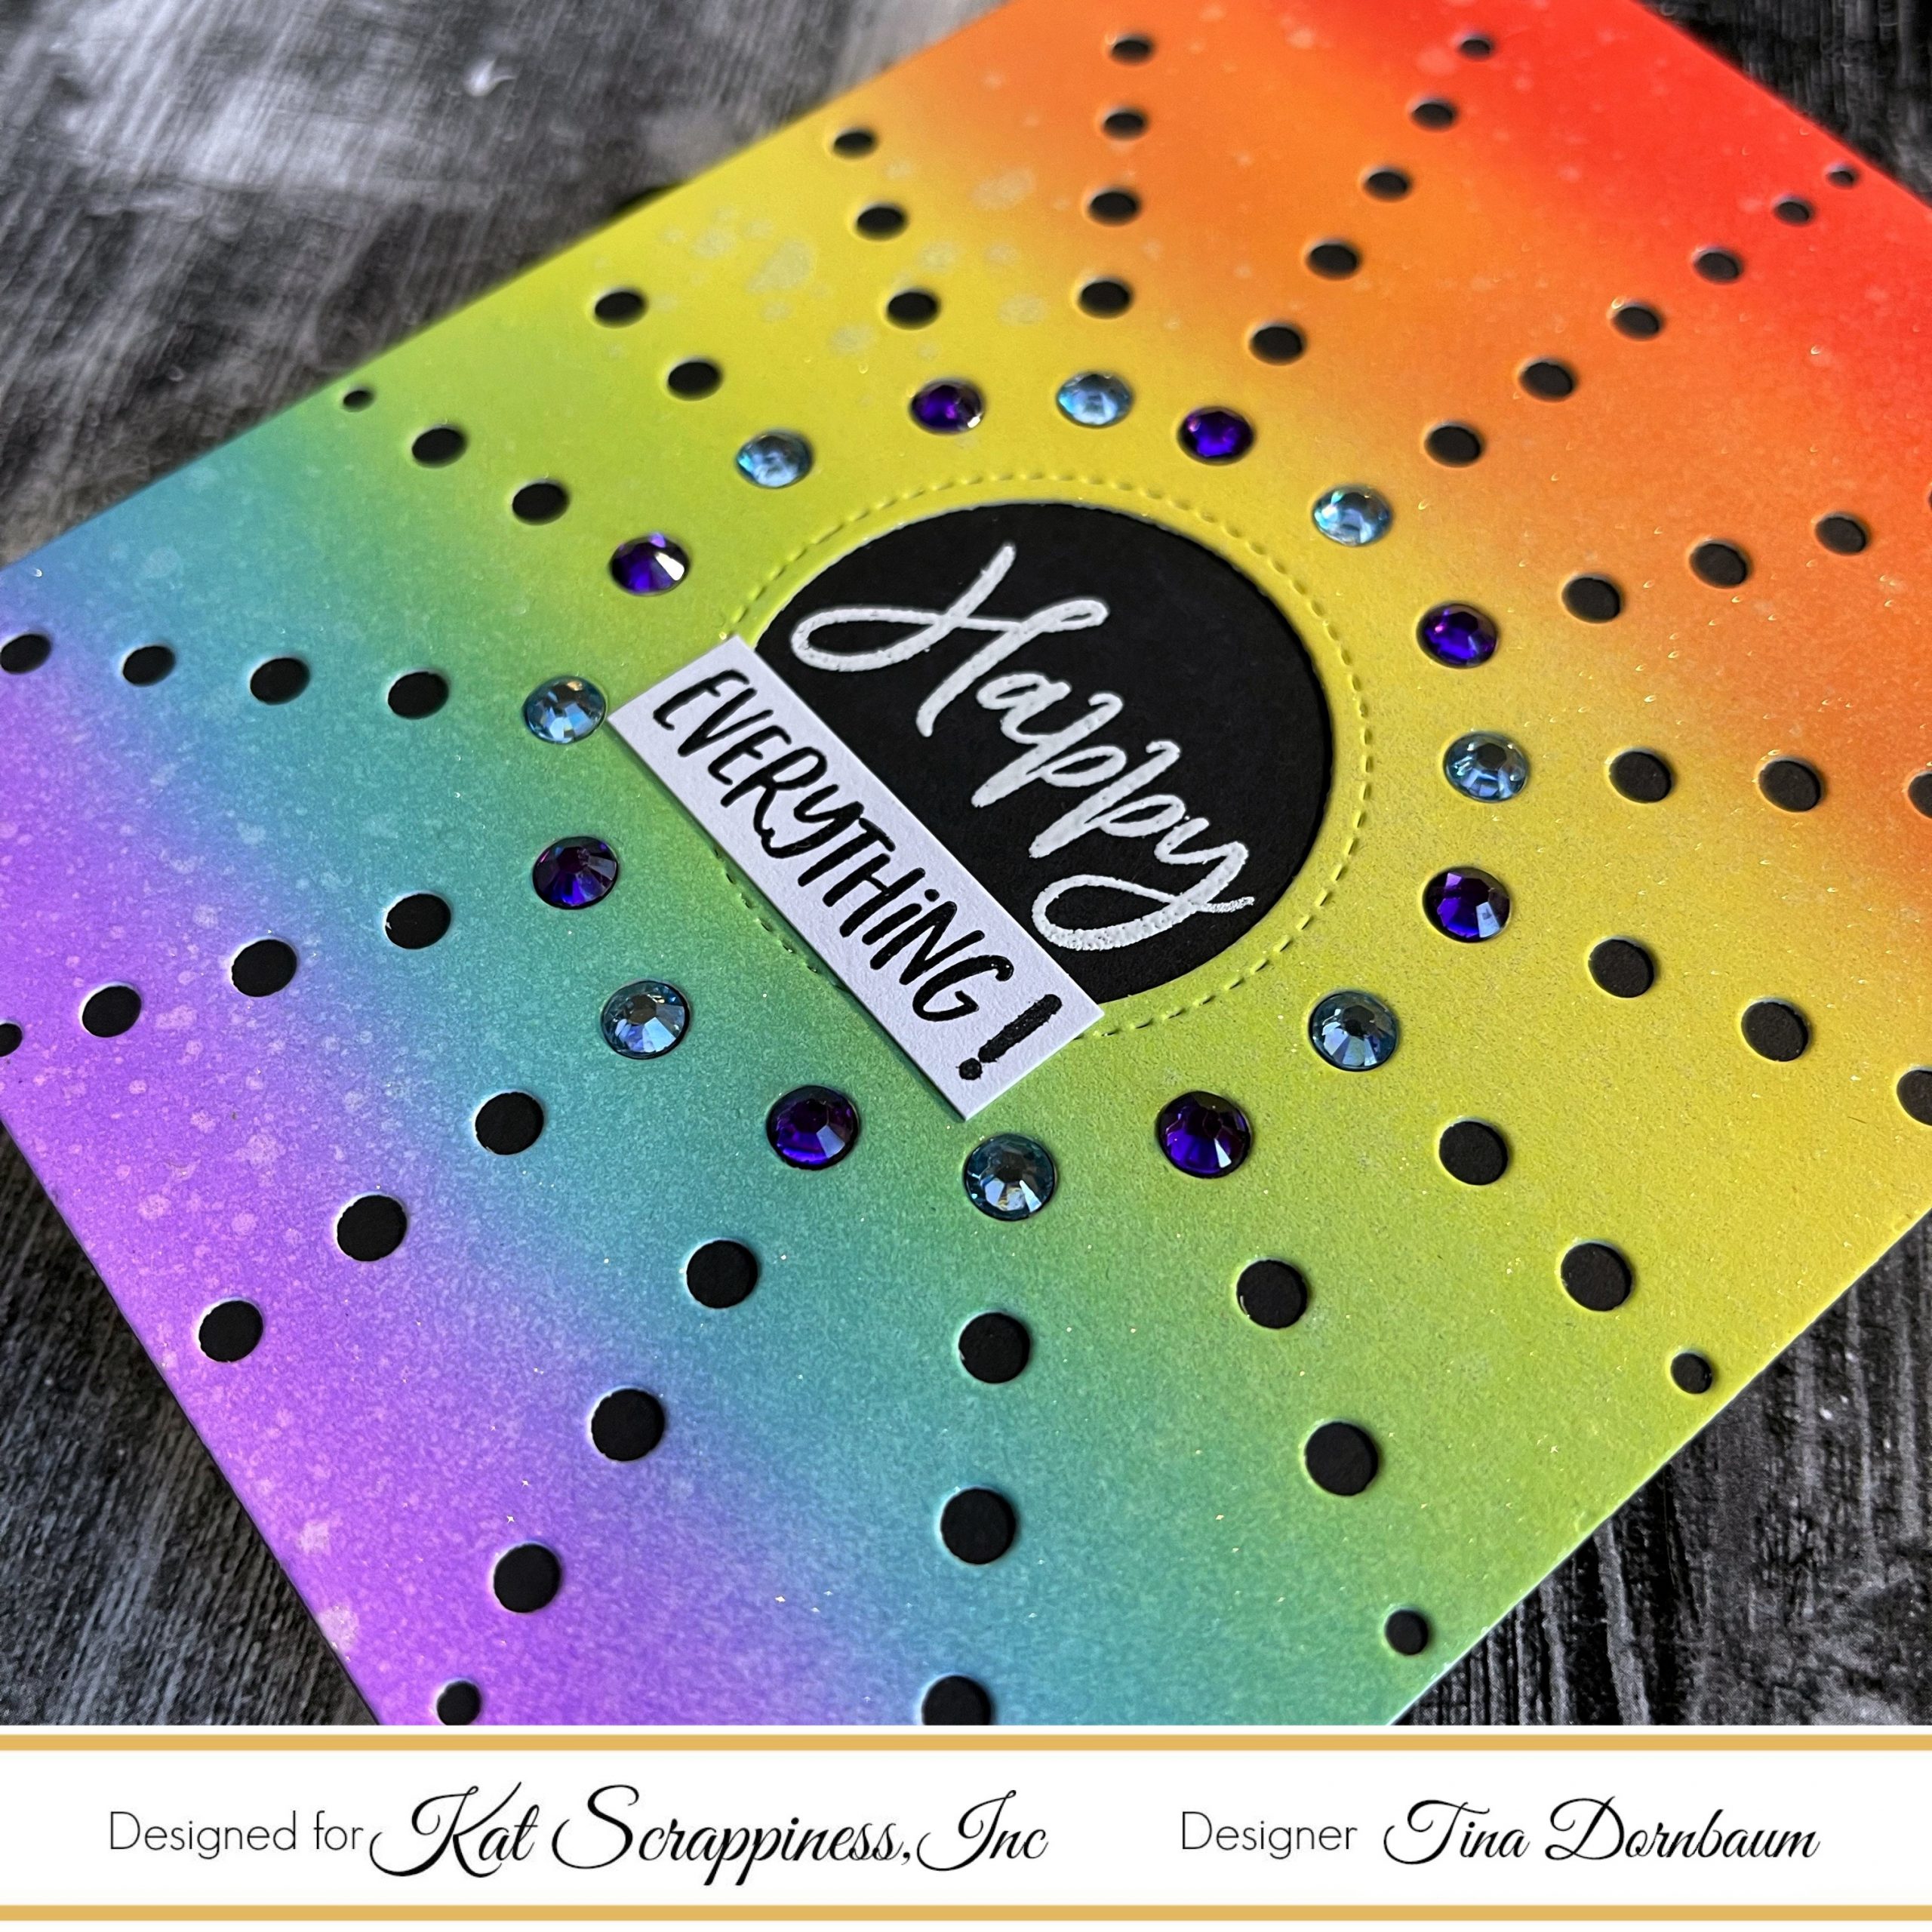
Card 2
Step 1 – Trim White Cardstock to 8 1/2” x 5 1/2”, score at 4 1/4” and fold in half for a vertical side fold card. (A2)
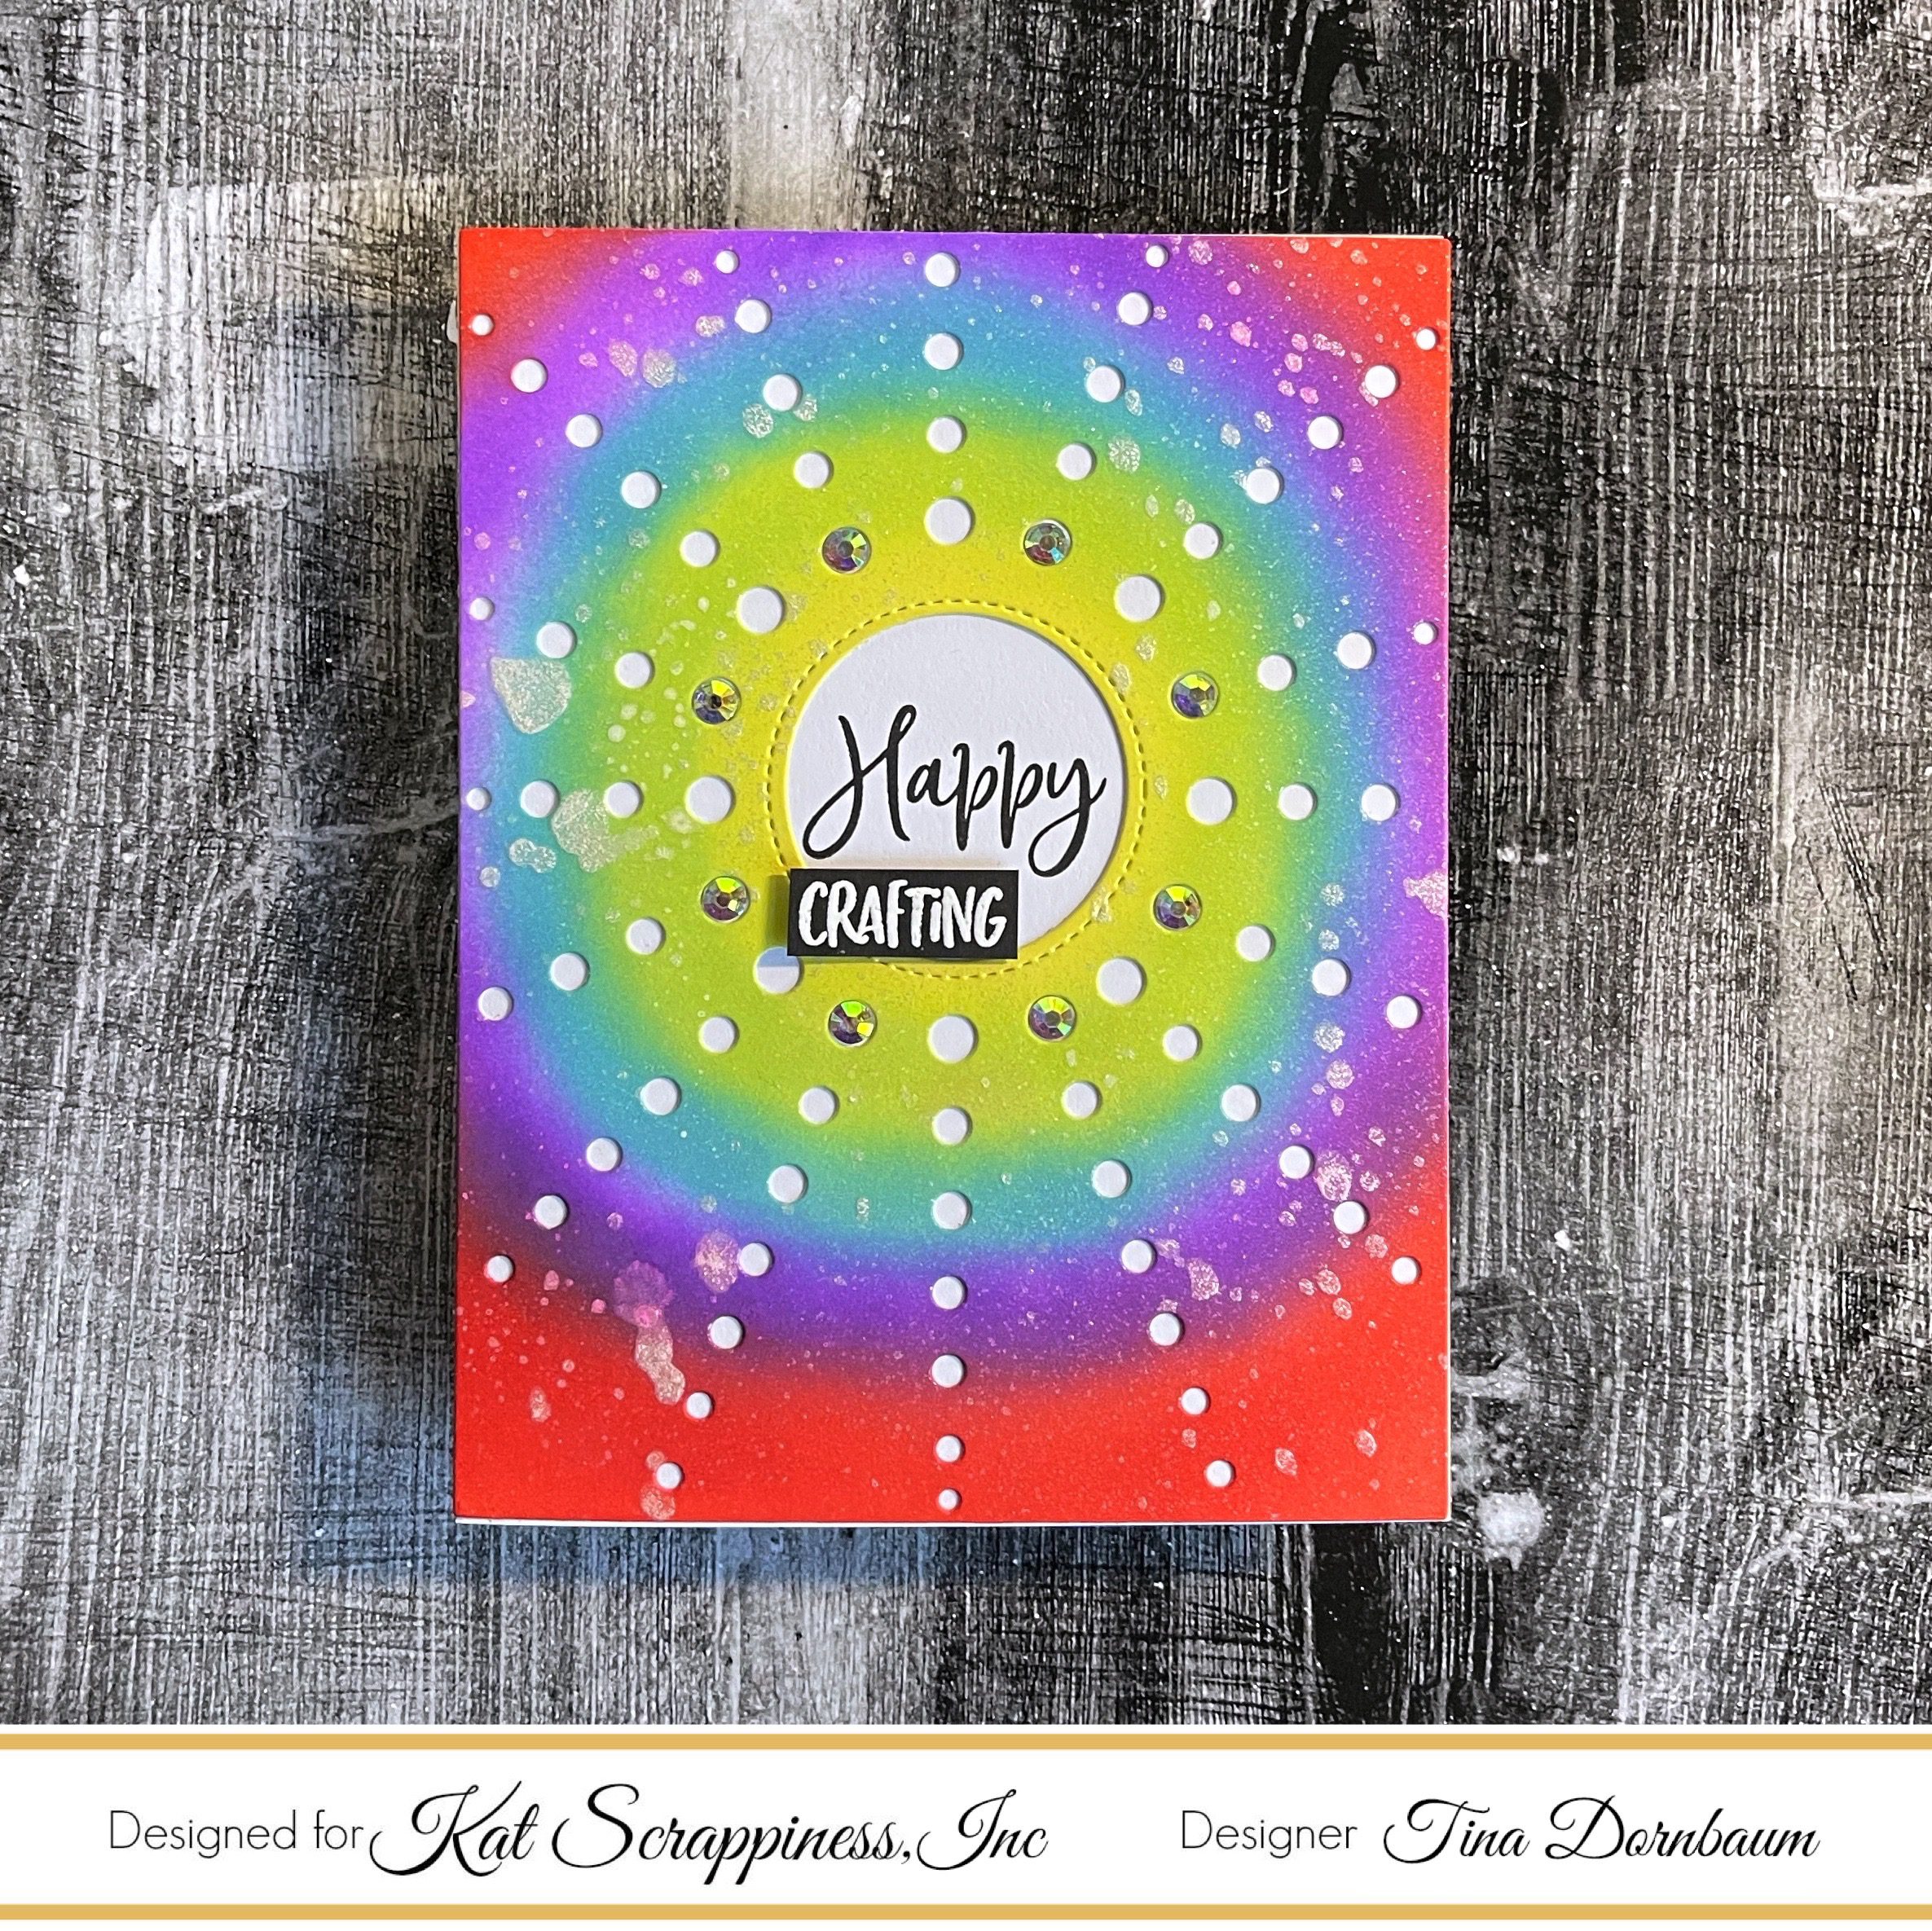
Step 2 – Trim White Cardstock to 5 1/2” x 4 1/4”. Apply Distress Oxide Ink in circles. I used Squeezed Lemonade, Twisted Citron, Broken China, Wilted Violet, Candied Apple. Optional: Spray the background using White Iridescent Spray. Let dry.
Step 3 – Diecut Sunspot Coverplate using the panel created in Step 2. Adhere to card front using Bearly Art Precision Glue.
Step 4 – Stamp Happy Day using Versafine Onyx Black Ink to the center of the circle.
Step 5 – Stamp Happy Day using Versamark on Black Cardstock. Sprinkle White Embossing Powder and remove the excess. Heat Set it with a Heat Tool. Trim the sentiment and adhere to card using Bearly Art Precision Glue.
Step 7 – Adhere Rhinestone’s in color Crystal to the dots closest to the center by adding to every 2nd dot.
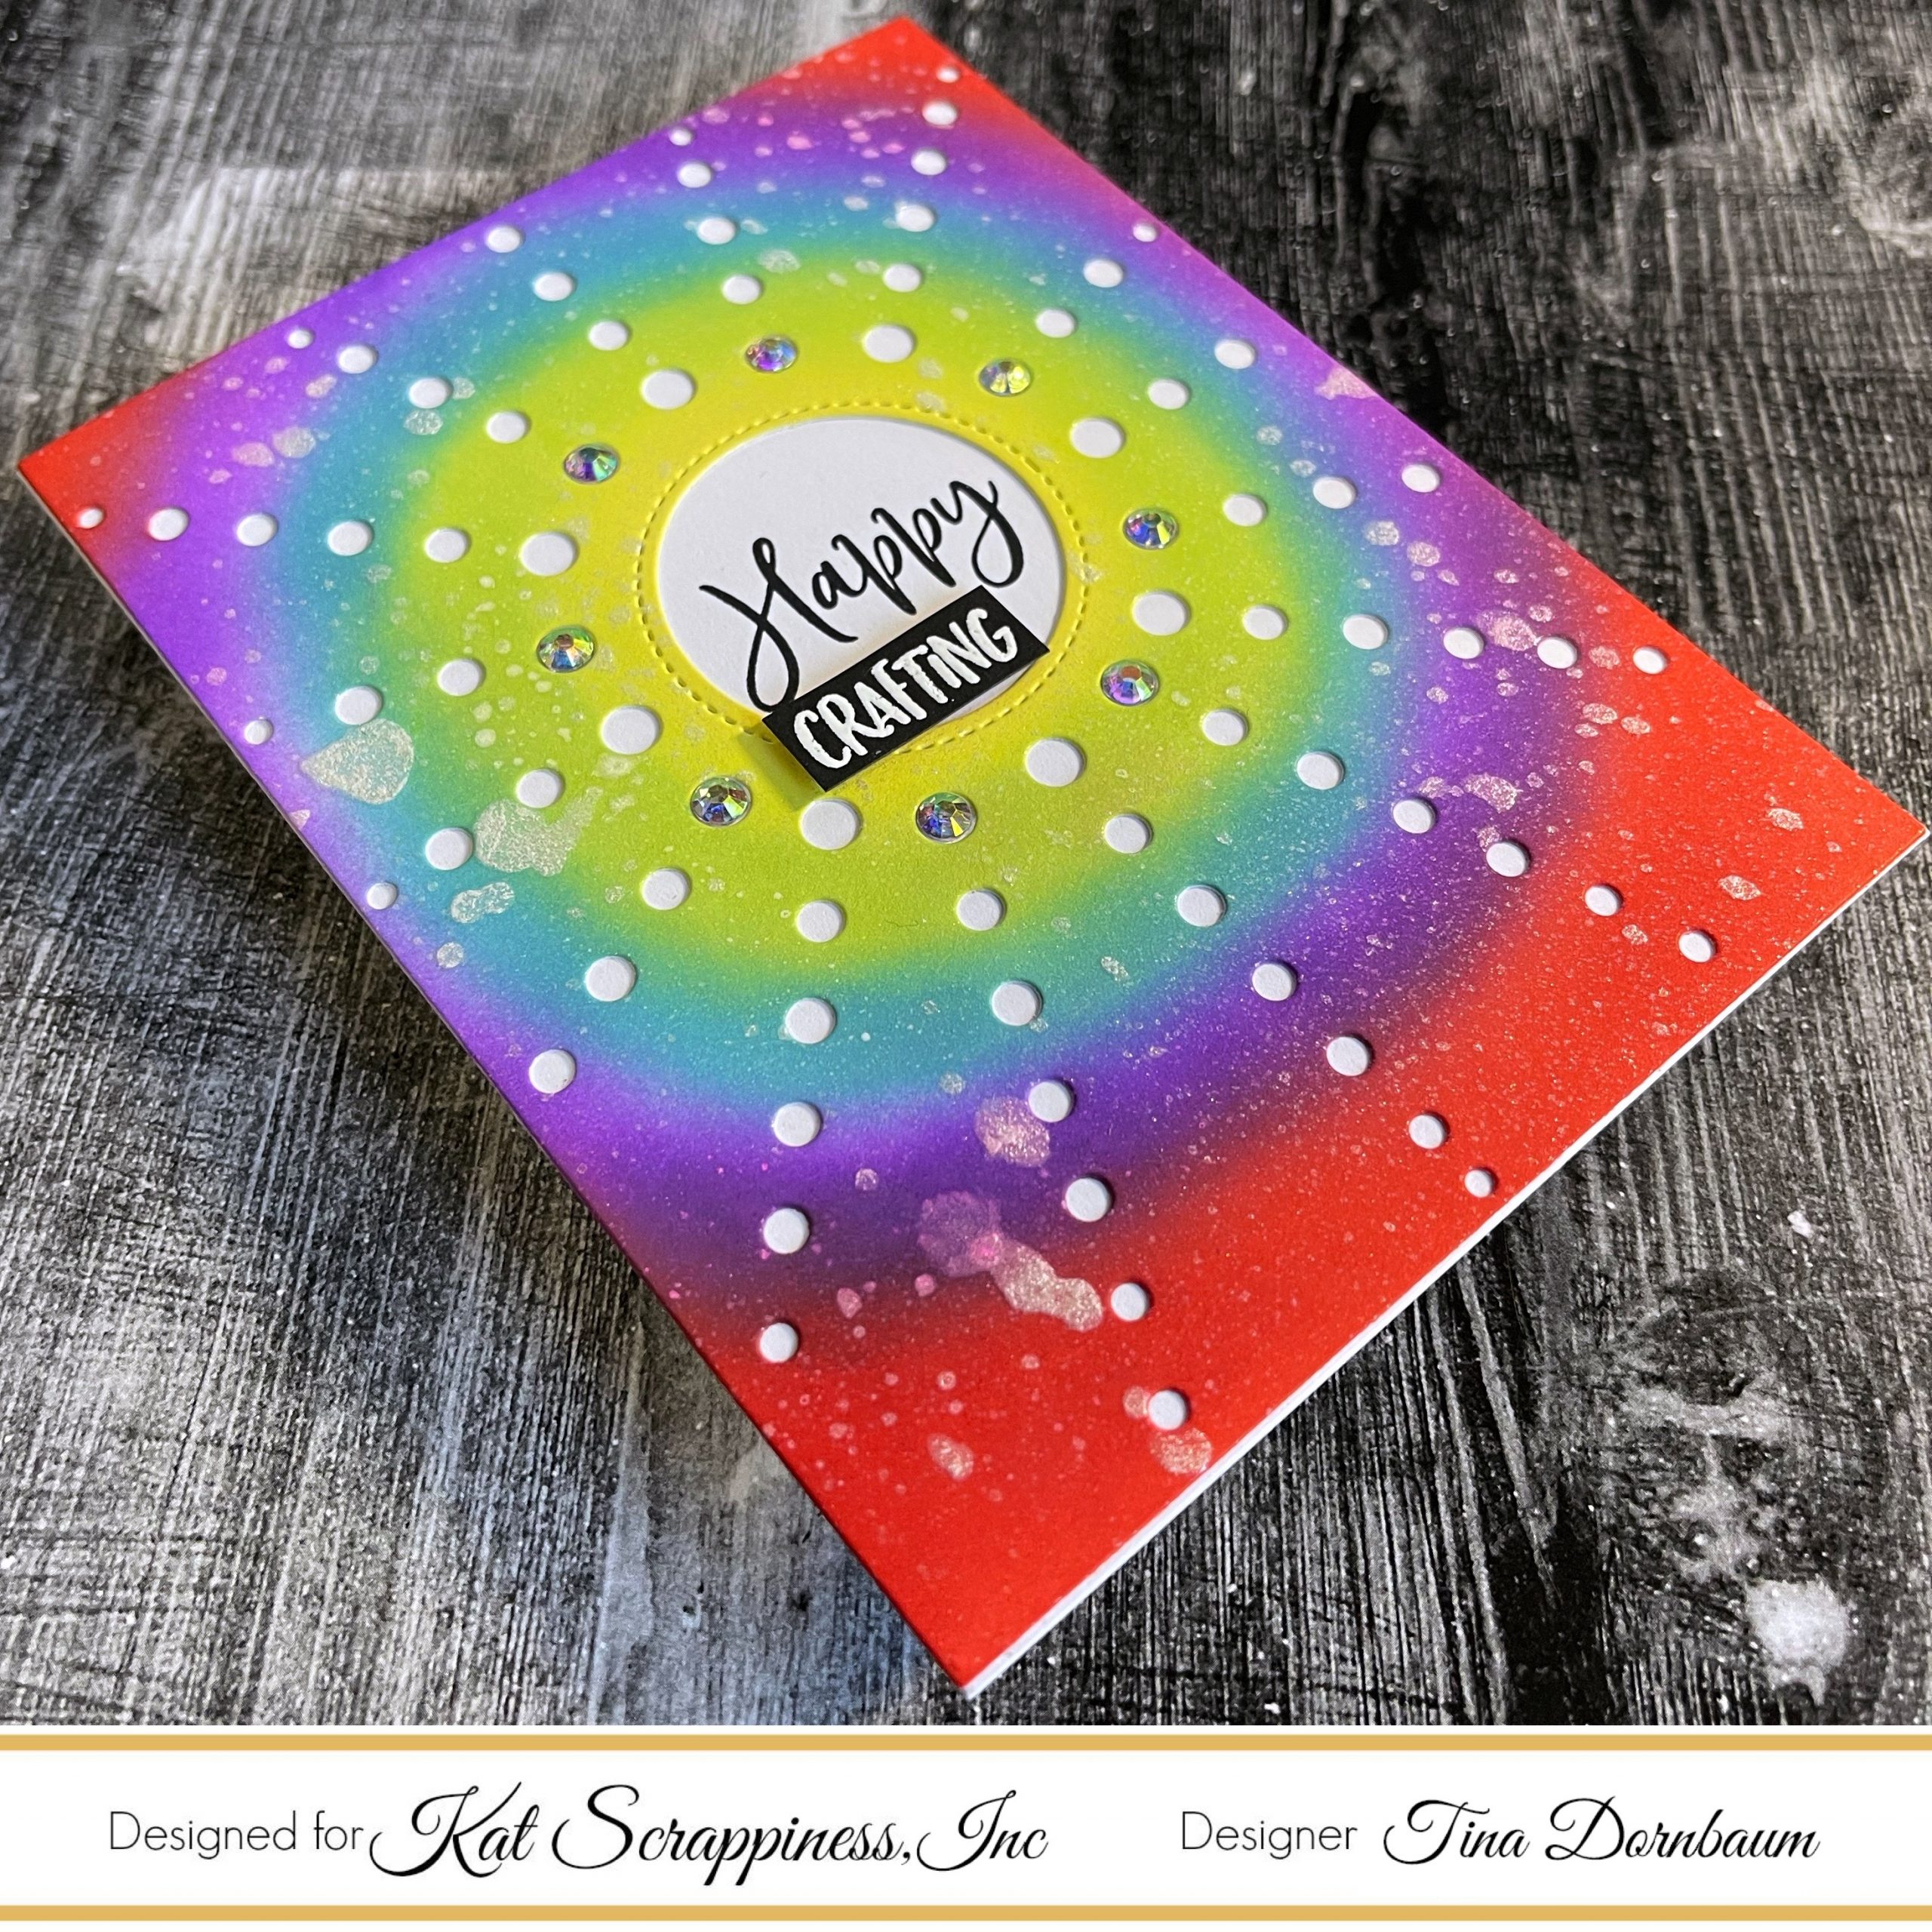
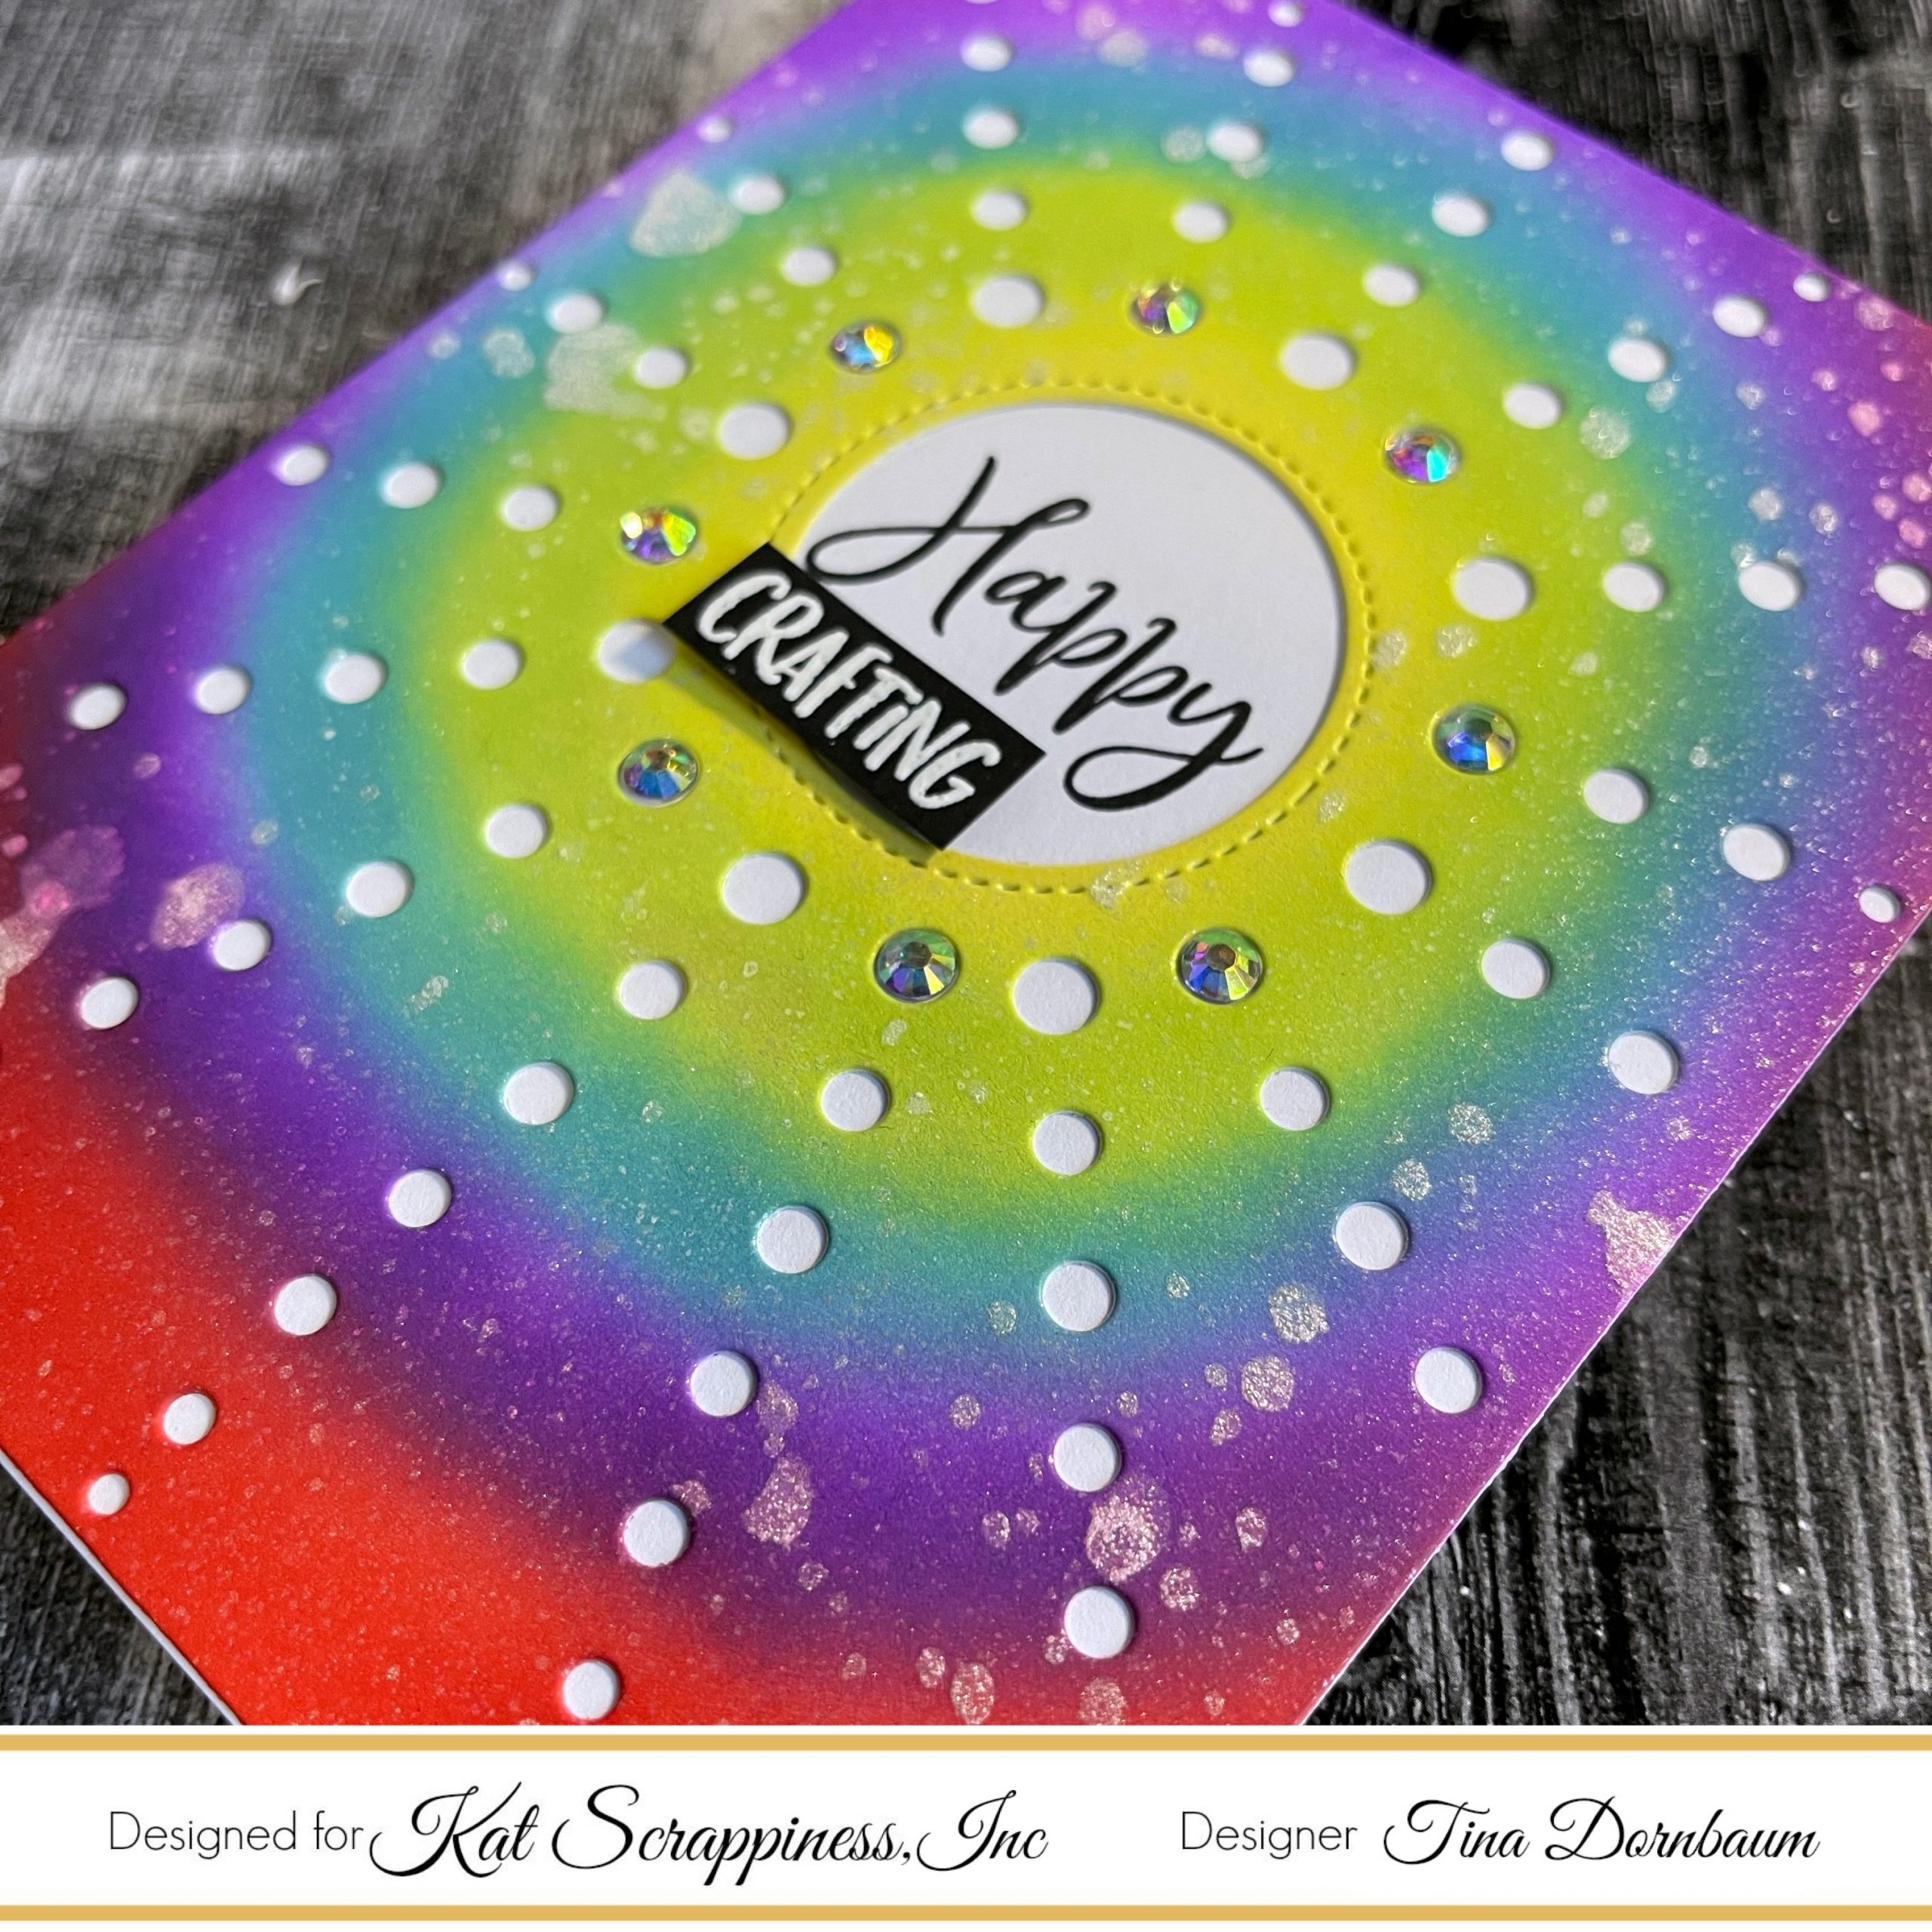
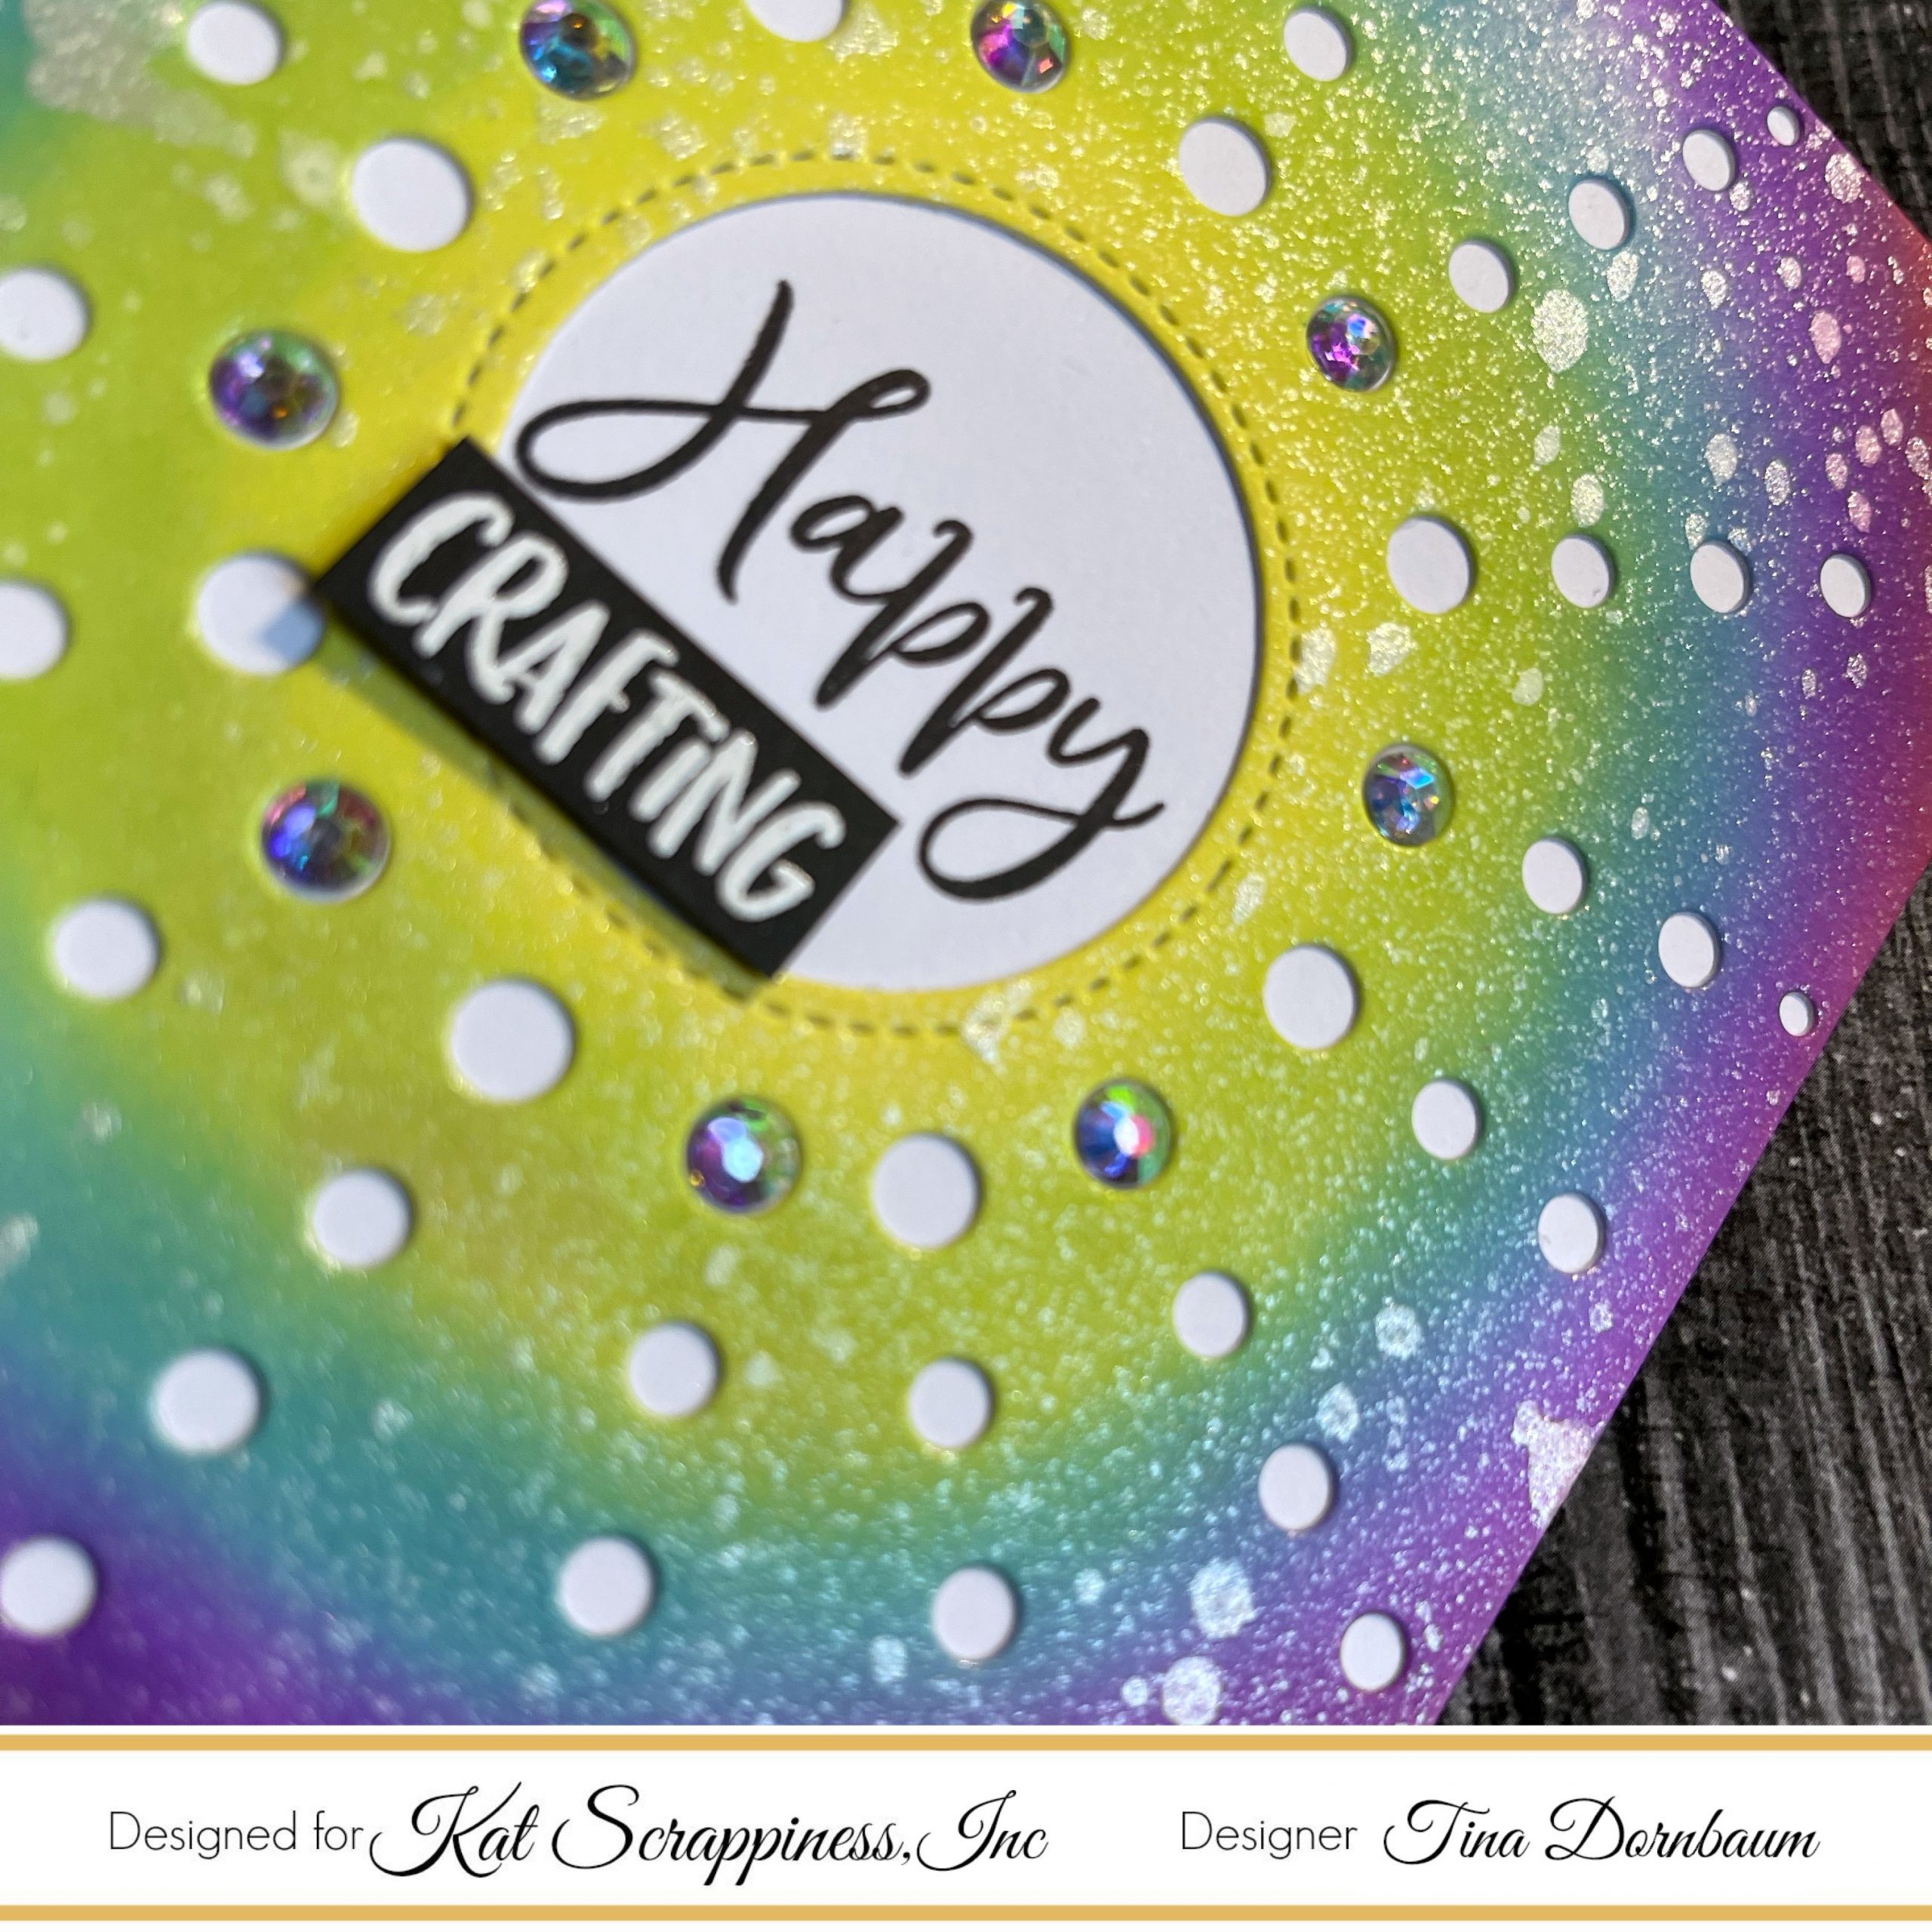
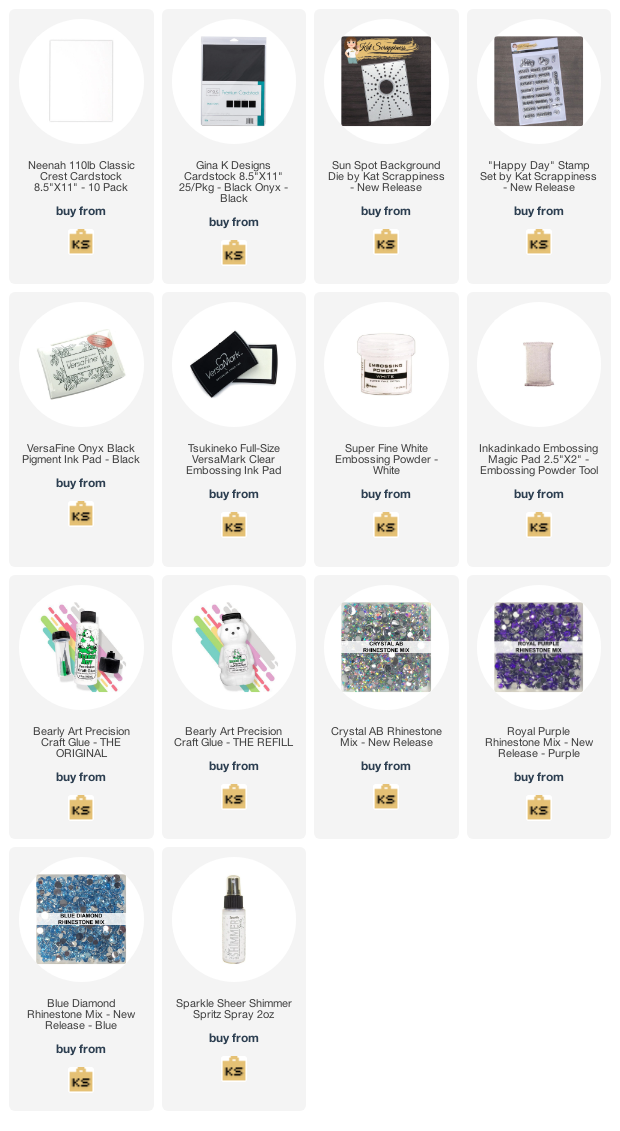
These cards can be used for many occasions by changing the sentiment and colors. Below is a link to all the products used. Thank you for stopping by and Happy Crafting!!
Products Used:


1 Comment
Wonderful die and amazing cards
July 18, 2021 at 7:34 am