Hello everybody! Design Team Member Jana stopping in today to share a quick tutorial on how I created a beautiful yet simple shaker card using some amazing newly released products from the Kat Scrappiness store.
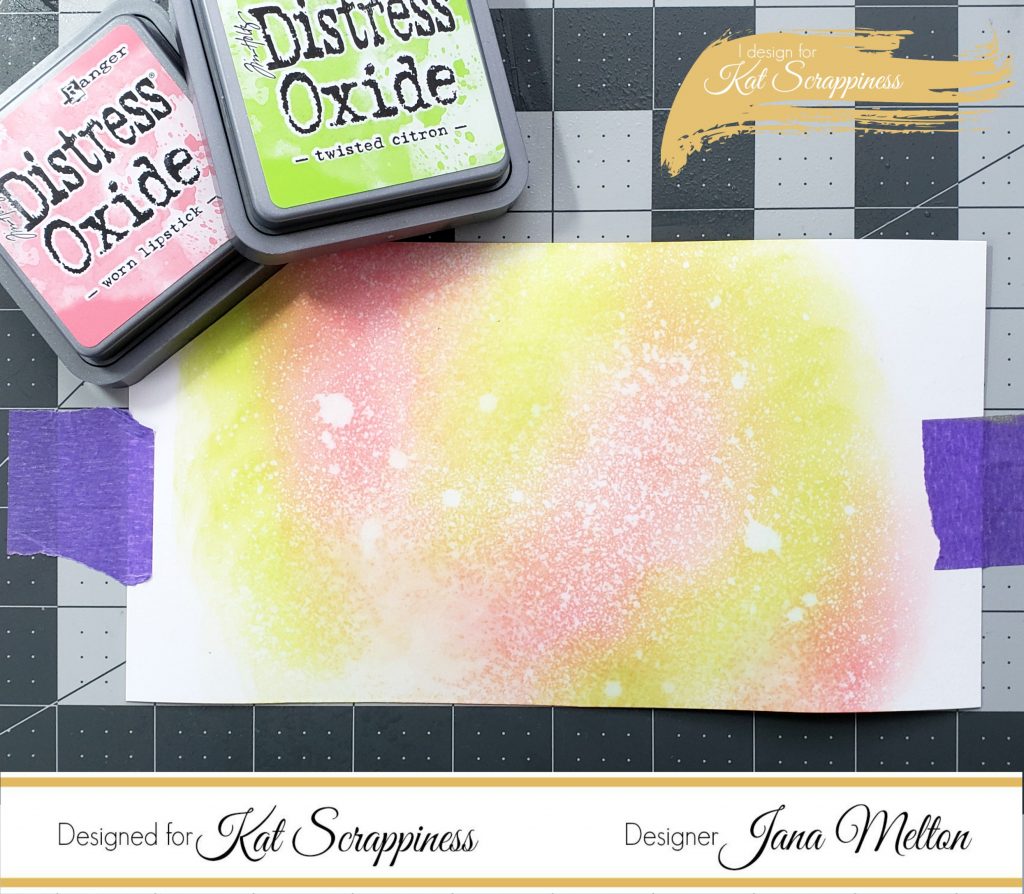
The first step was to create my card mat which would also serve as my background scene of my shaker card. To do this, I used a piece of 110lb. Neenah Solar White cardstock and taped it down to my craft mat using some Purple Tape (as seen below) to keep it in place. Using my blending tool, I applied Twisted Citron and Worn Lipstick Distress Oxide Inks by Tim Holtz in no particular fashion to the paper. Once I was happy with the lay down of the ink, I spritzed some water over top and dabbed off the excess to achieve the look you see below. I then set it off to the side to dry.
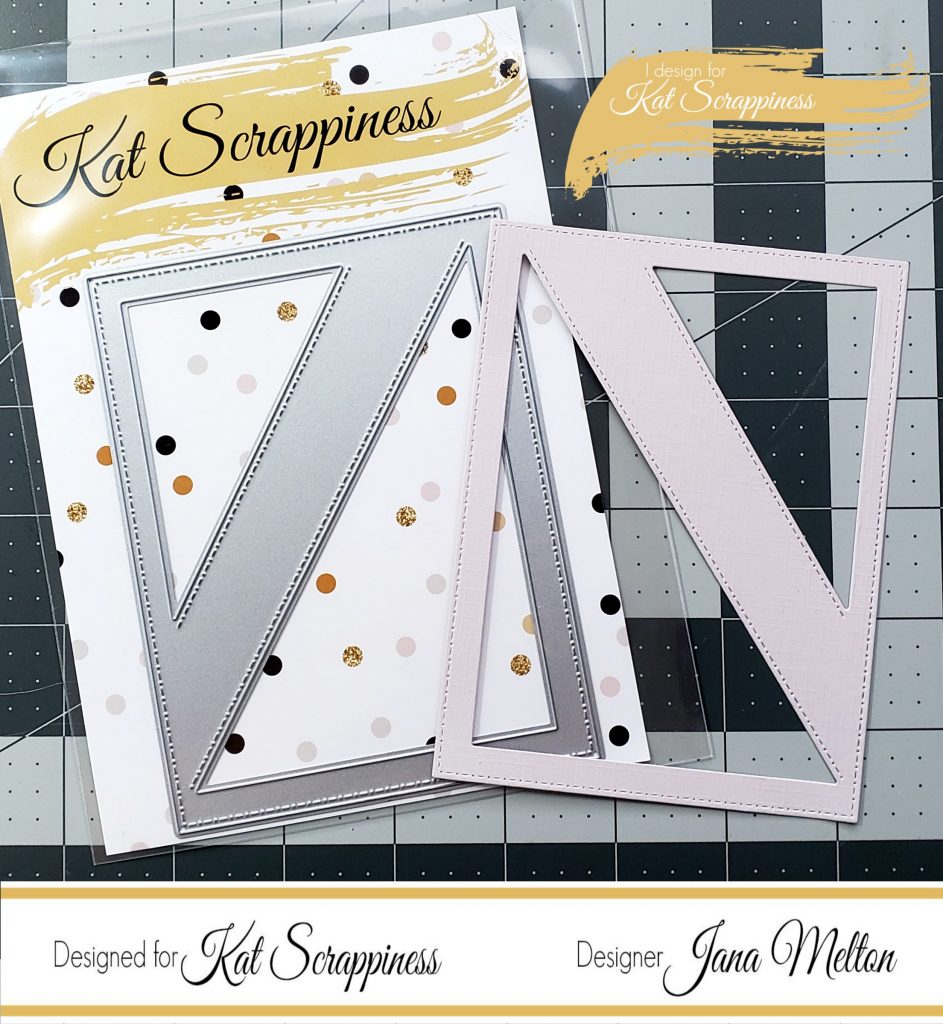
While my inked up paper was drying, I moved on to my die cutting. I die cut a piece of textured cardstock from the ReCollections “Mermazing” Paper Pad using the newly released Stitched Diagonal Backdrop Die by Kat Scrappiness.
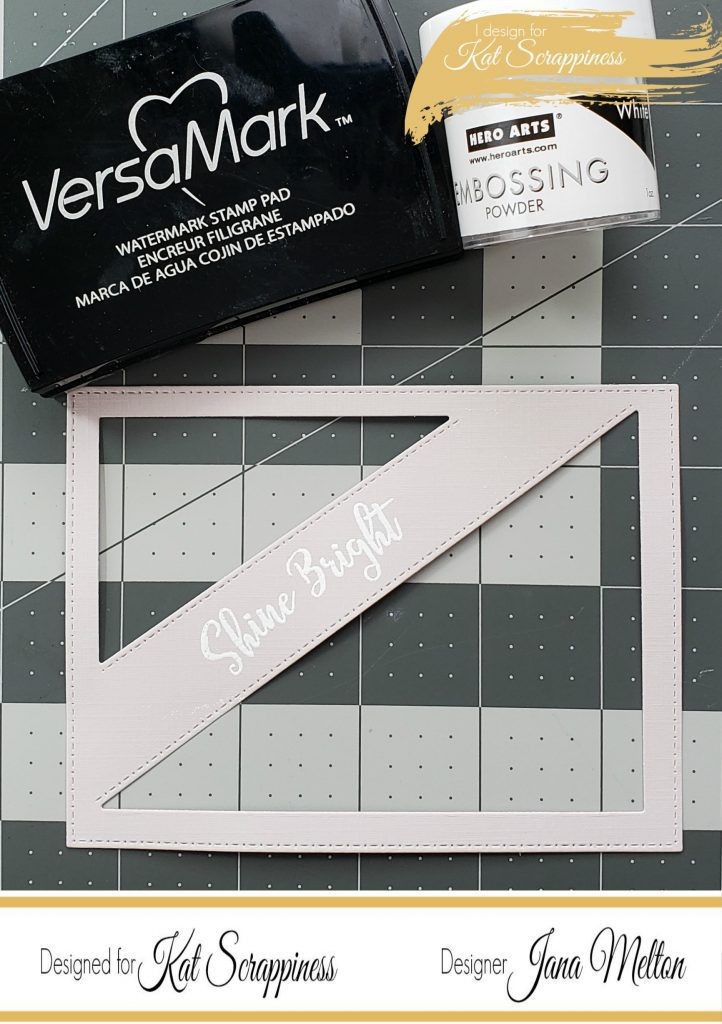
I knew that I wanted my sentiment to be stamped across the thick diagonal portion of the die cut, so I stamped my sentiment, “Shine Bright” (from a Hero Arts My Monthly Hero Kit that I had received awhile back) using VersaMark Clear Embossing Ink and then heat embossed it with White Embossing Powder by Hero Arts.
Once my inked up background was dried, I cut it down to measure approximately 3 6/8″ x 5″. I also cut a piece of Acetate measuring the same dimensions. I adhered the acetate to the back side of my die cut using Nuvo Deluxe Adhesive. Once dried, I applied some foam tape over that in order to form my shaker pockets. I adhered the inked background mat to my card base using some double sided adhesive tape.
Now for the FUN part……. I combined three different sequin mixes from Kat Scrappiness to use as my shaker elements: Fairy Dust Confetti Mix, Brilliant Blush Sequin Mix and the 6mm Sparkling Clear Solid Confetti Mix. I then removed the backing of the foam tape on my die cut and carefully adhered it over the sequins onto the mat to form my completed shaker. These sequins are absolutely gorgeous and as you can see below, they compliment each other and work perfectly together.
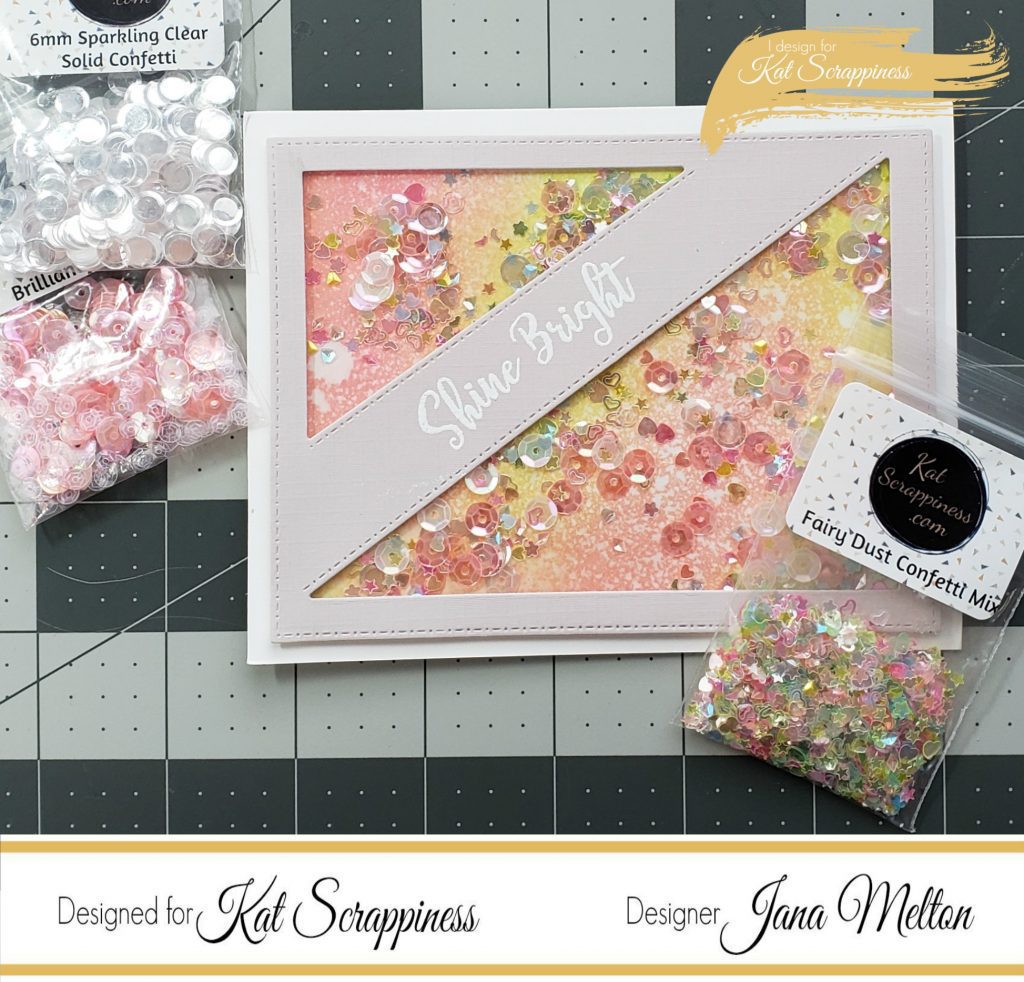
And of course, we are not done just yet, LOL! I had to add one element to my shaker card…..jewels! Again, I used a combination of the Pretty Pink Jewels, Sparkling Clear Jewels and the White Jewels and adhered them onto both sides of my sentiment using Nuvo Deluxe Adhesive.
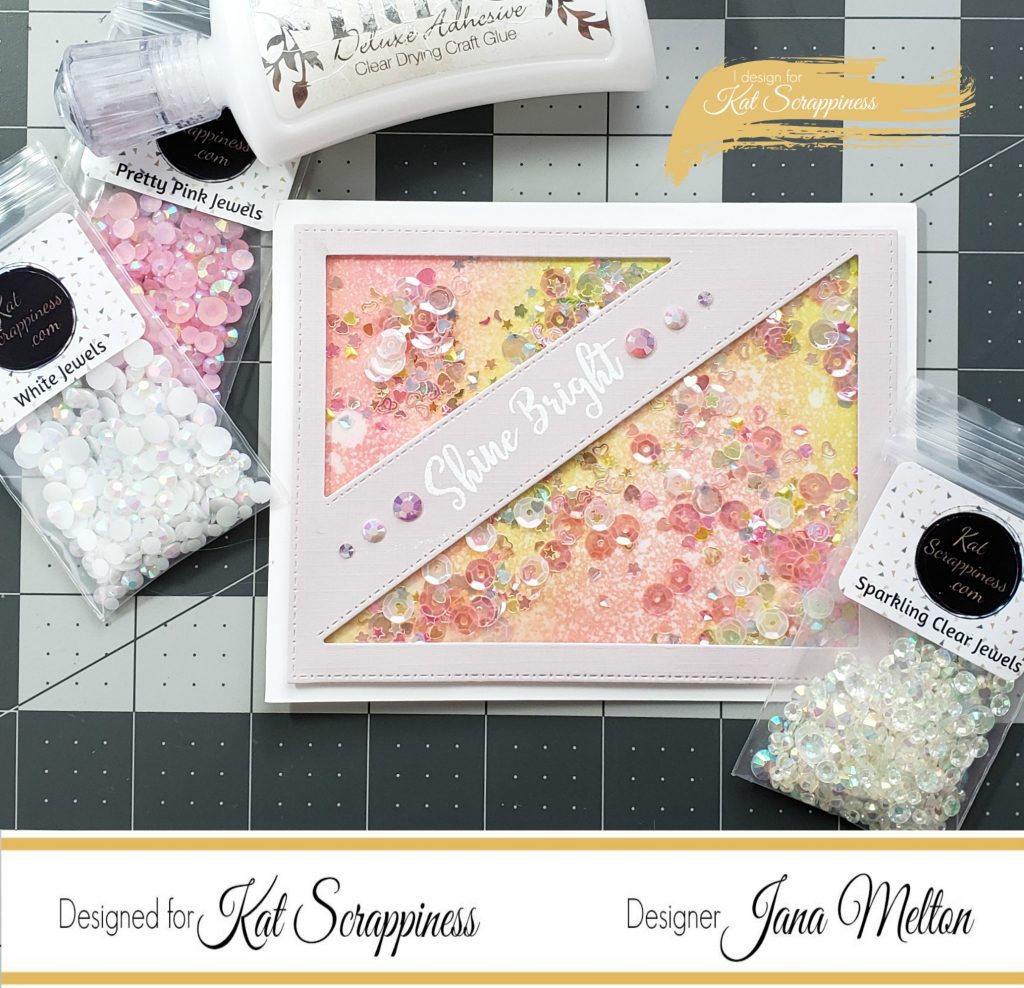
And now our shaker card is complete!!!!
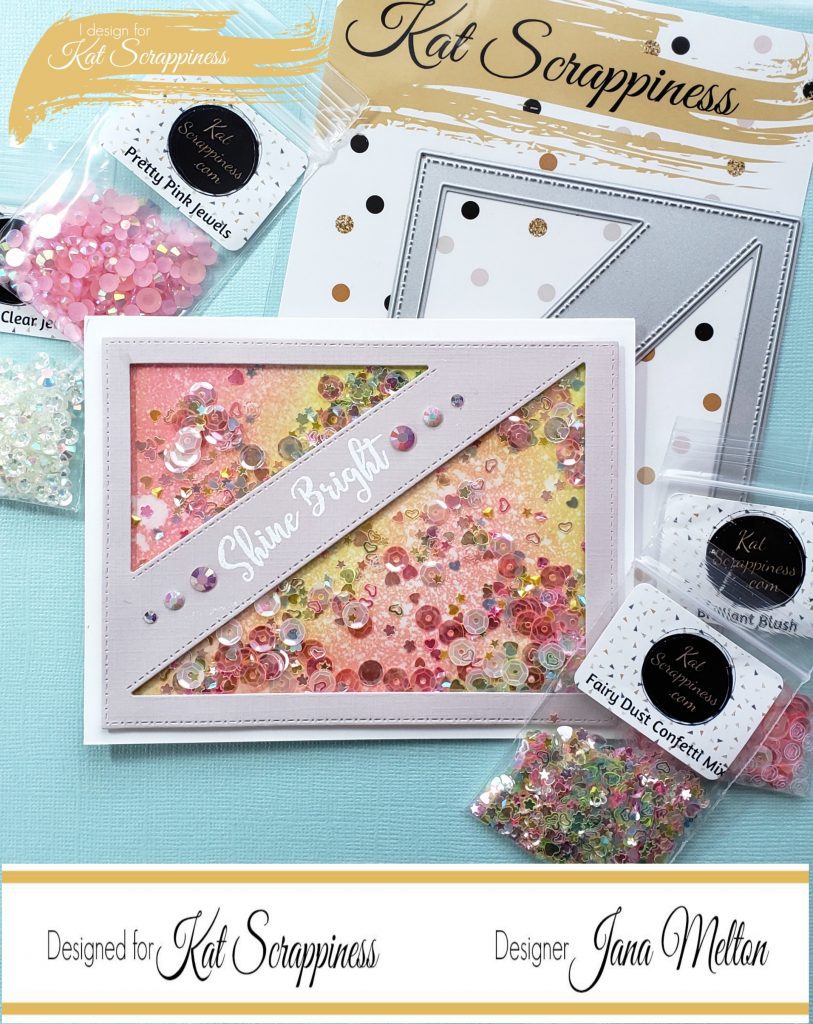
I hope that you have enjoyed this quick shaker card tutorial today and will stop back again soon for more inspiration, tutorials and project ideas that the super talented Kat Scrappiness Design Team has ready for you. All of the products and supplies I have used for this project are listed below (most with links). Remember that when visiting the Kat Scrappiness Store, use code: Jana10 at checkout to receive 10% off of your order. Thank you again for visiting and as always….. Have a Fabulously Crafty Day!!!
Product & Supply List:
110lb. Neenah Solar White Cardstock
Textured Cardstock from ReCollections “Mermazing” Paper Pad
Twisted Citron Distress Oxide Ink Pad by Tim Holtz
Worn Lipstick Distress Oxide Ink Pad by Tim Holtz
Stitched Diagonal Backdrop Die by Kat Scrappiness
Tsukineko Full Size VersaMark Clear Embossing Ink Pad
Hero Arts – My Monthly Hero Kit 6X8 Clear Stamp Set (August 2017)
Foam Tape
Double-sided Adhesive Tape
Hero Arts White Embossing Powder
Fairy Dust Confetti Mix – Sequins – Shaker Card Fillers
Brilliant Blush Sequin Mix – Shaker Card Fillers
6mm Sparkling Clear Solid Confetti Mix – Sequins – Shaker Card Fillers
Pretty Pink Jewels by Kat Scrappiness
White Jewels by Kat Scrappiness
Removeable Purple Tape by iCraft


2 Comments
I do believe this is my favorite shaker card ever! I love the colors, I love that the shaker covers most of the card, I just love it LOL. Thanks for the inspiration.
August 20, 2018 at 10:15 amThank you so very much Mindy! I am happy that I have helped inspire you today!
August 20, 2018 at 12:32 pm