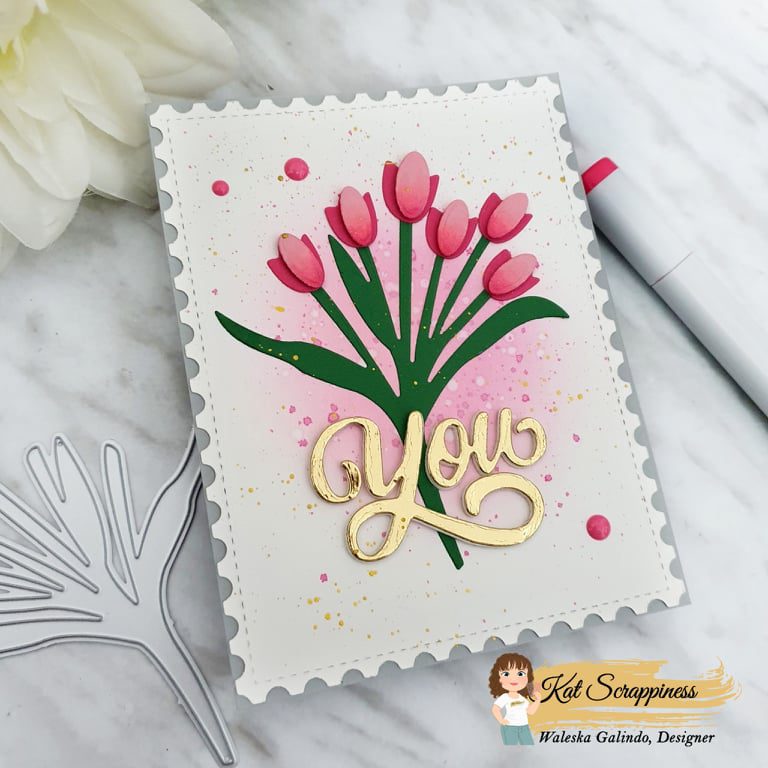
Hello Friends Waleska here super excited to be here with you again to share some tips and quick and easy ideas! Today I wanted to share a card I did with the beautiful Layered Tulip Bouquet Die, I love this die specially for the fun dimention you can add to the tulips, tulips are my favorite flower and since there are many colors for tulips you can have so much fun making this bouquet in different colors.
CARD DETAILS:
I started with the main front panel I die cut with the Stitched Postage Stamp Edge Rectangle with white cardstock and with Oxide Ink Spun Sugar I added ink in the center of this front panel, I wanted a very delicate look. I then add some water splashes and also some splashes with Picked Raspberry mixed with water with a fine brush to this panel. I let that dry and I die cut the Tulips with two tones of pink cardstock I love the look of the back part darker than the front layer… I colored with copic makers RV25 RV23 and RV21 to add dimention the soft color of the tulips and I assembled them with 3D Foam and adhere the tulips to the steem that I die cut before with a green cardstock.
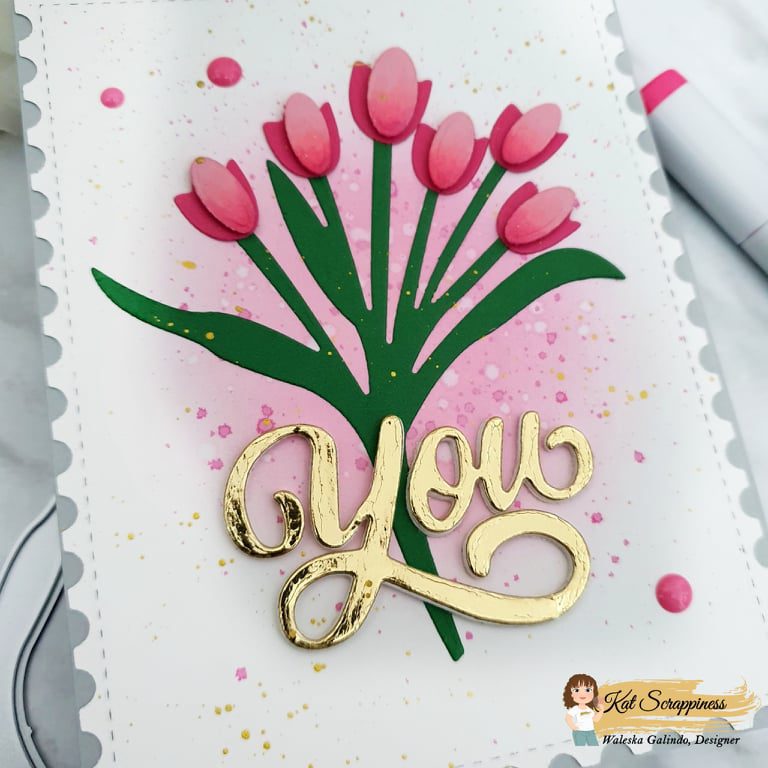
I adhere the tulips to the center of the inked panel and finally added the word YOU that I die cut from the Thank You word and shadow die also from Kat Scrappiness I added some of the valentine enamel dots to the card and adhere it to a grey card base.
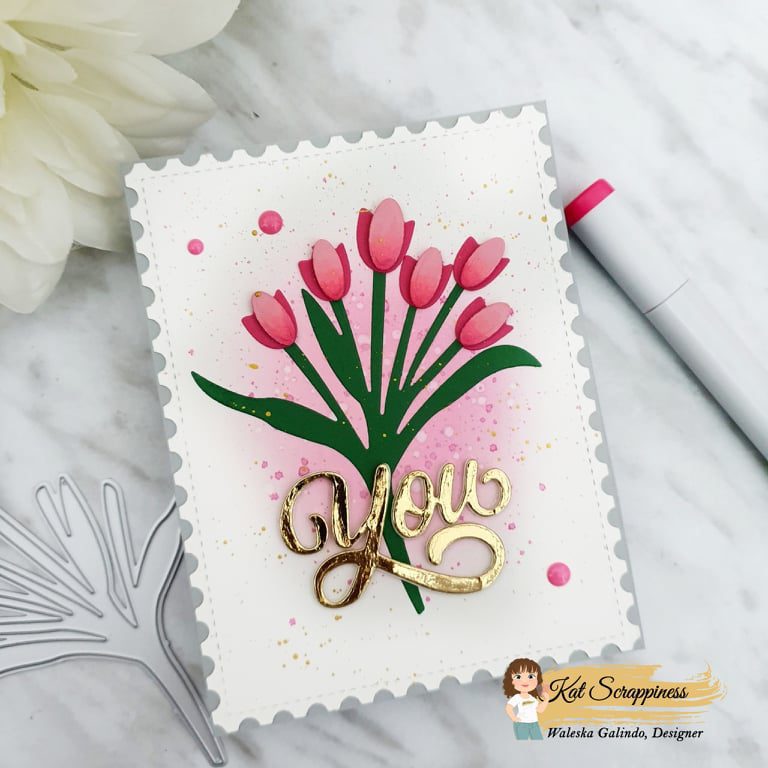
This is a very general card that you can use for many occasions, I like to have some cards like this on hand!!! I hope you like my card today and can be inspired ! have a nice day! remember to say safe and stay crafty!
Waleska


No Comments