Run, don’t walk, RUN to Kat’s shop and grab yourself some of the most recent releases by Lawn Fawn. While you’re there, you need to grab her Never Ending Circle Dies too! I mean, the last bit is a no brainer, because they can be used for an endless number of possibilities, but if you don’t have them yet, add them to your order.
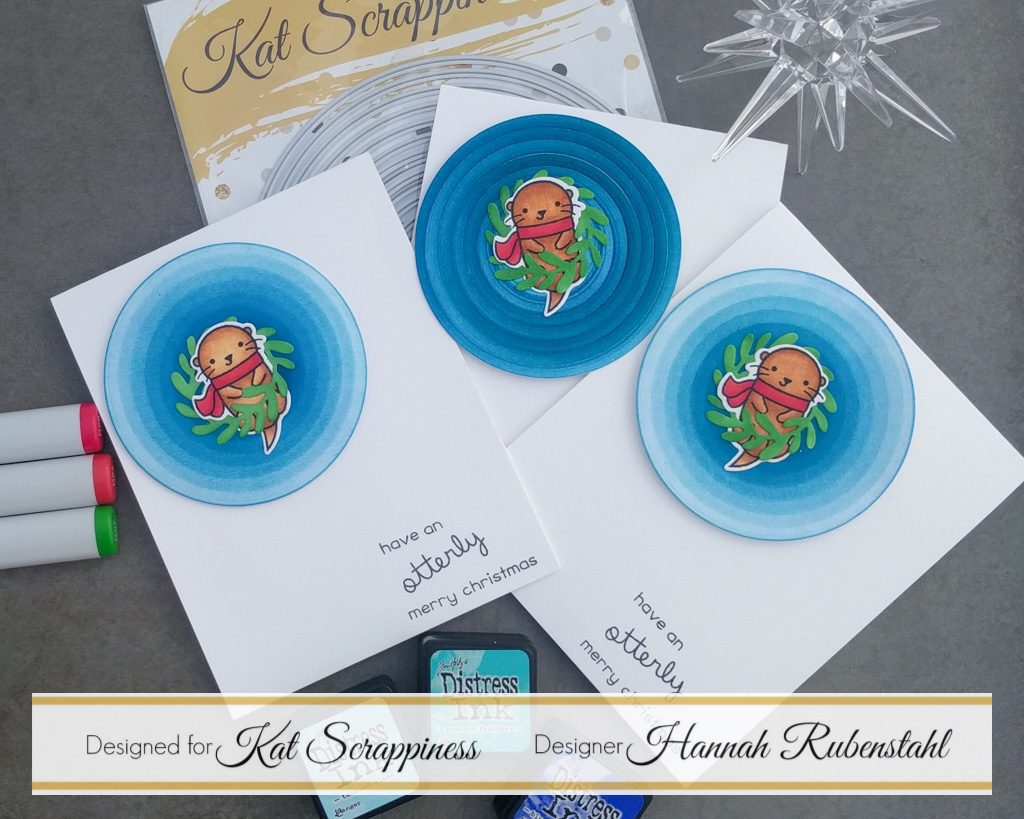
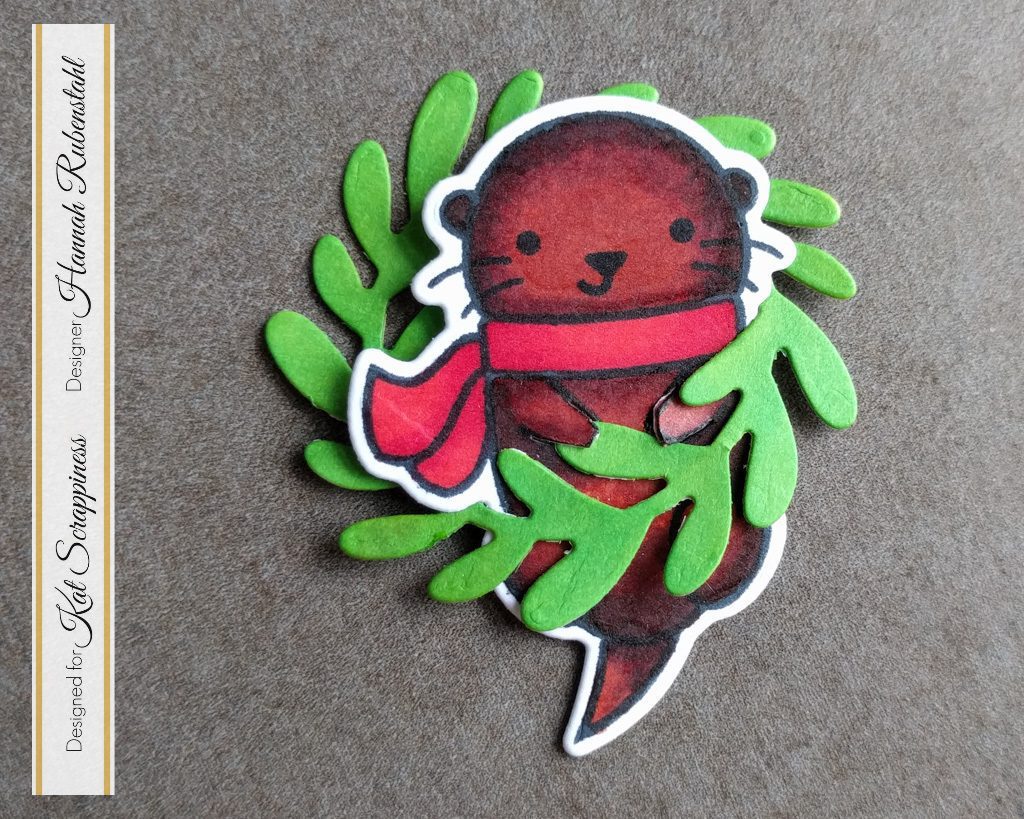
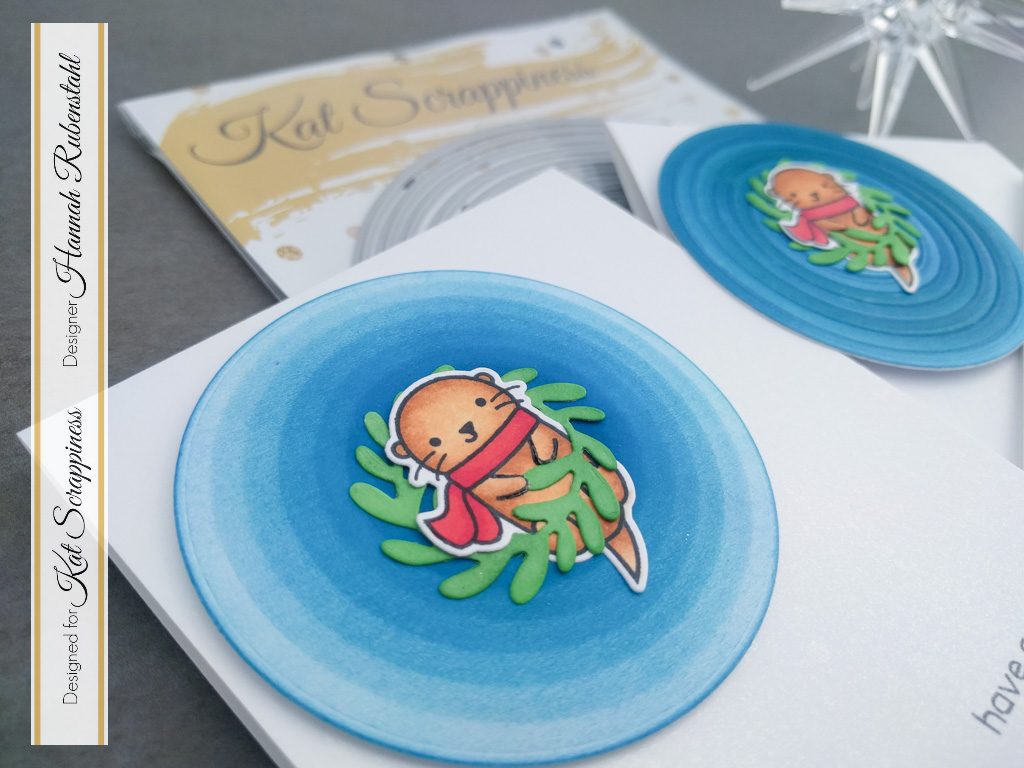
Which of the newest Lawn Fawn items are you grabbing? You want to grab the Winter Otter Stamp and Die Set, as well as the Mini Wreath Die Set. When they first came out I was wondering if I could fit the otter into the wreath, turns out it fits perfectly inside! And if you are anywhere from where there are otters in the ocean, then you’ve seen them play amongst the kelp, which is what the otter in the wreath reminds me of! The Christmas cards I made out of this set were quick, easy, and so different! I am sure a lot of my Oregon and California relatives will get a kick out of seeing an otter in kelp on their cards!
Another REALLY great thing about this card design is that you can make a lot of the same cards, or similar cards, in almost no time. If mass producing is your thing, or if you just don’t have a lot of time, this is the design for you.
To start, I cut my card base down to an A2 size, 4.25″x11″, and I scored it in half. Before I folded it over, I masked the back half of the card and spritzed some Sheer Sparkle Shimmer Spray by Imagine Crafts. The result was a white background with a subtle hint of shimmer, giving my card an incredible festive feel. Then, when that was dry, I stamped my sentiment, also from the Winter Otter Stamp Set using some Memento Tuxedo Black Ink.
Next, I die cut a circle out of some heavy weight cardstock, I used the smallest circle out of the Never Ending Circle Dies of Kat’s. I used this as a stencil for applying Distress Ink. I layered my blues, in increasingly lighter shades, to achieve the color I wanted, but you could easily do this with just one shade of Distress Ink. Because I was using my cardstock as a stencil, I could make as many circles as I wanted! In this case, I made a total of two circles out of this one stencil.
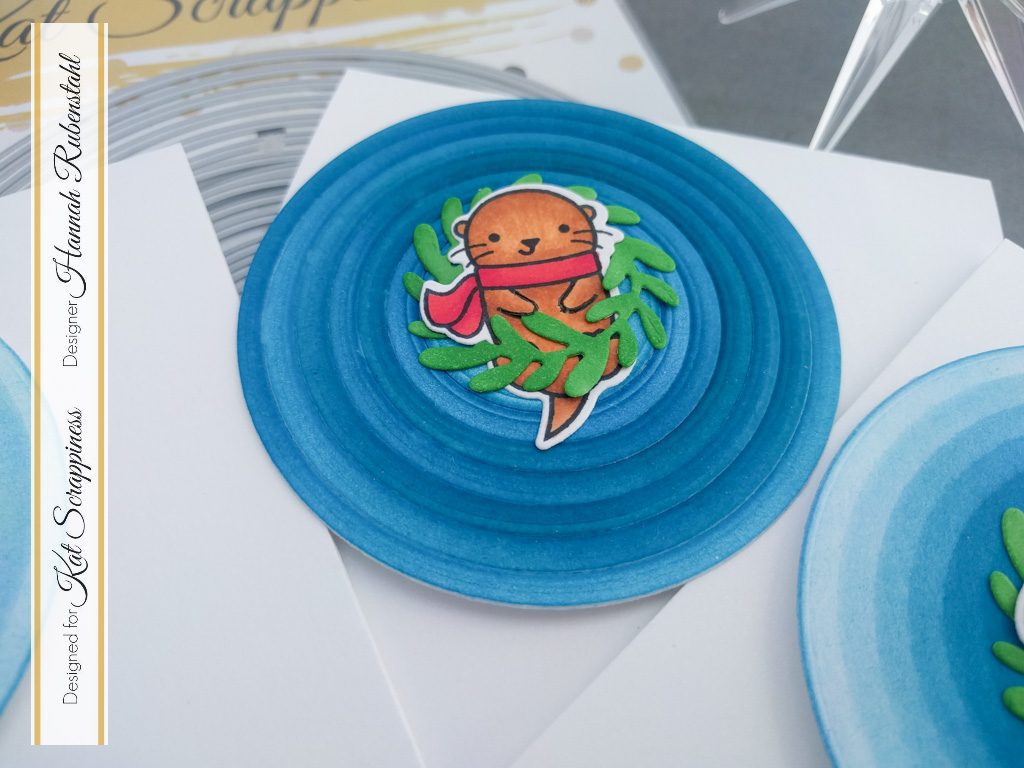
After the initial circle was stenciled in, I used the next size up in Kat’s Never Ending Circle Dies. While stenciling I tried to make my circles as concentric as possible, I also die cut the circles out of the same thick cardstock making concentric rings. I was going for a ripple effect with my stenciling, and the concentric rings could be used to make a third, slightly different, card.
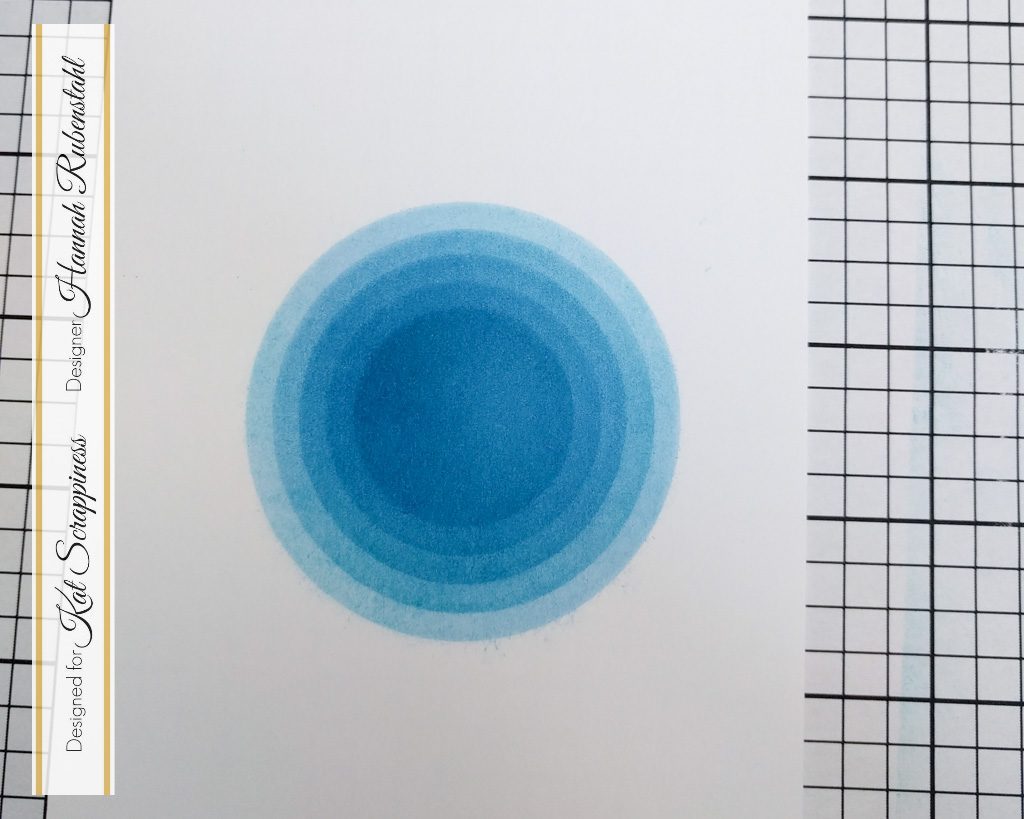
The only main difference between the cards I’d make out of the stenciled circles and the card I made with the die cut rings is primarily in the colorization. As I stenciled I made my shading go from light to dark, but because the cardstock I used as a stencil got more and more ink on it, the circle it ultimately made went from dark to light. Additionally, in constructing the die cut circle it ended up being a touch thicker than the other cards.
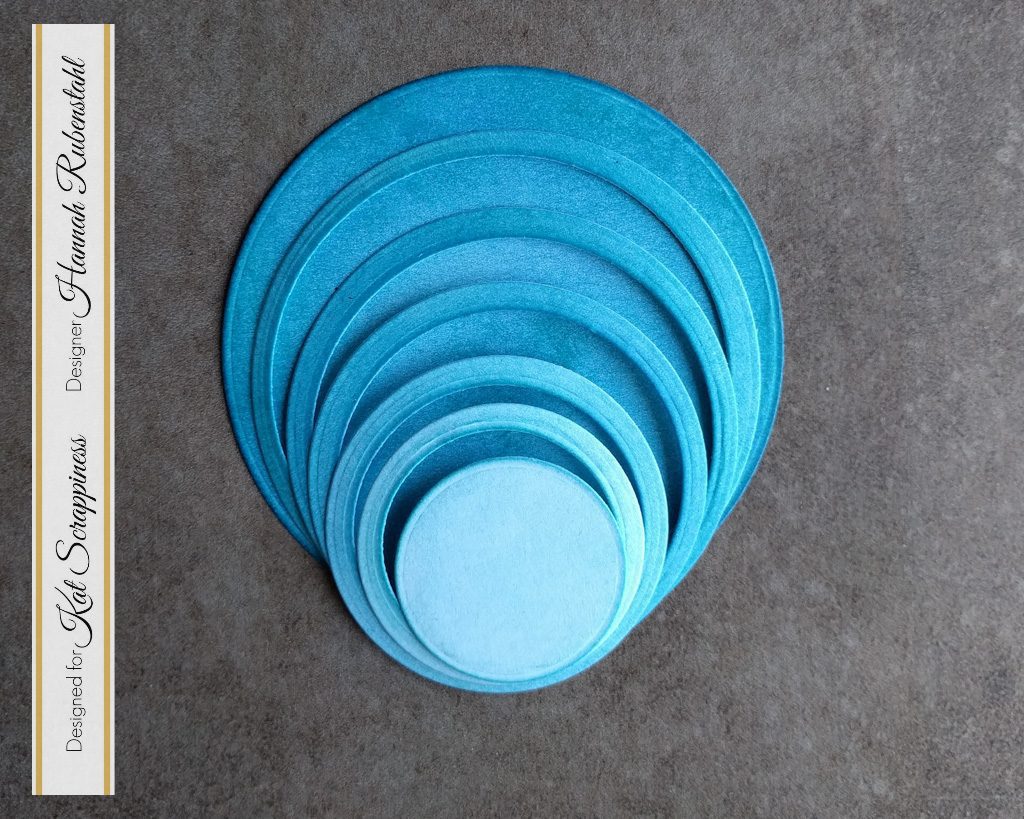
For the card that would be comprised of a bunch of rings, I cut out a circle using the biggest circle used out of another piece of card stock and I colored it with Distress Inks. While coloring the larger circle, I also colored in a smaller circle, one that was created when I initially made my stencil.
The final use I had for the Never Ending Circle Dies was to cut circles out of fun foam using the second largest die that I had used. This will elevate the “water” off of the white base and add a touch of POP! Though this step is completely optional.
I adhered the concentric rings onto the bigger circle using Ranger Multi Medium Matte and then adhered all of the circles to their circles of foam using the same adhesive. Once this was done, I stamped the otters, colored them with Copic Markers, and then die cut them out. I also die cut the wreaths and colored them with a green Copic Marker.
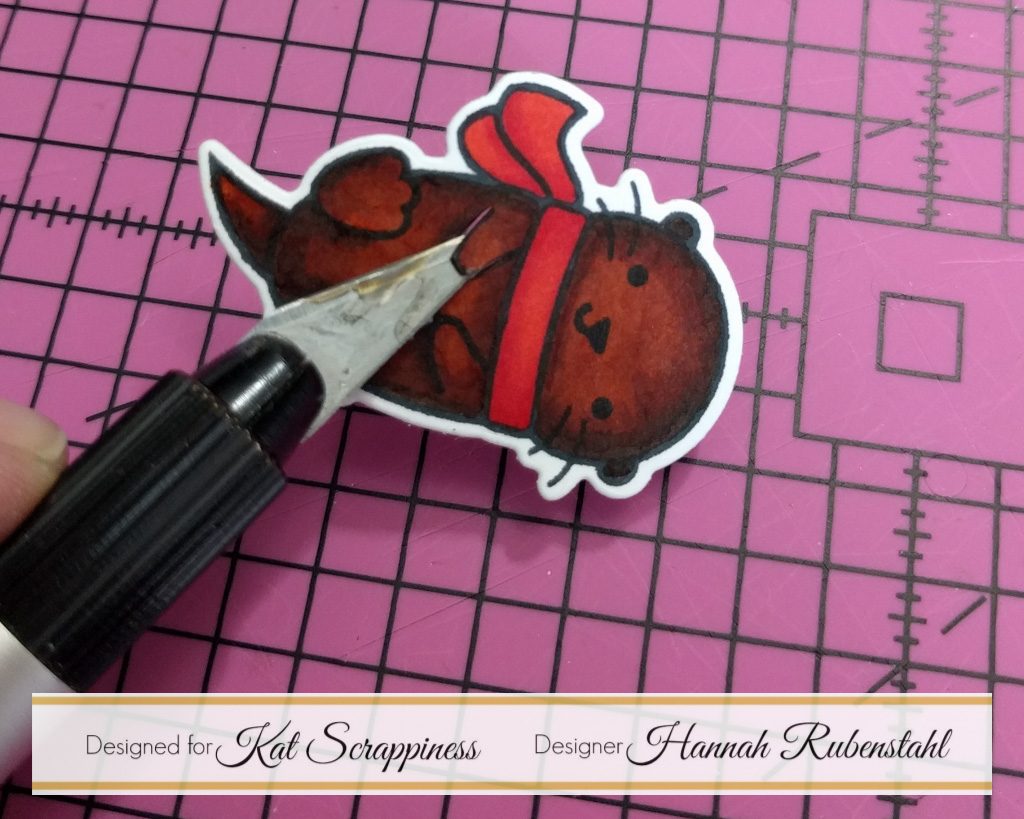
I did work hard at getting the otters to look like they were holding onto their kelp wreath, in order to do this I used a craft knife and cut the outlines of their little paws.
These guys were glued to the concentric blue circles, and then using some Scor-Tape I adhered the fun foam to my card base. Viala! In almost the same time that it would have taken me to make one card, I made three! And, you can make a lot more than 3 if you like!
If you liked this project, feel free to use Hannah10 at check out! The following are the products I used:
Never Ending Circle Dies – Kat Scrappiness
Winter Otter Stamp and Die Sets – Lawn Fawn
Mini Wreath Die Set – Lawn Fawn
Sparkle Sheer Shimmer Spritz Spray
Neenah Solar White in 80 and 110lbs
Copic Markers


1 Comment
This is one of the cutest card I’ve seen so far on the Stamptember month !
September 20, 2017 at 12:50 pm