You can make a shaker element for a card or tag in minutes with the new shaker kits from Kat Scrappiness!
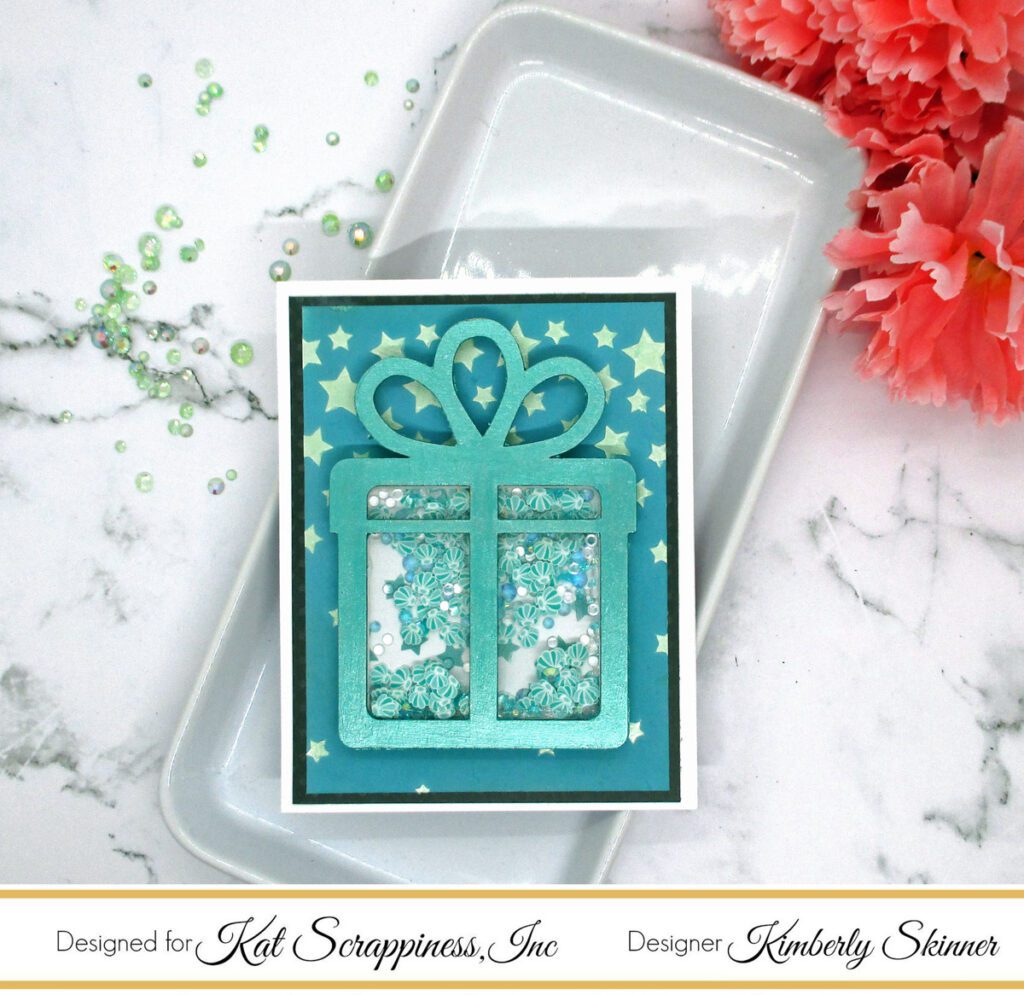
I created a background for my shaker by ink blending some Evergreen Bough distress oxide ink with the new Falling Stars stencil on white cardstock. I trimmed it down using the acetate piece included in the kit for a template.
I used some acrylic paint from my stash and a foam brush to add color to the gift shaker element. I added the paint to the wood side of the shaker element and I added 3 layers, drying in between each layer.
The shaker kit has the wood element in whatever shape you have chosen. It also includes the foam and acetate all sized and ready to go to create your shaker element! It really took just a few minutes to create the shaker element for the top of my card.
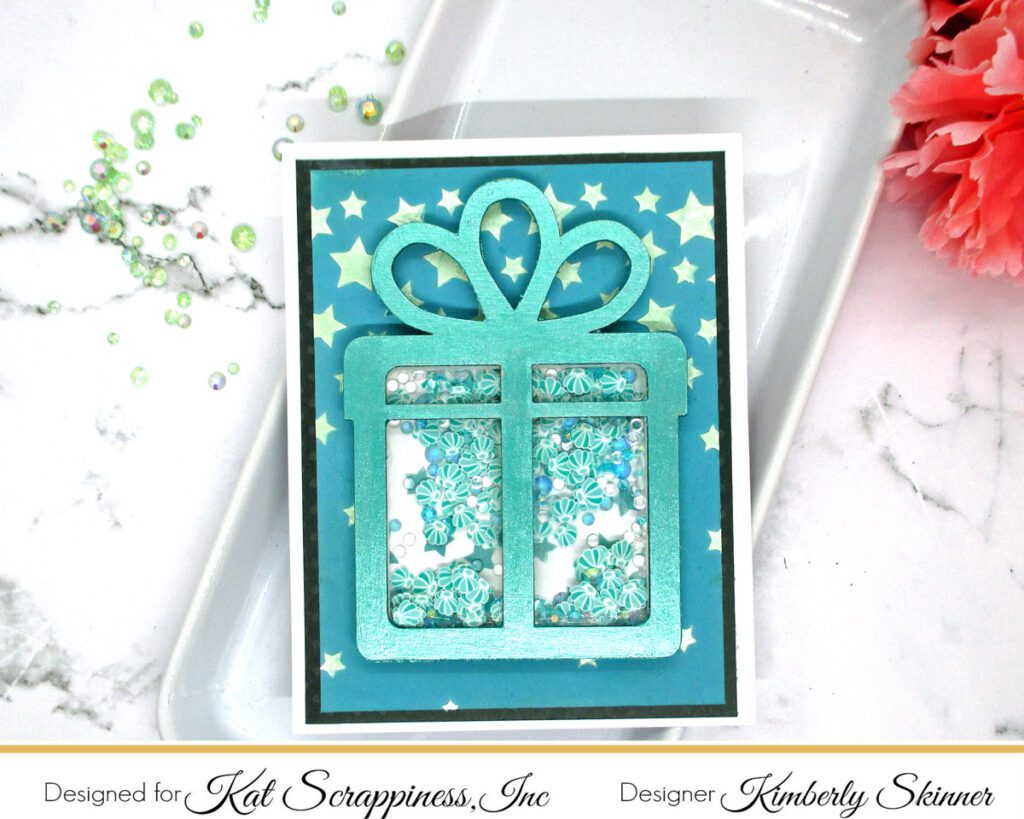
I added lots of shaker bits to my card. The foam piece is about 5 mm thick so you can fit a lot of shaker bits! I added teal seashells, aqua jewels, and small clear drops for lots of sparkle.
My background has a piece of white cardstock swiped with Evergreen Bough and Peacock Teathers distress oxide. Then I used some metallix white pearl gel from my stash and added it through the Falling Stars stencil with a palette knife.
Make sure you give the gels and pastes at least an hour to dry. You also want to make sure you clean your stencil, palette knife and craft mat immediately after using them. Don’t let those sit or you may never get the dried paste off them!
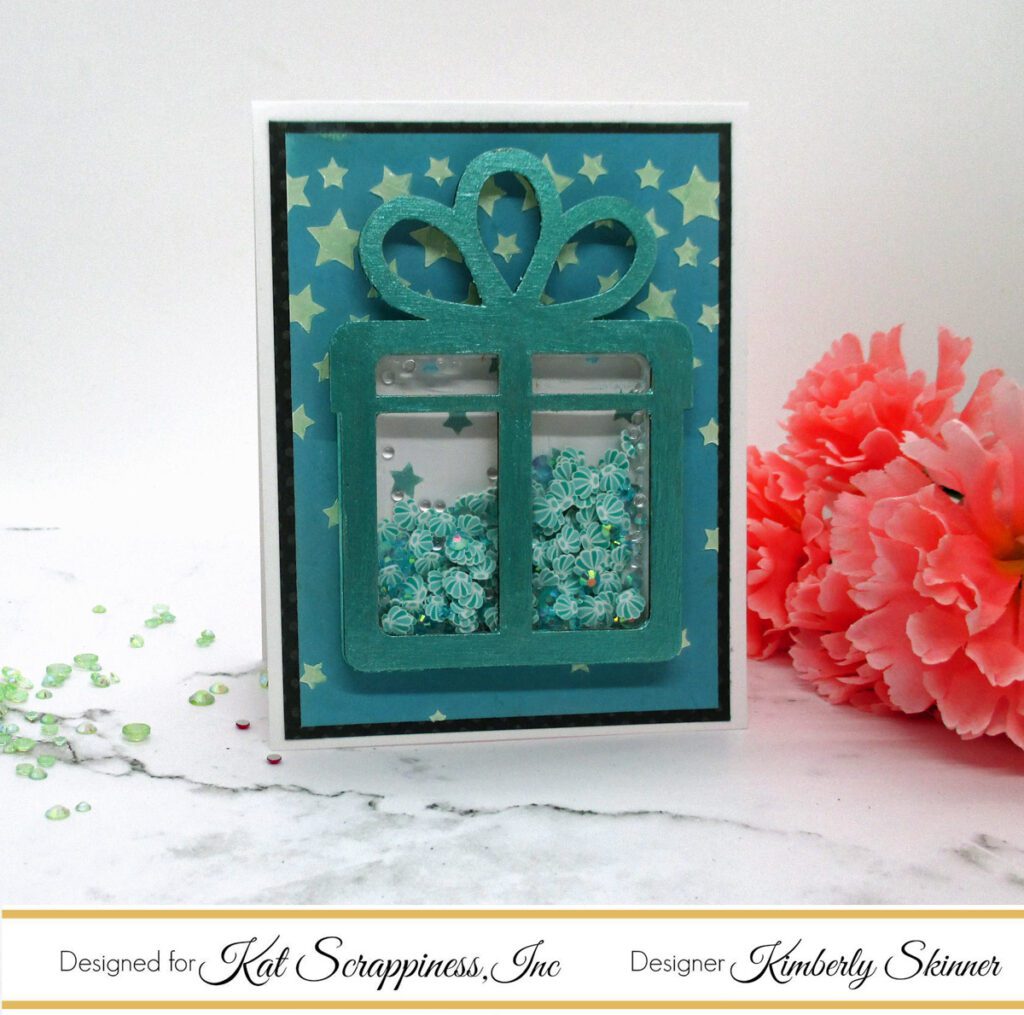
I created a video so that you can see how to use these shaker kits to create a quick and easy shaker element.
[youtube https://www.youtube.com/watch?v=5a3VCPXXK4Q]
Supply List:
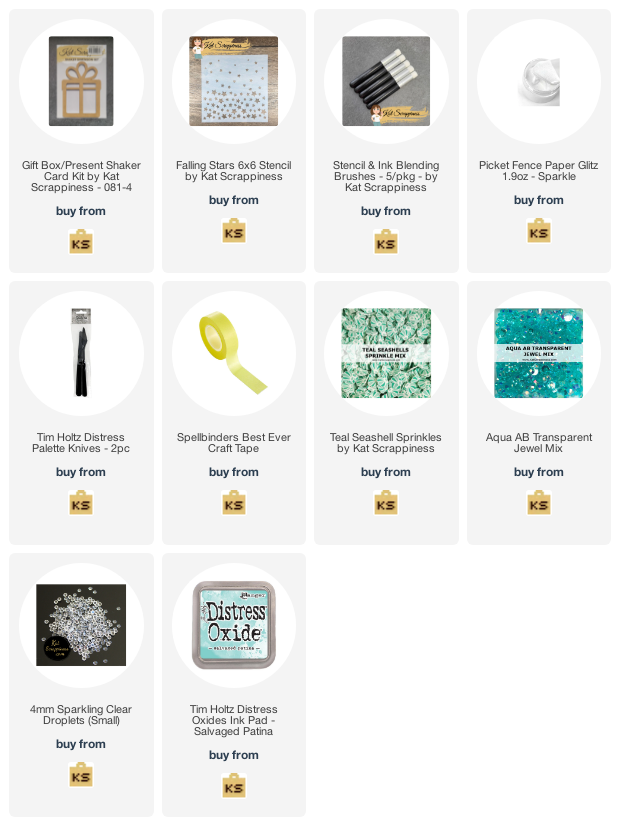 https://linkdeli.com/widget.js?id=f5e8378456858c916708
Thank you for stopping by! You can find more of my ideas and inspiration at Stamping Imperfection.


No Comments