Hi Everyone, it’s Tina here. I have a card to share with you using the Star Fusion Coverplate. It is a beautiful die and today I will be using it to emboss my background. Below you will find the steps to create your own embossed star fusion background card.
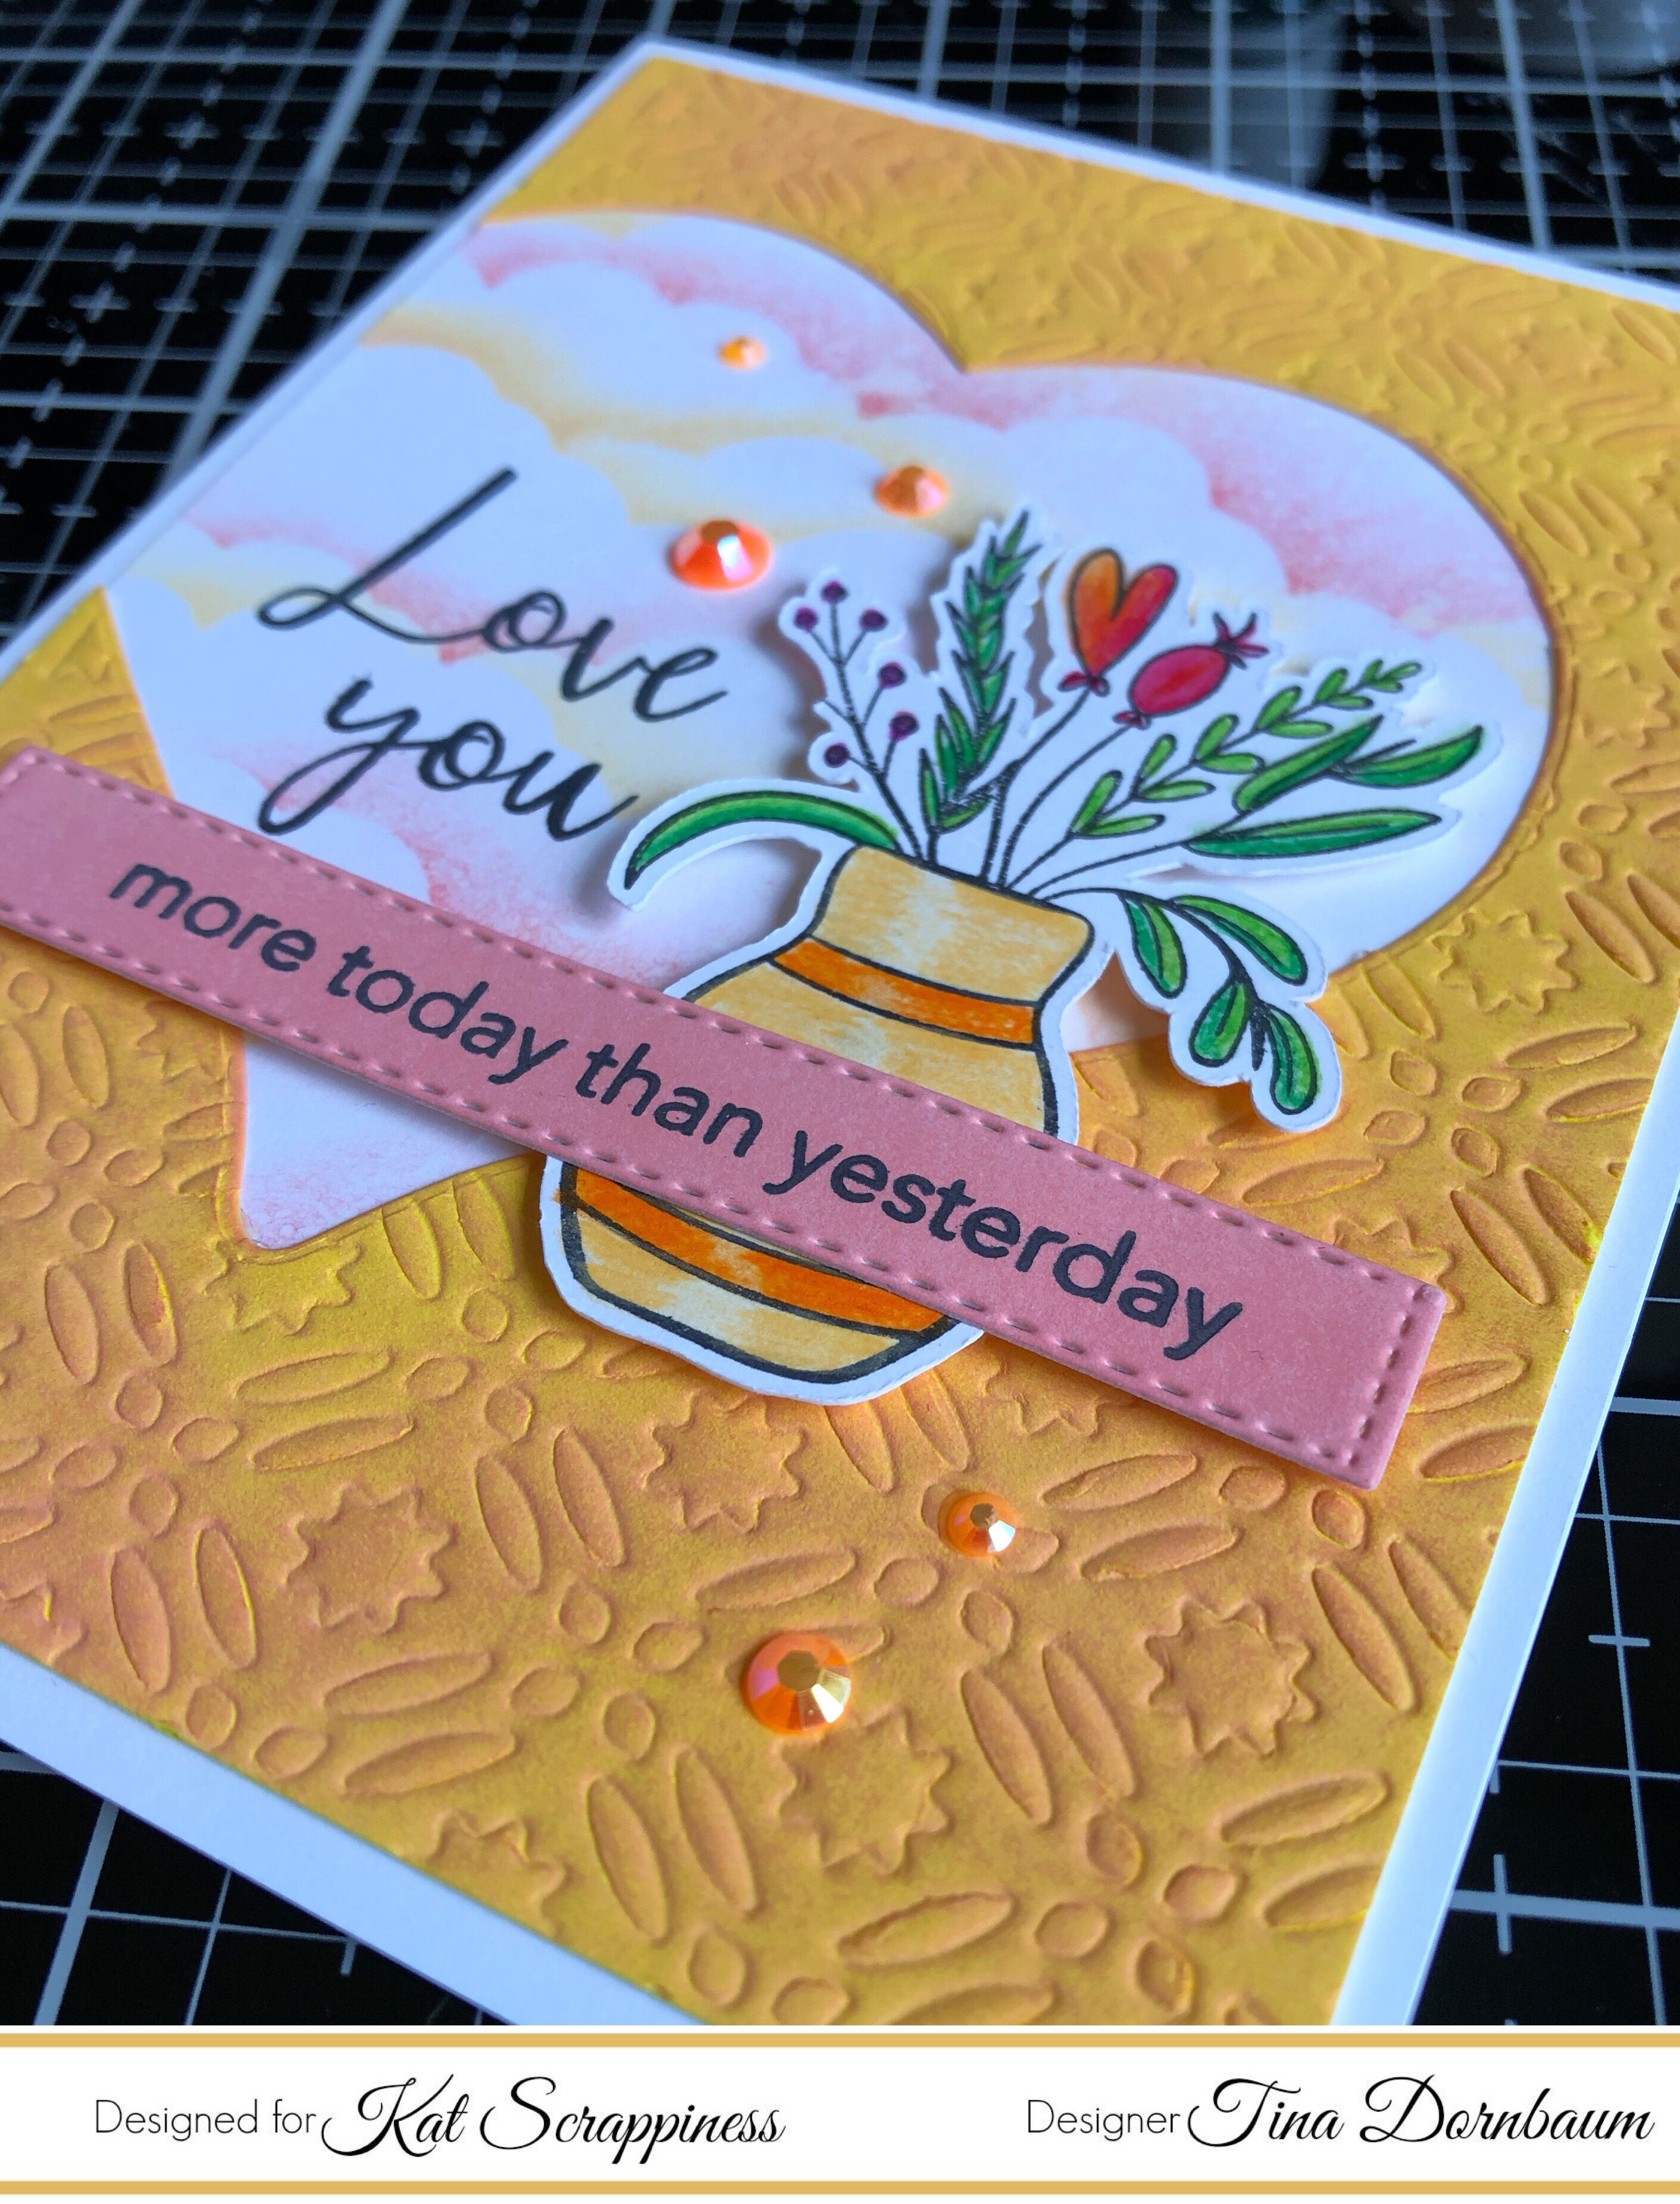
Step 1 – Trim White Cardstock to 8 1/2” x 5 1/2”, score at 4 1/4” and fold in half for a vertical side fold card. (A2)
Step 2 – Create clouds to the front of card base.
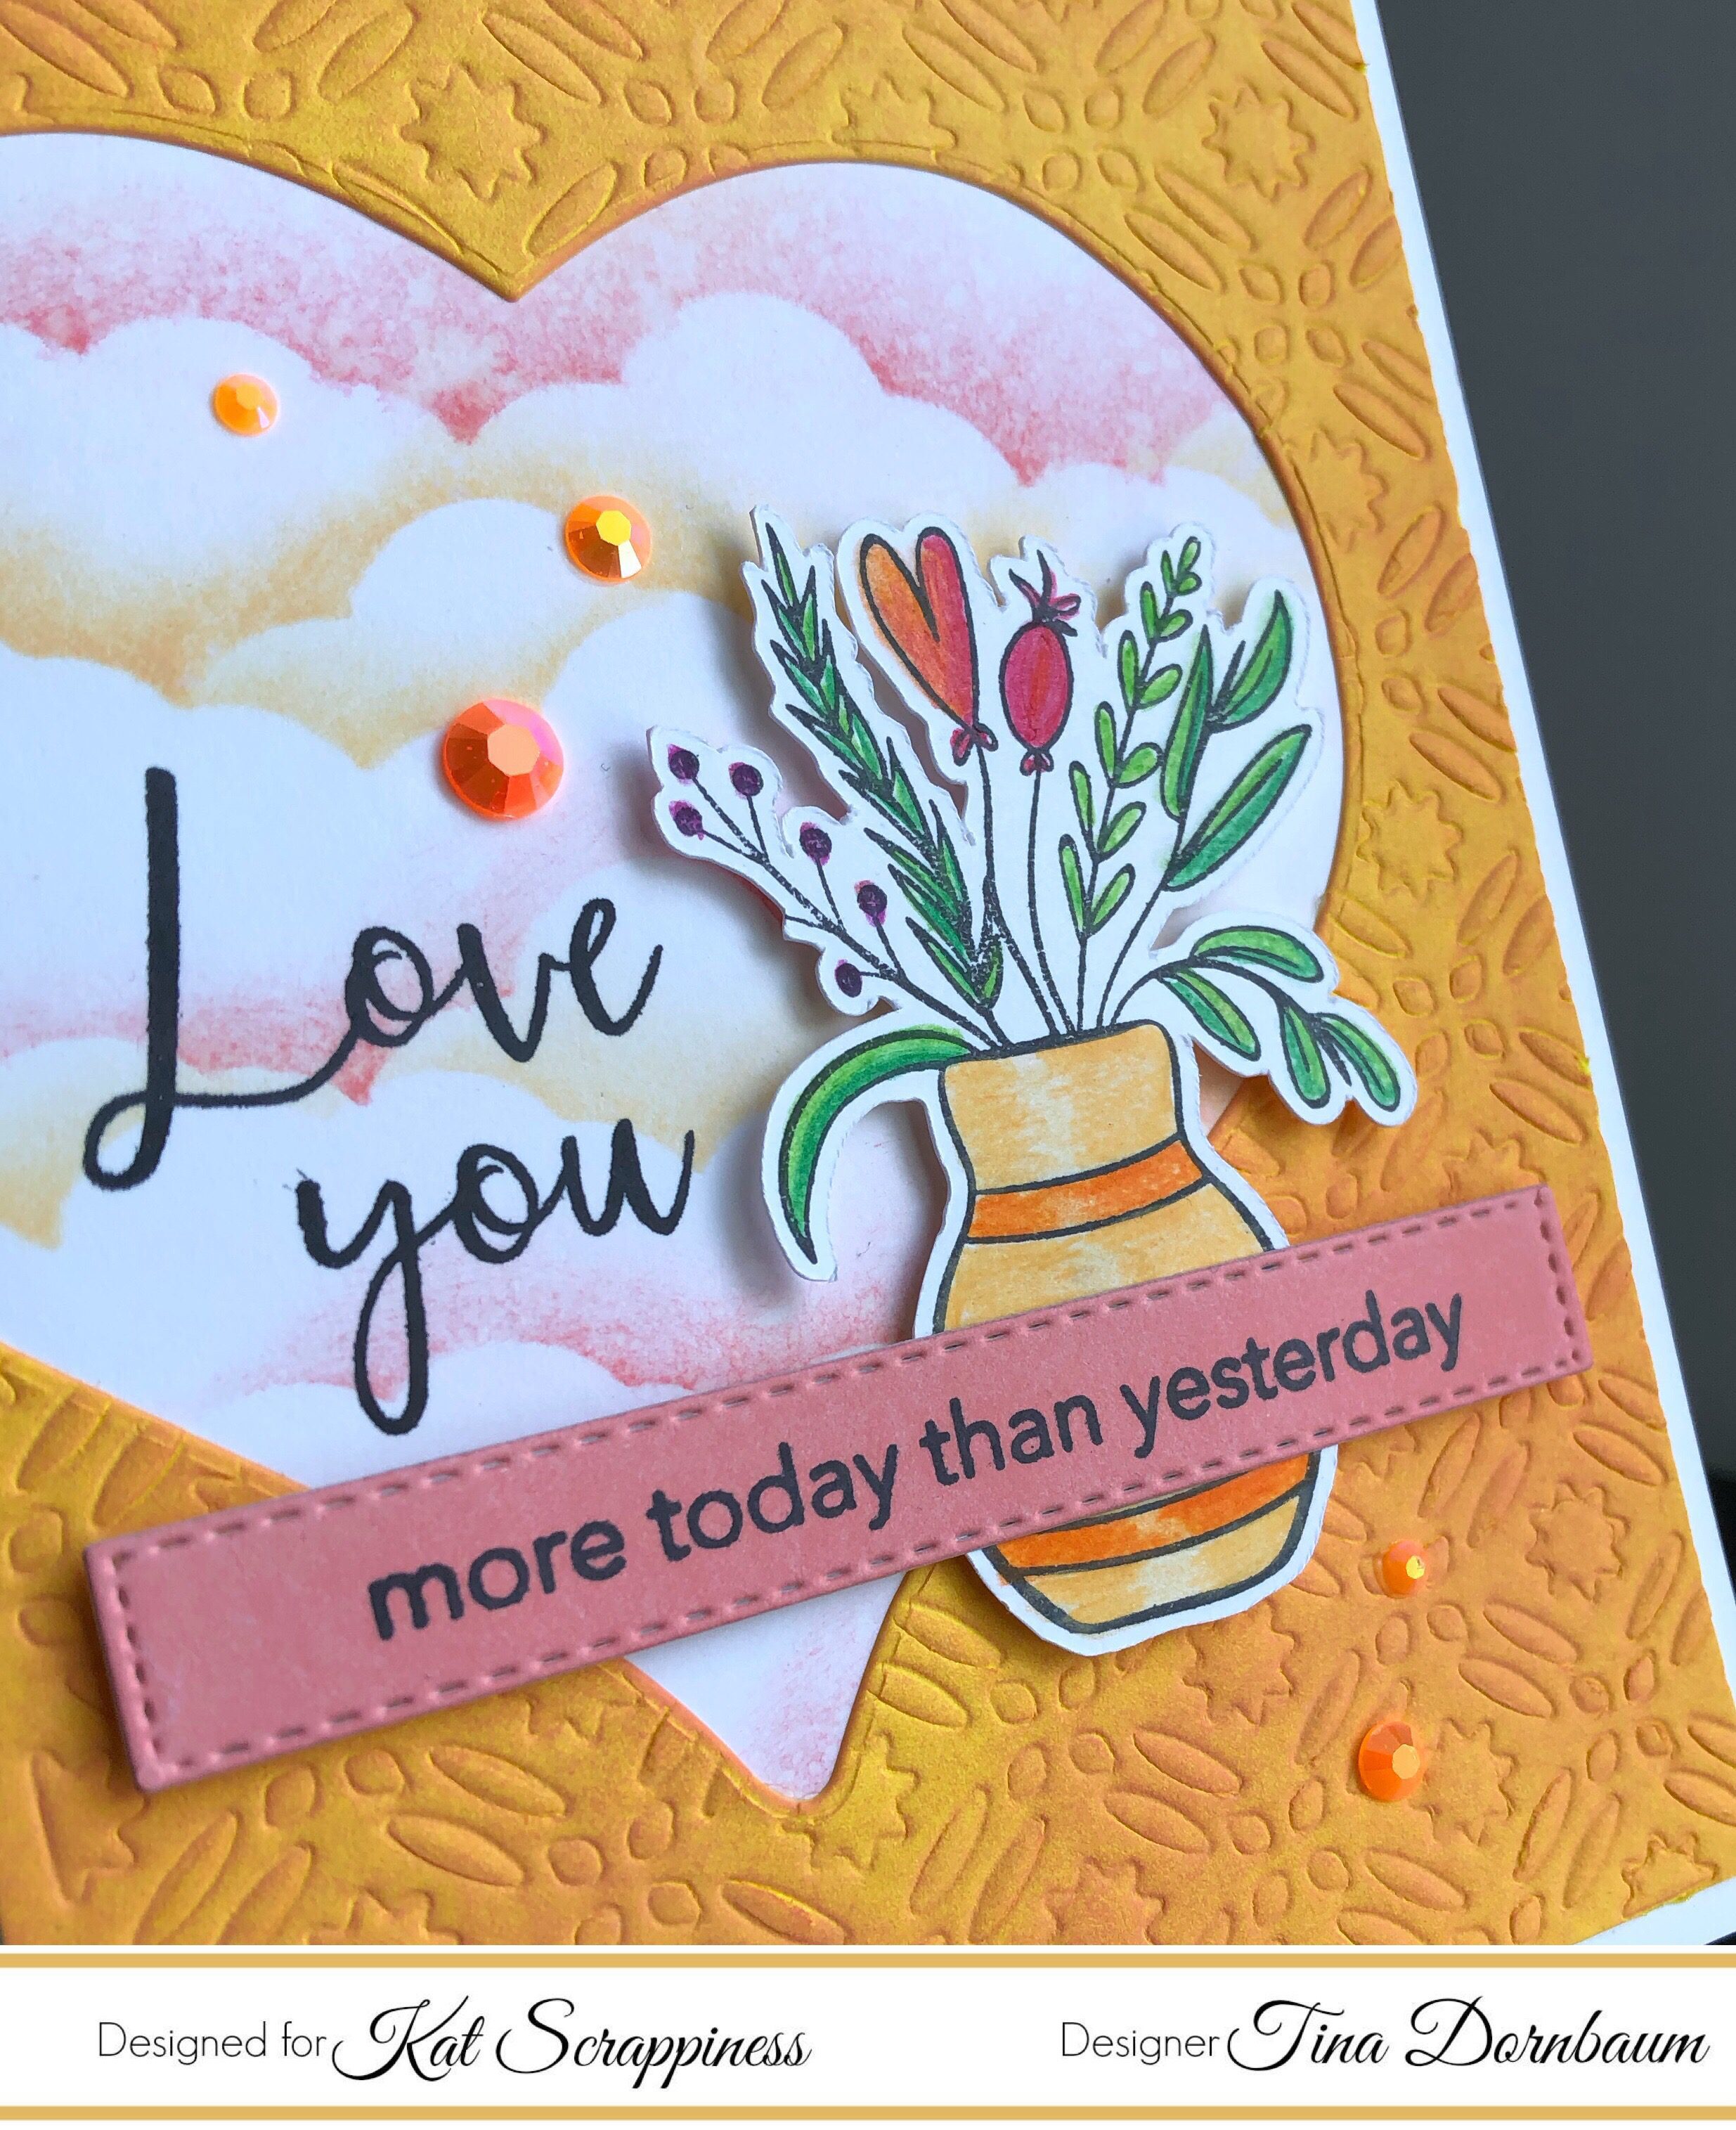
Step 3 – Trim Yellow Cardstock to 4 1/4” x 5 1/2”. Dry emboss Star Fusion Coverplate in your diecutting machine using an embossing pad and sandwich according to your machine’s manual. Using an ink applicator apply Distress Oxide Ink Spiced Marmalade lightly. For a subtle blend.
Step 4 – Diecut Heart using Background from Step 2. Adhere to card using Nuvo Deluxe Adhesive.
Step 5 – Stamp sentiment on card front using Versafine Onyx Black Ink.
Step 6 – Stamp Happy Fall Y’All image using Versafine Onyx Black Ink on White Cardstock. Color image using colored pencils and gamsol. Fussy cut the image out and adhere to card using foam tape.
Step 7 – Stamp sentiment on scrap piece of cardstock using Versafine Onyx Black Ink. Diecut sentiment using Stitched Sentiment Strips and adhere to card using foam tape at the edges overlapping the flower image.
Step 8 – For added interest adhere Orange Jewels using a Crystal Katana and collage medium.
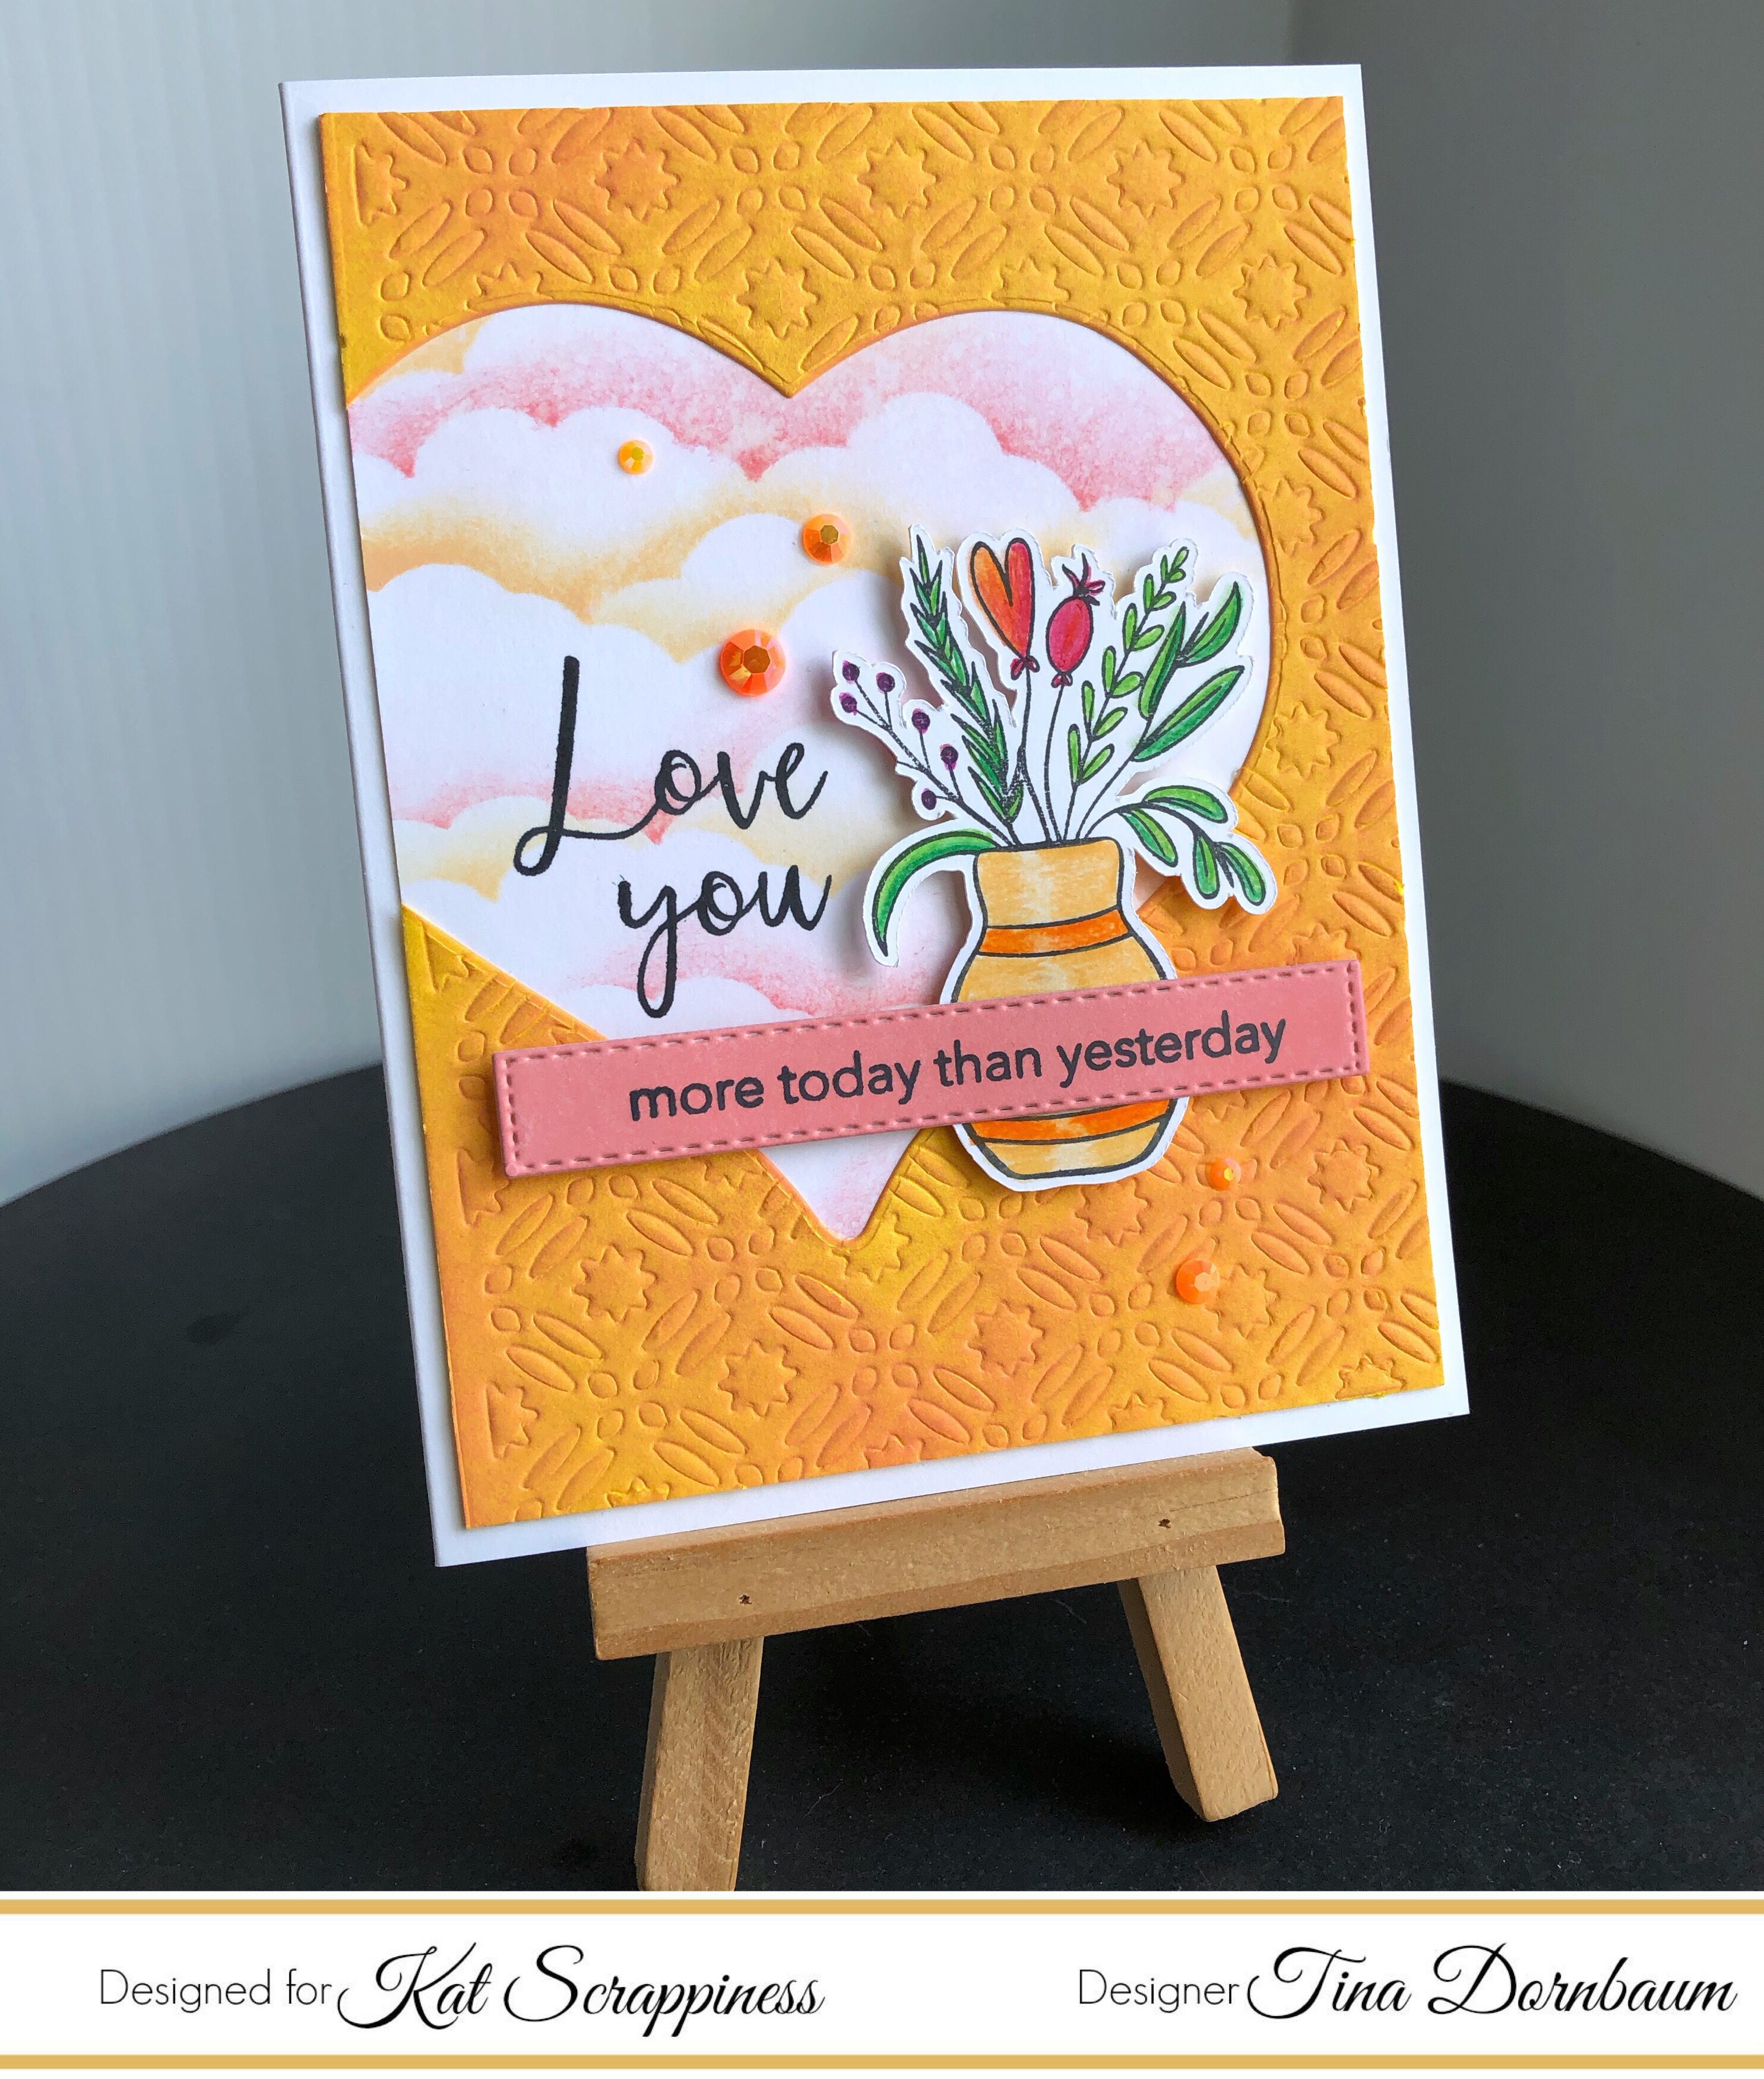
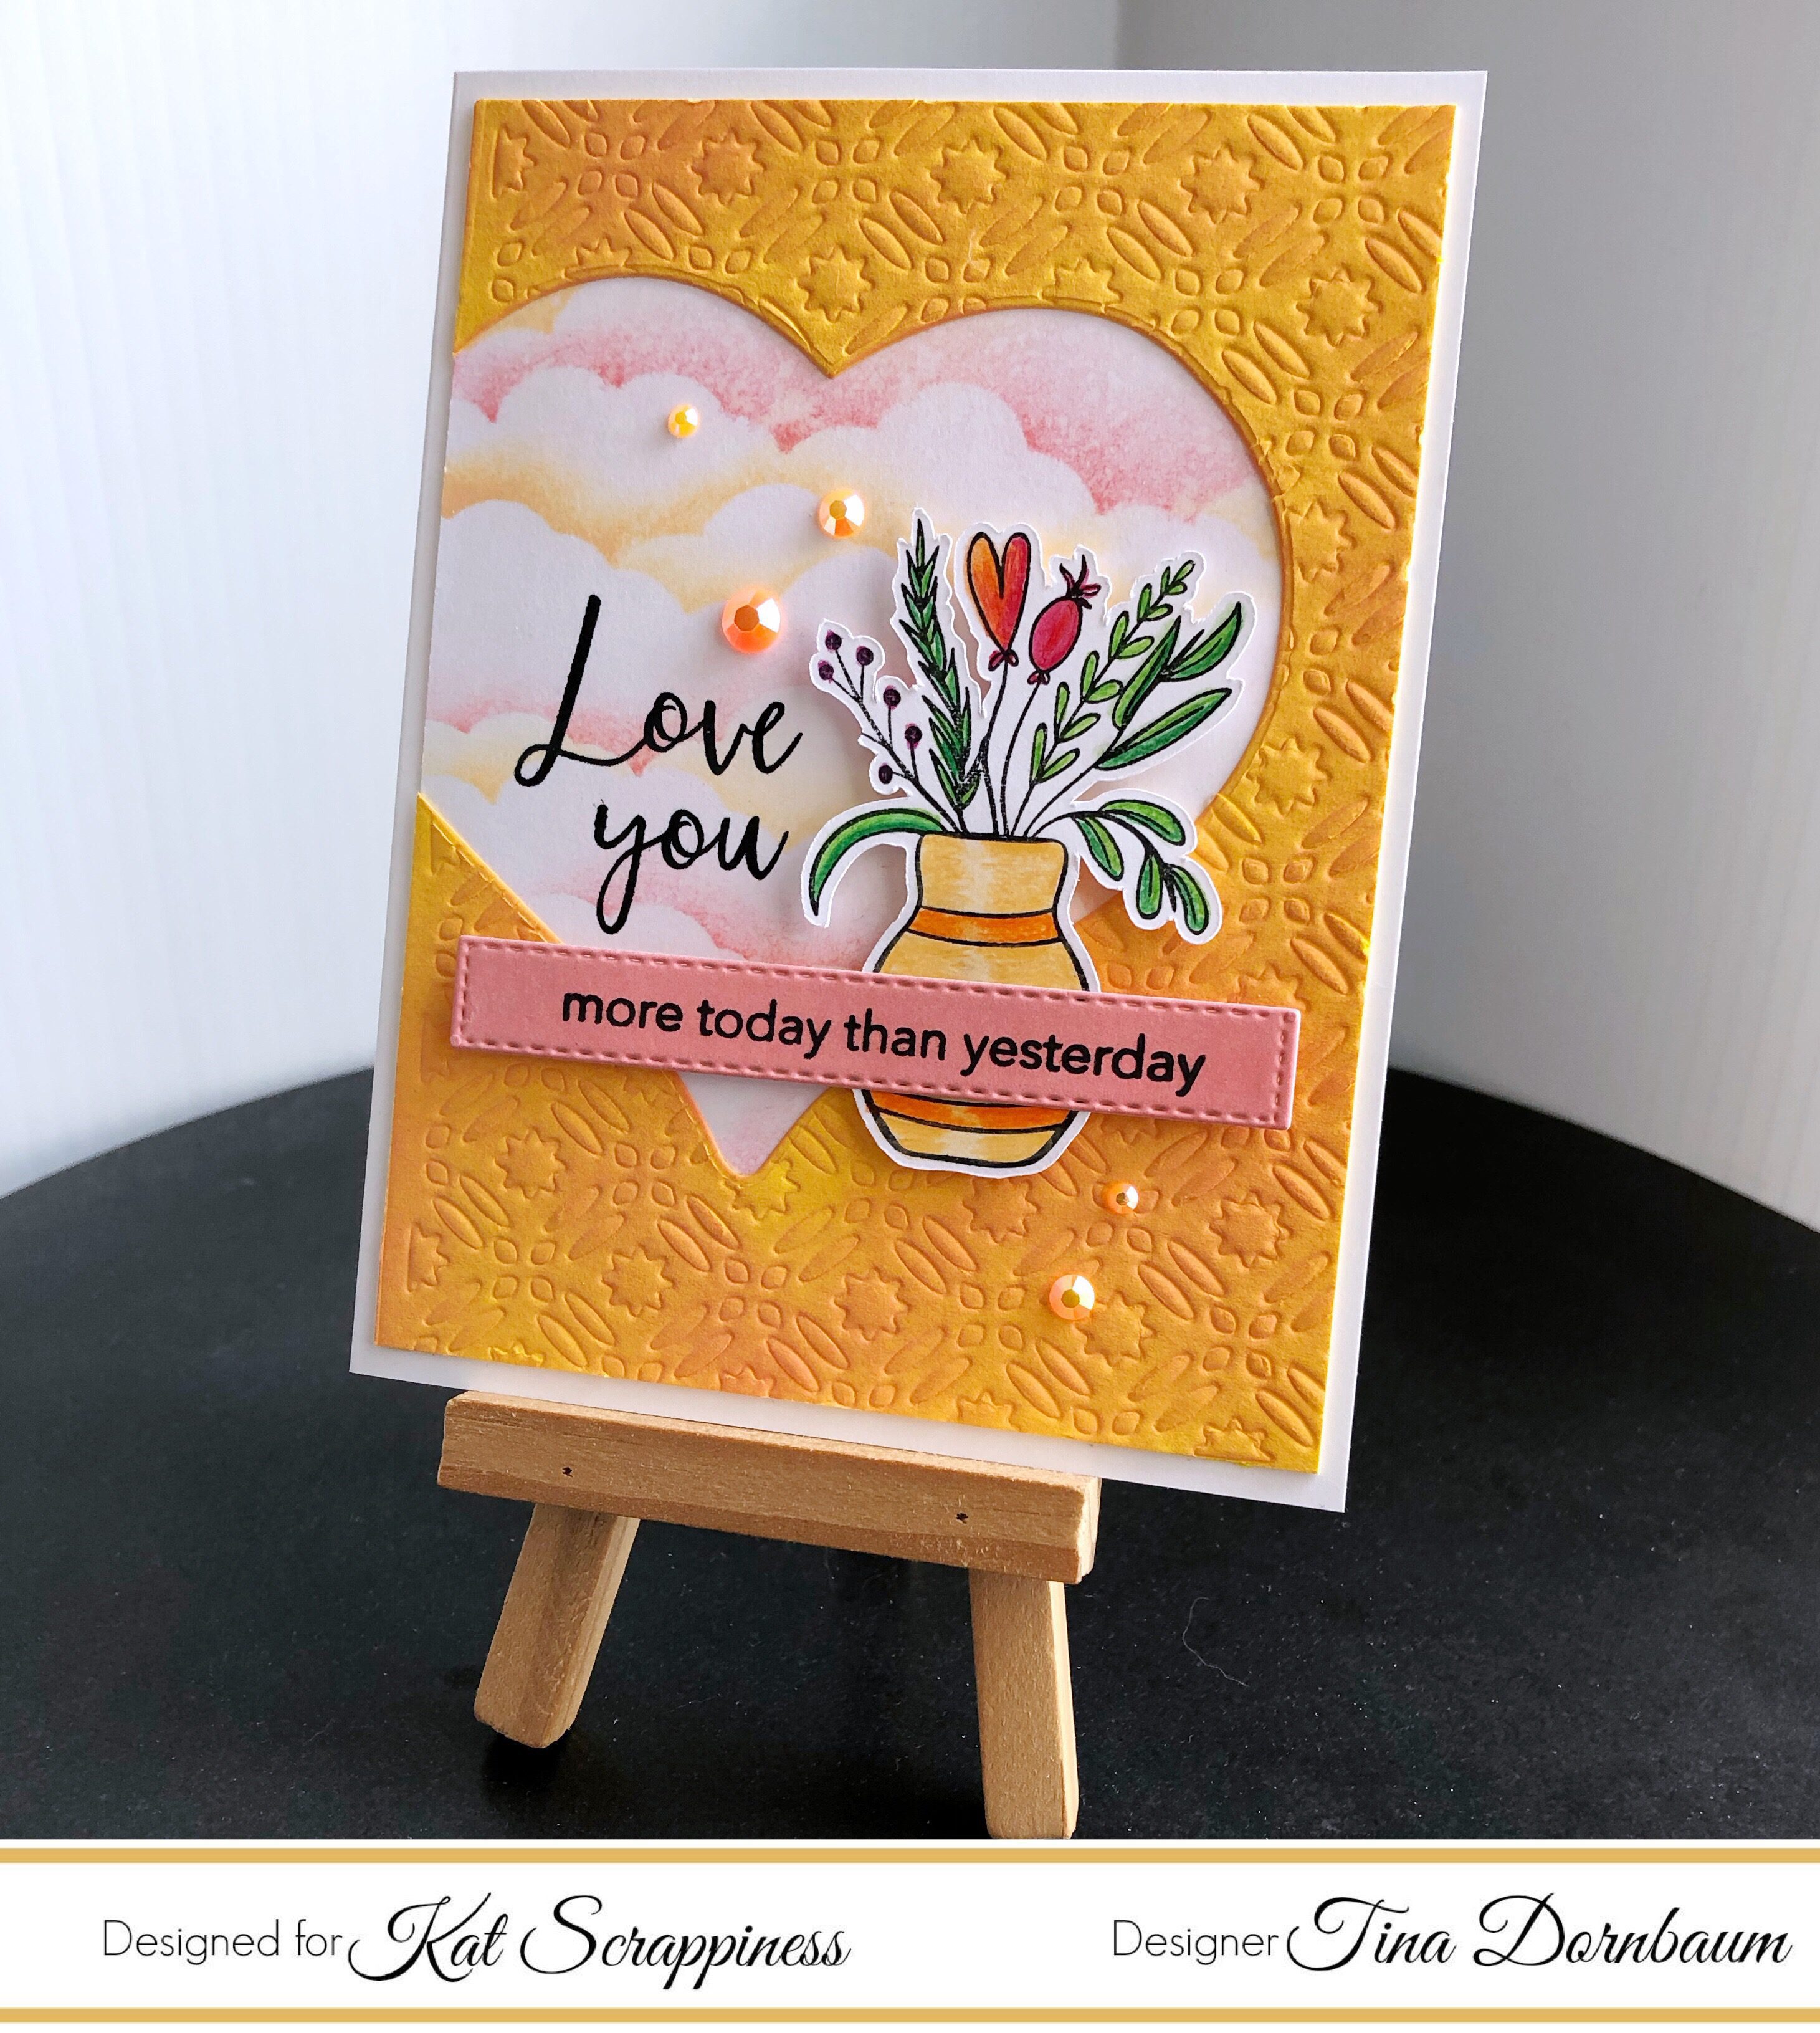
This card can be used for any occasion by changing the shape, colors and sentiment. Below you will find a link to all the products used. Today and tomorrow there is a huge Spring Sale so be sure to use code: CLEAN19 at checkout to receive 20% off your order. After the 7th use code: TINA10 at checkout to receive 10% off your order. Thank you for stopping by and have a wonderful day!
Products Used: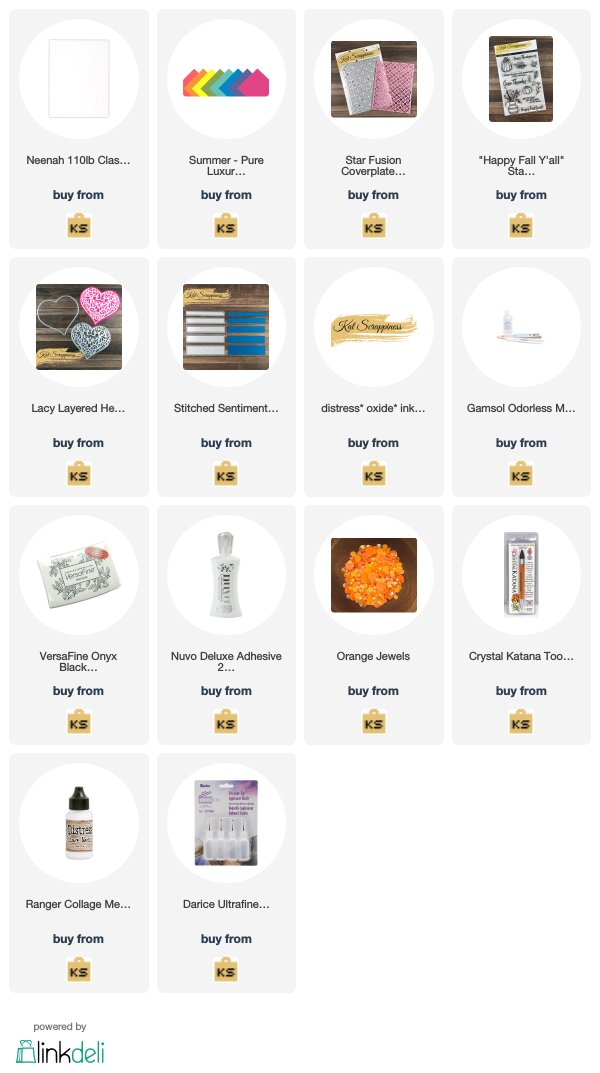
https://linkdeli.com/widget.js?1552642647875

No Comments