Hi Everyone, it’s Tina here. Today I have several cards to share with you using the new large holiday sentiments dies. I get asked frequently what do you do with a busy background. Sometimes I don’t want to cover my background so I add a sentiment that way you still see the gorgeous background. Below you will see examples.
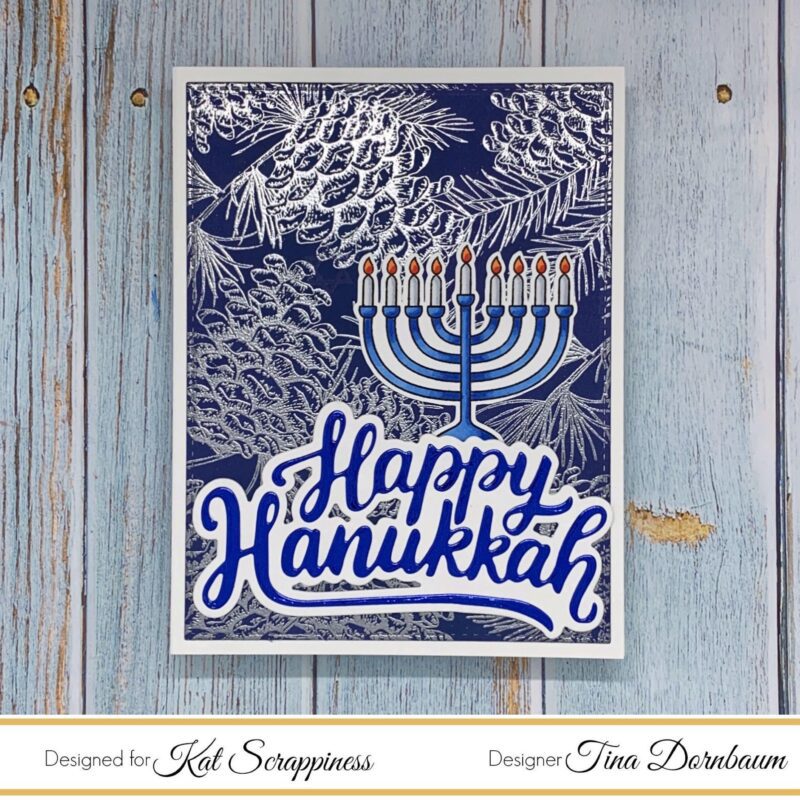
Card #1
Card #2
Card #3
Card #1
Step 1 – Trim White Cardstock to 8 1/2″ x 5 1/2″, score at 4 1/4″ and fold in half for a vertical side fold card. (A2)
Step 2 – Trim White Cardstock to 5 1/2″ x 4 1/4″. Apply Distress Oxide Ink Chipped Sapphire using an ink applicator. Let dry.
Step 3 – Stamp background image of your choice using Versamark. Sprinkle Silver Embossing Powder, remove the excess. Heat set it with a heat tool.
Step 4 – Diecut Double Stitched Rectangles using the background from Step 3. Adhere to card using Nuvo Deluxe Adhesive.
Step 5 – Diecut Happy Hanukkah (White Cardstock for the Shadow and Imperial Blue Mirror Cardstock for the Words) Assemble and adhere to card using Nuvo Deluxe Adhesive.
Step 6 – Optional – Stamp and colour a Menorah, fussy cut it and adhere to card using Nuvo Deluxe Adhesive.
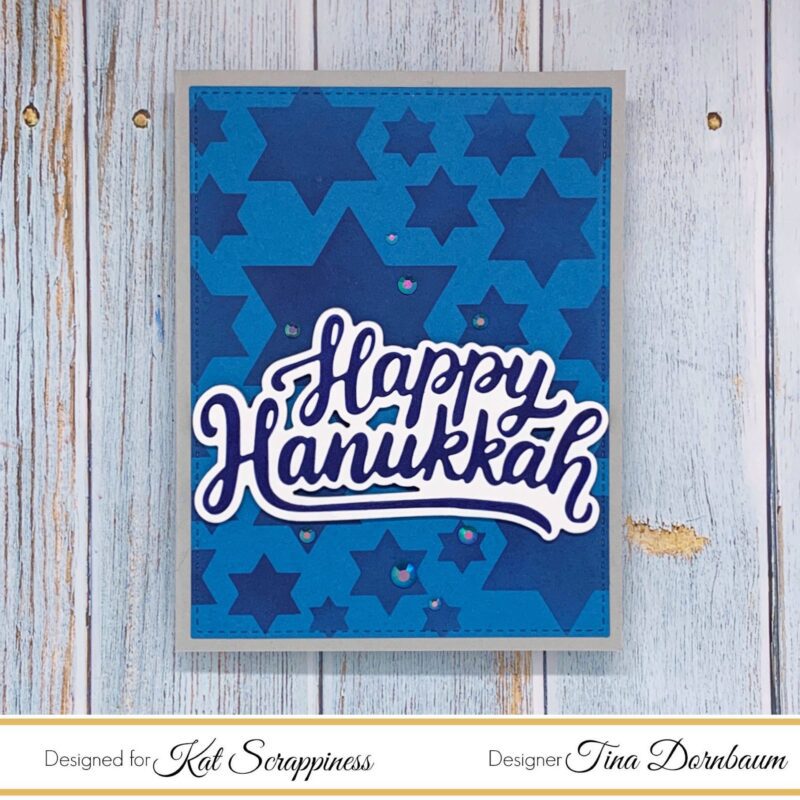
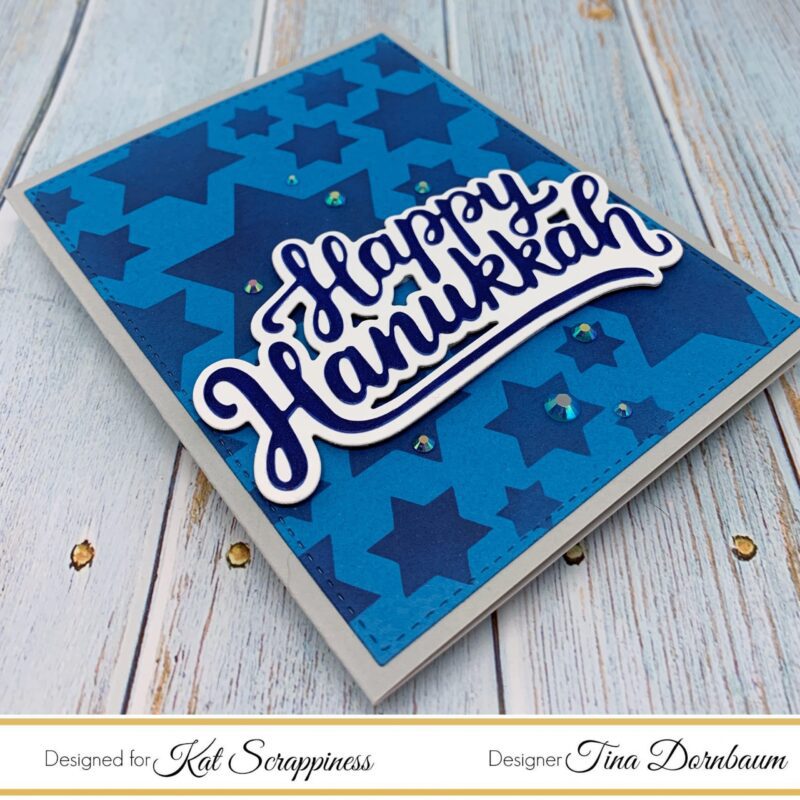
Card #2
Step 1 – Trim Grey Cardstock to 8 1/2″ x 5 1/2″, score at 4 1/4″ and fold in half for a vertical side fold card. (A2)
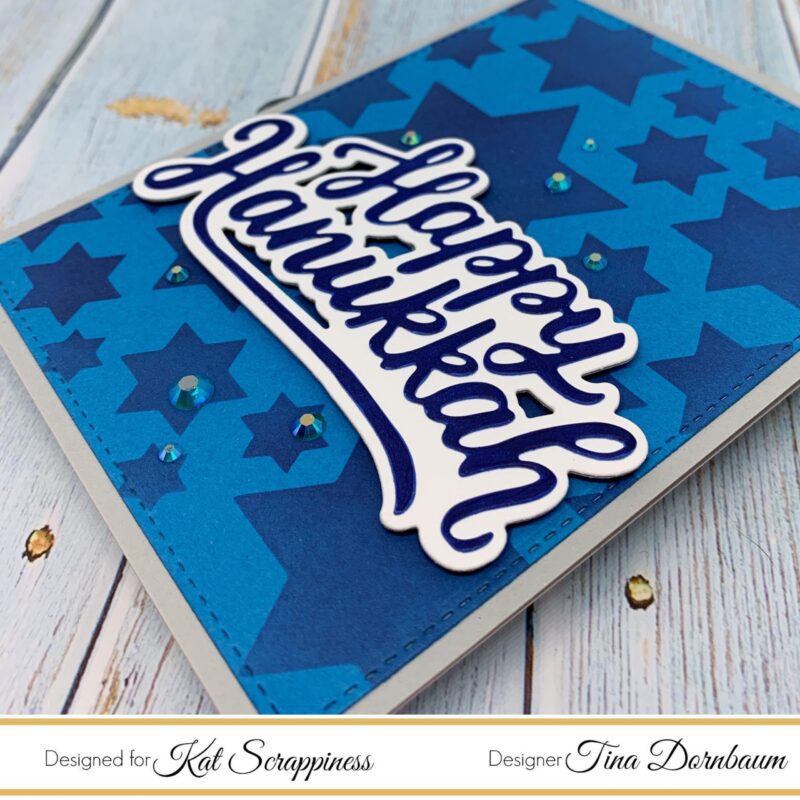
Step 2 – Trim Blue Cardstock to 5 1/2″ x 4 1/4″. Use a stencil with Ink to create a background. (I created the Star of David stencil using Corel and converting it to cut on my Scan N Cut – I used Distress Oxide Chipped Sapphire)
Step 3 – Diecut Double Stitched Rectangles using the background from Step 2. Adhere to card using Nuvo Deluxe Adhesive.
Step 4 – Diecut Happy Hanukkah (White Cardstock for the Shadow and Blue Cardstock for the Words) Assemble and adhere to card using Nuvo Deluxe Adhesive
Step 5 – Optional – For some added sparkle randomly adhere Blue Jewels using a Crystal Katana and collage medium.
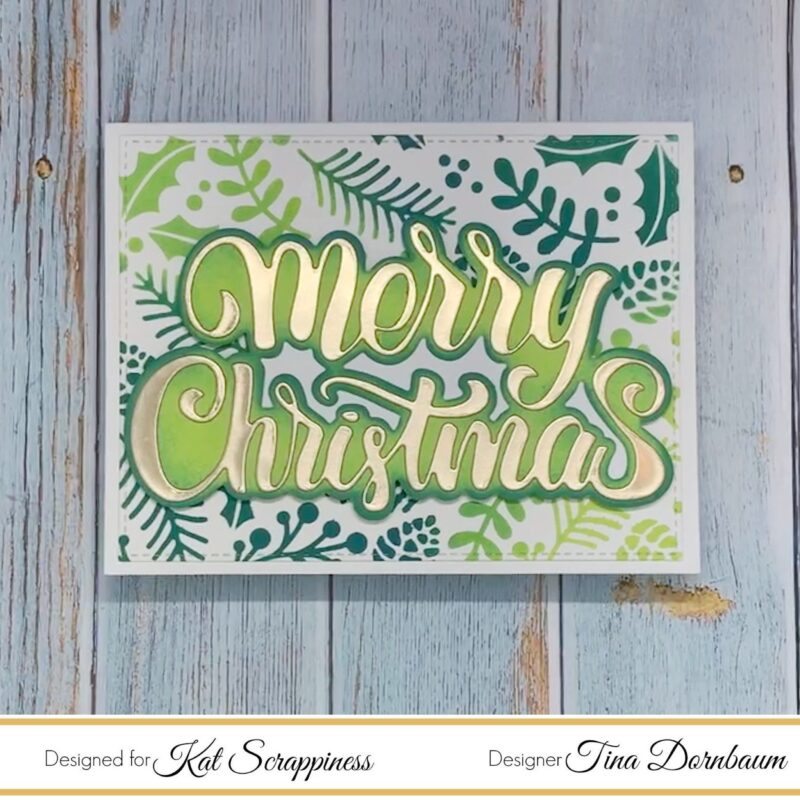
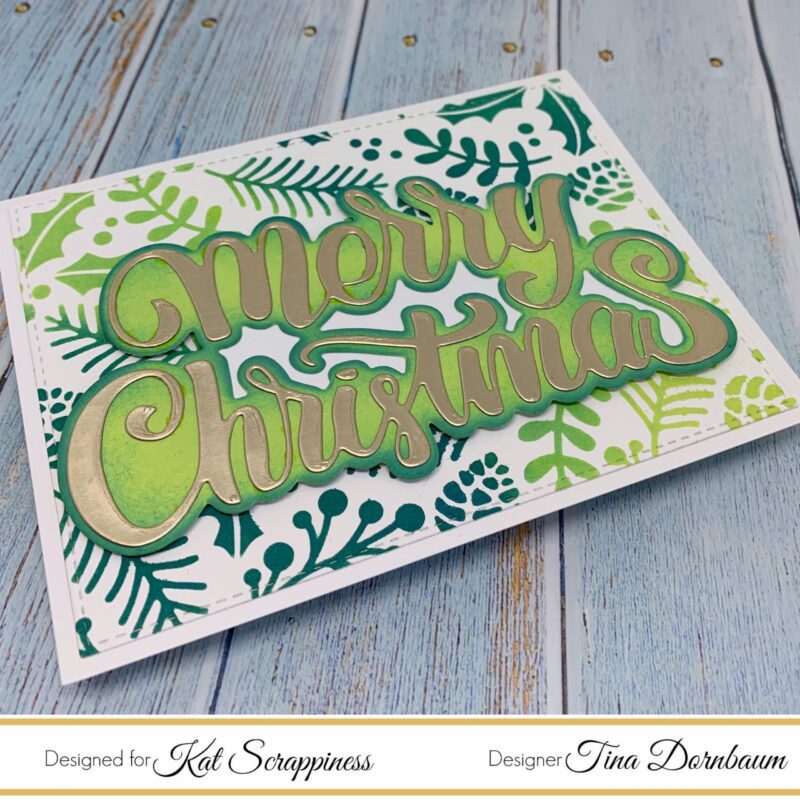
Card #3
Step 1 – Trim White Cardstock to 8 1/2″ x 5 1/2″, score at 4 1/4″ and fold in half for a horizontal side fold card. (A2)
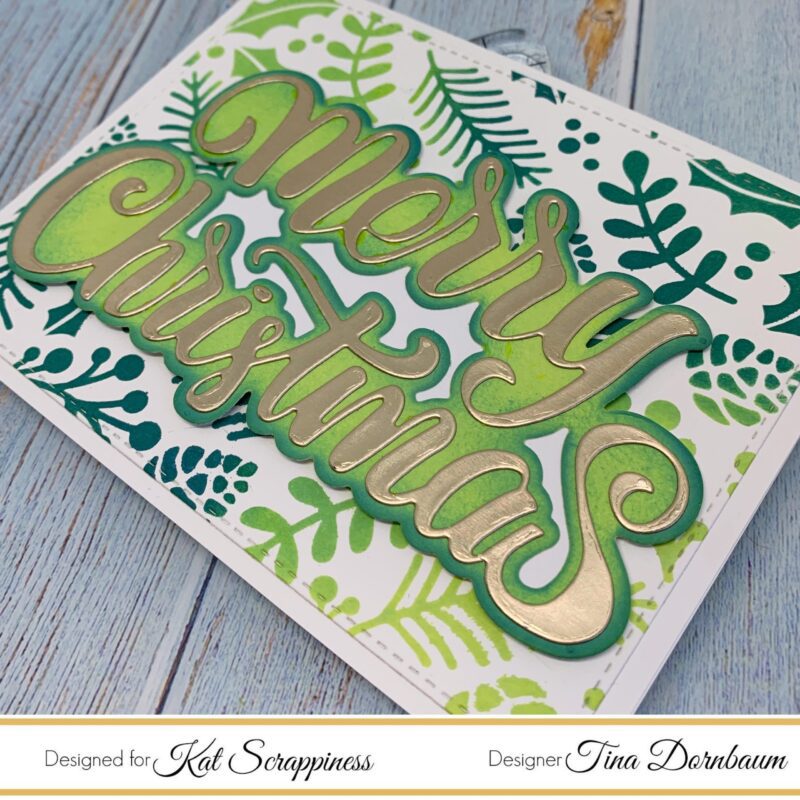
Step 2 – Trim White Cardstock to 5 1/2″ x 4 1/4″. Place a Holiday Stencil on the cardstock and apply ink. I used Distress Oxide Twisted Citron and Pine Needles.
Step 3 – Diecut Double Stitched Rectangles using the background from Step 2. Adhere to card using Nuvo Deluxe Adhesive.
Step 4 – Diecut Merry Christmas (Green Cardstock for the Shadow (or ink on White Cardstock the colours used on the background) and Gold Metallic Cardstock for the Words) Assemble and adhere to card using Nuvo Deluxe Adhesive.
Below are closeups of all 3 cards.
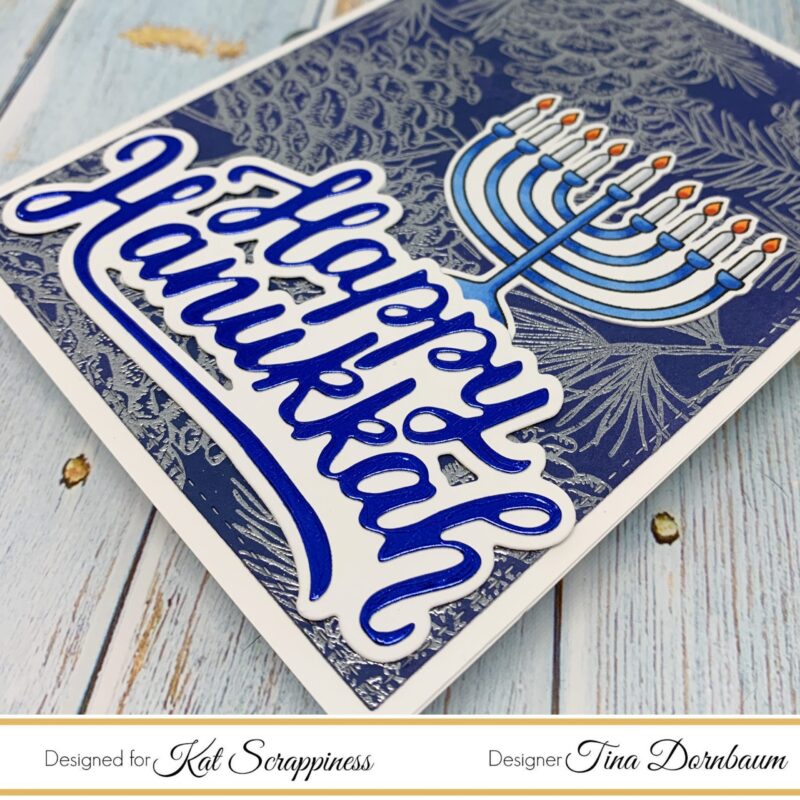
This technique works for any occasion. Use your background stamps or stencils with Big Bold sentiments. Below is a link to all the products used. Thank you for stopping by and have a wonderful day.
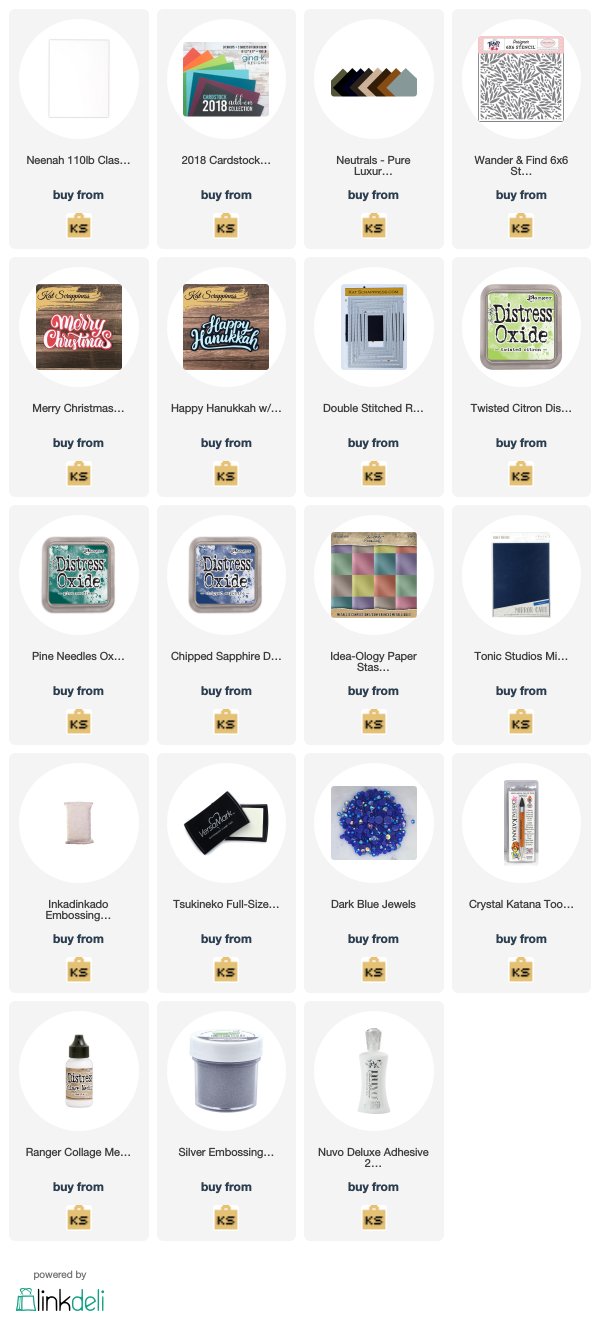
Products Used:
https://linkdeli.com/widget.js?1559654439292


No Comments