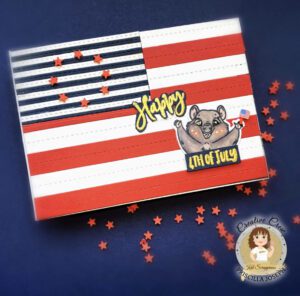
Happy Thursday Crafters! We are doing something new and fun here on the blog. Each month we will have a designer spotlight card with a tutorial to share with you.
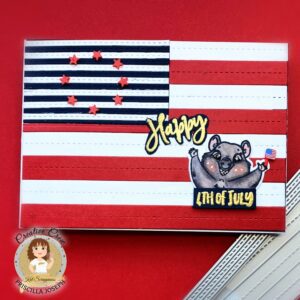
This month I am sharing this fun and patriotic card designed by Priscilla @nubblelightdesigns

List of KS products used:
- A2 Stitched Strip Dies
- Quokka’n Up Stamp Set
- Quokka’n Up Coordinating Dies
- Happy Day Stamp Set
- Red Star Sprinkles
- Old Glory Sprinkles
Let’s make this card, here are 12 steps to follow.
Step 1 – Create A2 landscape card base with white cardstock.
Step 2 – Using the new A2 Stitched Strips Dies, die cut the wider strips out of red and white cardstock and the narrow strips out of navy and white cardstock.
Step 3 – Adhere the red and white strips onto navy layer.
Step 4 – Die cut an opening on the top left side with a small rectangular die and discard the red/white strips that were there.
Step 5 – Adhere finished red and white strips to white card base.
Step 6 – Adhere the narrow blue and white strips to a scrap of cardstock and die cut them with the same small rectangular die that was used to create the opening on the top left area of the red and white area.
Step 7 – Adhere the die cut rectangle of blue and white strips into opening.
Step 8 – Create/Adhere a circle of stars using the Red Star Sprinkles onto the blue and white strips.
Step 9 – Stamp and die cut the quokka from the Quokka’n Up stamp/die set, color with copics, and adhere to bottom right corner.
Step 10 – Gold heat emboss on navy. cardstock. “Happy” and “4th of July” from the Happy Day stamp set and fuzzy cut out.
Step 11 – Adhere “Happy” over the quokka and foam mount “4th of July” at the base of the quokka.
Step 12 – Add a “Old Glory” flag sprinkle and a red sprinkle (for stick) to the quokka’s hand for the finishing touch.

I hope you enjoyed the card and tutorial today. Have a great Thursday!

No Comments