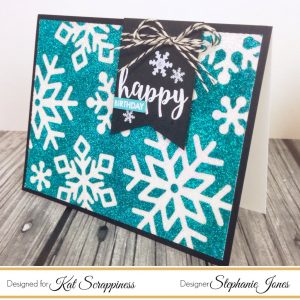
Hello everyone and Happy New Year! Today I’m sharing a fun inlaid die cut glittered background technique.
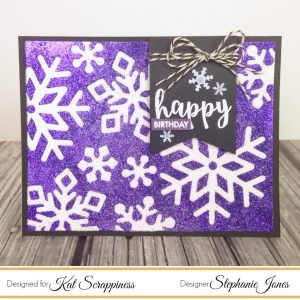
I love the idea of creating seasonal Birthday and Thank you cards, and since it’s winter I decided to make a very sparkly snowflake card.
I’ve included a process video, detailed photos, and links to all of the products I used below, which can all be purchased on KatScrappiness.com.
[youtube https://www.youtube.com/watch?v=Y28cKfA1BQY]
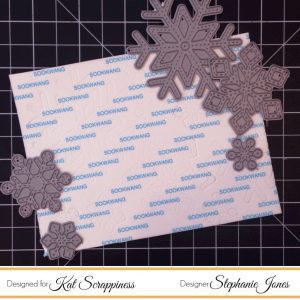
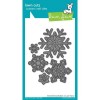
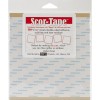
I started out by adding a 6×6 Scor-Tape sheet to my card stock panel. I then ran it through my die cutting machine using the Lawn Fawn Stitched Snowflake Dies. This doesn’t cut through the entire panel, which allows you to remove only the top layer of release paper while still keeping the die cut pieces in place.
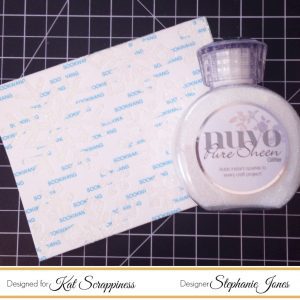
I then removed the release paper from all of the snowflakes and applied White Diamond Nuvo Glitter to the exposed adhesive, using my bone folder to burnish it in.
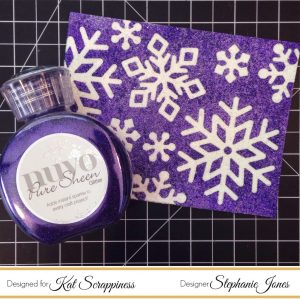
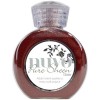
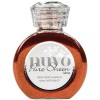
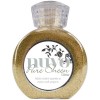
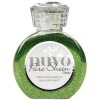
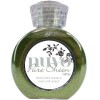
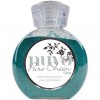
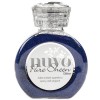
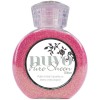
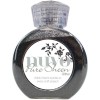
Next I removed the rest of the release paper to expose the remaining adhesive and applied my colored glitter. I love the Nuvo Glitters because you get a very generous amount, they’re very opaque and pigmented. The packaging is also gorgeous and looks so pretty on display in your craft room.
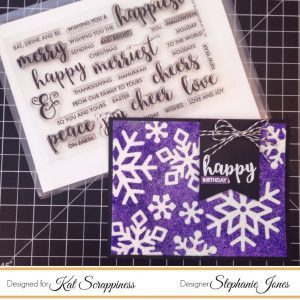
Once I attached my glitter panel to my black card front I was able to heat emboss my sentiment. I’m sure you’ve seen me use this Merriest stamp set by Avery Elle before. It’s a go-to for so many different occasions. I then popped my sentiment banner up on some foam tape for added dimension.
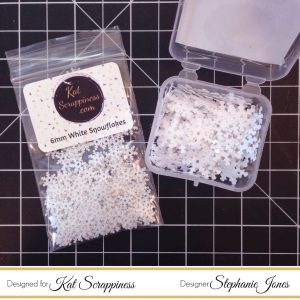
I finished it off by adding a bakers twine bow along with a few of these adorable Snowflake Sequins, which come in two different sizes.
That completes my card for today. Thank you so much for stopping by to watch me create. I hope you enjoyed today’s project. I have linked all of the products I used down below. I’ll see you again soon!





No Comments