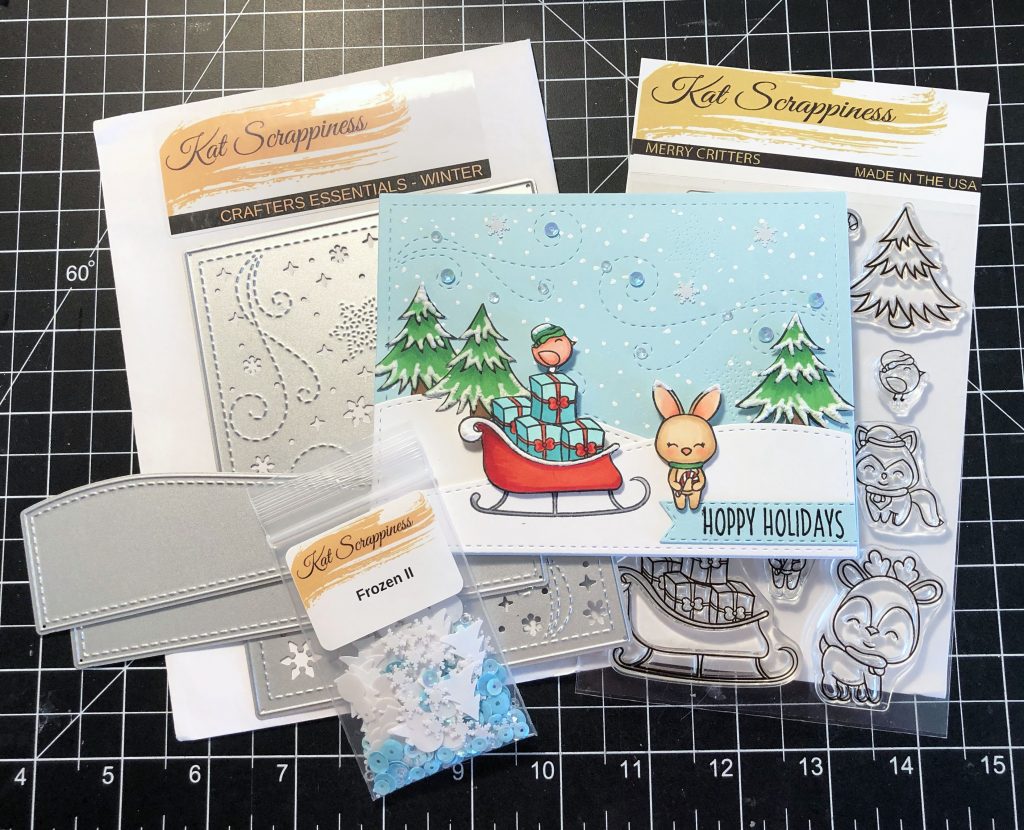
Hello, crafters! This is Cynthia for the KS Design Team, and today I’m bringing you a fun layered card project featuring some adorable little animals. I used the Crafters Essentials WINTER Dies, the Merry Critters Stamp Set, and embellished with the “Frozen II” Sequins Mix. All of these products and much more are available now at the Kat Scrappiness website, so be sure to pick them up for your own holiday card making. In the meantime, let’s go through the steps I used to create this card.
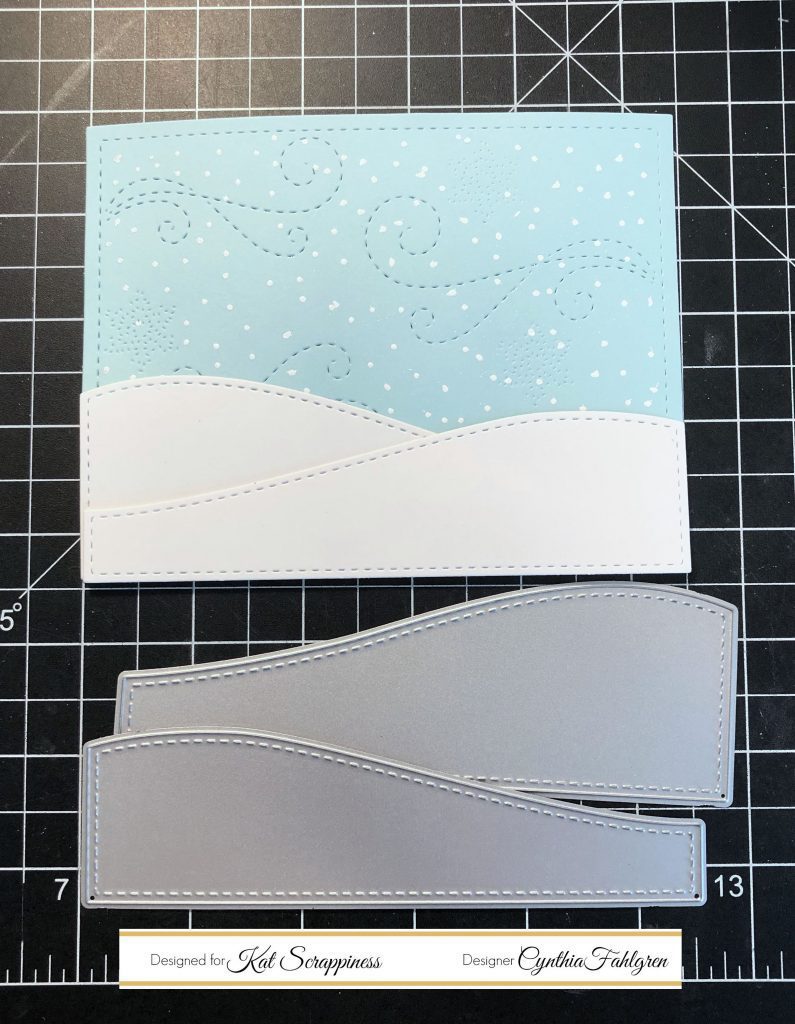
My first step was creating a wintery background for my scene. I cut a piece of light blue card stock with the swirled backdrop die from the Crafters Essentials WINTER die set, then cut the two stitched snow drift pieces out of white card stock. I attached one of the drifts flat to the background panel, and the second drift was raised on a single layer of foam tape. One important note: leave the top edges of your drifts free of adhesive so that you can tuck in your embellishments when it comes time to assemble your final scene!
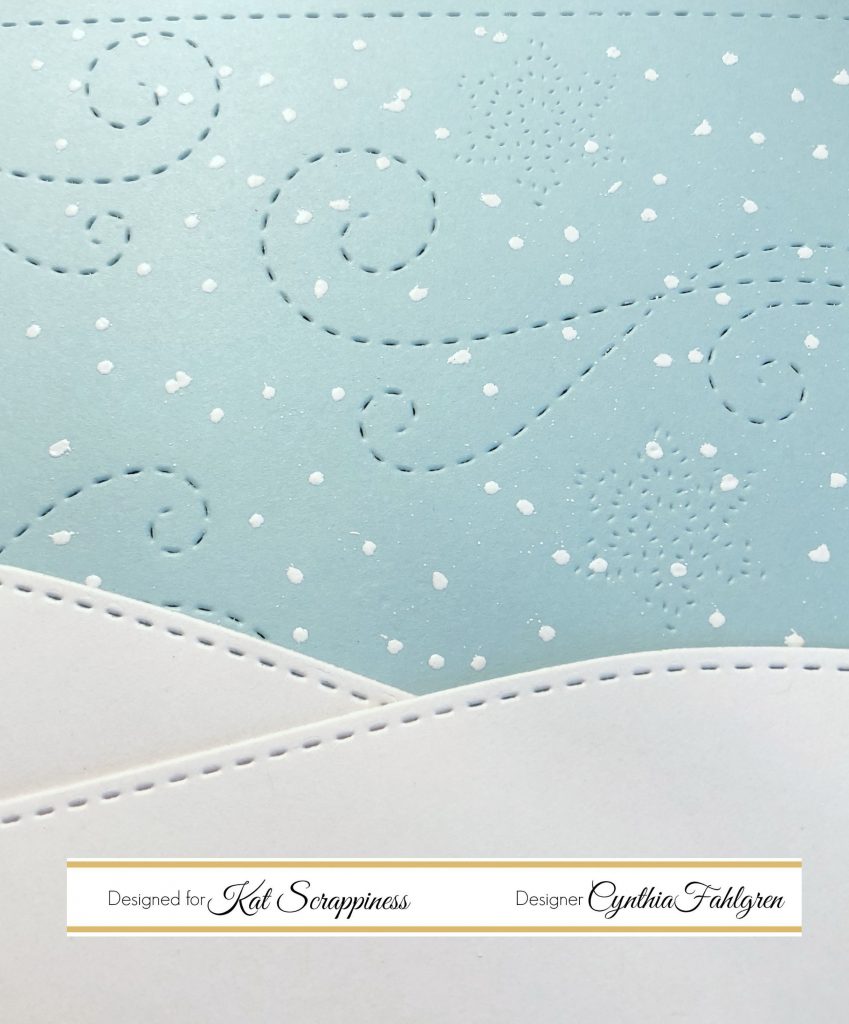
To create the look of falling snow, I simply used the Nuvo Embossing Pen and randomly dotted it all over the blue panel. Then I sprinkled on some Hero Arts White embossing powder and heat set it. This is such a simple way to really give your winter scenes some life 🙂
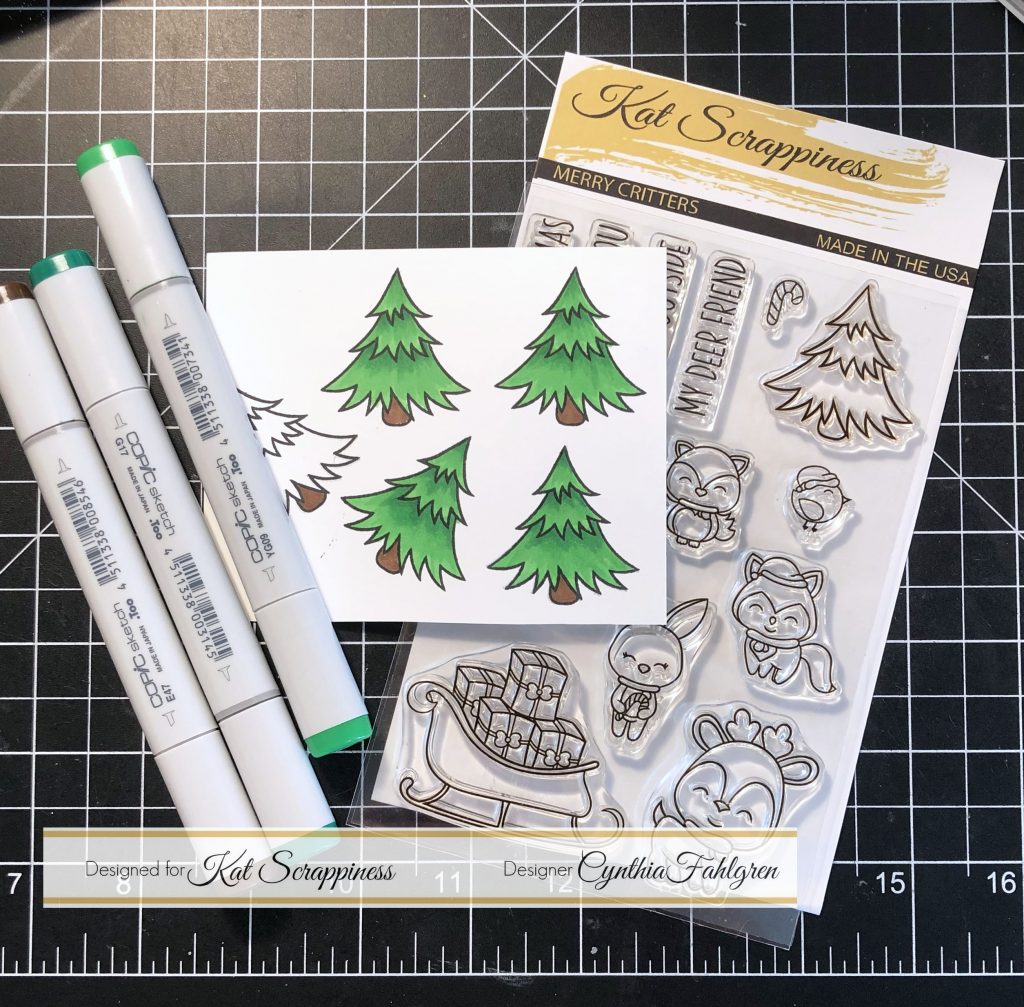
Now it’s time for some good ol’ stamping and coloring. The images from the Merry Critters stamp set are just precious, and perfectly sized for any card you’d like to make. I stamped multiple trees on some smooth white card stock, then colored them in with my Copic markers. I always use Memento Tuxedo Black ink for my stamping, since I know it won’t smudge when I used alcohol based markers. If you’re not sure of an ink, always stamp a sample image on some scrap card stock and try your alcohol markers with them. It’s so much better to take them time to do this step instead of accidentally ruining a project!
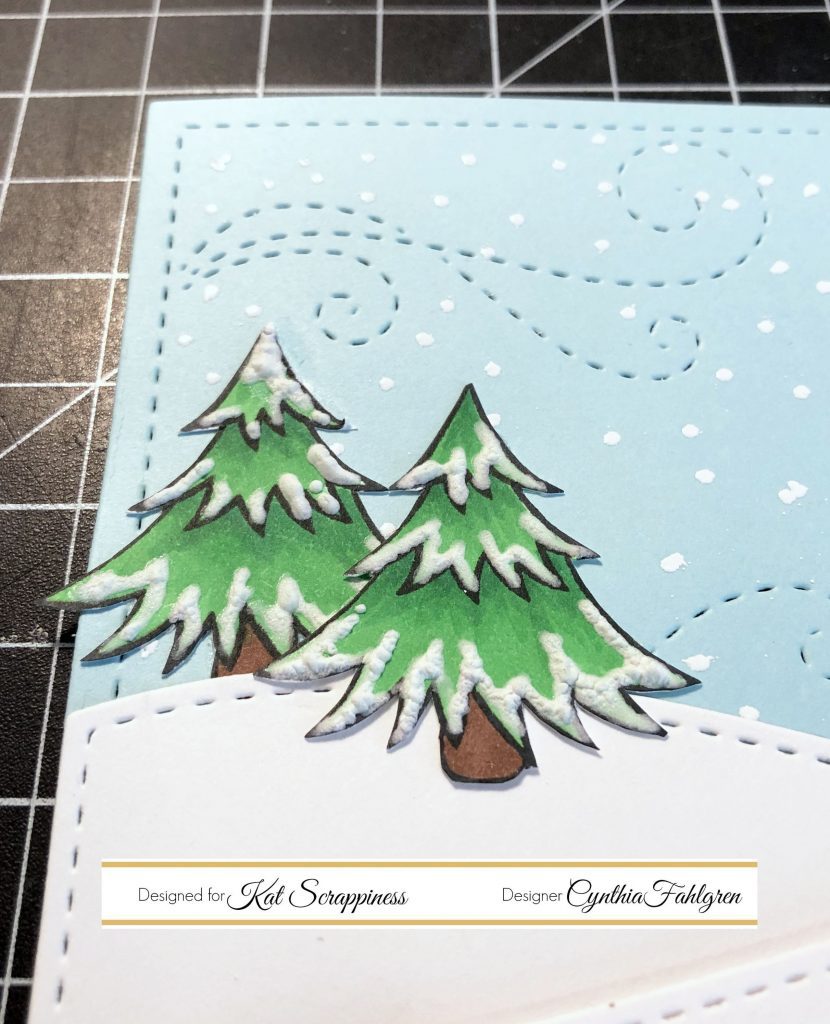
To add even more detail, I decided to use my Snow Pen and embossing gun to create snow on my little trees. There are plenty of products you can use for a similar look: white embossing powder, sparkle embossing powder, texture paste, etc. Get creative!
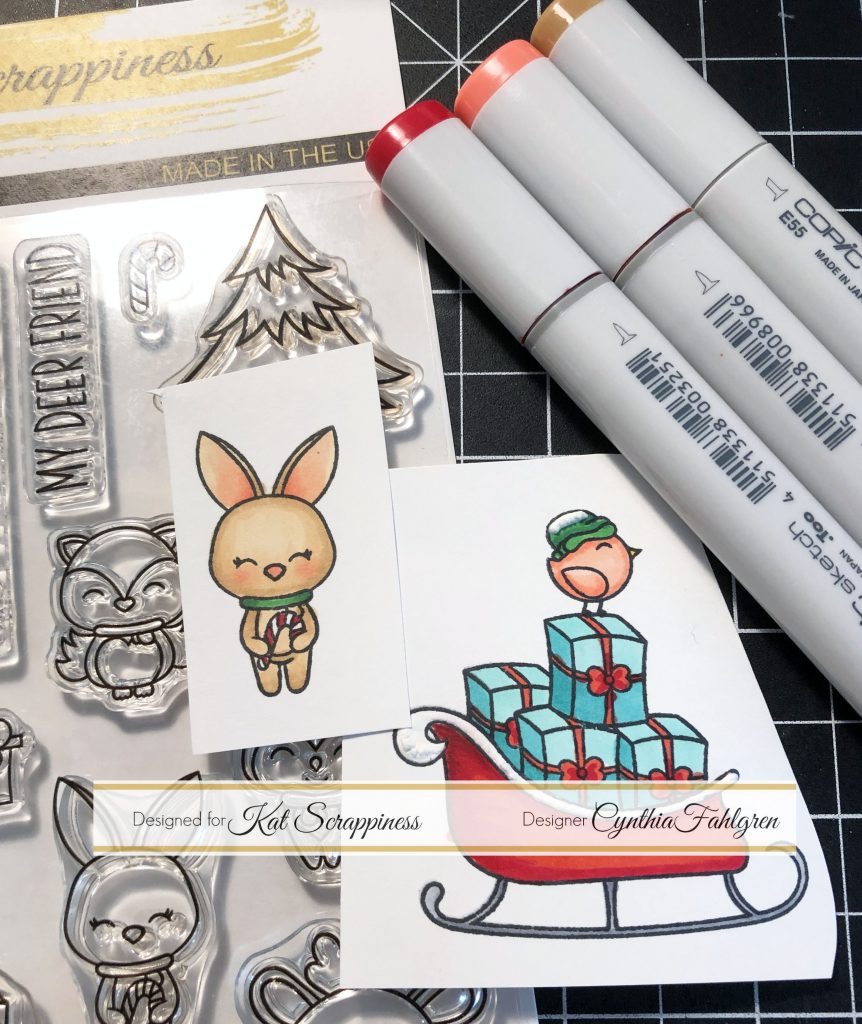
My two main focal images are the bunny and the sleigh full of presents, both from the Merry Critters stamp set. I also stamped the adorable little bird perched on top of the presents so that the bunny would have a friend. We all need a good friend, right? I colored them with my Copics, then carefully cut them out along the black lines. When doing this, try to preserve your stamped edges instead of cutting them off. You can always run a black marker around the edges of your cut pieces to hide the white cutting lines when you’re done, which really gives a professional finish to your work. Note: Instead of cutting around the sleigh’s delicate runners, I stamped that part of the image right on the snow drift piece, then laid the cut-out image over it.
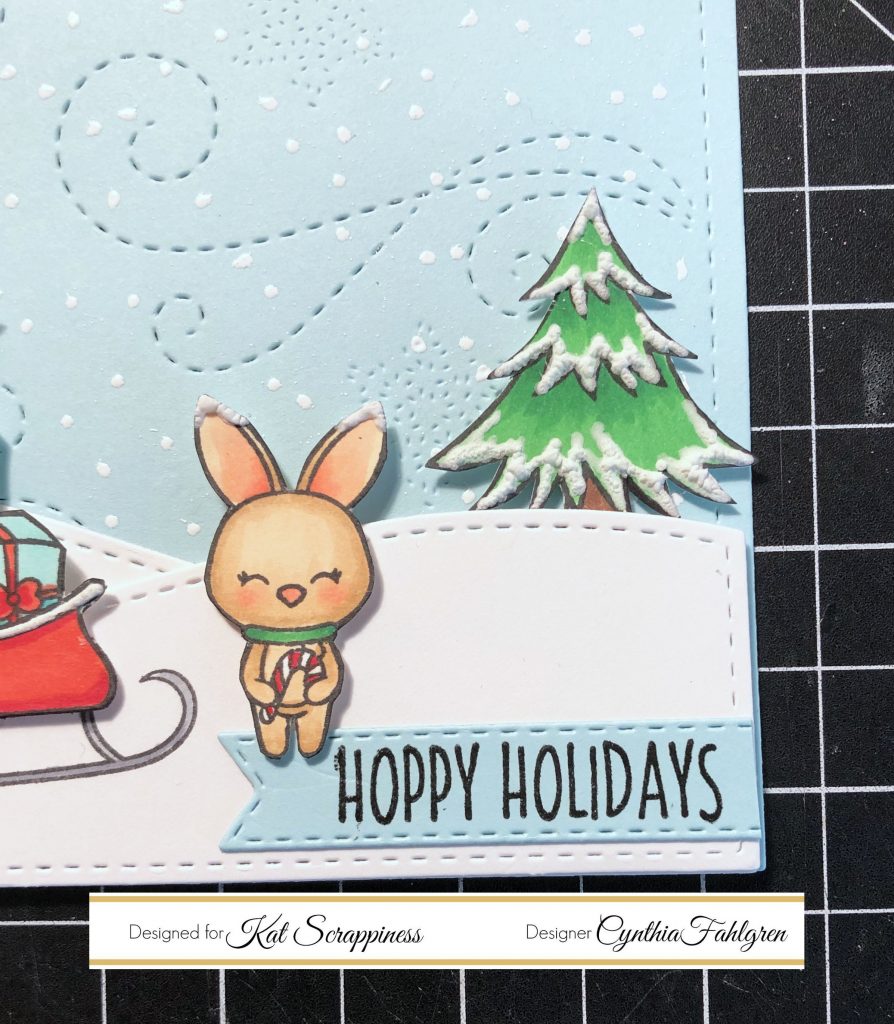
For my sentiment, I cut out a stitched banner die and used the Hoppy Holidays stamp from the Merry Critters stamp set. It fit very neatly in the bottom corner of my scene – big enough not to be missed, but discreet enough to let the scene shine 🙂
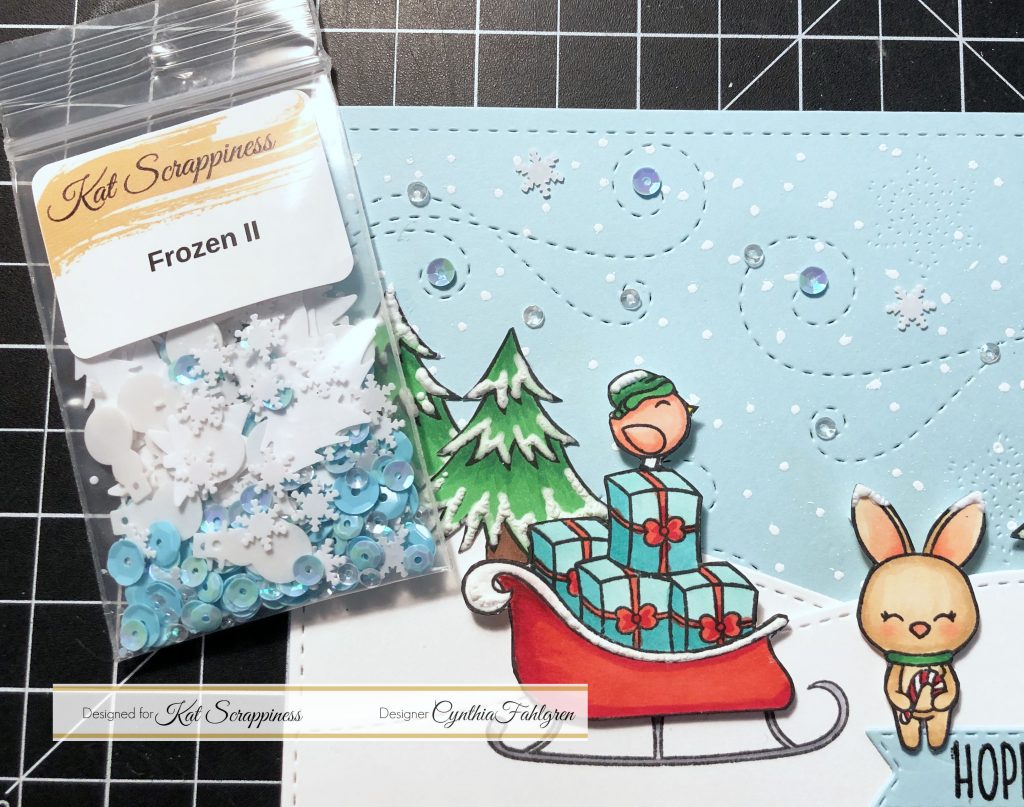
The final finishing touch was to add some sequins (of course!) This time I used the gorgeous “Frozen II” Sequins Mix and picked out some snowflakes, some light blue sequins, and some tiny sparkling crystal sequins. I laid these along the swirled lines of the backdrop piece, as if they were sparkling bits of snow being blown along the frosty wind. Perfect!
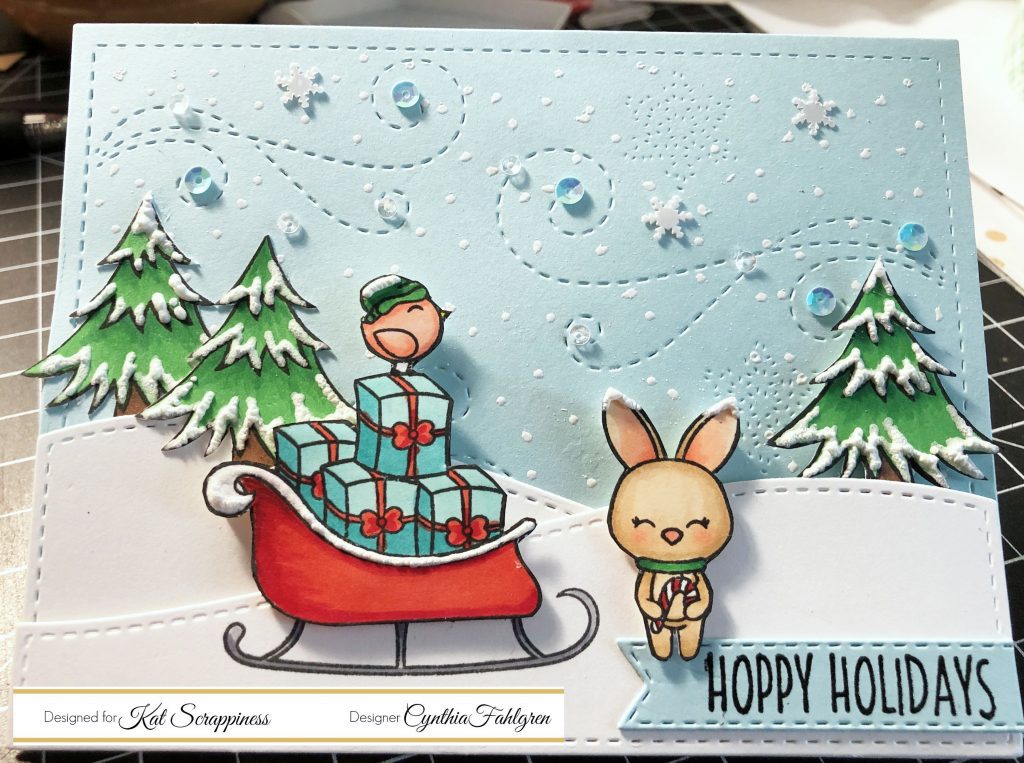
And that is my finished card! This one was SO much fun to create, and if I were making a scrapbook layout I could have included a bunch more trees and all of the cute animals. As I mentioned at the top of this post, all of these awesome stamps, dies, and sequins are now available in the Kat Scrappiness store. I’ve included a shopping link for you down below, and please be sure to use my “CYNTHIA10” coupon code to save 10% off your entire order. Thank you so much for reading my post, and I’ll see all of you again at the end of the month 🙂



1 Comment
Very beautiful seasonal project.
November 26, 2018 at 10:14 am