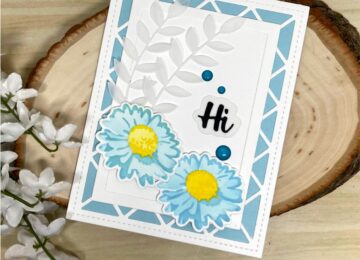
Hi everyone, it’s Tina here. Today I am sharing a DIY Background using the Floating Dots Stencil along with the Stitched Foliage dies and the Oopsie Daisy Layering Stencils for this super fun card. Below you will find the steps to create your own card.

Step 1 – Trim White Cardstock to 7” x 6”, score at 3 1/2” and fold in half for a horizontal top fold card. (Mini Slimline)
Step 2 – Trim White Cardstock to 6” x 6”. Place the Floating Dots Stencil on top and apply Inks of your choice in rainbow colors. Once done spray water onto the stencil and place it on a new White Cardstock trimmed 6” x 6”. Rub onto the cardstock to make sure that the inks transfer. Gently remove the cardstock from the stencil and let dry. Below is the regular inked cardstock and the one created from the ink residue from the stencil.

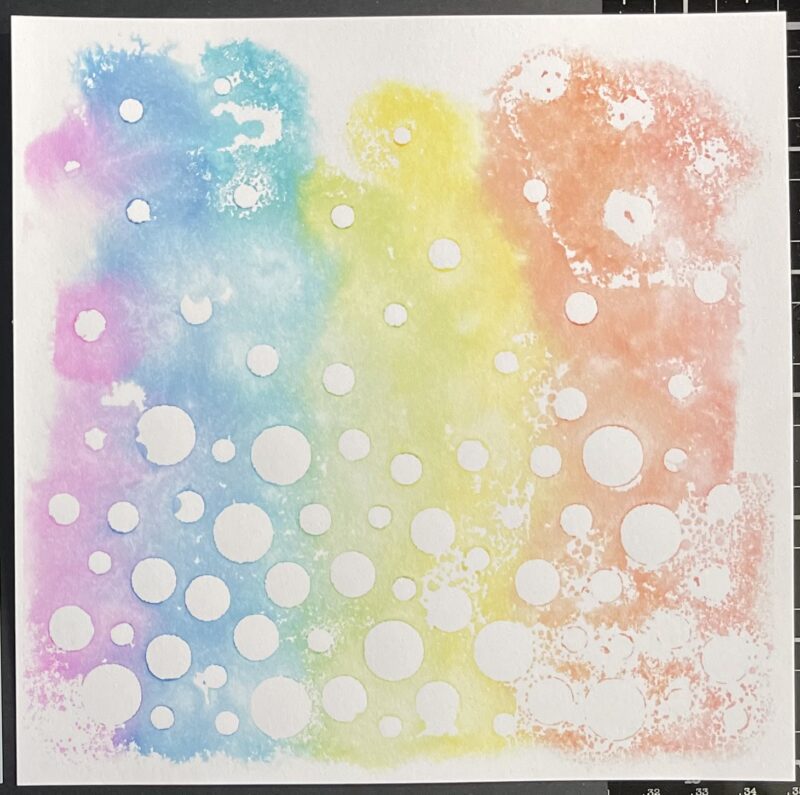
Step 3 – Trim the watered background to 3 1/4” x 5 3/4” and adhere to the card front using Bearly Art Precision Glue.
Step 4 – Place the Oopsie Daisy Stencil on White Cardstock. Apply ink of your choice in the lightest color, then place the other stencil using a slightly darker ink of the same shade. Diecut with the coordinating die. Adhere to card using Foam Tape.
Step 5 – Apply Green Ink of your choice on White Cardstock. Diecut Stitched Foliage and ink the edges for added dimension. Adhere to card using Bearly Art Precision Glue.
Step 6 – Diecut Hello My Crafty Friend using Teal Cardstock (use a little scissor surgery to separate the word Hello). Diecut 2 more time using White Cardstock (again separating the word Hello). Layer together using Bearly Art Precision Glue making sure the Teal diecut is on top. Adhere to card using Bearly Art Precision Glue.
Step 7 – For added interest and sparkle randomly adhere Pearl Mix using Bearly Art Precision in colors Ballerina Pink, Carolina Blue, Mint Green, Bumble Bee and Apricot.
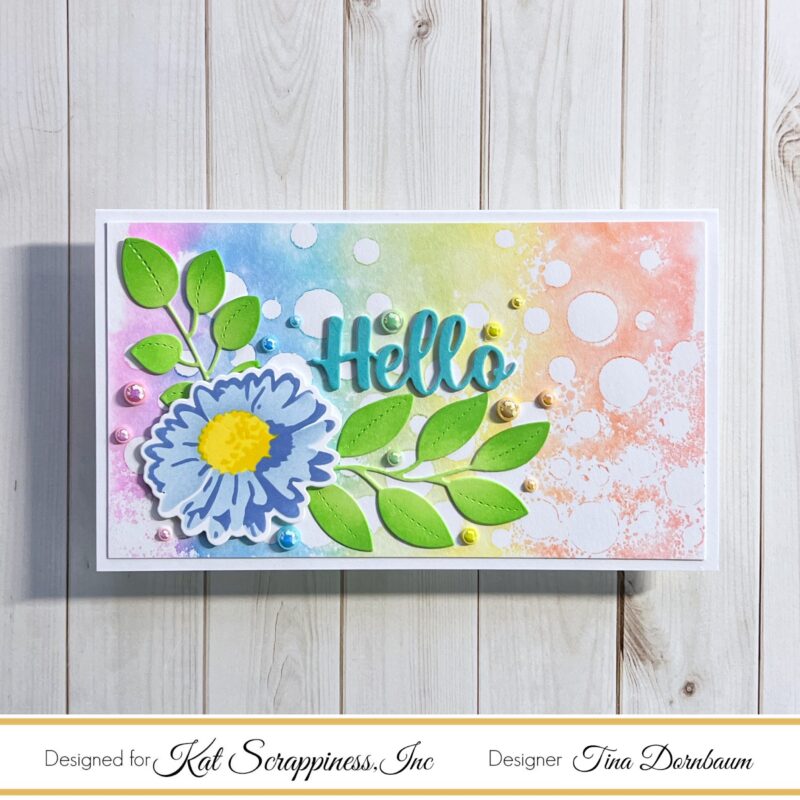


This card can be used for many occasions by changing the sentiment. Below is a link to all the products used. Thank you for stopping by and Happy Crafting!
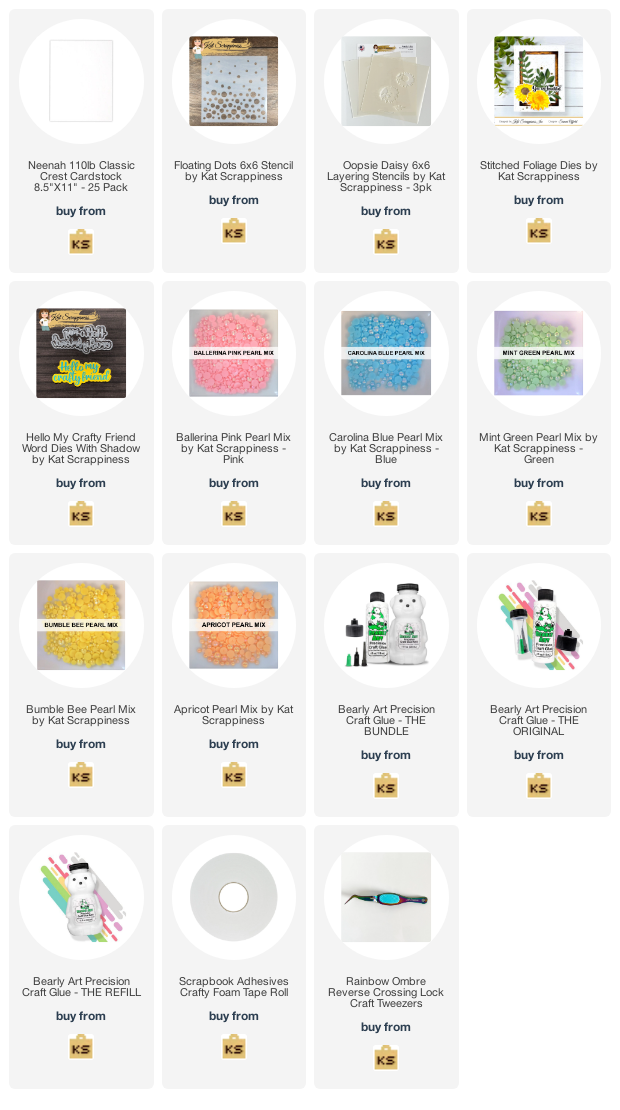
Products Used:


No Comments