(affiliate links for most products are provided at no additional cost to you)
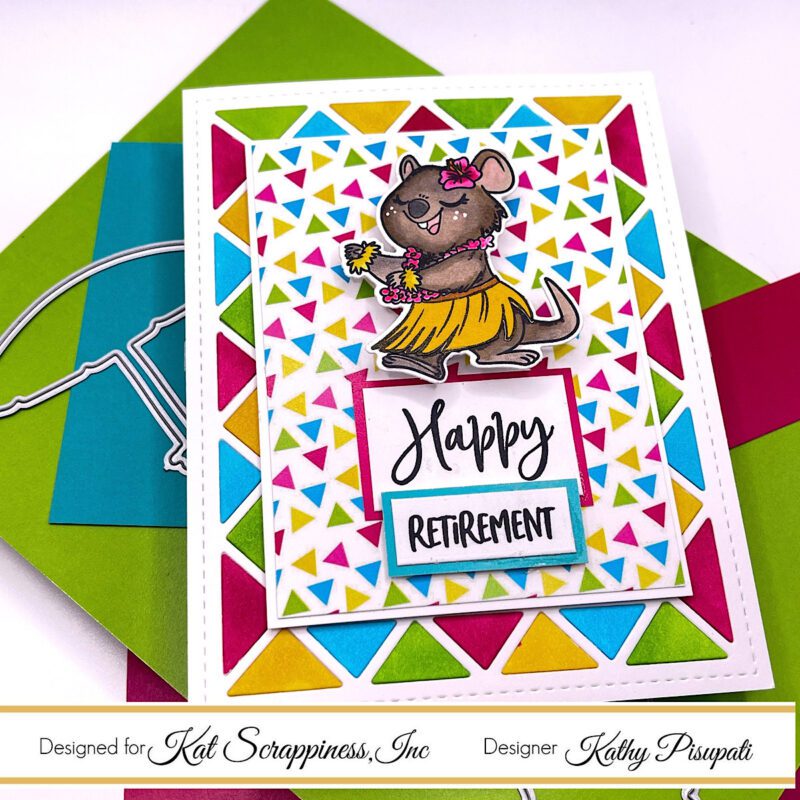
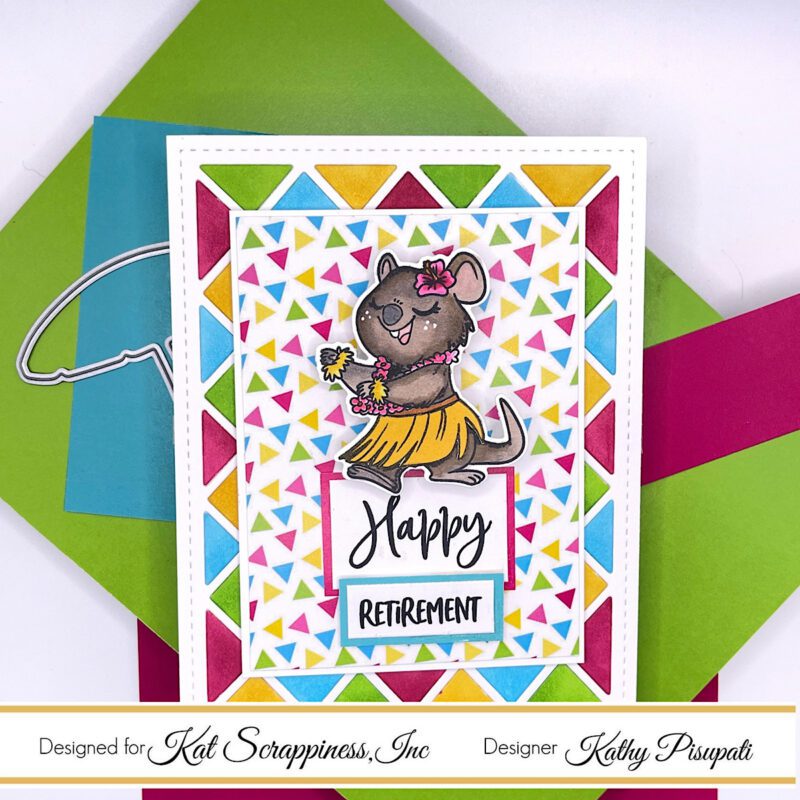
Good Morning, Kathy here! It’s time for a new post on the Kat Scrappiness Blog today. I am at that age where my friends are starting to retire and I suddenly realized that this is one type of card I don’t have in my stash. So I decided to make something a little different. When my husband and I fully retire we plan to do much more travel. Any place with warm weather, water, and a beach will be on the list. So I thought this little hula dancing Summer Quokka was perfect!. So let’s make a card!

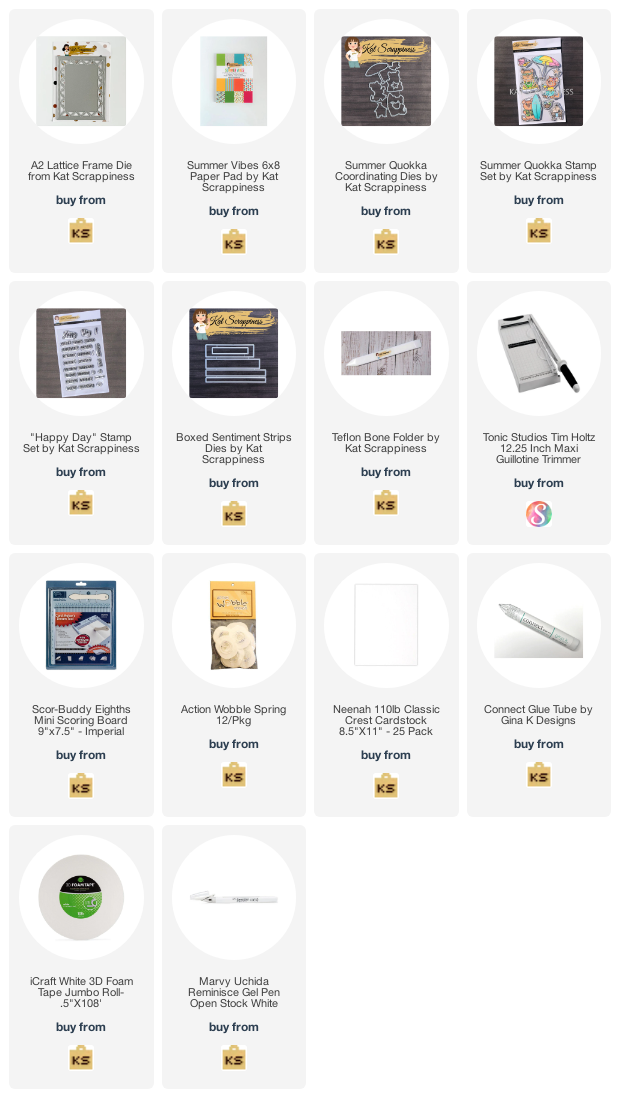
Card Supplies
- A2 Lattice Cover Plate
- Summer Vibes Paper Pack
- Summer Quokka Coordinating Dies
- Summer Quokka Stamp Set
- Action Wobblers
- Happy Day Stamp Set
- Boxed Sentiment Dies
- Neenah Classic Crest Solar White 110lb card stock
- Tim Holtz Paper Trimmer
- Connect Glue by Gina K
- Foam Tape
- Marvy White Gel Pen
- Teflon Bone Folder
- ScorPal Board

The Action Wobbler really helps this card to shine by adding movement. It is such an easy element to use!
Card Details
- Cut, score, and fold a side-folding A2 card base.
- Using white card stock and the A2 Lattice Cover Plate die-cut your main card base. Save all the bits.
- Select the paper you want to use from the Summer Vibes Paper Pack.
- Using alcohol markers color all of the little bits from the cover plate die to coordinate with your paper.
- Add double-sided adhesive to the back of the cover plate frame.
- Inlay all of the colored pieces into the frame. Yes, this is a bit tedious but I find it very relaxing.
- Stamp, color, and die-cut your dancing Summer Quokka.
- Add the action wobbler to the back of the Quokka.
- Stamp and with clear embossing powder, emboss your sentiment.
- Select another piece of the Summer Vibes paper and cut it to fit the center of the cover plate frame.
- I also cut an additional piece of white card stock 1/8″ larger than the center panel for a border.
- The Boxed Strip Dies are perfect for sentiments. Use them to cut out your sentiment and then trim it to the desired length.
- I added a solid scrap to the back of the sentiments 1/8″ larger, as a border.
- The center panel was glued to the white border panel.
- I added foam to the back of this and adhered it to the A2 Lattice frame.
- The entire panel was added to the card base with Connect Glue.
- I glued the Happy sentiment direct to the card. The word “retirement” was adhered to with foam tape.
- Lastly, I added the Quokka wobbler.
The new products are so cute and I encourage you to check all of the out in the Kat Scrappiness Store. The action wobbler really adds a lot of interest to your card and is so easy to use. As always, thanks for stopping by I look forward to seeing your creations! I would love for you to subscribe to my blog below and follow me on social media with the links at the top. Have a fabulous day!


No Comments